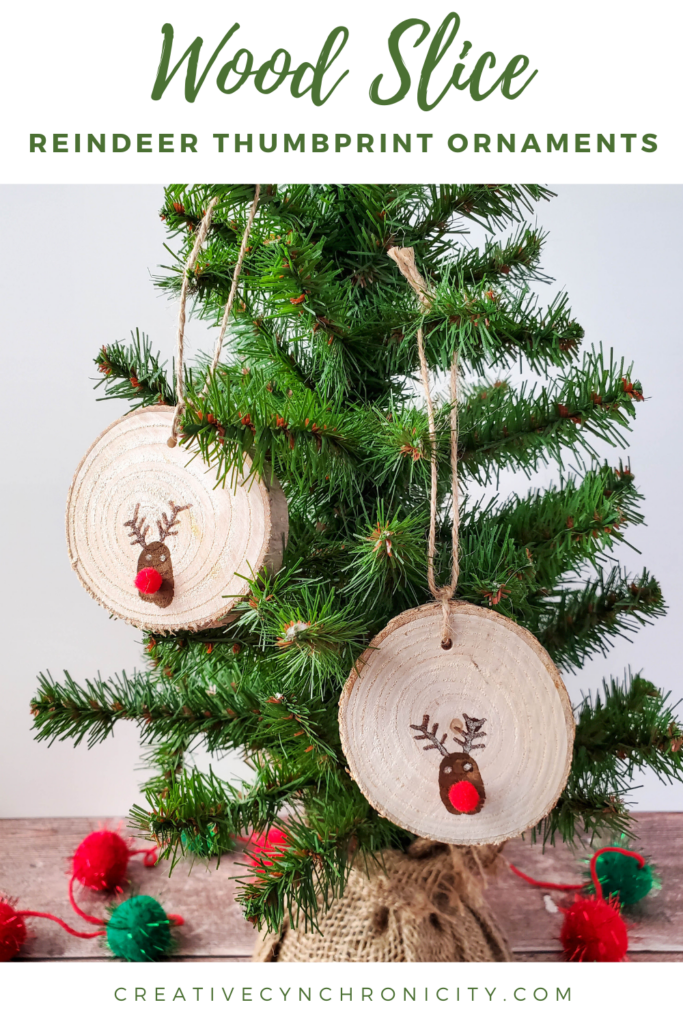
Transform your child’s thumbprint into adorable Rudolph the Red-Nosed Reindeer ornaments. These thumbprint Rudolph ornaments look adorable hanging on the tree and make great gifts.
These wood slice ornaments are quick and easy to make and only need a few simple supplies. They’re great Christmas craft projects to make with a group.
Find more wood slice ideas here: Creative DIY Wood Slice Projects

Wood Slice Thumbprint Rudolph Ornaments
Disclosure: Some of the links in the post below are affiliate links provided for your convenience. This means that if you purchase something through one of these links, I get a small commission at no added cost to you.
You can find the wood slices on Amazon but be sure to check out your local craft or dollar stores too. Often they are cheaper and better quality!
Supplies needed:

- Wood slices for ornaments with twine to make a hanger
- Small red pompoms for nose
- Brown paint (used Melted Chocolate Apple Barrel brand)
- Brown glitter marker (set used: https://www.ooly.com/products/rainbow-sparkle-glitter-markers-set-of-15 ) or you could do a lighter brown paint and darker brown marker
- Glue

Directions:

Pour a small amount of paint out, and dip your child’s thumb in it. Place their thumb on the wood slice to make Rudolph’s head.

Add a small dab of glue to the thumbprint on the bottom half of the thumb print, and add the red pompom on top of the glue to make Rudolph’s nose.

Use the marker to put two eyes above the nose.

Then make two lines above the face for the antlers.

Draw smaller lines on a slight upward angle to make the antlers.

Thread the twine through the hole and your ornament is ready to hang!

Leave a Reply