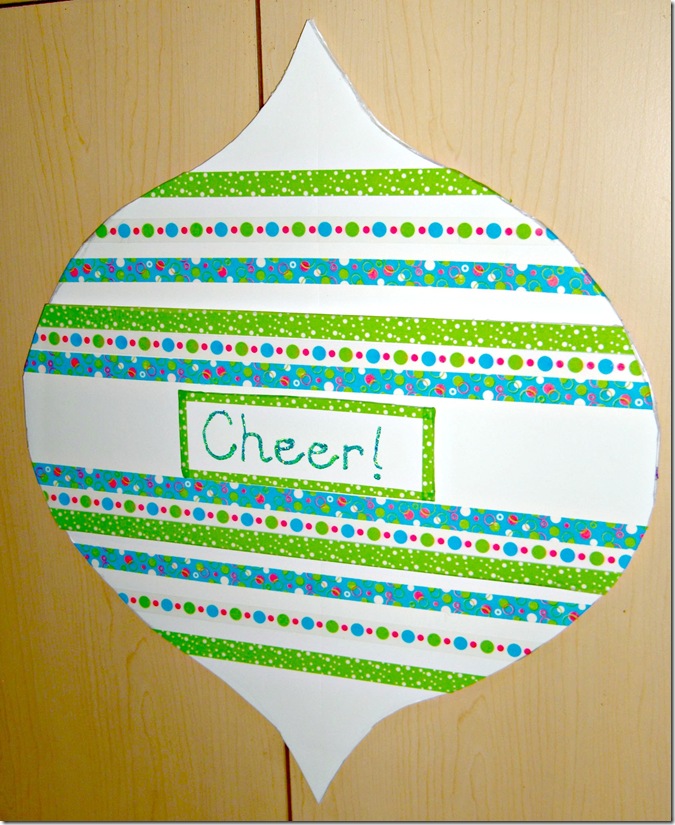
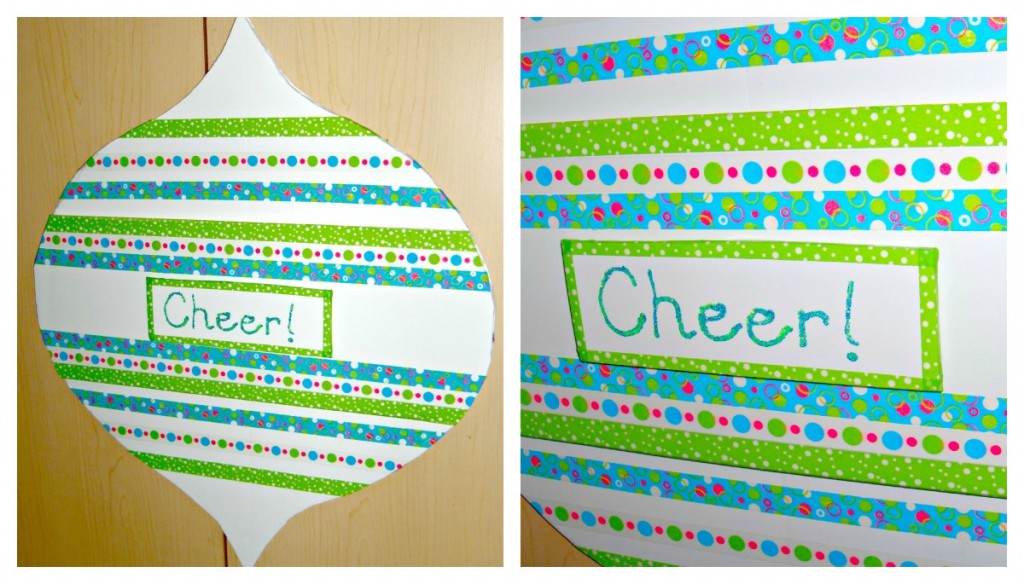
Have you finished your holiday decorating? I haven’t! I’m waiting to do some of it when my daughter gets home from university but honestly, for the rest, I just haven’t had time yet. I did sit down to plan it out the other day though and realized there’s a gap in my decorations. I need something for the bedroom windows. They face the street and I want something there to catch the attention of passersby. So, I came up with this big retro looking ornament – I’m going to make more for each of the windows!
This is a quick and easy craft to put together and requires only a few supplies. I headed off to Walmart and found everything I needed in the Elmer’s section. Check out my shopping insights here. To get started, here are the supplies you will need:
An Xacto knife
You might want a good small pair of scissors for cleaning up the edges if you don’t cut them perfectly with the knife.
About 1 1/3 pieces of Elmer’s foam board for each ornament – I’m using the 18 by 24 inch size
A pencil
A piece of paper for your pattern if desired – you can free hand it.
A package of Elmer’s Designer Masking Tape
A pair of scissors for cutting the tape although it will tear quite readily – but you might want some perfect edges
A package of Elmer’s Swirl Glam Glitter Glue
Elmer’s Glue-All
You might want to have a ruler handy
Note: I wanted to leave parts of my foam board white because it goes well with the look I’m going for. You may want to get a colored foam board instead.
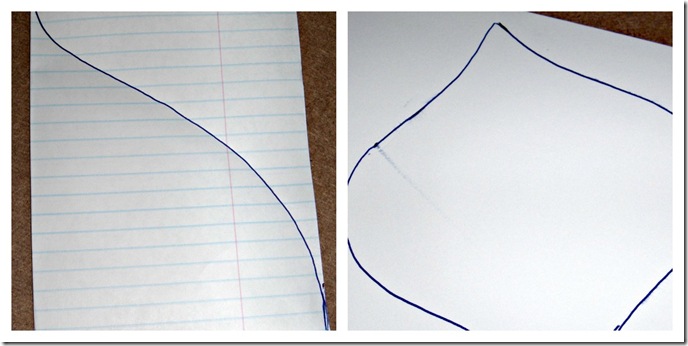
Instructions: This is such an easy project. I began by drawing out a design on paper. I wanted to use a retro looking ornament shape and took my inspiration from this blog post There’s a template there you can enlarge and use but I just folded a piece of paper in quarters and drew 1/4 of the design there. I cut that out and had a perfectly symmetrical shape. This became my pattern. I traced around it onto the foam board. Cut this shape out using your Xacto knife.
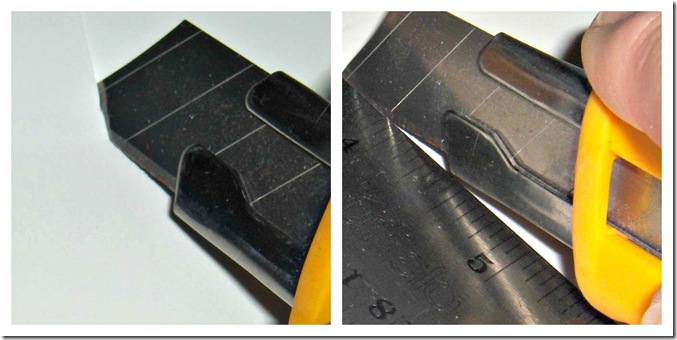
Xacto knife tips: Don’t forget to protect your work surface! You want to have a fresh sharp blade in order to get the cleanest cut. Cut slowly and smoothly to avoid ragged edges. Cut at a slight angle so that the upper edge is kept as clean as possible. If you’re cutting straight lines, using a metal ruler can help to get a cleaner line too but you may have to change the blade more often as coming into contact with the ruler can cause faster dulling. You may find it helpful to make two passes with the knife in order to cut right through the board. If there are any ragged bits, I found that going in with a small pair of scissors to clean that up was very helpful.
Once I had the main piece cut out, I used it as a pattern to make another piece that was just the center section. I wanted dimension on the ornament so the plan was to stack and glue this middle piece on top of the full ornament. To add even more dimension, I cut out a small rectangle – about 2 by 6 inches – from the foam board to make a section for writing a word on the ornament.
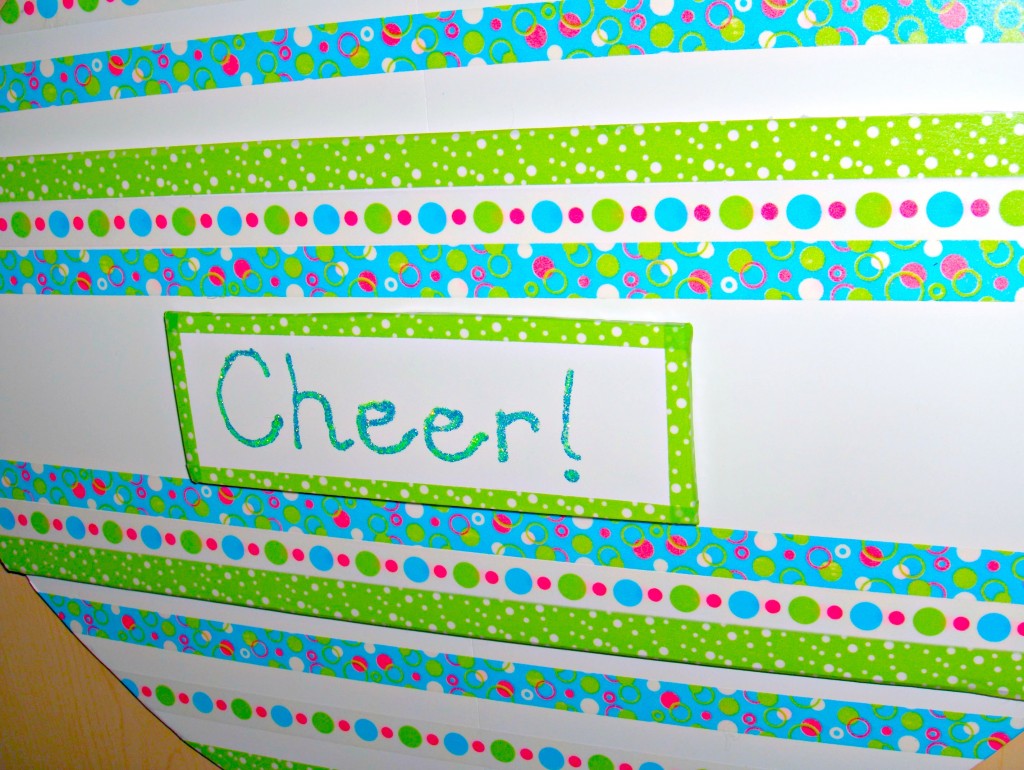
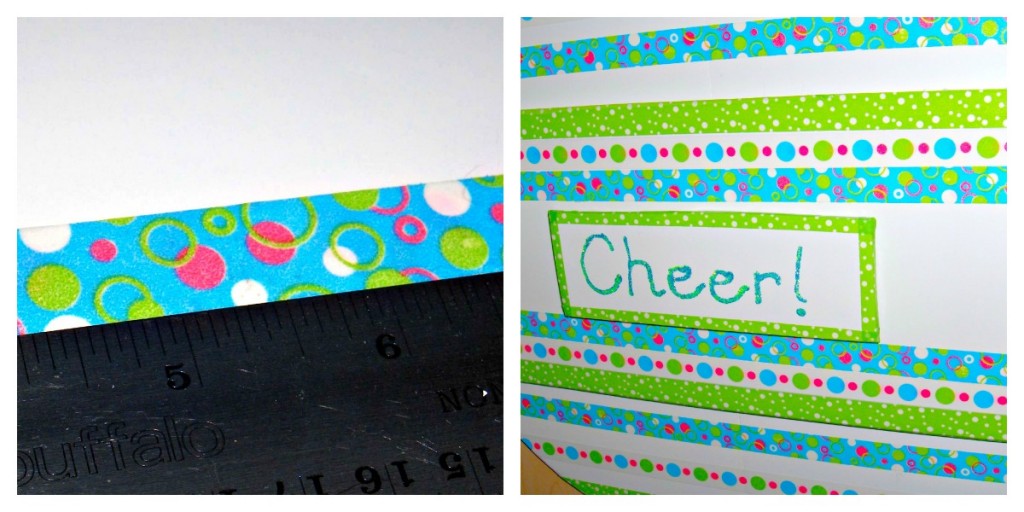
I formed stripes on the ornament with the masking tape. You can use your ruler to line up these stripes evenly if you’re not comfortable winging it. A hint for using this tape – it is called masking tape but I find it to be thinner and a bit more fragile than the masking tape I’m used to. Think of it as a paper tape. It’s easy to tear rather than cutting it if you want but you can’t be too rough with it. I found that a couple of times when I yanked on it to pull off a strip, I ended up just tearing it in the wrong place. All I had to do was use a slightly gentler touch and it was all good. I also used the tape to completely cover the edges of the small rectangle for some visual impact. If the edges of your ornament aren’t as clean as you would like, you might want to cover all those edges with tape too! At first, I was trimming the tape at the edges of the ornament but then I found that it worked even better to just wrap it around to the back.
Use the Swirl Glam Glitter Glue to write your chosen word on the small rectangle. Carefully, glue the layers of the ornament together (carefully meaning so as not to touch the glitter glue before it dries – or wait until it has dried for this step). This glitter glue is a dream to work with! It doesn’t clump or spurt or anything like that – a problem I’ve had at times with other brands of glitter glues. It goes on smoothly and evenly and you can get either a very thin or a thicker line as desired. You can poke a hole in the top and then hang the ornament in a window or use some kind of wall friendly adhesive to tape it to a wall or door. It’s the perfect little retro accent for your holiday decorating!
You can connect with Elmer’s here:
“I am a member of the Collective Bias™ Social Fabric® Community. This content has been compensated as part of a social shopper insights study for Collective Bias™ and Elmer’s.. #GlueNGlitter #CBias #SocialFabric All opinions and ideas are my own.”

Paula Schuck says
Love how crafty you are Cyn! Also this seems simple, so kids and parents could do it together.
Kimberly @ A Night Owl says
That is so cute! I love how a little glue and washi tape can transform anything!
Angela @ Nine More Months says
Neato! I really love the vintage design.
Heather says
Love this! So beautiful Cyn and love the colors!! So glad you got this one from SoFab!!