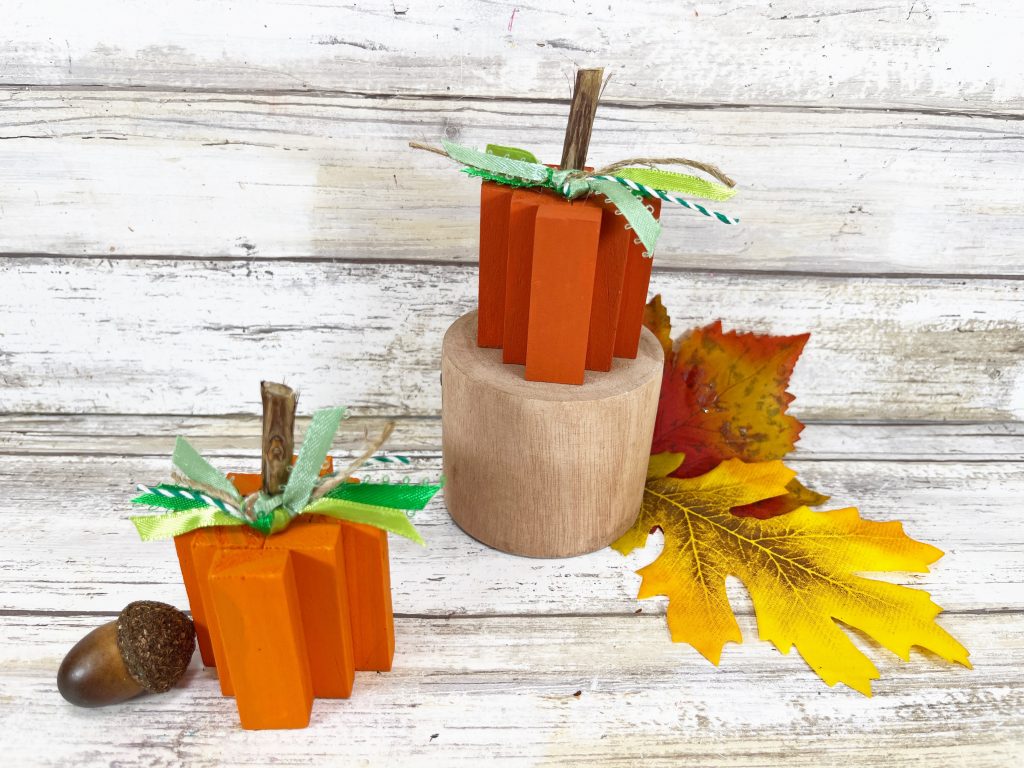
This tumbling tower pumpkin craft is right on trend and perfect for your autumn home décor or fall-tiered tray.
This is such a fun fall craft! Take a wooden tumbling tower game from the toy section of the dollar store, some craft paint, and some ribbon, and turn them into some adorable pumpkins.
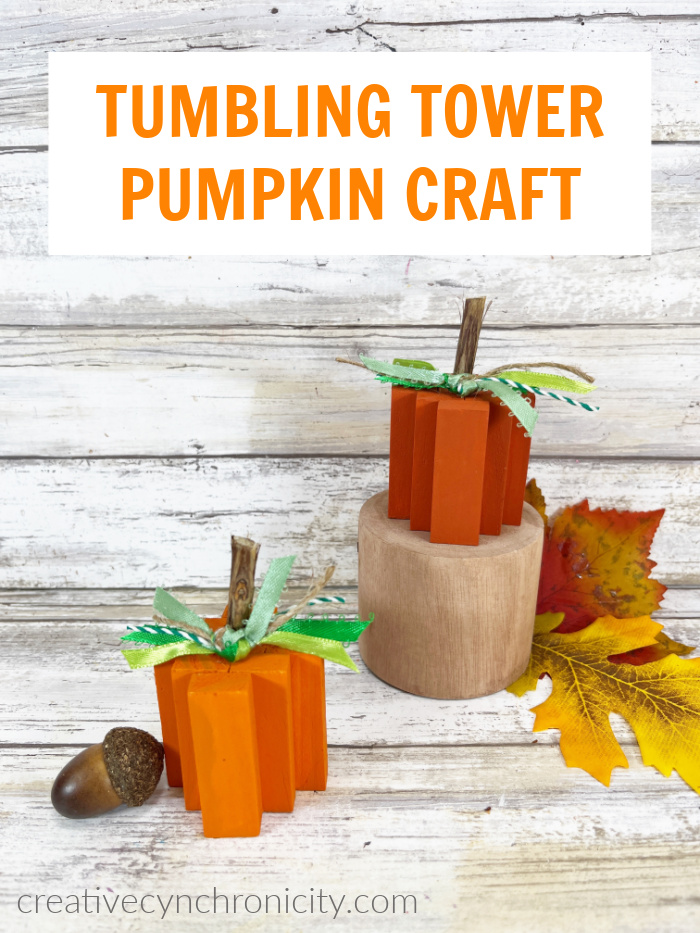
TUMBLING TOWER PUMPKIN CRAFT
This is a really inexpensive craft to make too. You can find most of the supplies at your local dollar store.
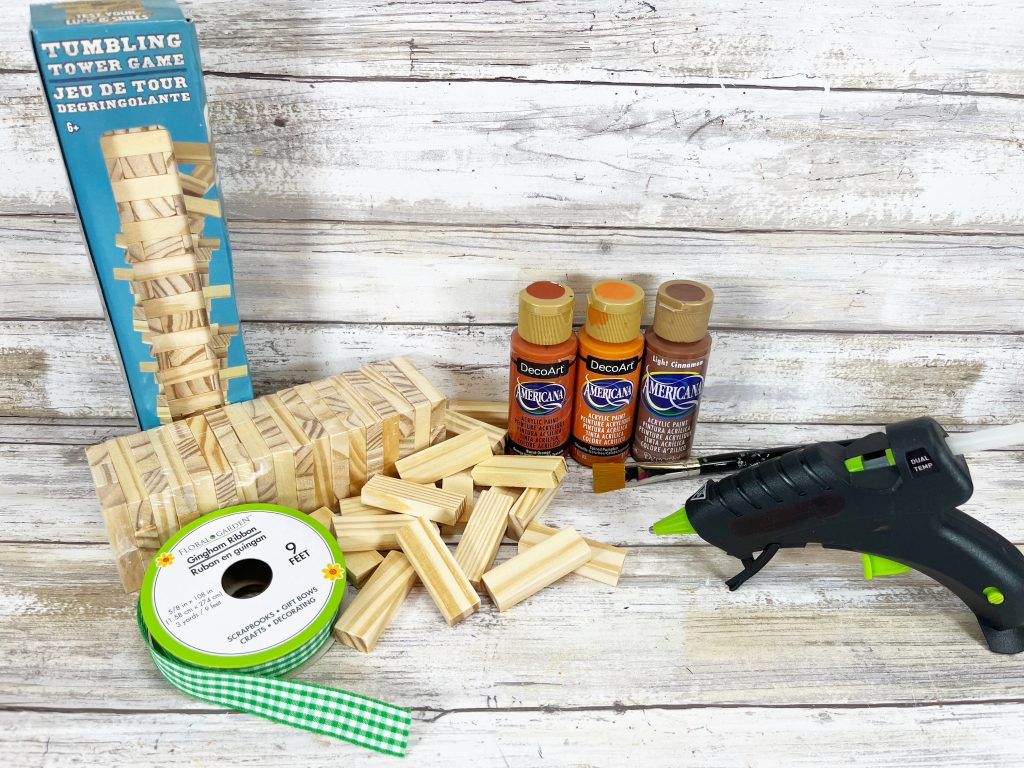
Supplies:
- Wooden Tumbling Tower Game – Dollar Store
- Craft Paint – Bright Orange, Burnt Orange
- Glue Gun and Glue Sticks – Dollar Store
- Assorted Ribbon Scraps – Green
- Twig – From the Yard
- Paintbrush
- Scissors
- Ruler
- Wire Cutters
Instructions:
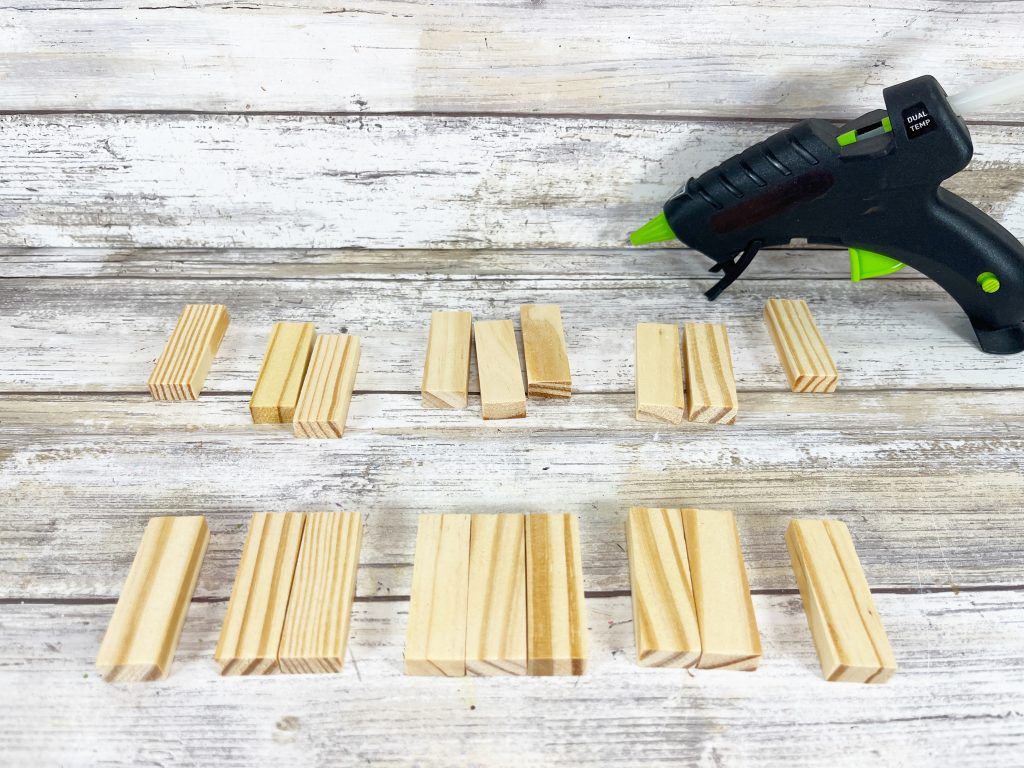
STEP ONE
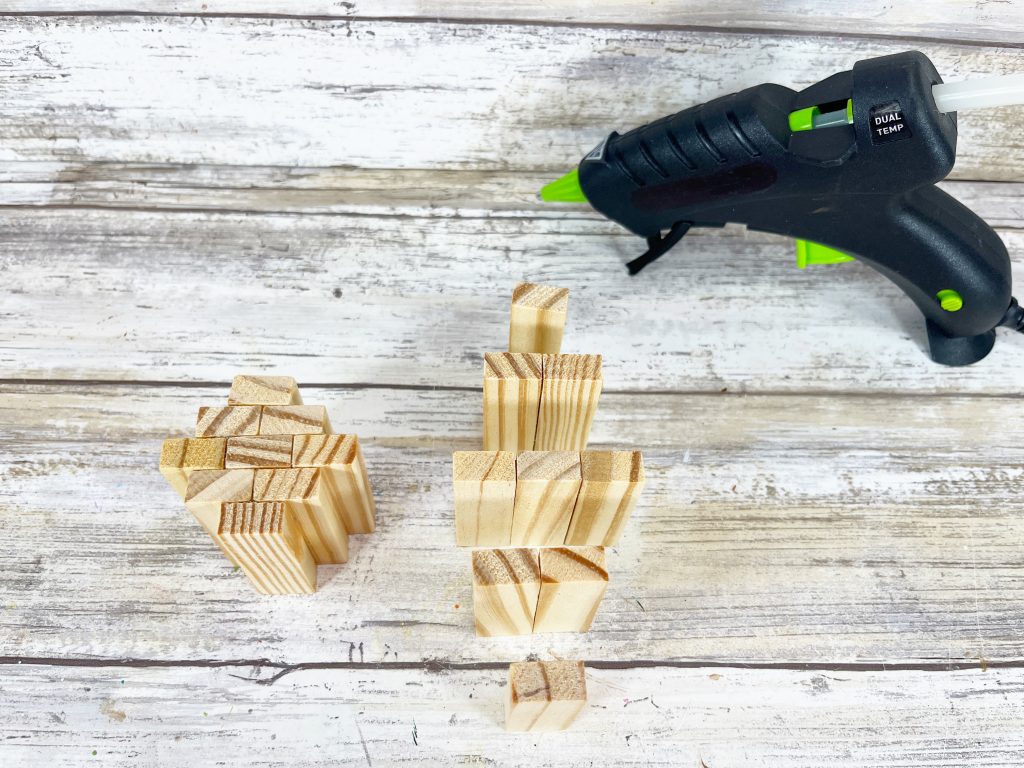
Gather all supplies. Count out 9 of the rectangular wooden pieces from the tumbling tower game for each pumpkin. Attach the game pieces in the following order. Leave two pieces single. Attach two sets of two pieces together along the long skinny edges with a glue gun and glue sticks. Then glue three pieces together for the center.
STEP TWO
Assemble the pumpkins by gluing the game pieces together in rows. Stack and secure one game piece on the first row to two game pieces on the second row, then three game pieces on the third row, two game pieces on the fourth row, and finally one game piece on the fifth row. If using liquid craft glue hold corks together with a rubber band during the drying process.
STEP THREE
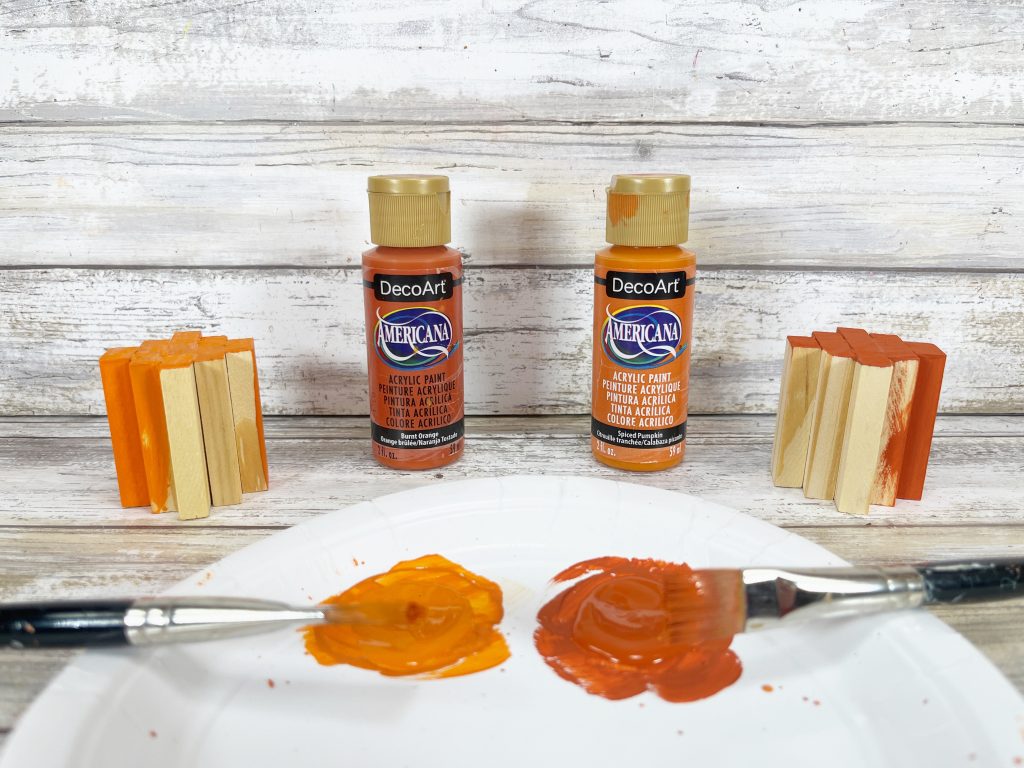
Basecoat the tumbling tower pumpkins with bright orange and burnt orange acrylic craft paint. Set aside to dry and apply a second coat, if necessary. Use a paper dessert plate from the dollar store as a paint palette.
STEP FOUR
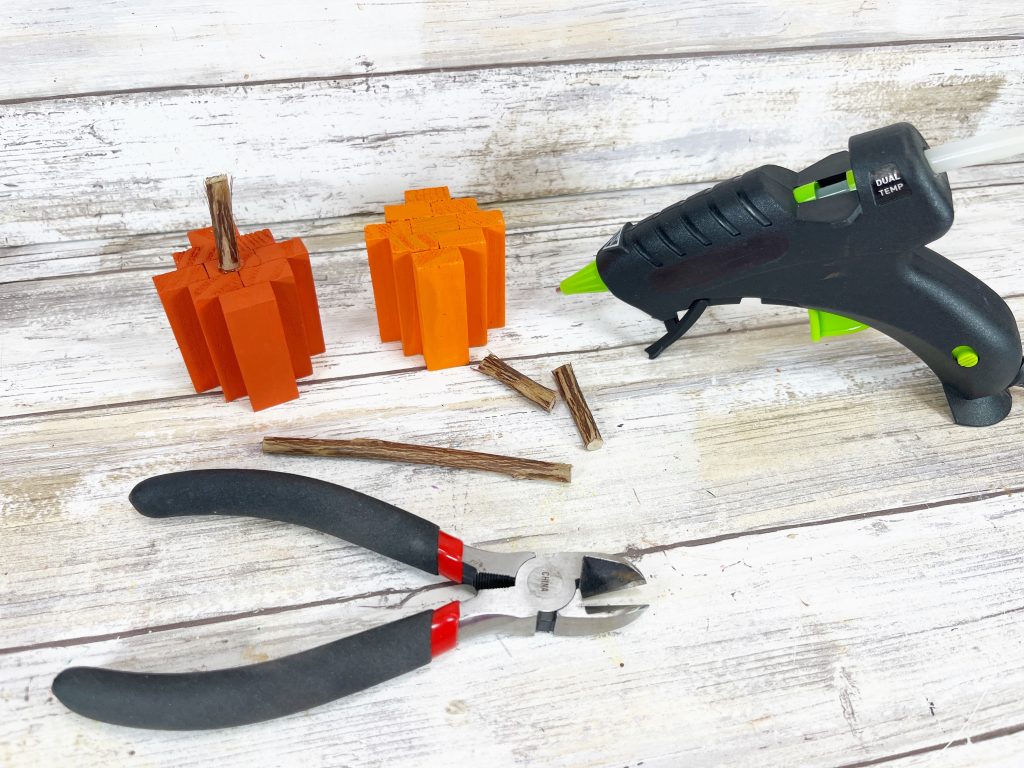
Measure a twig from the yard into 1” sections and cut with a pair of wire cutters. Don’t worry if the twig doesn’t cut perfectly straight, because that will give the stem a bit of extra character. Attach the twig stems to the top center of the pumpkins with a glue gun and glue sticks.
STEP FIVE
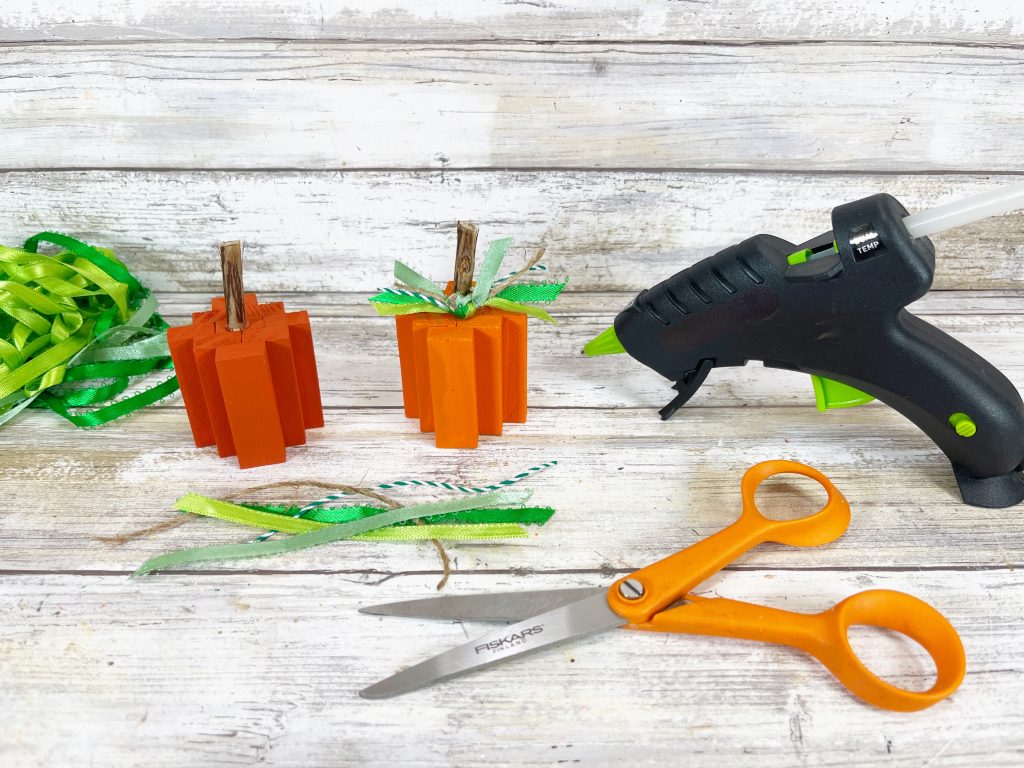
Gather a variety of green ribbons, trims, and baker’s twine. Measure and cut 6” lengths of green ribbons with scissors. Tie the ribbons together in a knot, and then trim any long ends with scissors. This is the perfect way to use up scraps. Ribbons tied in bows would also look fabulous on these pumpkins.
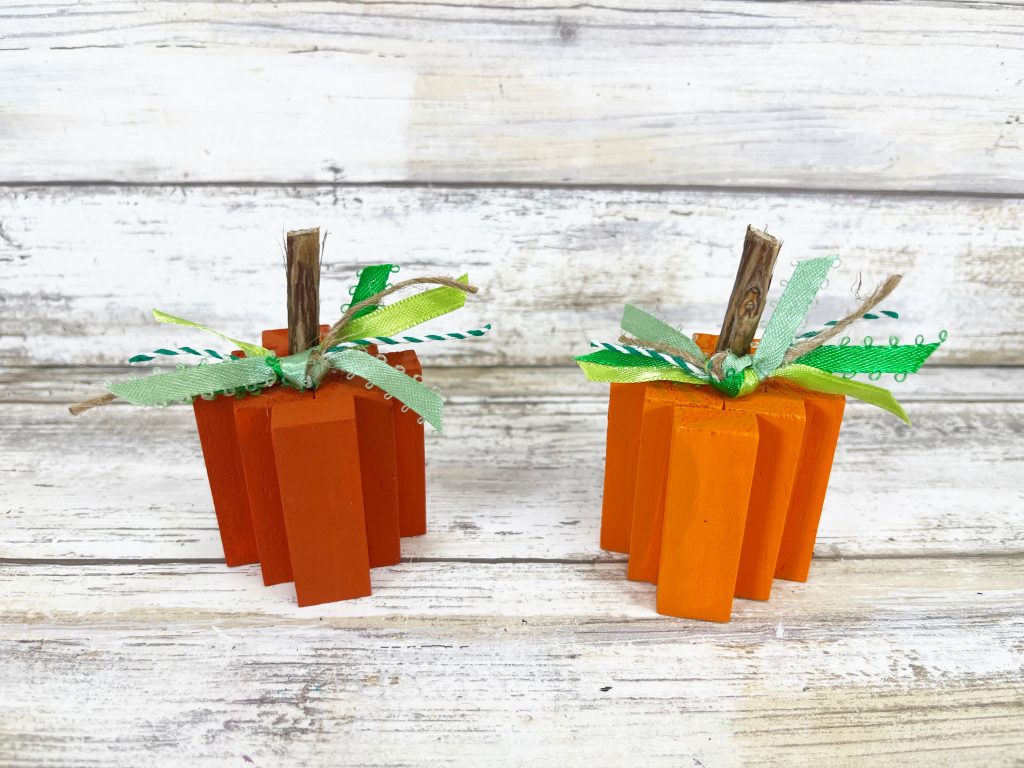
Change things up by creating a variety of colors of Tumbling Tower Pumpkins. Your family and friends will never know how quick and easy this trendy Autumn decor was to create!
Leave a Reply