.We have a bit of a Christmas tree conundrum this year. You see, there’s an extremely curious and active 15 month old in the house. There is NO way he’s going to keep away from something as bright and sparkly as a Christmas tree.
While we consider the ins and outs of baby-proofing Christmas, I still want trees to enjoy in the meantime. Enter this Quick and Easy 15 Minute Stacked Paper Christmas Tree Craft. Ready in a jiffy, it’s an adorable touch to add some festive cheer to any spot in your home.
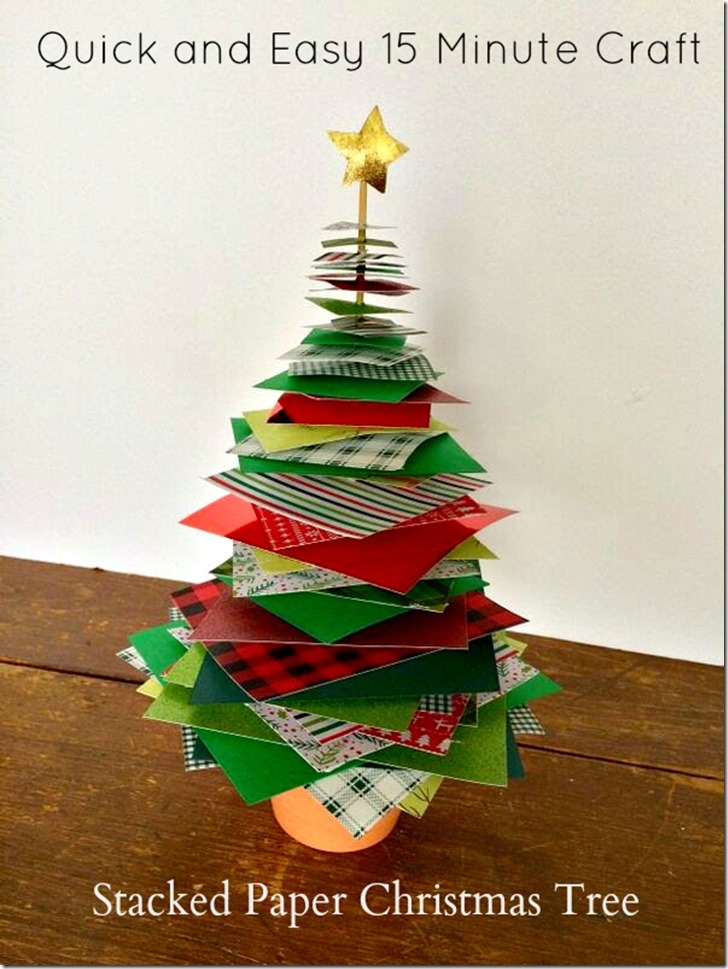
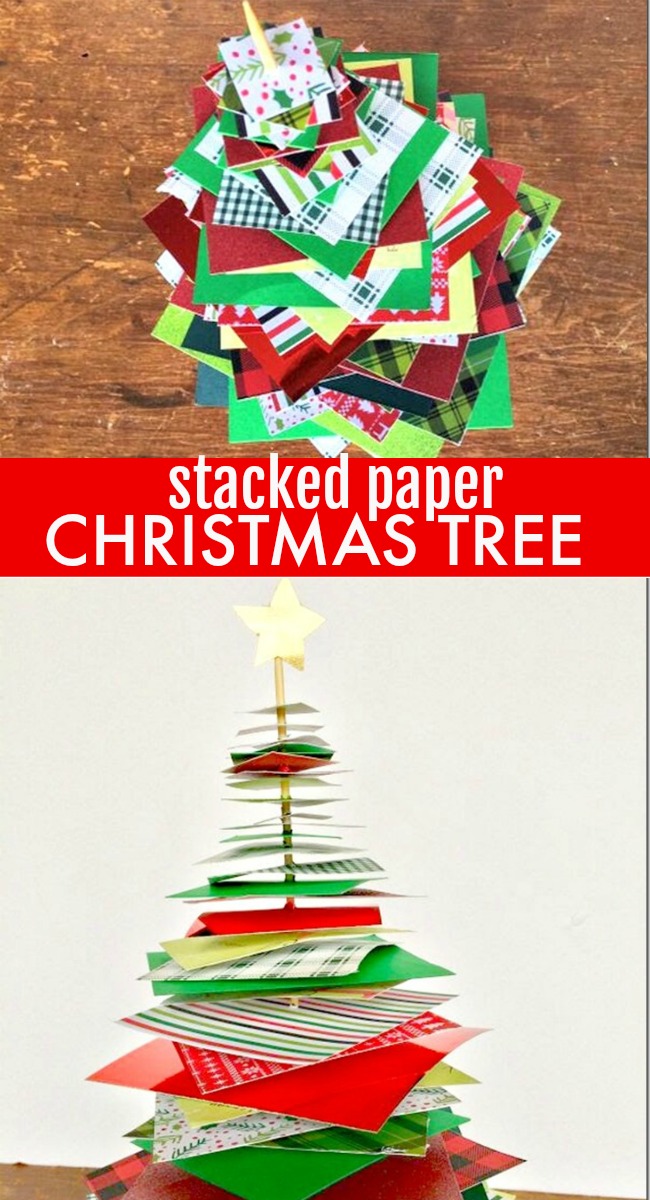
STACKED PAPER CHRISTMAS TREE
Besides being super simple to make (you can whip up an entire forest of these in an evening!), they are really inexpensive as well. Recycle wrapping paper or other paper scraps or use old Christmas cards. You can even use pieces of newspaper or pages from unwanted books for a different but still pretty effect.
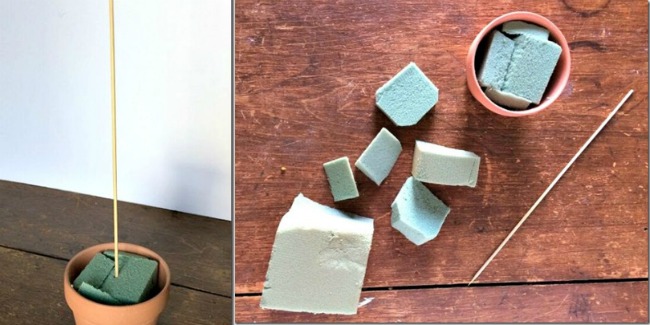
Materials needed for the Stacked Paper Christmas Tree:
- Some sort of base – I used a clay pot with some floral foam in it. Leave the clay pot plain or decorate with paint, fabric, or other materials.
- A bamboo skewer
- Tacky glue. You may find you don’t need any at all but if you need some to hold the foam or the skewer in place, this can come in handy. I didn’t use any other than for the star on the top of the tree. You can just poke a hole at the top and bottom of the star and thread it onto the skewer if you prefer.
- A paper piercing tool (or as I like to call it, my pokey stabby tool). If you’re using fairly thin paper, you may not need it. It was only for the thicker pieces that I needed to poke a hole in the center in order to thread it onto the skewer)
- Paper. The majority of the paper in this tree is from one of those small paper stacks you can buy at craft stores, or in this case, in the Target Bargain Bins. It was about 5 inches square and had 18 sheets in it and other than some scraps left over, all but 2 sheets of it were used. To add a little more variety to this particular tree, I added a few pieces cut from 12 by 12 scrapbooking paper in my paper stash as well. Other options? Sheet music, pages from old books (I’m not suggesting you rip apart your classics but often you can find partly damaged books at flea markets and second hand stores), construction paper (really economical if you’re making these with a class), or even newspaper, magazines, or flyers you’ve recycled. You may want a small scrap of much thicker paper or cardstock to use for the star on the top.
- Scissors or a paper cutter. You can get a different effect by using some of those “fancy” scissors that cut in zigzags, scallops, or other shapes.
Step by Step Instructions for the Stacked Paper Christmas Tree:
Step One:
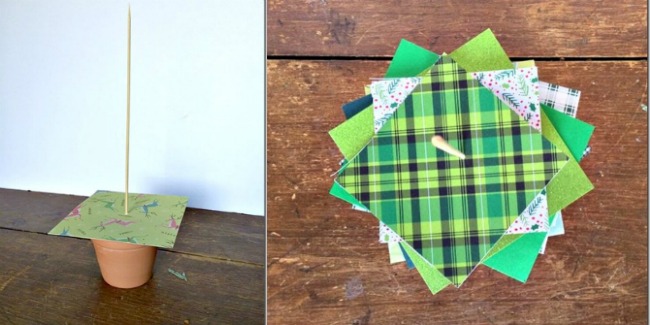
This is so easy that you almost don’t need any instructions at all AND I’ve already shared some of my hints in the materials needed list above. To get started, cut pieces of the floral foam to fit the base. If you are able to squeeze those pieces in there tightly enough, they will be secure without any glue, but feel free to add some if you feel you need it.
Step Two:
Stick the skewer into the floral foam in the center of the pot. Didn’t quite get it centered? No problem. Put a little tacky glue on the bottom of the stick before pushing it back into the foam. If the skewer feels a little wobbly, you can also add some glue to hold it more securely or even push some tiny “shards” of foam down into the hole to stabilize it.
Step Three:
You can cut all your pieces of paper into squares at once or in sections. I like doing it in sections. Depending depending on the look you want, you may find you want to adjust the sizes and numbers of the squares as you go. A good rule of thumb I found was to use about 6 pieces of paper the same size for each layer of the tree.
This will vary though according to the size of the skewer you are using, the type of paper you’re using, and your preferred look. My first layer was 6 pieces of 5 inch square paper, followed by 7 pieces of 4 inch square paper, 5 pieces of 3 inch square paper, 5 pieces of 2 inch square paper, and about 8 pieces of 1 inch square paper. In a couple of spots, I transitioned from one layer to the next with a piece or two of in between sized paper.
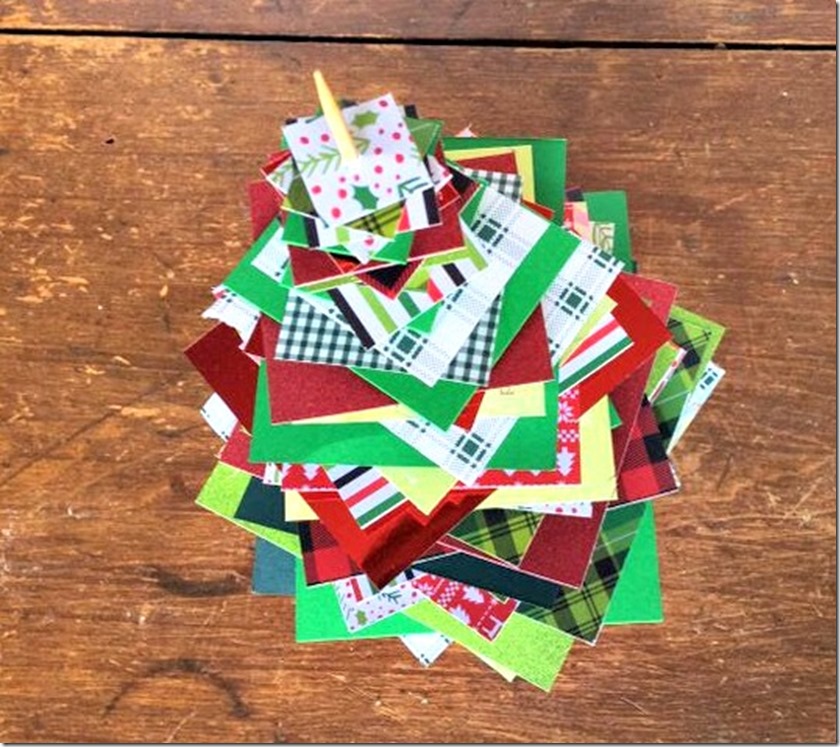
No glue is needed here – the paper will hold itself in place on the skewer quite well. I like the look of the skewer showing through between each piece of paper. If you don’t care for that, you can add a small bead before you add each subsequent sheet. When you reach the top of the tree, cut out two stars for the tree topper. Glue them together leaving a little opening. Then you can slide the star down right over the tip of the skewer.
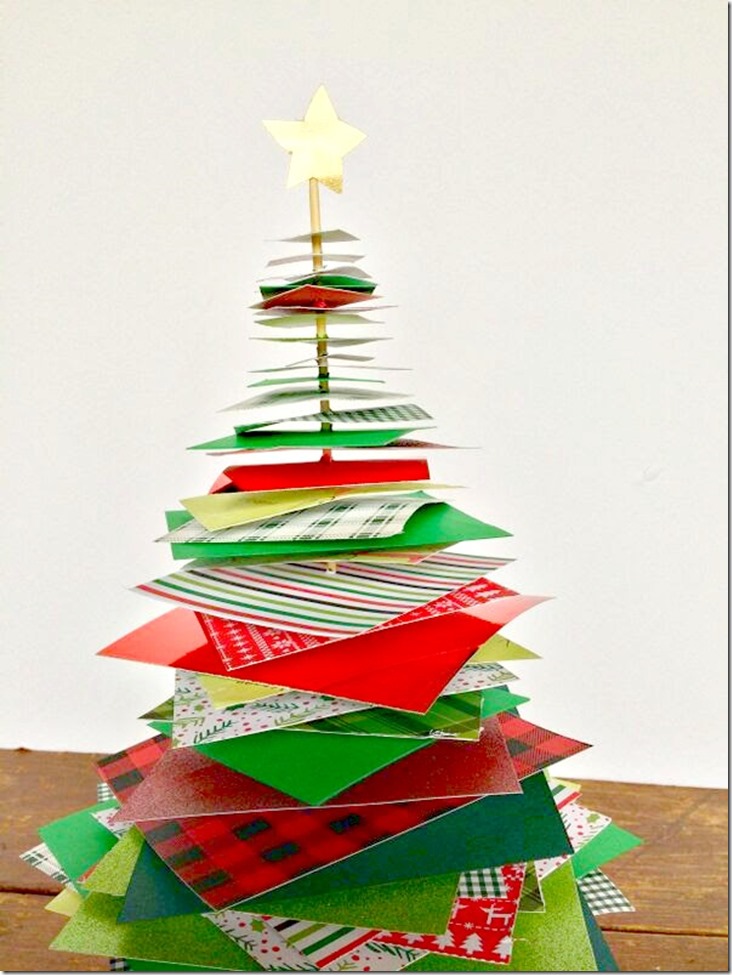
That’s it! All finished and it looks so sweet doesn’t it? You could make this Stacked Paper Christmas Tree as a family crafting activity. Why not put together a whole forest of trees to place on your mantel or on top of a bookshelf? How pretty would that be?
These yarn wrapped Christmas trees are another quick and easy holiday craft idea!
Marie InteriorFrugalista says
Your stacked paper tree is darling! Love the colors and patterns you paired together to make yours. Super cute idea.
Beverly says
Cute idea! I love the sizes you used. I made one of these once and used much small pieces and it never quite looked right. Yours is a fun addition to holiday decor.
Super Mom - No Cape! says
What a fun idea! I can see it done up using old Christmas cards as well.