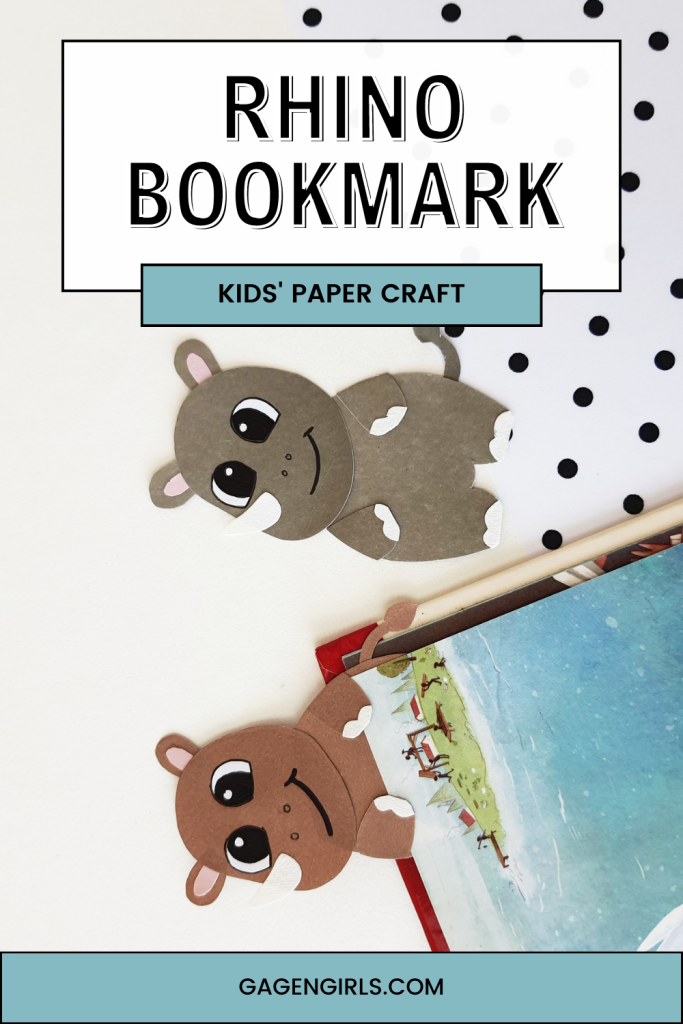
Did I ever tell you about the time I fell in love with a baby rhino? I got to go up close and pet it and well, there was just something special about it. Ever since then, I’ve been pretty smitten with rhinoceroses. So, naturally, I just had to share this paper rhinoceros bookmark with you.
It’s a super cute kids’ craft that is quick, easy, and inexpensive to make. Your little animal fans will just love this paper craft project.

Paper Rhinoceros Bookmark
For today’s summer fun Friday, check out the rhino cam at this wild rhino animal sanctuary. Nat Geo Kids also has some interesting facts about rhinoceroses. I’ve also got a FREE printable rhinoceros activity book for you with coloring sheets, dot to dots, and so on in it. And then of course, your kids can make these adorable rhino bookmarks.
Disclosure: Some of the links in the post below are affiliate links provided for your convenience. This means that if you purchase something through one of these links, I get a small commission at no added cost to you.
List of Supplies Needed:
- Colored cardstock paper or thick craft papers
- Pencil – to trace the template
- A pair of scissors
- Craft glue
- Sharpies
- Template

Instructions:

Step 1:
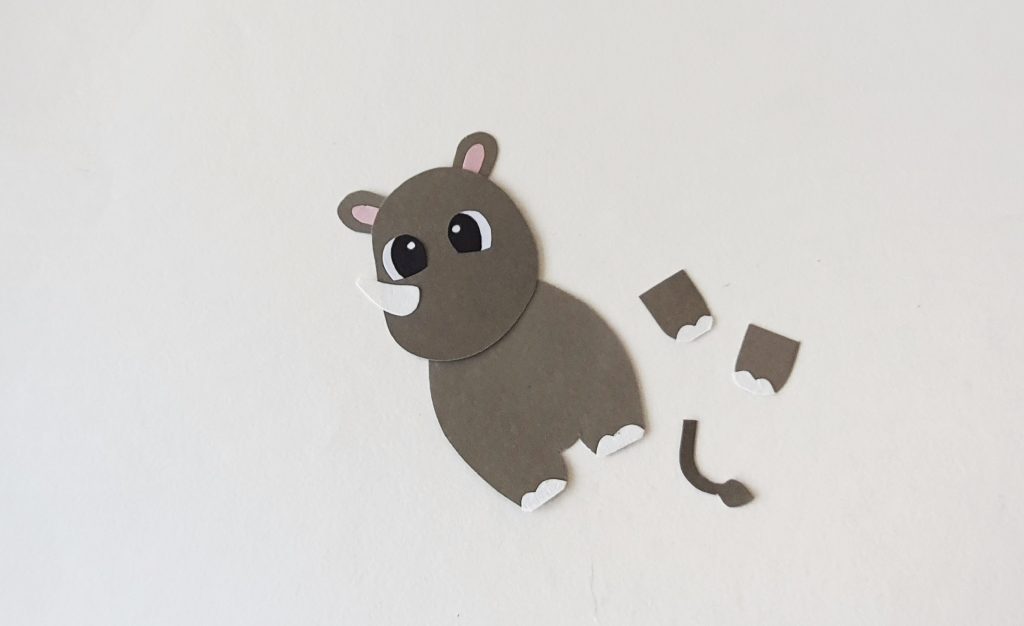
Select grey, white and pink colored craft papers for the rhino bookmarks. Trace the head, lower body, ears, upper legs and the tail patterns on the grey paper (or any colored paper of your choice). Next, trace the inner ear parts on pink paper and the rest of the patterns (horn and nails) on the white paper. Finally, trace the template patterns on the selected craft papers and cut them out nicely.

Step 2:
Attach the nail cutouts on the open ends of the leg cutouts and the legs of the lower body cutout.

Step 3:
Attach the inner ear cutouts on the main ear cutouts.

Step 4:
Attach the ear patterns on the top side of the head cutout. Attach the eyes and the horn cutouts on the head cutout as well.

Step 5:
Attach the head pattern on the top side of the lower body cutout.

Step 6:
Apply glue along any one side (left or right) of the lower body pattern (slightly below the head part). Attach the upper leg cutouts on the glued part, with the nails facing inwards.

Step 7:
Similarly, attach the other upper leg on the opposite side of the previously attached upper leg. Attach the tail cutout on either side of the lower body.

Step 8:
Use a sharpie to draw the nose and mouth of the papercraft rhino.
You can use this rhino bookmark by sliding a page between the upper legs and the lower body.
Leave a Reply