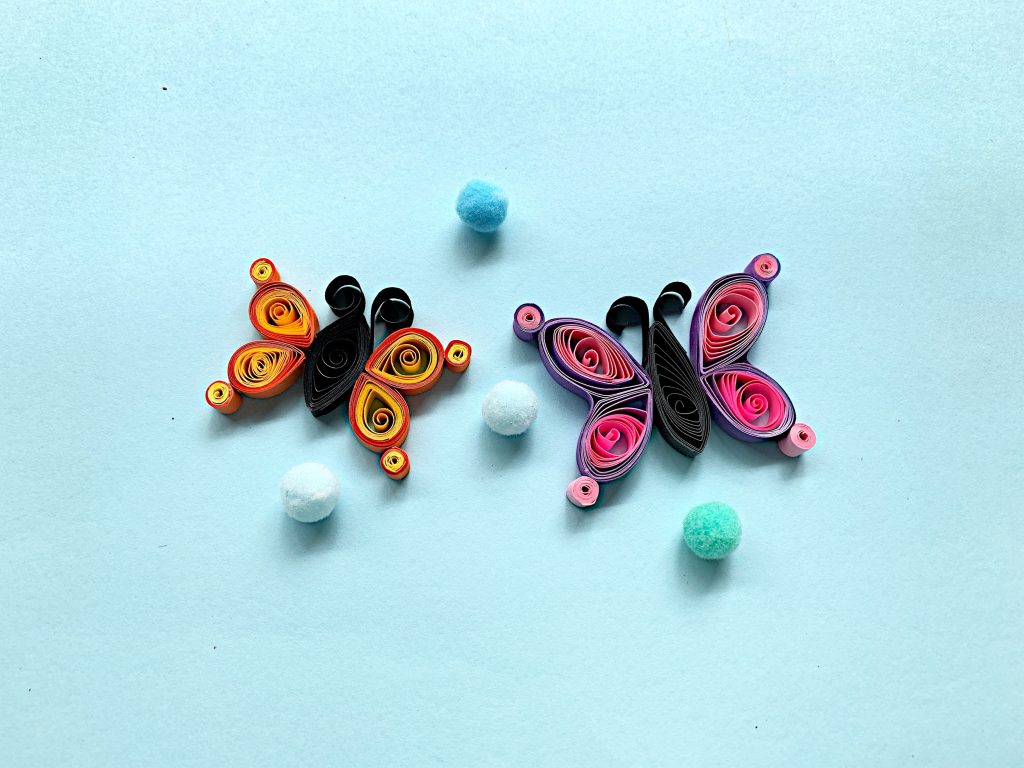
Have you ever tried paper quilling? This paper quilled butterfly is a great beginner project. Easy and inexpensive to make, this is a great craft for older kids, teens, and adults.
You can find most of the supplies you need online, although some craft stores do carry a limited selection of paper crafting materials. I’ve got some tips for you below too on how you can use substitute products for some of the supplies to save money.

Paper Quilled Butterfly
I have a paper quilling 101 post with more tips and the basics of making shapes for paper quilling that you may want to check out here: Basic Paper Quilling Techniques
Supplies needed:

About quilling materials:
- When gluing, I like to use the tiniest amount of glue possible. It doesn’t take much. I also like to use clear glue to prevent it from showing, but you can use white glue instead. Choose a tacky glue and just be sure to use a tiny amount and you shouldn’t have a problem.
- If you don’t want to use the precision tip glue bottles as I show below, I recommend a toothpick as your glue applicator.
- Some people have tried cutting their own quilling paper. I have not been successful with getting even cuts no matter what I used (I even used a paper shredder!). For the price of it, I prefer to just buy it but you can certainly try experimenting with cutting your own.
- If you don’t want to buy a quilling board, you can use one coil as a sizing template for the others. I’ve also found items around my house at times that worked too – large washers, small curtain rings, and so on.
- There are different types of quilling tools available. You can get a slotted tool or one that basically looks like an awl. I prefer the slotted tool as I find it easier to work with, especially with arthritis in my hands. However, you don’t want to insert the paper too far into the slot or you will end up and a little bent piece in the middle of your coil. Some quilling tools are battery or crank-handle operated making it even easier to use them even with conditions that may affect your hand mobility.
- Want to make your own quilling tool? This is what I did when teaching paper quilling to large groups like Girl Scouts or when working with seniors. This method works well for beginners and it gives you a thicker “handle” so it’s more ergonomically friendly for those of us with hand issues. Simply grab a wine cork (if you don’t have any, you can find some at many dollar stores). Next, you need a large-eyed needle (like embroidery needles).
- Tweezers can be handy when placing the shapes together but are not necessary.

Disclosure: Some of the links in the post below are affiliate links provided for your convenience. This means that if you purchase something through one of these links, I get a small commission at no added cost to you.
The materials you will need for this project:
- Quilling Papers – whatever colors you’d like to use but to get the effect pictured, you need at least two colors for the wings and then black for the body and antennae.
- Quilling Tool
- Glue
- Cardstock Paper
- Scissors
- Pencil
- Ruler

Instructions:

1 – You need strips of quilling paper that are about 10 inches long in total. So, if needed, grab a couple of pieces (each 5 inches long), slightly overlap them, and glue them together. You want to use one of each color that you chose for the wings for this.
Pro Tip: I actually prefer tearing the paper instead of cutting it. The fibers then bond together much better when you glue them. It’s your choice!

2 – Use a quilling tool to roll it into a coil. You want to make it tightly coiled and then let it loosen slightly. If you use a quilling board, you can place the coil into the circle which will allow it to loosen a bit. Glue to secure.
Pro Tip: A quilling board is a great way to make sure your coils are a consistent size.

3 – Pinch one side of the coil to create a teardrop shape.
Pro Tip: I like to press them right where at the spot where the glue is. This tends to make the coils more secure and helps hide the seams.

4 – Make 3 more coils, 2 slightly smaller than the other two.

5 – Then make a tight black coil with a black quilling strip. (7-inch long strip).

6 – Now press both sides of the coil to make a marquis shape.

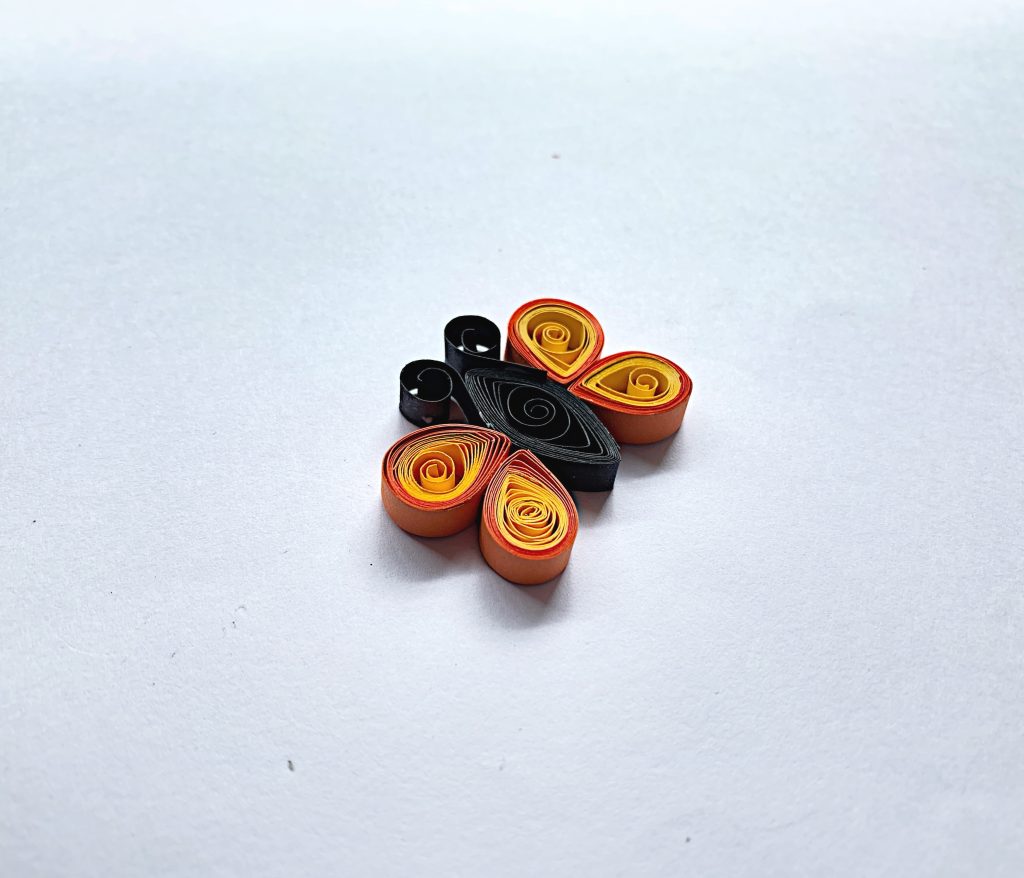
7 – Now take a small teardrop shape and a large teardrop shape, and glue them together (glue both pointed ends together as shown above).

8 – Then, glue those teardrop shapes onto the left side of the marquis shape.

9 – Repeat with the other side of the butterfly.

10 – Now take 2 small black strips and use a quilling tool to roll just the tip of the strips.

11 – Then glue them both on two sides of the black marquis shape at the top.

12 – Optional: Make some small coils with the two colors of strips used for the wings. Glue them on the ends of all four wings of the butterfly.

Leave a Reply