Paper quilling, sometimes known as paper filigree, is a very old but sometimes not terribly well-known craft. It had a resurgence in mainstream popularity back in the 1970s and that’s when I first learned to do it.
I’ve been making paper quilling projects ever since then. They make lovely and unique gifts!
Disclosure: Some of the links in the post below are affiliate links provided for your convenience. This means that if you purchase something through one of these links, I get a small commission at no added cost to you.
Basic Paper Quilling Techniques
Examples of it are seen from back in Renaissance times when cloistered nuns would decorate sacred items with it. It was also seen in Colonial times when it was often used to enhance every day items like sconces, trays, tea caddies, and more.
The name “quilling” is said to come from the Native American and European colonists practice of using a porcupine quill as a tool. Young ladies’ schools in the 18th and 19th century advertised quilling as one of their classes.
Today, quilling techniques have evolved into including such things as husking, fringing, and almost sculpting the paper rather than simply coiling it.
Some of the new die-cutting machines even cut strips of quilling paper out to make some of the more elaborate quilled shapes.
To begin, some basic supplies that I suggest having for your paper quilling are:

Quilling paper strips:
Note: you can cut your own. Some people use a paper shredder but you need to ensure that it cuts straight strips the width you desire. You can also cut by hand or by using a paper cutter.
I most often use ones I consider a basic width – 1/8” wide and they were 12” long. Quilling paper comes in various thicknesses as well.
I used a paper that is a high-quality acid-free lignin-free paper today. It’s a bit thicker than some of the standard quilling paper that you can buy.
The other type I use is less expensive but I’m not sure if it’s archival and it’s thinner. It is more the thickness of photocopy or printer paper.
The one advantage to the latter is that it doesn’t get creases in it as easily as the thicker paper. You can use construction paper, thicker magazine pages, scrapbooking paper, origami paper, and so on as well.
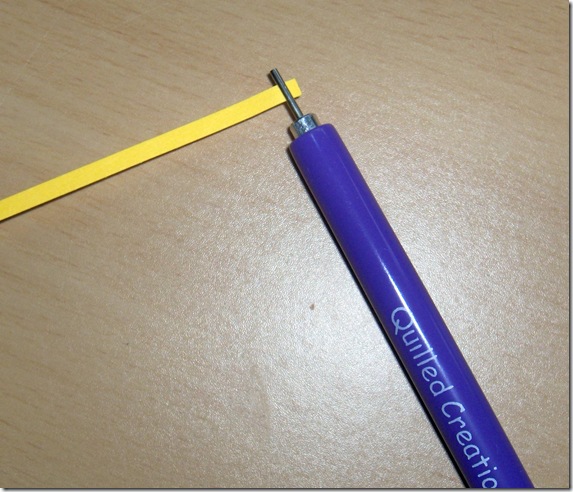
A slotted quilling tool:
These come in a variety of handles but basically the tip is a little metal piece that has a slit in it for you to place your quilling paper in. You then twirl the tool around in your fingers to coil up the paper around the tip.
You can also use things like hat pins or toothpicks. I find them trickier because the end of the paper wants to slip off. With the slotted tool, the slit holds the end in place for you.

A circle design board:
Again, this isn’t absolutely necessary but there are advantages to having one.
The circles on it allow you to place your coils into the desired size circle, glue the end to the coil, and have the circles on the board hold your coil in place until the glue is dry.
The other advantage is that by using the circles on the board, you can ensure that each coil you make is of a uniform size – important if trying to make each petal of a flower the same size for example.
Little scissors:
Handy for fringing and for trimming where necessary. They make fringing tools as well but you may want to wait until you’re sure you’re really interested in quilling as they can be somewhat costly.
Tweezers:
Handy for picking up each of the shaped pieces you’ve made and placing them into your design. I find I can feel kind of “all thumbs” without my tweezers if I’m doing an involved design.
Glue and a toothpick:
For gluing the basic coils (i.e. securing the loose end to the rest of the coil to hold it in place) I find that Aleene’s Tacky Glue Stick works very well. I’ve not had any luck with any other glue stick for paper quilling.
For assembling your shaped pieces into a design, I prefer to use a liquid glue – my favourite for this is Aleene’s Quick Dry Tacky Glue.
I pour a little puddle (you don’t need much because it takes just the tiniest bit for each quilled piece) onto a piece of waxed paper and use the toothpick to apply the glue.
I find I can control the amount of glue much better this way as you want to use the tiniest amount possible so it doesn’t glob through and show.
A ruler:
For the bigger shapes you can see above, I used the full 12 inch lengths of paper. To make the smaller ones, you use different lengths of paper. The smaller the length, the smaller your shape will be.
For example, when I made a flower using 12” lengths of paper for each petal, my flower ended up being about 2 1/2 inches in diameter. When my pieces for each petal were 5” each, my finished flower was about 1 1/4 inches in diameter.
When I used pieces that were 3” in length for each petal, my flower was about 3/4” in size. You will get the hang of how long a piece to use for your desired results as you practice but if using a pattern, they always specify the lengths you need.
Wax paper:
I like to place wax paper over the design that I’m creating. It’s clear so you can still easily see the design but then you can place and glue your shapes right on top of the design without ruining your book or design sheet.
When you’ve finished, the design peels right off the wax paper – no stuck glue problems there!
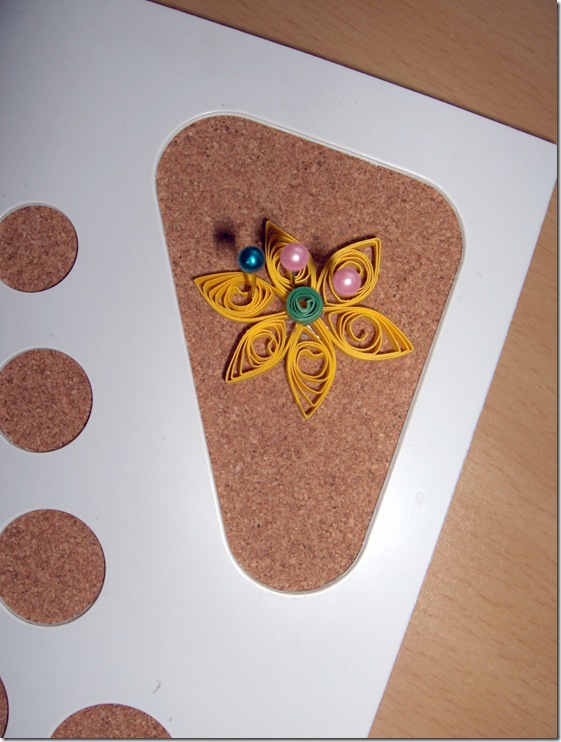
Straight pins:
I like to use straight pins to secure each individual piece to the next when making a design so that they will hold together properly as they dry.
Hat pins will also work. Some people also use hat pins for shaping some quilled shapes.

Instructions:
How to make a basic quill:
Simply place your strip of paper into the slit on the the quilling tool, extending it only slightly and then twirling the tool in your one hand while using the other to guide the paper to form into a coil.
Depending on what you are making and your desired outcome, you can form this into a tight or loose coil. Put a dab of glue (this is where I like using the glue stick) when you reach the end of your piece of paper to hold the end securely against the rest of the coil.
This is when I place it in my circle design board to ensure that it’s the proper size and that it holds in place while the glue dries.

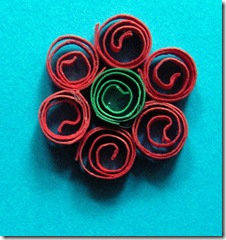
Making a Round Flower
You can leave these coils in the round shapes that they’re in and glue them into a circle with another circle in the center to form one type of flower shape.
Making a Teardrop Flower


To form a different flower, you want to use coils that are somewhat loosely formed. Pinch one side of the circle (the coil) and you will form a teardrop shape.
I like to pinch right where the end has been glued because I find (especially if I’m trying to rush my creation a bit) that the pressure helps to secure the glue even further and it helps to hide that end in the final design.
Again, if you place some of those teardrops into a circle (you can put a tight coil in the middle as your flower center if you wish), you will form a flower.
Making a Marquise Flower


For another variation, start with a coil that you have made into a teardrop. Now you want to pinch it again directly across from where you made the first pinch to form what’s known as a marquise shape.
Some people refer to it as an eye shape or an oval (but it’s really a pointy oval!). Once more you can put a circle of those marquise shapes together to create a third flower design.

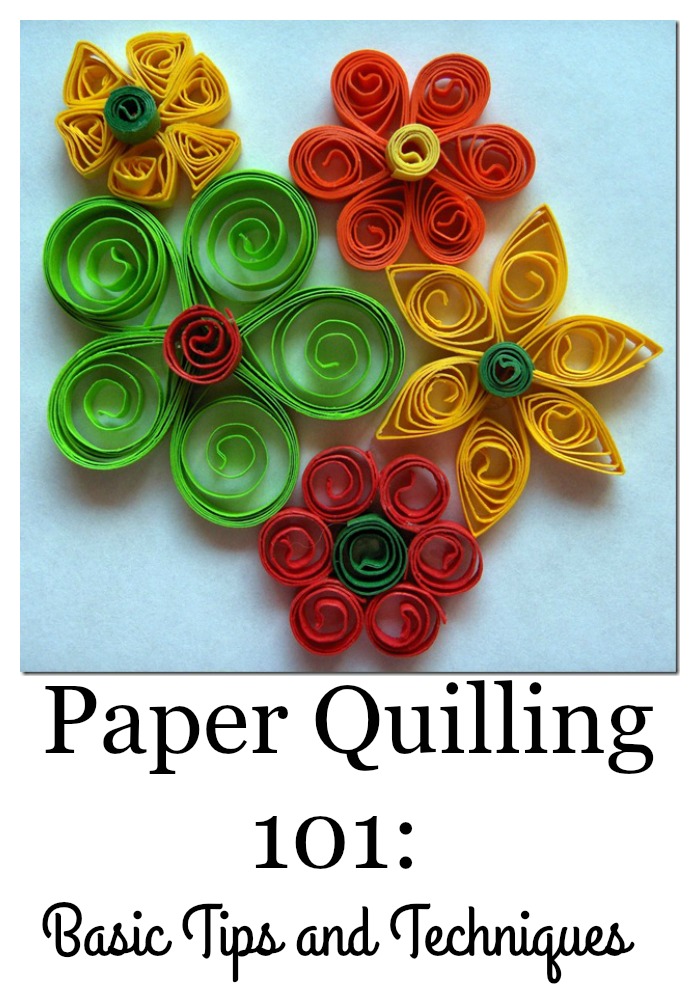
To demonstrate what a pretty picture you could create with just a few simple shapes, the picture above shows flowers I made from today’s demo. All of them use only the 3 simple shapes I am showing you today.
There are many many more variations of shapes that can be made with paper quilling techniques but I find that the basis of most patterns are the coil, the teardrop, and the marquise.

The cross above is also made from only the shapes I’ve shown you today.
These simple techniques I’ve shown here today can be formed not only into flowers but also many other designs as well. The possibilities are endless.
Once you get the hang of the basic shapes, you may want to buy some colouring books. I use the outlines in these as designs for quilling. Then I simply “fill in” the outlines with a variety of quilled shapes.

This heart shaped necklace is made of 2 teardrops and a tight coil.
You can use quilling as a picture in itself (I generally place it in a shadowbox frame – follow this link and you can see a quilled butterfly I made for my grand niece) but it can also be used to make and adorn many other things.
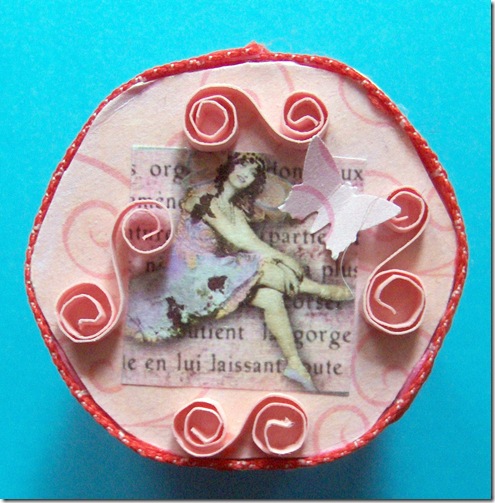
I’ve glued it to candles, vases, boxes, greeting cards, scrapbook pages, Christmas ornaments, water bottle bracelets, and made it into jewelry among other things.
If you have any questions about paper quilling, be sure to leave a comment here or email me at [email protected]. I love sharing my passion for it with others!
Dianne says
These are beautiful! I love tiny, crafty things and these are also paper, so that’s a bonus too! I know I have that paper around somewhere. Just need the tool. Thanks for the very thorough demonstration.
Valentina says
Wonderful quilling! Thanks for the explanation.
kuri says
plz tell me name of this paper?
Linda says
I quilled snowflakes for the Christmas tree 32 years ago…and they still hang on my tree every year. I have made many of them for Christmas gifts, or wedding shower gifts and everyone loves them. So beautiful! And great for people on tight budgets who want to give handcrafted gifts that the recipients will really love!
Anne-Marie says
I only started quilling this year, I’ve never been into crafting of any sort but I like quilling.
Thanks for explaining how to to do it and what I need to get to go further into the craft,
Going now to try different size flowers. Thanks again.
Daphne Baker says
When I first tried quilling, I didn’t want to spend money on something I wasn’t sure I would like. My husband took a large darning needle and cut the end off (where you thread it) then he stuck the pointed end in a cork with a drop of glue. It worked so well that I never did replace it with a store bought one!
jennifer says
I do quilling, only i’ll use magazine pages that i have folded until i have about 3/4inch wide strip, this way i’m recycling and making something pretty. I have containers where i sort the similar color coils, so they are there when i want tocreate
Cheryl Nelson says
I enjoyed your informative blog on this site. I am rather new to quilling at this time but really am loving it. Your info was great. Thanks for sharing!
Cyn Gagen says
Thanks so much! Please let me know if you have any questions. I’m happy to help.
Christy says
You don’t explain how to glue the finished shapes to the paper.
Cyn Gagen says
You just glue them. I first glue the pieces together in sections. For example, if I’m making a flower with leaves, I glue the flower together. Then add it to my paper or other background. Then, I’ll add on the leaves there. The flower kind of forms a foundation for the rest of the picture. Use white glue – tacky glue that dries faster is helpful – and I like to use a toothpick so I can apply a thin layer of just what I need and not too much. Hope this helps. Let me know how it turns out!
Loretta J Custer says
Very good explanations, clear and simple, i love that! Thank you for that!