You are going to love learning how quick and easy it is to make these Paper Quilled Halloween Black Bat Earrings. They take 15 minutes or less and are really inexpensive to make.
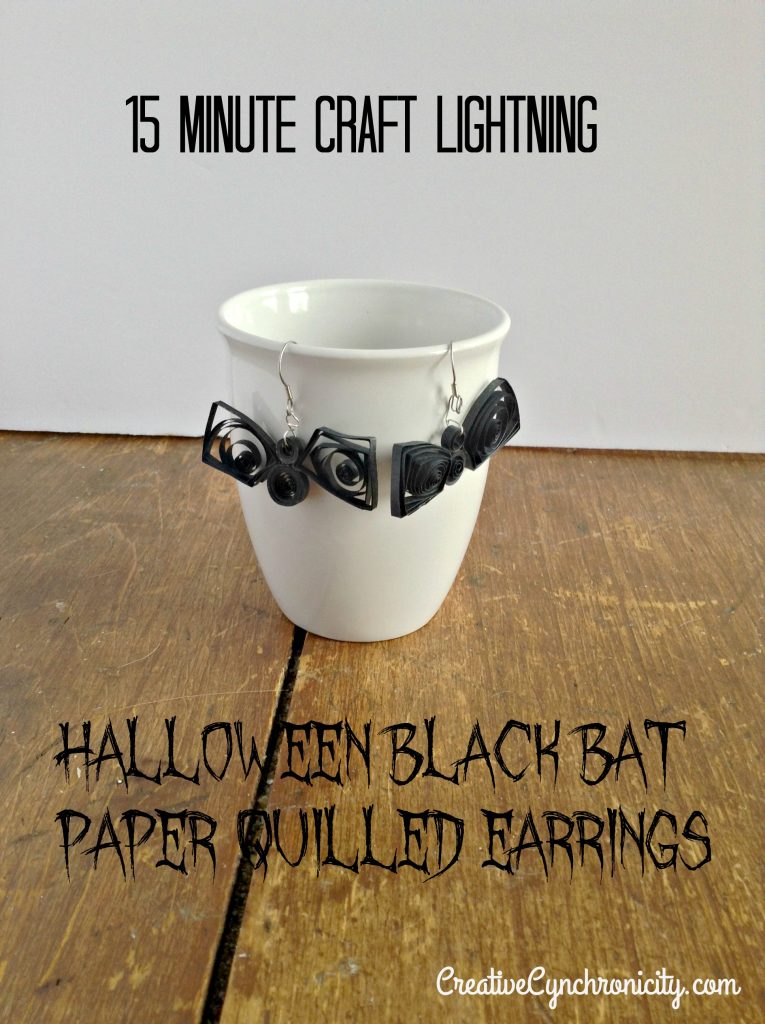
Paper Quilled Halloween Black Bat Earrings
Halloween is nearly here and we are celebrating with another quick and easy craft project. I decided it was just about time that I share some more paper quilling projects here. These earrings are a great beginner quilling project.
Supplies Needed:
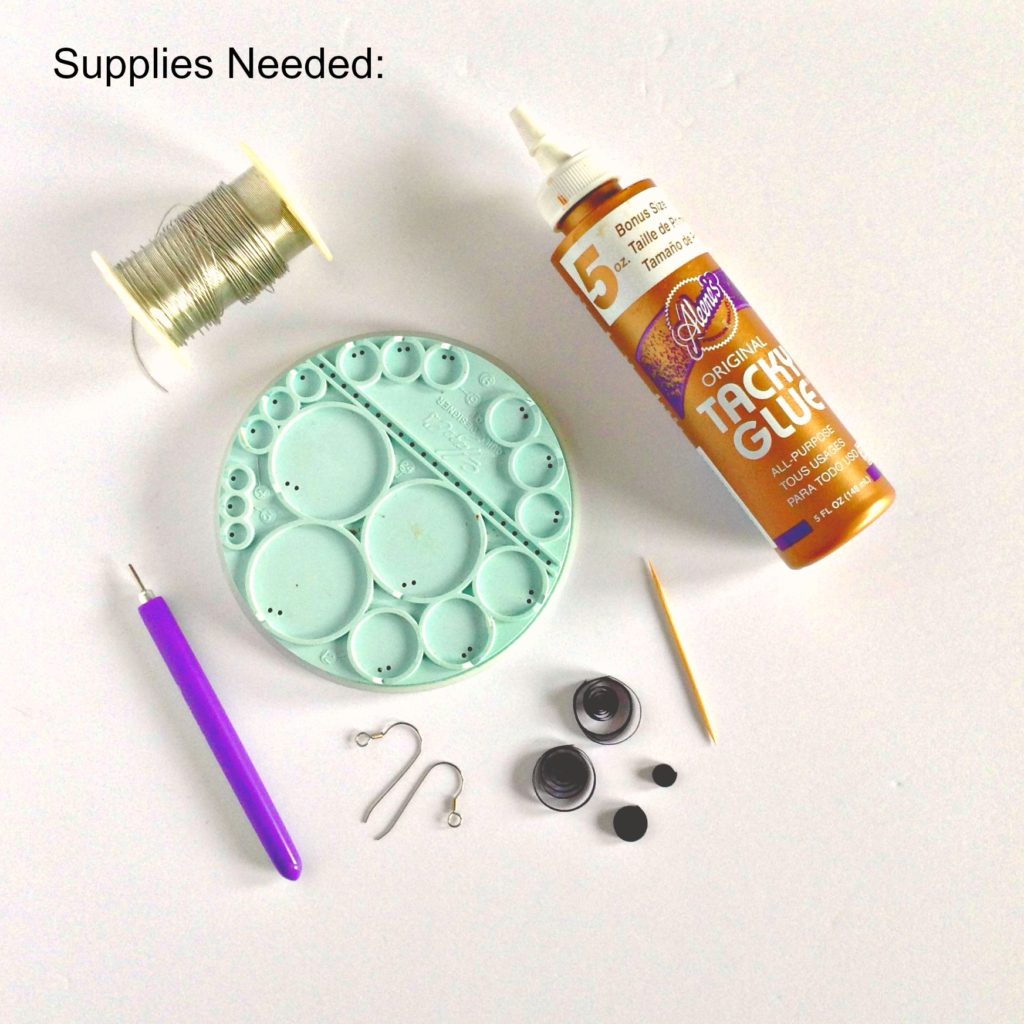
- Quilling paper – Some craft stores carry this but it can be a bit hard to find. You can easily order it online. You need 3 strips of black paper.
- A quilling tool
- A toothpick – this is the best way to apply the glue
- Tacky glue
- A ruler – for measuring the strip lengths that you need. After some experience, you’ll be able to eyeball this.
- Two earring wires
- Two jump rings – I didn’t have any on hand so I made my own with some wire.
- Small needle-nosed pliers -for attaching the earring wires and jump rings
- Quilling form (optional) – you can see this in the photo above. The one pictured was my very first one given to me as a child back in the 70s so the ones you find will look a bit different. It is not absolutely necessary as you can simply form the coils and size them without it but you may find it handy when you start doing larger, more elaborate projects.
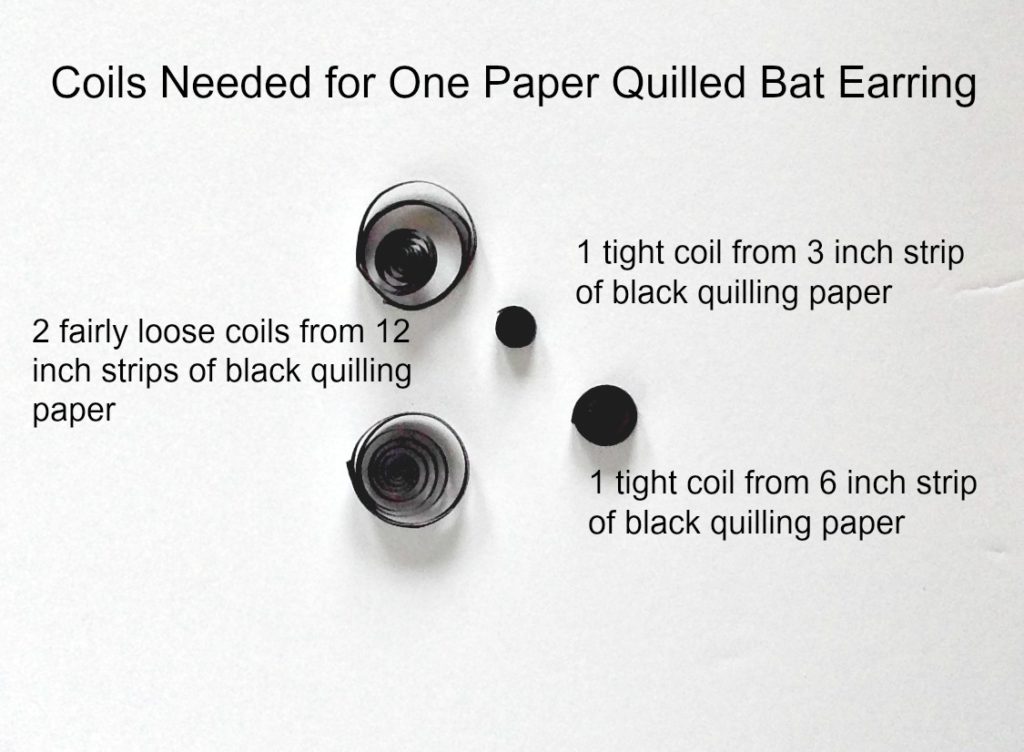
Coils Needed for One Earring:
Prepping Your Paper Strips
So, the first thing you need to do is tear your paper strips to the appropriate lengths as shown above. That’s right, I said tear.
Tearing helps the paper bond better when glued so it is preferable to cutting. Once you have cut those strips, use your tool to form coils.
Making and Gluing the Coils
Start the coil on the cut edge (if you have one), leaving the torn edge for gluing. The little fibers on the cut edge will blend in and bond better than a cut edge.
Apply a tiny bit of glue (and I do mean tiny – it really doesn’t take much) to the end of the strip (the torn part) to secure the coil. I like to let them dry a bit (mere minutes) before assembling the bat shapes.
Want more of a paper quilling tutorial? Check out a previous post of mine here.
Forming the Shapes
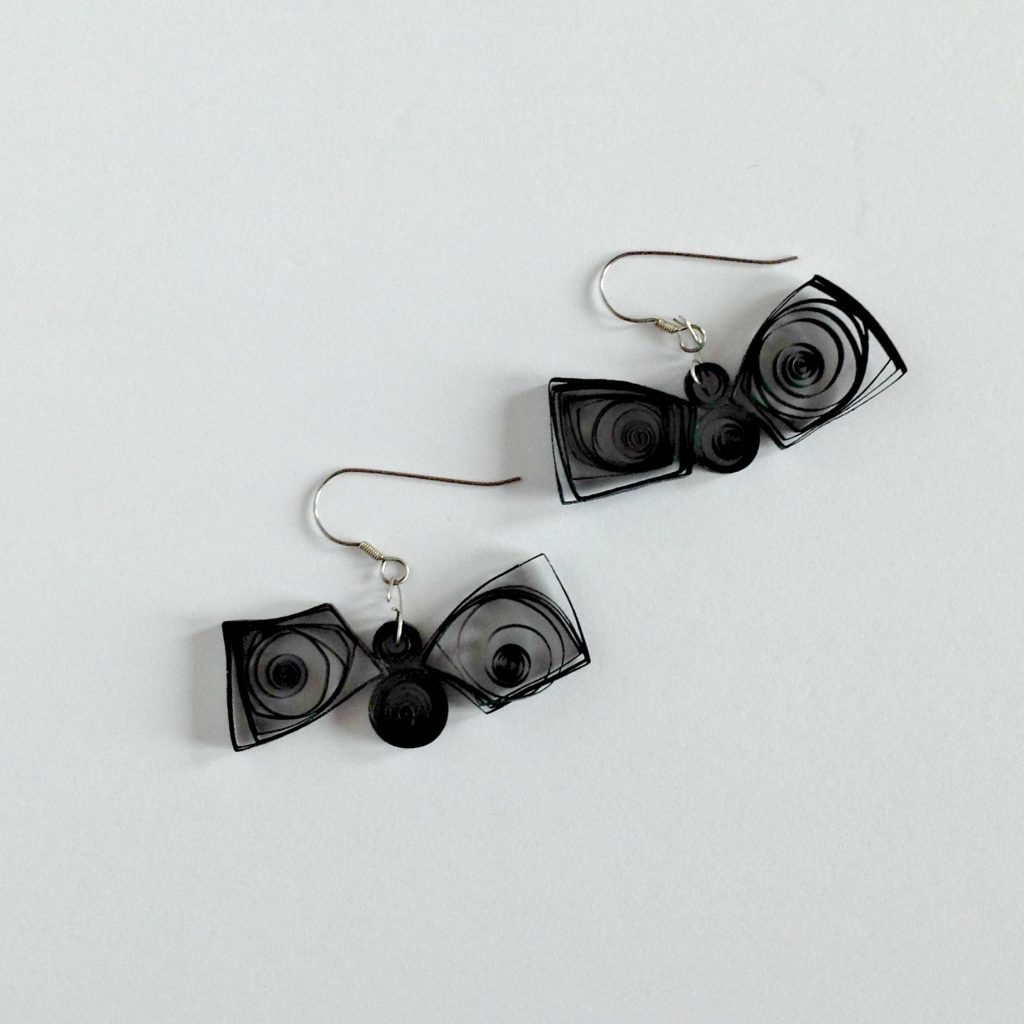
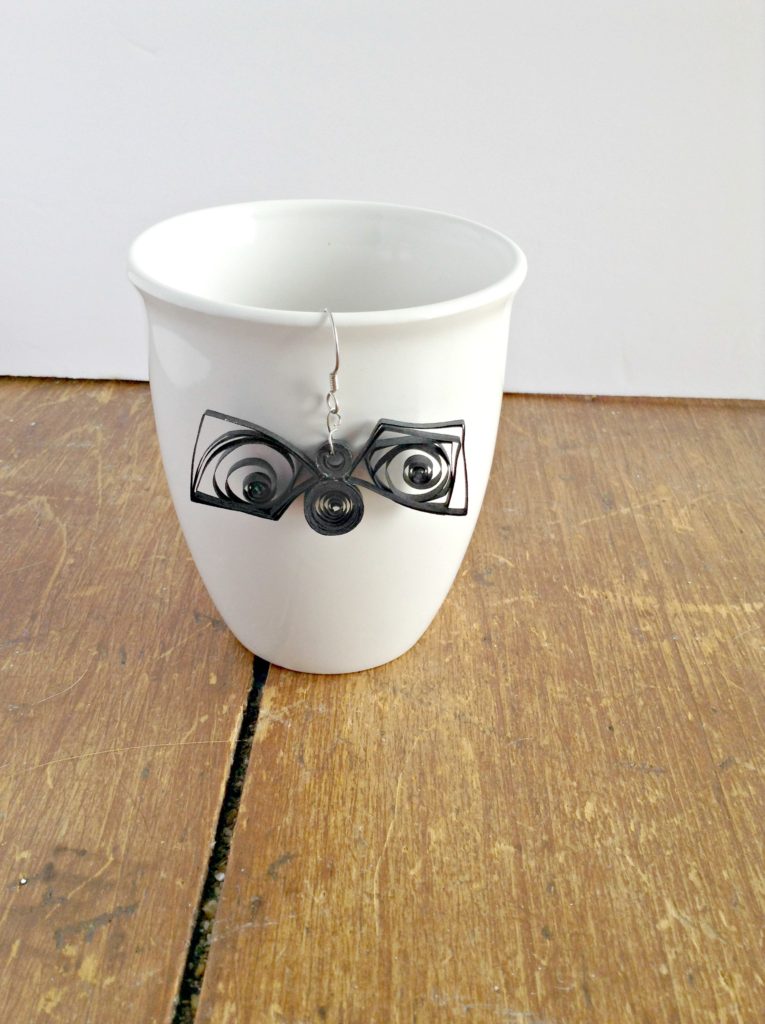
The two small coils stay as is but you need to do a bit of shaping to the larger ones. Using your index finger and thumb, pinch in 4 places on each coil to form a squarish type shape.
It doesn’t have to be perfect and in fact, it looks better when it is imperfect. Glue together using the photo above as a guide. Let dry.
Finishing Off the Earrings
Attach the paper bats to the earrings using the jump rings and you’re finished! Aren’t they adorable? Perfect for adding a touch of Halloween to any outfit.
These Paper Quilled Halloween Black Bat Earrings are quick (under 15 minutes minus a bit of drying time) and easy to make – it’s the perfect simple project for a beginner!
You can find more of my paper quilling posts at the links below:
Spring Floral Paper Quilling Design
[…] is getting started with an adorable pair of black bat earrings. Don’t let the paper quilling intimidate you. These earrings are super quick and easy to create! […]