• Nav Social Menu

    • Amazon
    • Bluesky
    • Etsy
    • Facebook
    • Instagram
    • Pinterest
    • Threads
    • YouTube

Creative Cynchronicity

  • Home
  • CELEBRATE
    • 4th of July
    • Advent
    • April Fool’s Day
    • Autumn
    • Back to School
    • Canada Day
    • Christmas
    • Cinco de Mayo
    • Dr. Seuss’ Birthday
    • Earth Day
    • Easter
    • Family Day
    • Father’s Day
    • Football Friday
    • Halloween
      • Candy Corn
    • Shark Week
    • Spring
    • St. Patrick’s Day
    • Star Wars Day
      • Star Wars
    • Summer
    • Valentine’s Day
    • Veterans Day
    • Victoria Day
  • COOK
    • 30 Minute Meals
    • Appetizers
    • Apples
    • Barbecue
    • Beef
    • Beverages
    • Breads
    • Breakfast ideas
    • brown bag lunch
    • Burgers
    • Canadian recipes
    • Canning
    • Casseroles
    • Charcuterie Boards/Party Trays
    • Cheese
    • Chicken
    • Cookies
    • Cranberries
    • Desserts
    • Egg recipes
    • Fish and Seafood
    • Food on a Stick
    • Menu Plans
    • Side dishes
    • Slow Cooker
    • Snacks
    • Soups and stews
    • Turkey
  • CREATE
    • Artist Trading Cards (ATCs)
    • DIY Gifts
    • duct tape
    • Fabric Art
    • paper art
    • Teacher Gifts
    • Teen Crafts
  • SHOP
  • ABOUT CYN & CREATIVE CYNCHRONICITY
  • Get in Touch!
You are here: Home / CREATE / paper art / Origami Pumpkin Basket

October 23, 2023 By Cyn Gagen 1 Comment

Origami Pumpkin Basket

Filed Under: paper art, Autumn, CELEBRATE, CREATE

How cute is this origami pumpkin basket? You only need a few supplies to make this and can use it for small candies and other items.

There are quite a few steps to this tutorial but don’t worry! It’s much easier to make than you might think and the steps break it down into a super simple tutorial.

You can find lots more pumpkin crafts here!
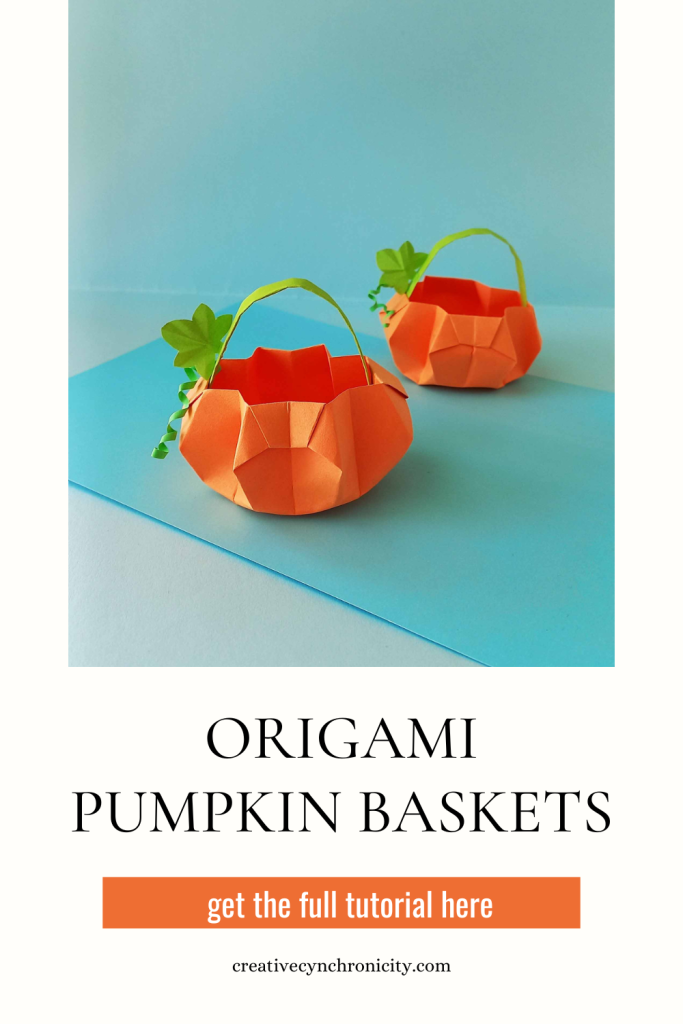
Origami Pumpkin Basket

Subscribe to our email list!

* indicates required

Origami Pumpkin Basket

List of Supplies

  • Colored craft papers/ origami paper
  • A pair of scissors
  • Craft glue

Instructions:

Step 1:

Select a piece of square paper for the pumpkin basket part and a green colored strip for the origami pumpkin basket handle.

Step 2:

Take the square paper and fold it in half diagonally on both sides. Unfold the diagonal folds.

Step 3:

Turn the paper to the other side and make half horizontal and vertical folds. Unfold again. 

Step 4:

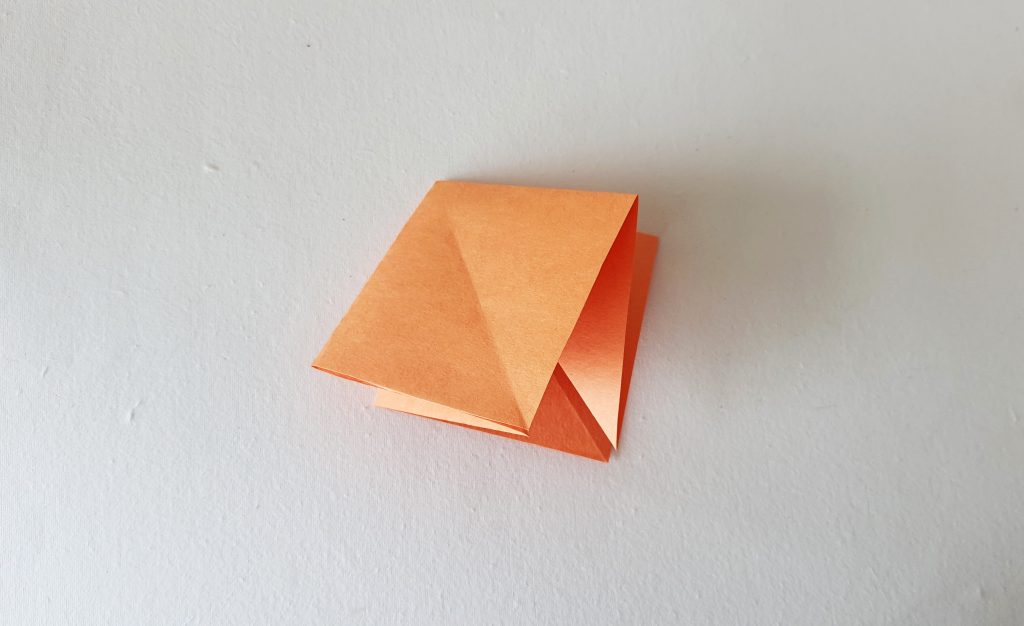
Fold out the horizontal and vertical creases and fold it the diagonal creases.
Step 5:

Flatten the origami pattern with the horizontal and vertical creases faced outwards.

Step 6:

Let’s work on the 4 flaps now. Hold any one of the closed sides and align it with the middle crease of the current pattern.

Step 7:

Unfold the last fold.

Step 8:

Open that particular flap through its open side.

Step 9:

Fold the flap along the previous creases and flatten it with the main pattern.

Step 10:

Move to the next flap by turning the current-folded flap to the right or left side.

Step 11:

One by one fold all 4 flaps.

Step 12:

Rotate the current pattern with the narrow side facing down. Turn or fold-out any one of the flaps. Or simply, turn the right flap to the left.

Step 13:

Hold any one of the top-diagonal sides and align it with the middle crease of the current pattern.

Step 14:

Similarly, fold the other top-diagonal side.

Step 15:

Notice the narrow middle part. Fold it all the down and align it with the open edge of that side.

Step 16:

Fold in the extra part of the last fold inside the pocket.

Step 17:

One by one turn all of the 4 sides and fold them similarly.

Step 18:

Fold the narrow part of the current pattern in half and then unfold again.

Step 19:

Carefully open the current origami pattern through the open end.

Step 20:

If necessary, apply glue on the open-end folds so that they are secured nicely.

Step 21:

Open up the whole origami pattern neatly to give it a pumpkin-like look. Fold the green strip 3times to make the basket handle.  

Step 22:

Attach the green handle with the origami pumpkin basket on the top side.

Step 23:

You can trace and cut out leaf and vine patterns to decorate the pumpkin basket. 

Previous Post: « Hocus Pocus Sanderson Sisters Ice Cream
Next Post: Thanksgiving Turkey Mask »

Reader Interactions

Comments

  1. Mileva says

    October 23, 2023 at 3:25 pm

    Love this!!!!

    Reply

Leave a Reply Cancel reply

Your email address will not be published. Required fields are marked *

Recipe Rating


This site uses Akismet to reduce spam. Learn how your comment data is processed.

Primary Sidebar

Welcome to Creative Cynchronicity! 
Learn more about me here! 

Creative Cynchronicity is a participant in the Amazon Services LLC Associates Program, an affiliate advertising program designed to provide a means for sites to earn advertising fees by advertising and linking to Amazon.com and Amazon.ca.

Crocheted Sunflower Granny Square

Two granny squares with a sunflower in the center of each. Sunflower is golden yellow with a dark brown center. On one square, the flower is surrounded by white and on the other it's surrounded by blue.

Archives

Copyright © 2025 Creative Cynchronicity - All Rights Reserved · Privacy Policy