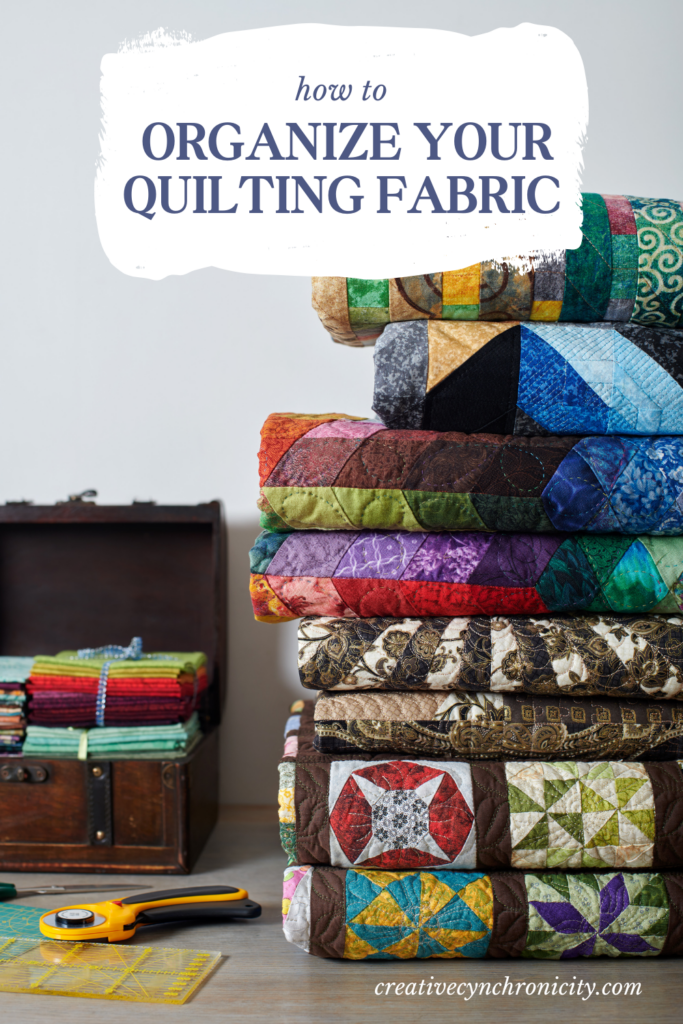
Fabric is probably a quilter’s greatest storage challenge. Arrange your fabric in a way that works for you to make it easier to find what you need when you start a new project is key. I’ve got a few suggestions on how to organize your quilting fabric.
The typical quilter’s fabric stash includes everything from tiny scraps trimmed from the corners and edges of blocks to fat quarters, strips in various sizes, individual patches in a variety of shapes and sizes, and multi-yard cuts intended for borders and quilt backs. Each of these may need their own unique method of storage.

HOW TO ORGANIZE YOUR QUILTING FABRIC
Weed Your Fabric to Fit Your Space
To get started, it is important to go through your fabric stash. See what you’ve got and get rid of any you know you’ll never use. Schools, nursing homes, day care centers, and charitable organizations are all great options for donating unwanted fabric. It’s always motivating for me to know that someone else will make good use of the fabric I am getting rid of.
If you have piles of fabric falling off every chair, tabletop, and bookshelf in your sewing space, it’s time to be ruthless! If you haven’t used that particular print in the last couple of years, how likely are you to use it in the future? (Hint: not very likely.)
Divide Fabric by Size, then Color/Subject
Many quilters divide their fabric into the following categories: Scraps, Strips, Fat Eighths/Fat Quarters, Larger Pieces. I like to lay all my fabric out into piles according to these sizes and work from there.
Fabric Scraps
Start by deciding on a minimum size for the scraps you are going to keep. Sure, if you’re really creative, you can make use of scraps of ANY size, but do you really have enough space to store all of those? Will you even use all of those?
Did you know you can compost fabrics? Okay, not all fabrics, but certainly those made with natural fibers. For the others, either try to donate them or throw them away. Then, get control over your scrap pile by taking a few steps to organize it. Make the scraps easier to use by subdividing them into rough sizes. For example, I have a bin marked Fabric Scraps. Then, in each one I have zippered bags marked 3″ x 3″ and smaller, over 3″ x 3″/under 5″ x 5″, over 5″ x 5″/under 7″ x 7″ and so on. Use the sizes that work best for the projects you make the most often.
Strips of Fabric
Cutting your strips into 1½”, 2 ½”, or 3 ½” widths because those are the most useful sizes to keep on hand. Separate the strips by width, and store them in boxes, bins, or bags. Use them to make string quilts, borders, or scrappy bindings.
Fat Eighths or Fat Quarters
These should be subdivided by color, then folded and stored so you can look at a whole color grouping all at once – all the yellows, for instance, or all the purples. That makes it easier to choose the right fabric for a project that calls for a particular color.
If you have a very large stash, you may want to subdivide your fat quarters by subject first, then by color: all Christmas fabrics together or children’s fabrics together, and so on.
You can either stack your folded fabrics or wrap them around something stiff, like Polar Notions’ acid-free plastic sheets, and shelve them like books.
Larger Cuts
Like fat quarters, cuts of ½ yard or more should be folded and arranged on shelves or in bins or drawers so you can see a whole color grouping at once. You can stack folded pieces, or wrap them around a stiff insert and shelve them vertically.
Other options for storing fabric include: using those hangers with clips to accommodate multiple skirts or pairs of pants, storing the smaller pieces in zippered plastic folders and then placing those in a binder, or creating your own fabric bolts with pieces of cardboard just as they do at the fabric store.
If you are unable or prefer not to store them in such a way that they are visible, be sure to label your bins or boxes well so you can easily find what you need.
Do you have any more tips to share about how to organize your quilting fabric? Share them in the comments below.
Leave a Reply