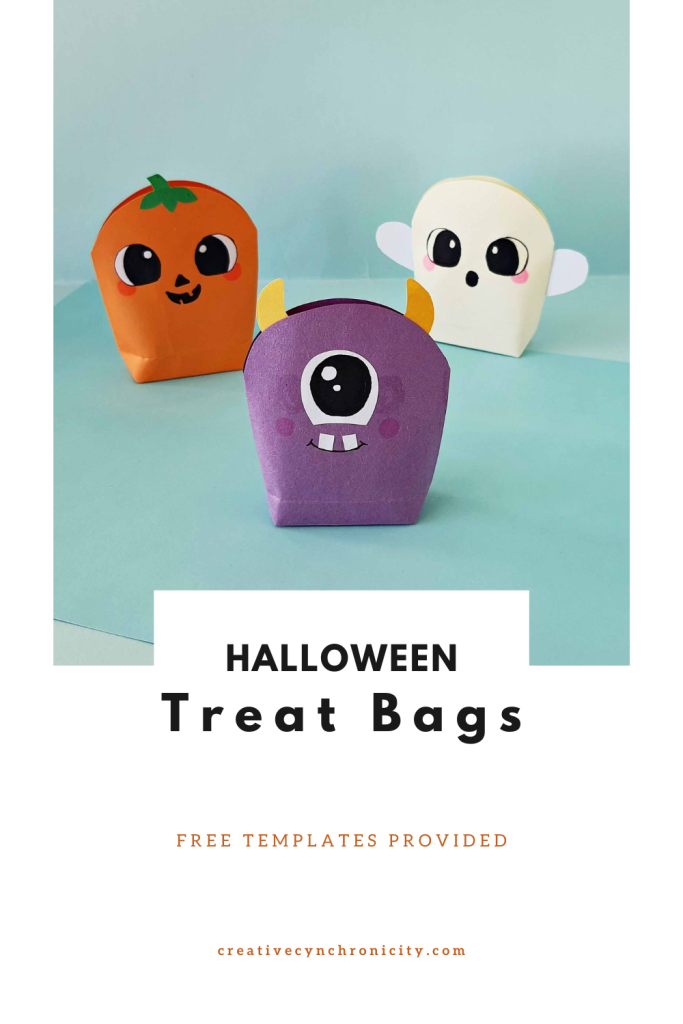
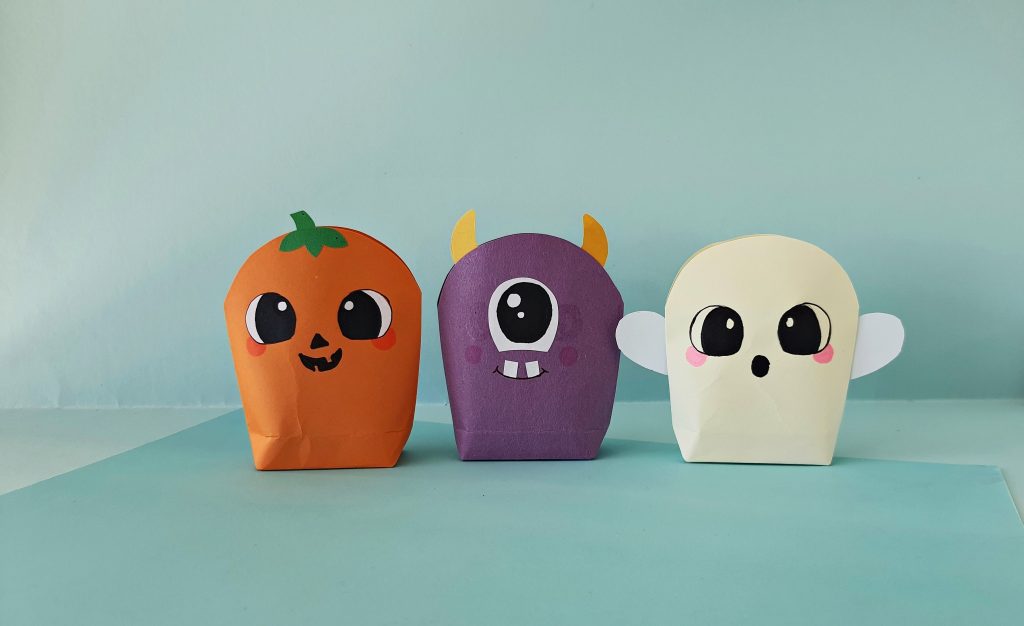
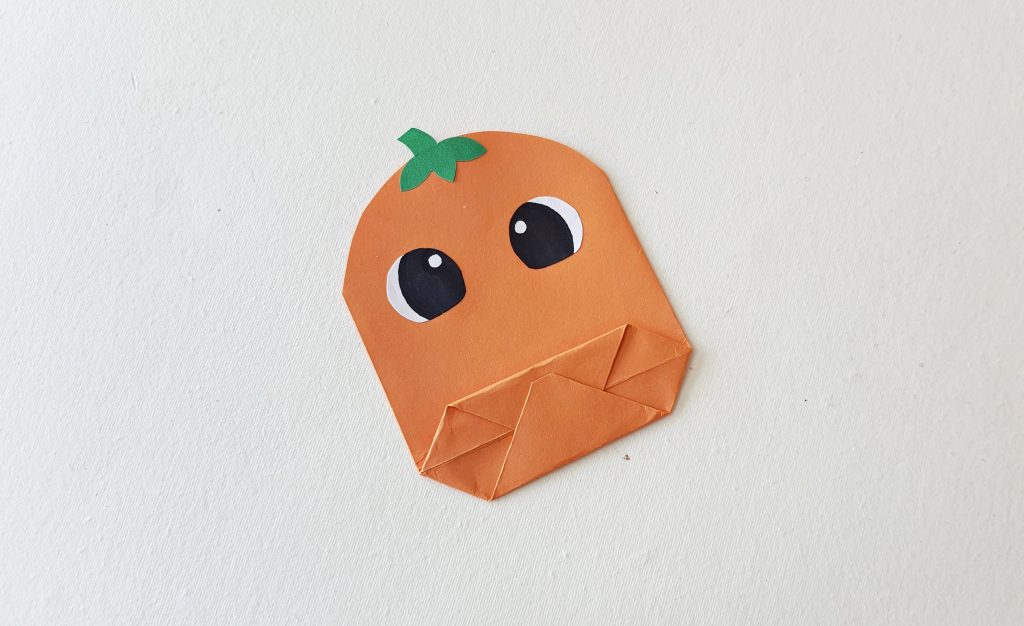
How cute are these Halloween treat bags? They are so easy to make and perfect for filling up with treats for your friends and family.
The provided free template includes patterns for a ghost, candy corn, Jack-O-Lantern, bat and monster. I’ll walk you through the Jack-O-Lantern treat bag craft step-by-step and then you simply apply those techniques to any of the other designs you’d like to make.
Halloween Treat Bags
List of Supplies
- Colored craft papers
- Pencil
- Template
- A pair of scissors
- Craft glue
- Sharpies
Instructions:
Step 1:
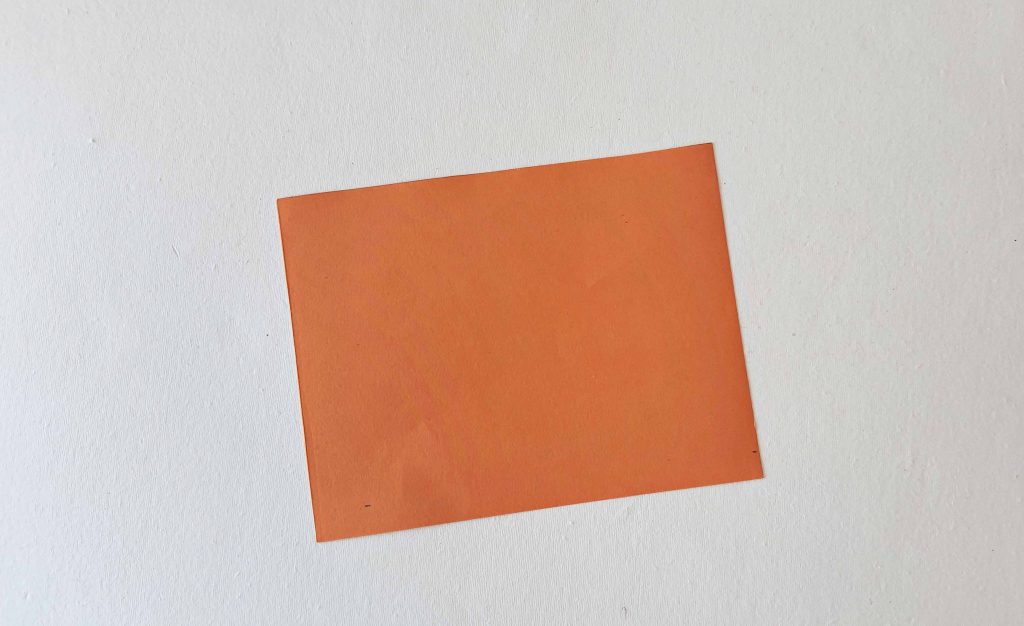
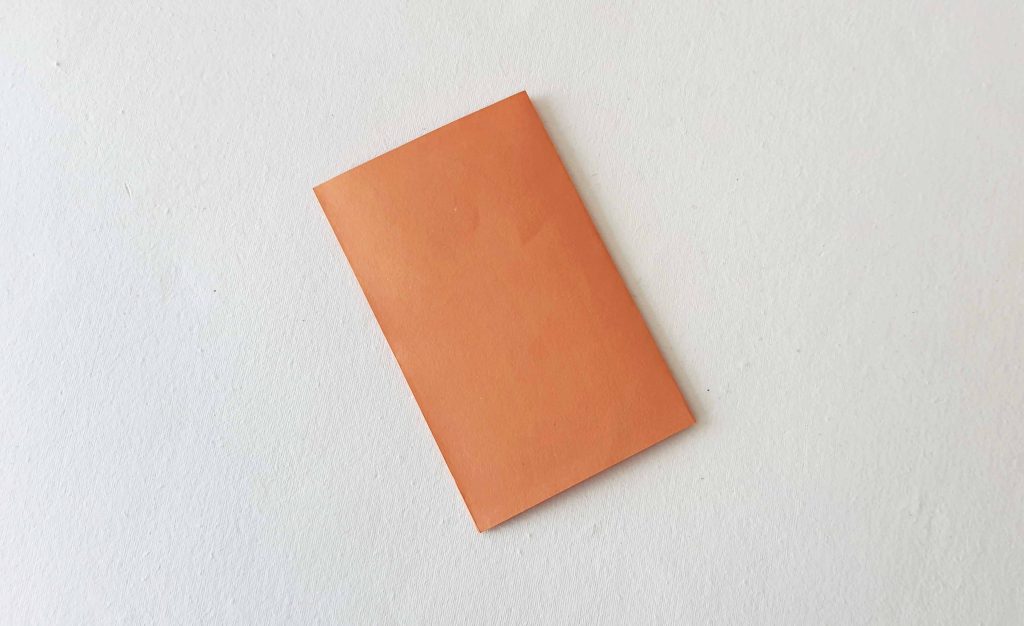
Measure and cut out a rectangle sheet to make the treat bag (we’re using a 15cm x 10cm sheet).

Step 2:
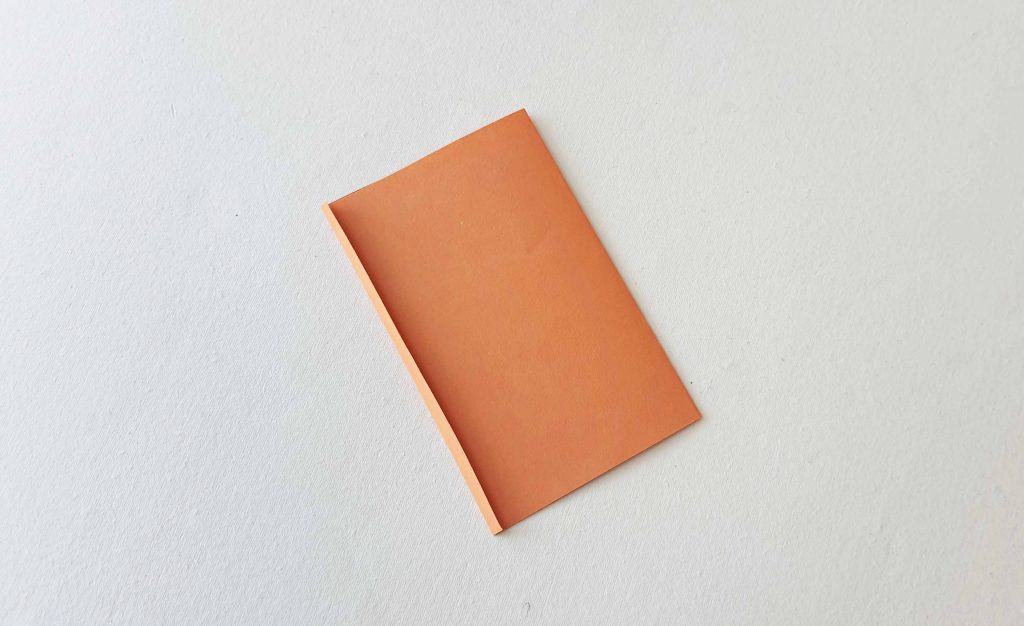
Fold over the rectangle as if you were folding it in half lengthwise, but leaving 1 cm of width beyond where the edges meet.
Step 3:
Now, fold that 1 cm edge in and over the edge as if to close the rectangle and make a pocket of sorts.
Step 4:
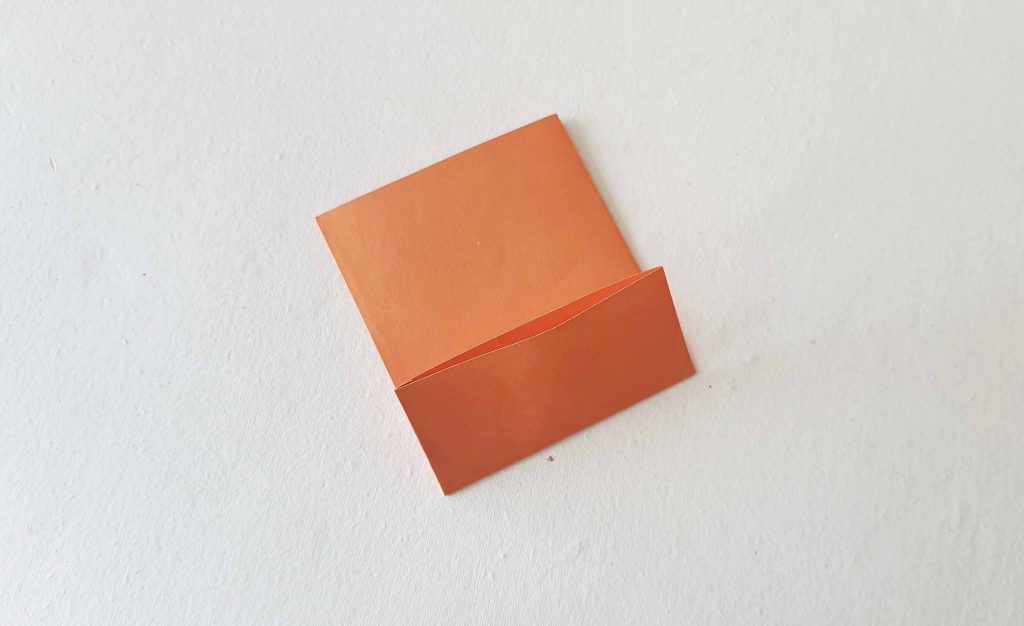
Apply glue along the 1 cm part and join the open edge of the sheet with the glued part. Now both sides of the paper bag are closed and secured.
Step 5:
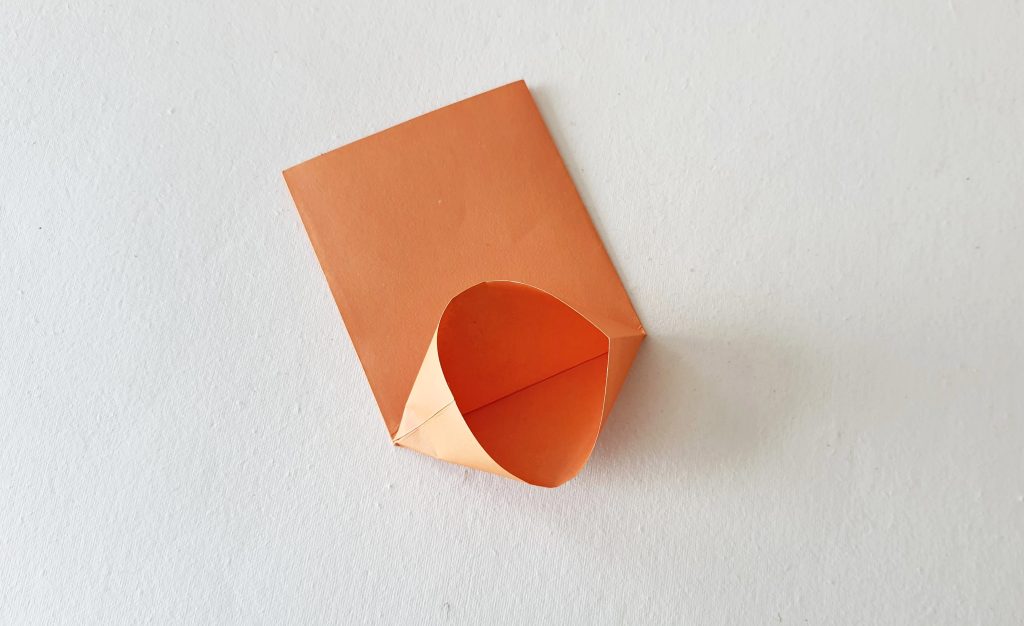
Fold up 3 cm of the paper from either of the open sides.
Step 6:
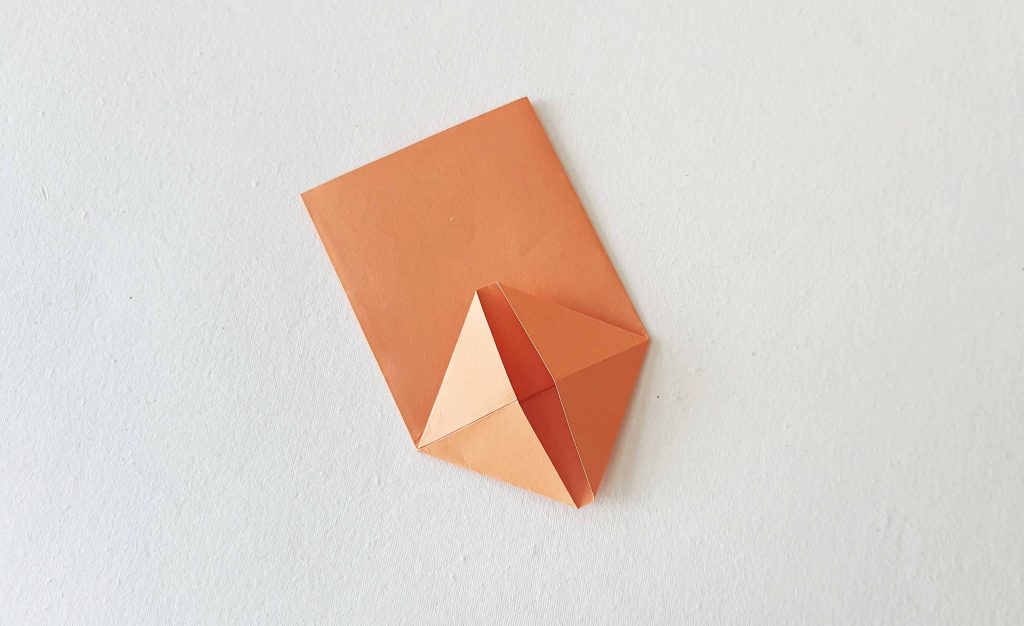
Slightly open the edge of the part you just folded.
Step 7:
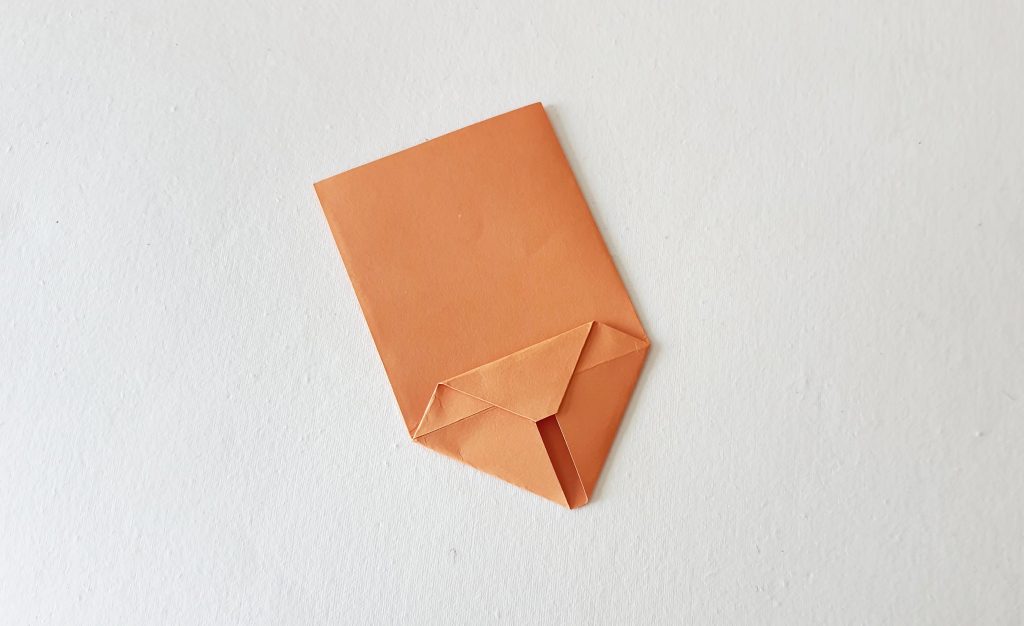
Fold and flatten the 2 sides of the 3 cm fold. This should form 2 corners (left and right) and 2 flaps (top and bottom).
Step 8:
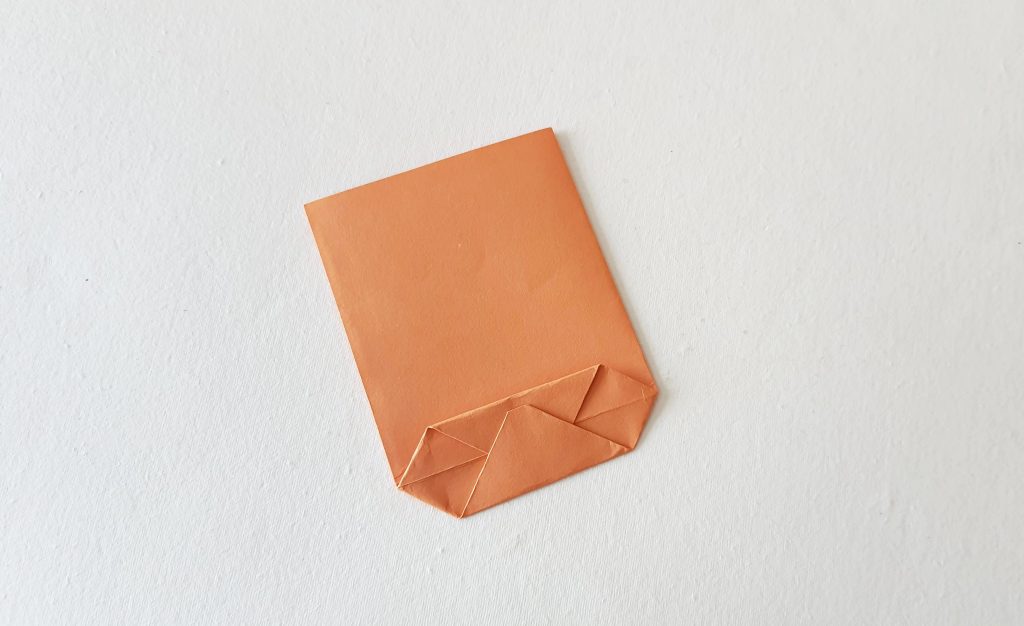
Fold the top flap in half and join it along the middle crease of the bottom side.
Step 9:
Similarly, fold the bottom flap and overlap it with the top one. Apply glue on the overlapped parts of the flaps and sides to secure the bottom side of the paper bag.
Step 10:
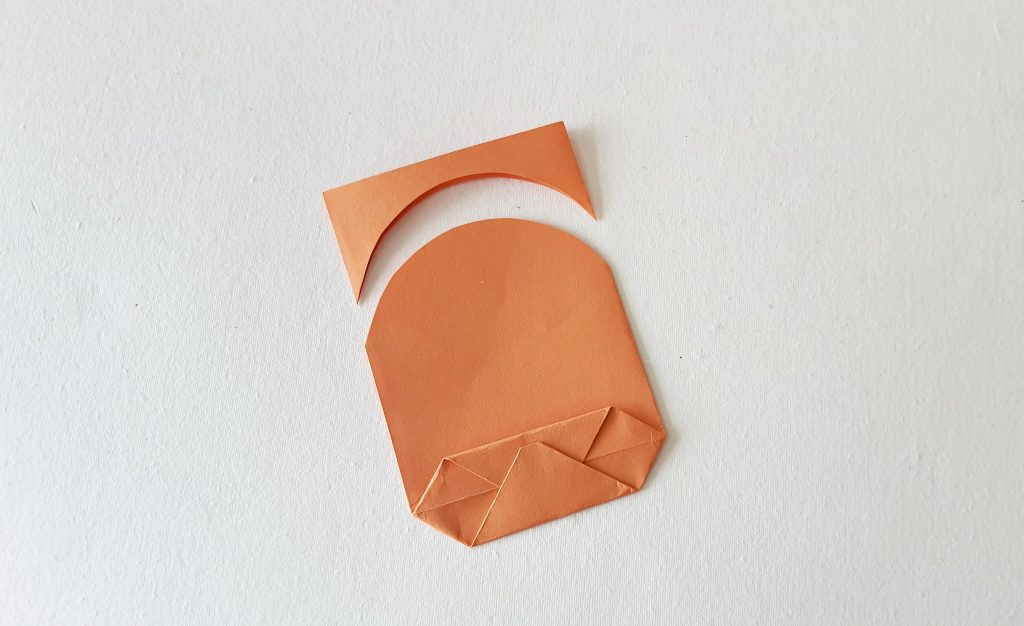
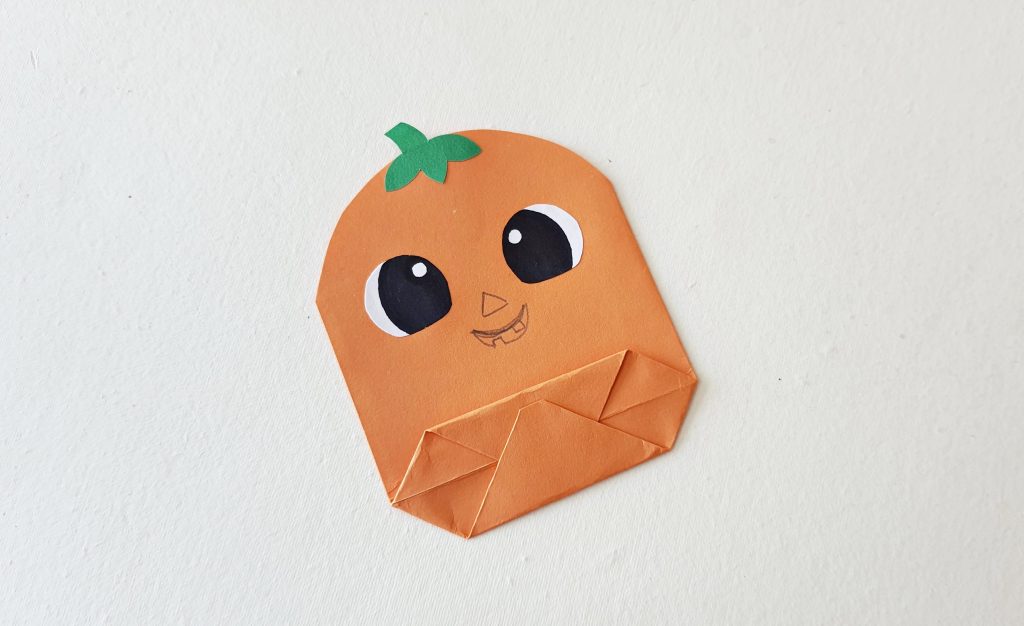
Cut out a round-edge from the top-open side of the paper bag.
Step 11:
Draw eyes on the eye base cutouts and glue them on the paper bag, near the top-round edge. Glue the stem cutout along the top round edge.
Step 12:
Use a pencil to draw the nose and mouth of the paper bag jack-o-lantern.
Step 13:
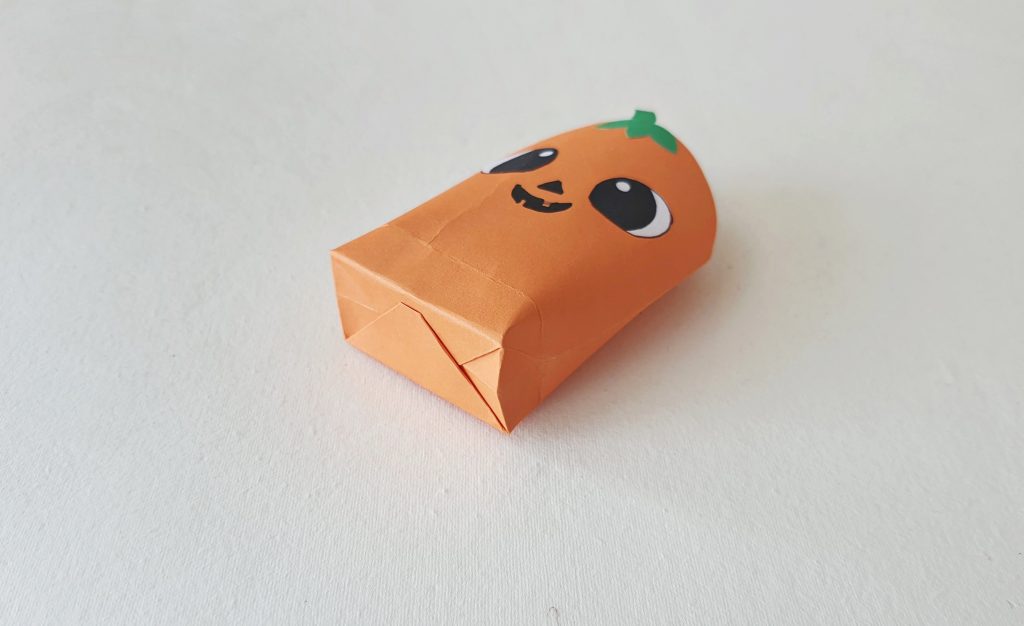
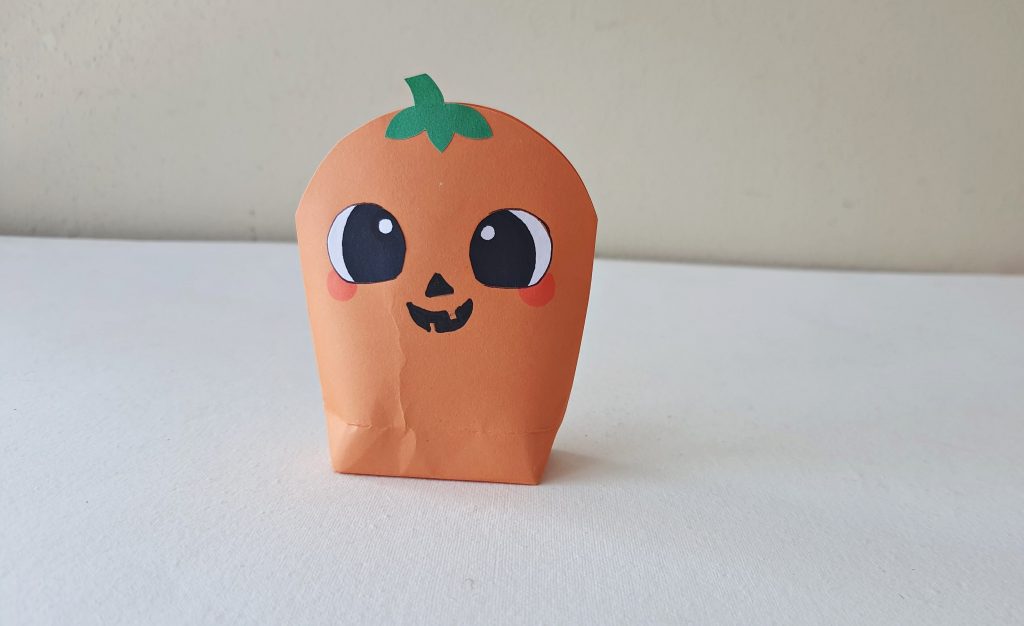
Use a sharpie to fill the pencil traces. Blow the paper bag through its open end and unfold the bottom and sides.
Step 14:
And done! You can create the other bags in a similar manner.
Leave a Reply