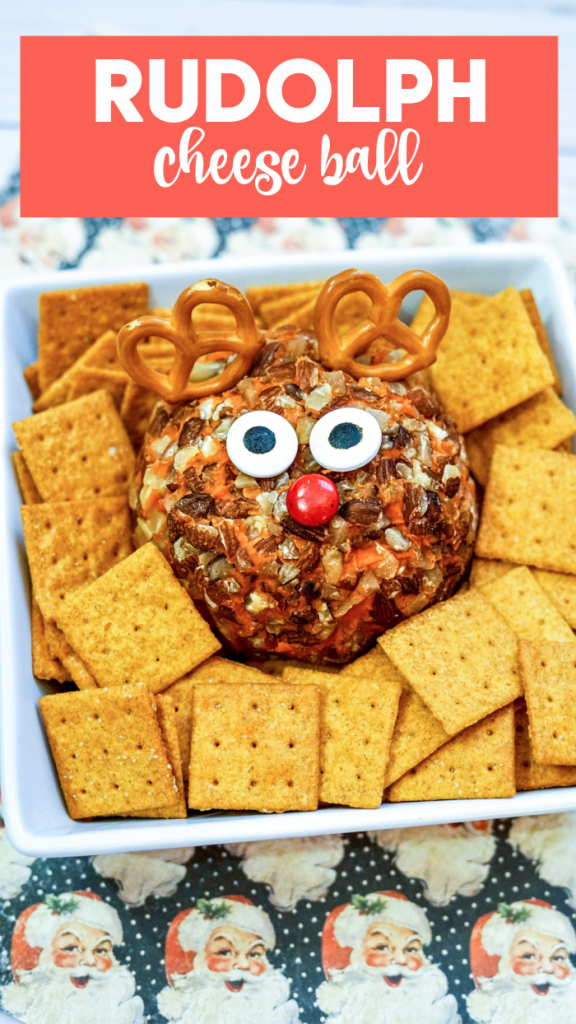
I love a good cheeseball. Turn it into a fun shape like a snowman or this festive Rudolph cheeseball appetizer and I am 100% in!

Reasons why I am pro cheeseball?
- They can be made ahead of time reducing last minute party prep stress.
- I find they are quite popular and well received by most of my guests.
- It’s easy to switch up the flavors as desired – sweet, savory, whatever kind of taste you’re looking for.
- You can use all kinds of “dippers” with them- crackers, crostini, vegetables, fruits, and more!
- They elevate simple cheese to “party status”. Although, anytime I have cheese, it feels like a party!
Things You Need to Know if Preparing the Cheeseball Ahead of Time:
You can make the cheeseball portion ahead of time but don’t assemble it into Rudolph until shortly before serving. The moisture can make the embellishments soften.
If you’re covering the cheeseball in nuts, leave that until an hour or two before serving. Again, this helps to maintain the crunch of the nuts.
A cheeseball will last for several days or even up to a week or two depending on what you put into it and how fresh those ingredients are. Check the expiration dates on them to get an idea. To play it safe, I make mine no more then 72 hours before I plan to serve it.
Want to make it even farther ahead of time? Freeze it! Again, no nuts or embellishments, but you can wrap up the cheeseball base in plastic wrap and put it in a container or freezer bag. It will stay fresh in your freezer for up to 1 month. Thaw it overnight in your fridge.
Rudolph Cheese Ball
Here’s how to assemble the Rudolph cheese ball, For the ball itself, you can buy a premade one, use your favorite recipe, or scroll down and use the one below – it’s one of my favorite recipes!
Ingredients
- 1 Cheeseball
- 2 Pretzels
- Large Candy Eyes
- 1 Red M&M
- Crackers
Instructions

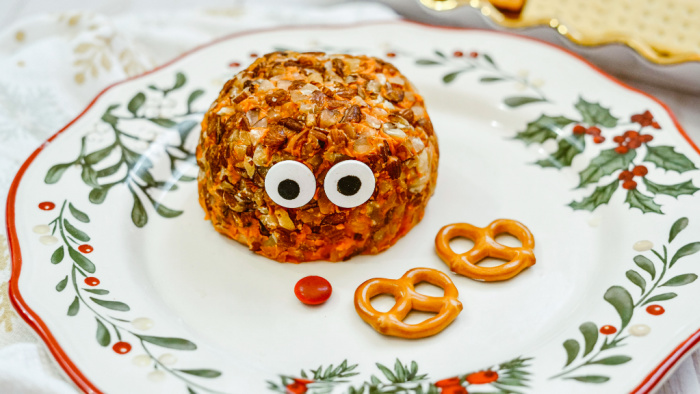
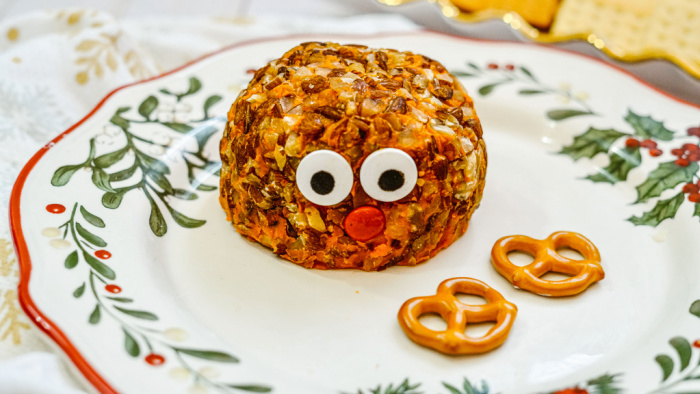
Take two candy eyes and stick them on the cheeseball. Dig into the cheeseball and use a little of the cheese as glue if they do not stick right away.

Stick the red M&M on for a nose.

Using the two pretzels, create two antlers. Serve and enjoy!

Basic Cheeseball Recipe
Ingredients
- 16 oz. cream cheese softened
- 2 cups grated cheddar cheese I prefer “old” cheddar cheese for this
- 1/3 cup chopped green onion
- 1 tsp Worcestershire sauce
- ½ tsp garlic powder
- ½ tsp Italian seasoning
- Black pepper to taste
- 2/3 cup chopped pecans walnuts or almonds are also good choices
Instructions
-
Use a mixer to whip the cream cheese. Use a wooden spoon to stir in remaining ingredients except nuts.
-
Form the mixture into a ball. I find it helpful to coat my hands with non-stick cooking spray to help keep it from sticking.
-
Roll the cheeseball in nuts. If you find that they aren’t sticking well enough, use your hands to gently press them into the ball.
-
Wrap the cheeseball in plastic wrap and place it in the fridge for at least an hour. Take it out of the fridge about 20 minutes before serving. This will allow it to soften a bit (so it’s spreadable) and make it easier to turn into Rudolph!
Variations:
- Roll in chopped parsley or other herbs instead of nuts. This doesn’t lend itself well to a Rudolph face but my mom used to make them this way in a few different sizes and then stack them to form a Christmas tree shape.
- Roll it in seeds like poppy seeds or sunflower seeds.
- Use the cream cheese and grated cheese, but leave out the rest of the ingredients. Instead, mix in 2/3 cup dried cranberries and 1/2 tbsp maple syrup to make a sweeter version. You can still roll this in nuts as above.
- Mix in grated apple or pear.
- Add in some goat cheese. A few tablespoons of mayonnaise is nice too but this makes it more perishable.
- I make a version where I leave out the herbs and add some diced dill pickles instead. Yum!
Looking for more reindeer treats? Check out these adorable Rudolph donuts and these super cute reindeer candy treats.
Leave a Reply