Disclosure: Some of the links in the post below are affiliate links provided for your convenience. This means that if you purchase something through one of these links, I get a small commission at no added cost to you.
This DIY Shamrock Sign is a fun dollar store craft to make with the kids this St. Patrick’s Day. You can work on colors and counting with this simple project created from rainbow colored wooden craft sticks and felt scraps.
Let the kids create their own color patterns – teach them ROYGBIV or work on patterns and sequences of your own: alternating and repeating patterns would work well here too. You can even have them add their name or words like LUCKY with letter stickers for a personal touch!
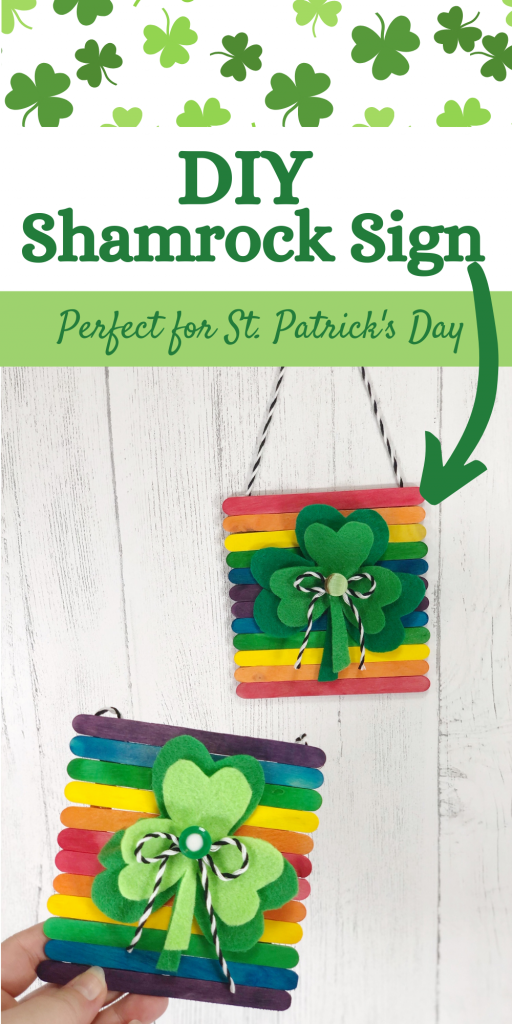
DIY Shamrock Sign
Put these on display to be pinch proof on St. Patrick’s Day! You can hang them with twine or put magnets on the back of them to add a punch of color to your fridge. These would make fun, easy to mail gifts for loved ones too.
Materials:
Many of these can be found at your local dollar store. Links are provided in case you’d prefer to order them online.
- Rainbow Craft Sticks, 14 for each sign (can’t find colored craft sticks? You can paint them or color with markers instead)
- Black and White Baker’s Twine
- Felt Craft Sheets – Neon Green, Apple Green, Kelly Green, Pirate Green (I used Kunin brand)
- Buttons – Assorted Green (could also use rhinestones, beads or pompoms in place of buttons)
- Low Temp Glue Gun and Glue Sticks
- Ruler
- Scissors
- Straight Pins or Black Marker
- DOLLAR STORE RAINBOW AND SHAMROCK SIGN PATTERNS found here.
Instructions:
STEP ONE
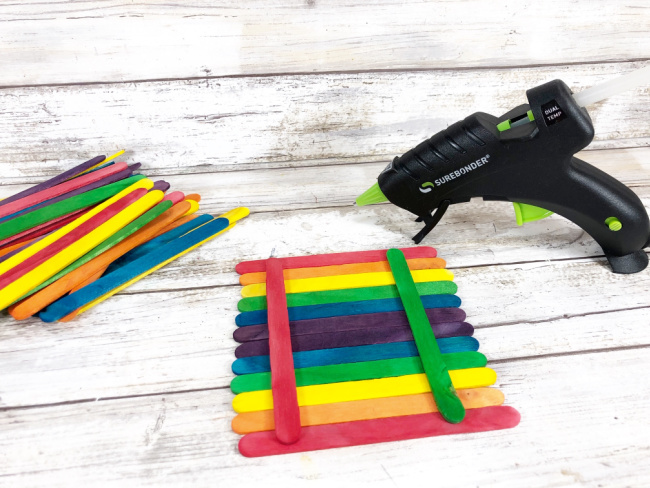
Line up 12 colored craft sticks in rainbow order on your work surface. Red to Purple (Violet) and then Purple (Violet) to Red, with purple in the middle. You can also line up the craft sticks in reverse order purple to red and red to purple, with red in the middle.
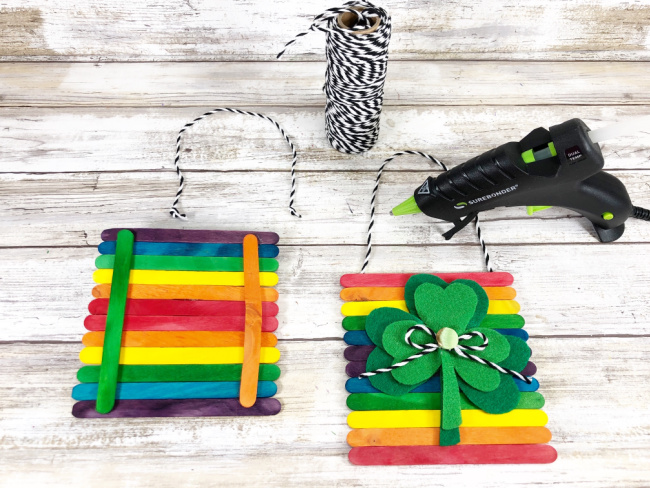
Some of the craft sticks will be damaged or split. Don’t throw them away! Attach two of these damaged craft sticks to the back with the glue gun.
You can also line up the craft sticks in reverse order purple to red and red to purple, with red in the middle.
PRO TIP: To stay organized, store the remaining loose craft sticks in a zip top sandwich bag.
STEP TWO
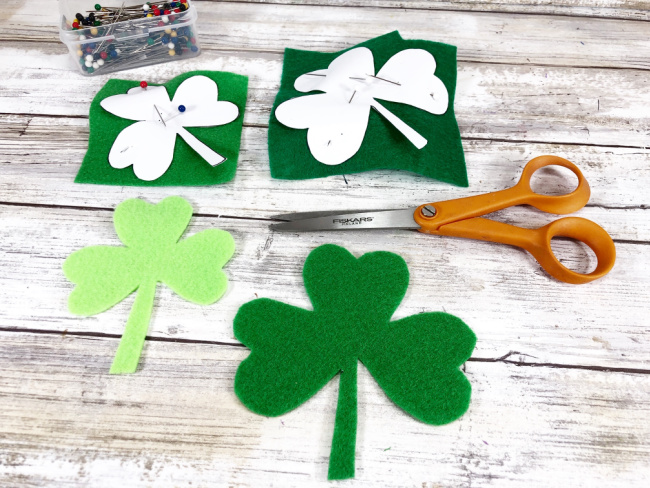
Download, print and cut out Dollar Store Rainbow and Shamrock Sign Patterns. Attach patterns to felt scraps with straight pins and cut out with scissors. If crafting with younger kids, trace shamrock patterns onto to felt with a marker, and then cut out inside the traced line.
STEP THREE
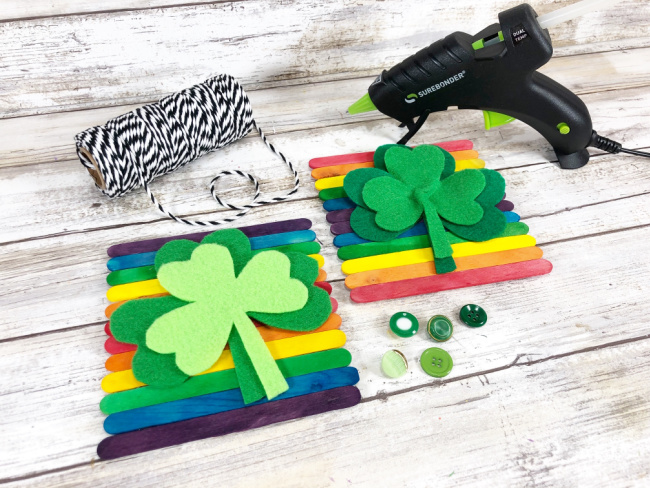
Attach larger shamrock to the rainbow craft stick sign using a nickel-size dollop of glue from a low temp glue gun. Squish the center of the felt shamrock with your fingers before the glue is set to create dimension. Repeat with smaller shamrock, attaching on top of the larger shamrock.
STEP FOUR
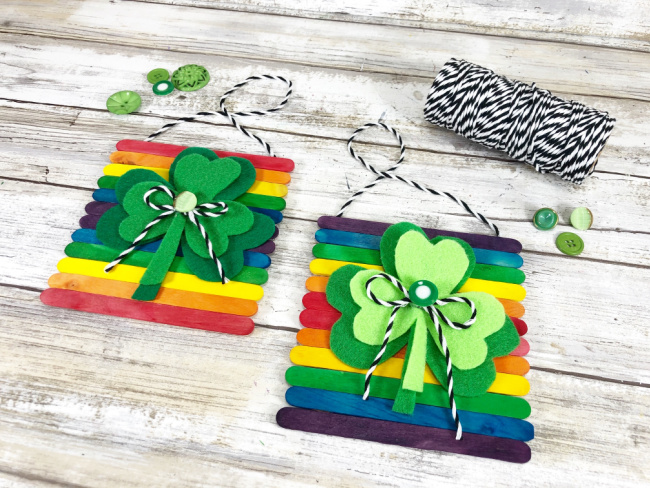
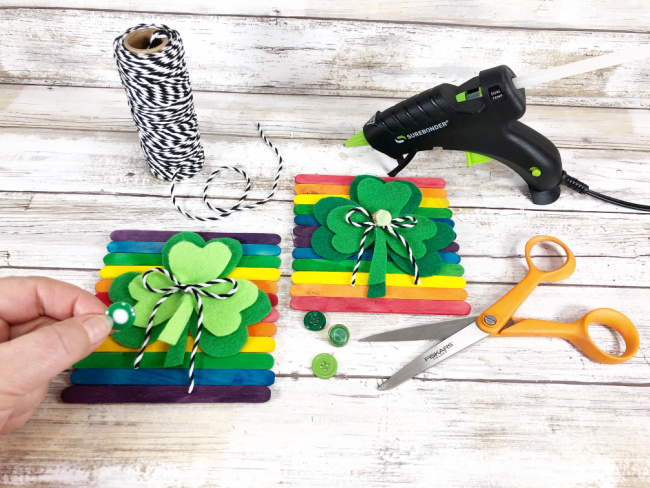
Tie black and white baker’s twine into a bow and attach to the center of the felt shamrocks with a glue gun and glue sticks. Pick out a decorative green button and glue to the center of the bow. If you don’t have green buttons use rhinestones, beads or even pom poms.
STEP FIVE
Measure and cut a 12” length of black and white baker’s twine to create a hanger and tie a small knot in each end. Flip the sign over and attach the hanger to the top right and top left-hand side of the sign with a glue gun and glue sticks.
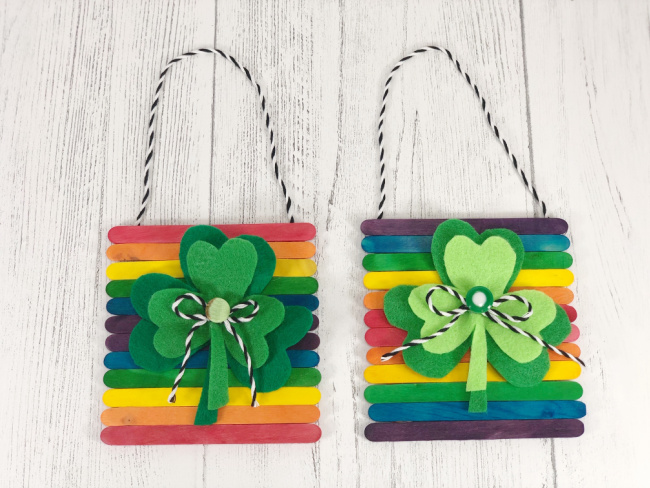
Aren’t these shamrock and rainbow signs adorable? They’re a great afternoon craft project to make with the kids. They’d be perfect for groups like schools, Scouts, and day camps too since they’re so inexpensive to make.

Leave a Reply