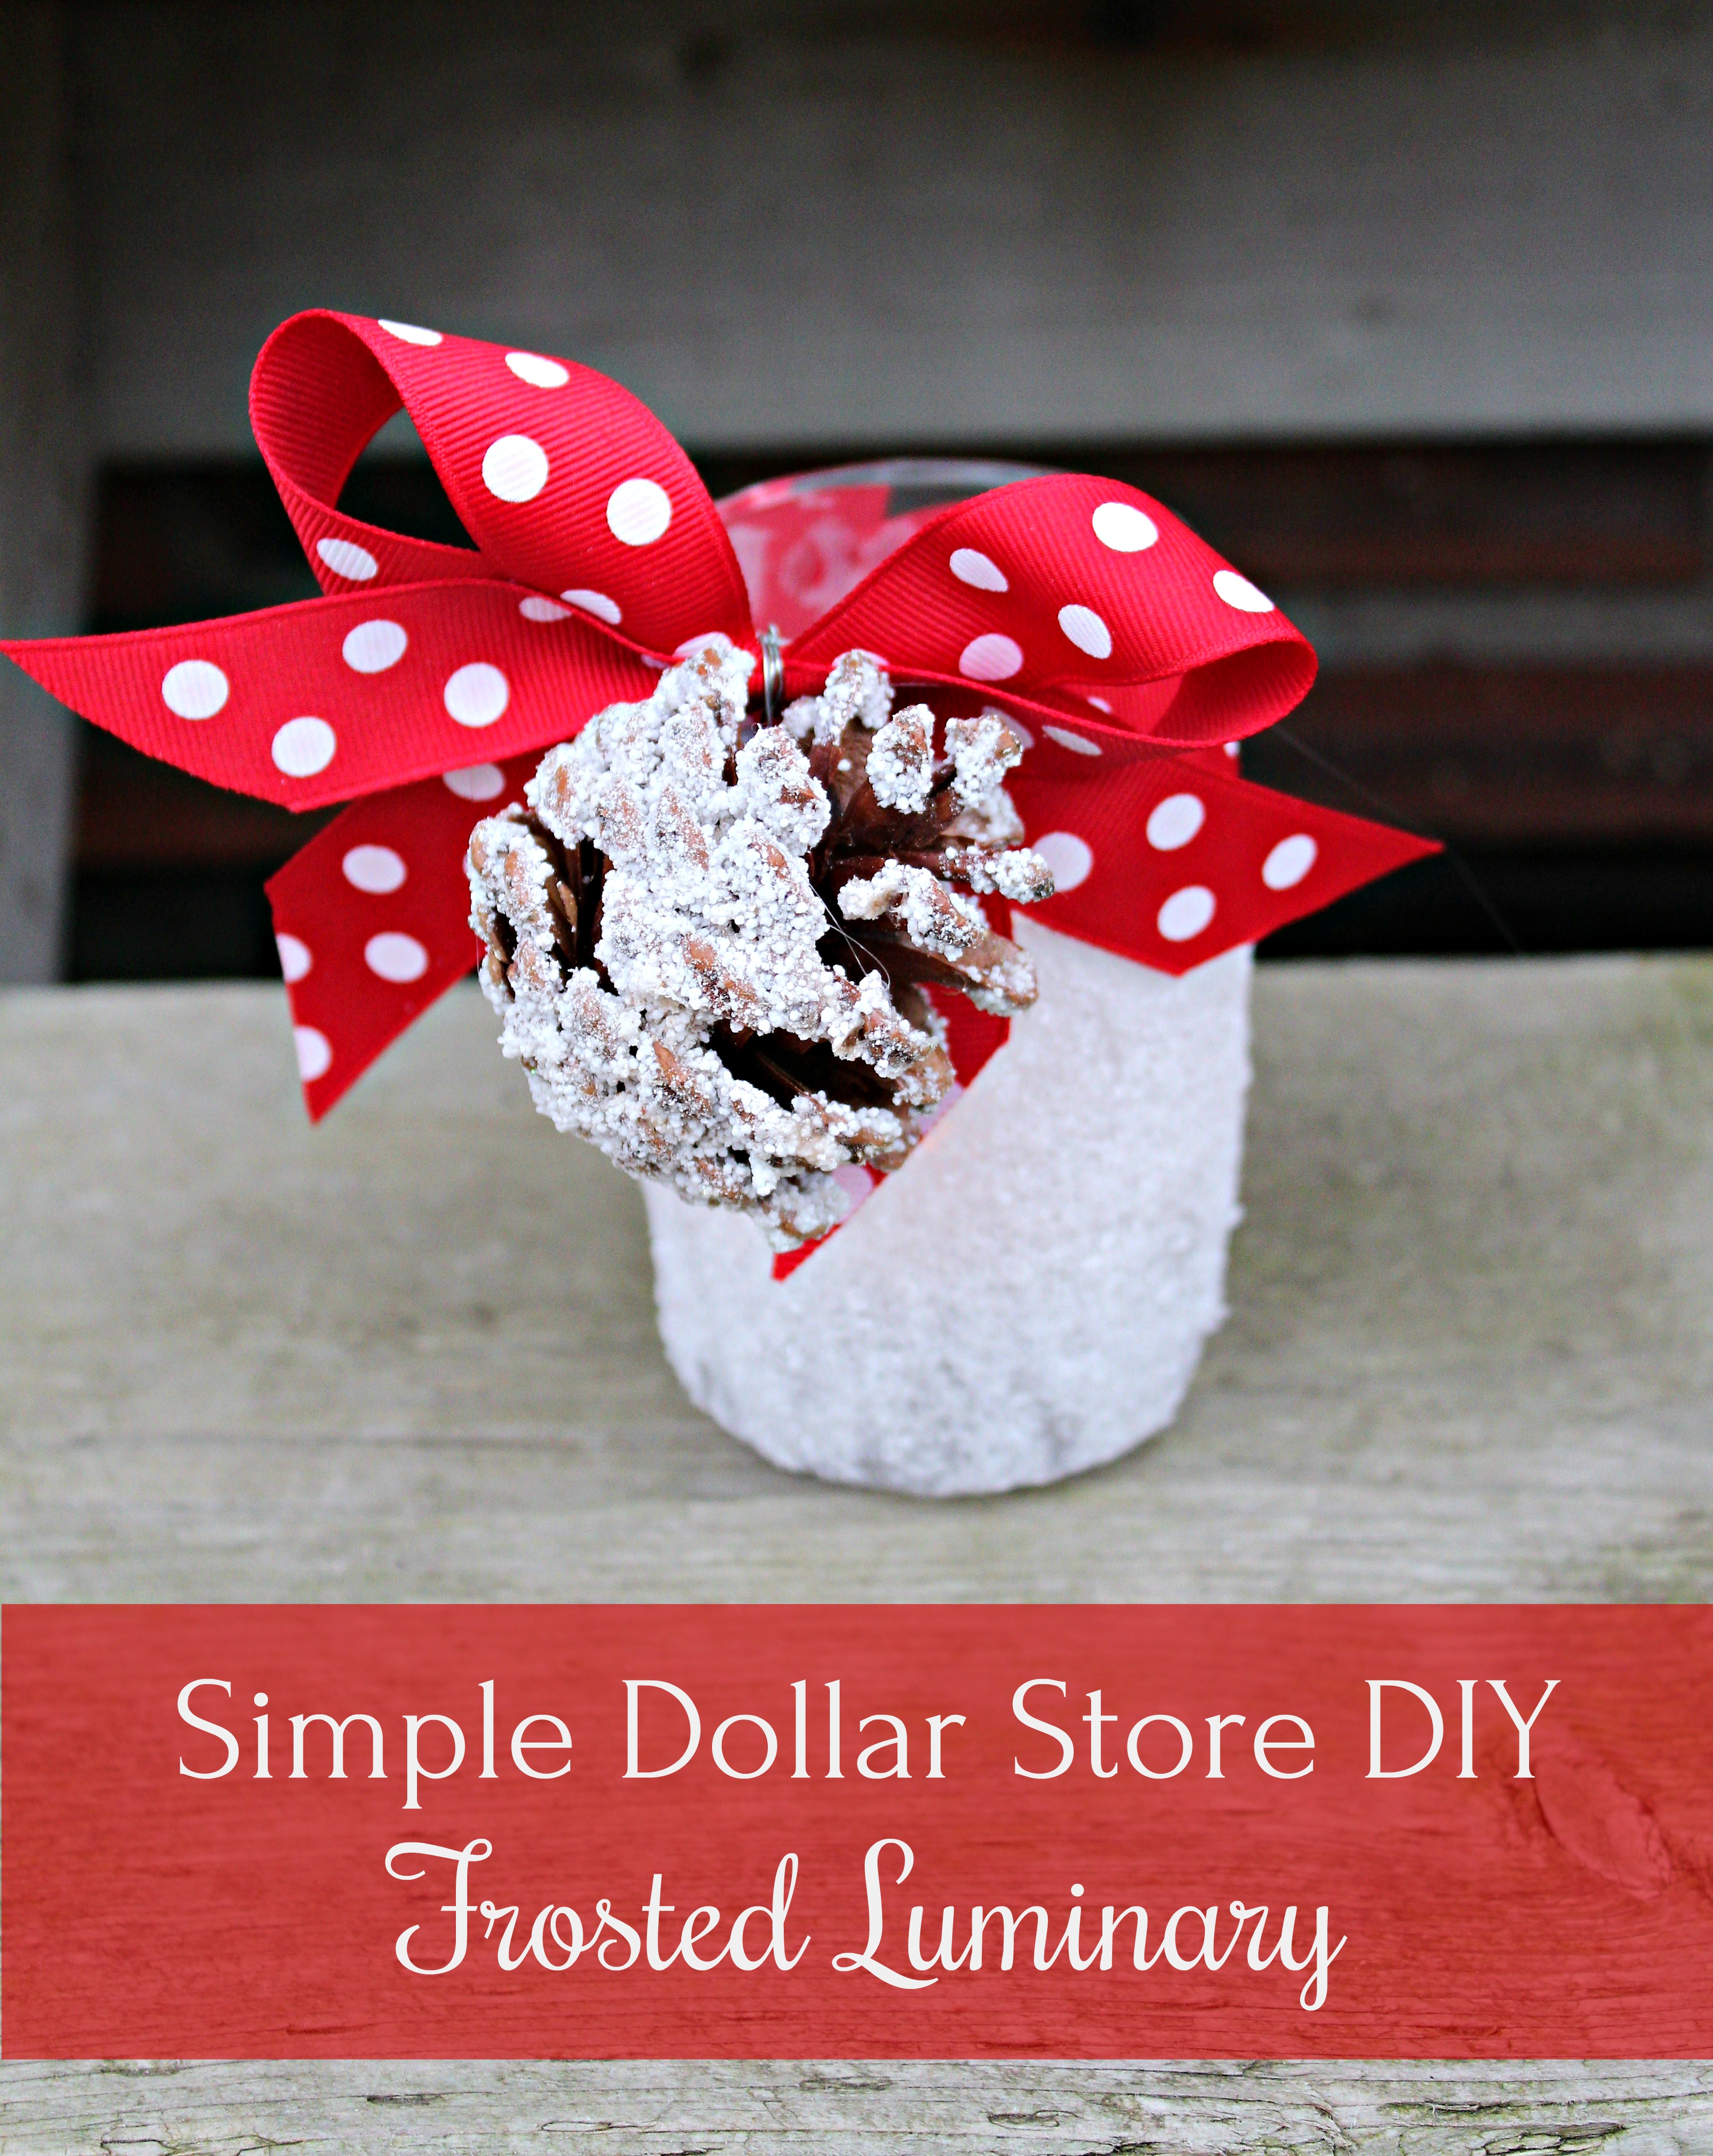
You’ve probably figured out, after hanging around here for a while, that I like quick, easy, and inexpensive craft ideas. Oh, don’t get me wrong – I love to crochet, do silk ribbon embroidery, and make mixed media art. But, in between those longer projects, I like some that give me that feeling of nearly instant gratification over seeing them completed. That’s what keeps me motivated to complete the bigger tasks. I suppose in that way I’m a bit impatient. This is especially true of holiday crafts. I tend to like to change themes or at least, vary the themes slightly each year. That’s what I’m doing with this DIY Dollar Store Frosted Tealight Holder. These add beautifully to my “Christmas at the lodge”/woodland theme without costing more than just a few dollars to make!
Welcome to the third annual 12 Days of Christmas Blog Hop!
Stop by every day from December first through the twelfth for new ideas you can use to make your season brighter! Today, we are all sharing Dollar Store Holiday Projects!
Meet Your Hosts
They have all been busy as Elves creating, decorating, cooking and crafting tons of new ideas for you to try this holiday season!
Shirley~Intelligent Domestications I Alli~An Alli Event I Michelle~Our Crafty Mom I Marie~DIY Adulation
Erlene~My Pinterventures I Beverly~Across The Blvd. I Debra~Shoppe No. 5 I Victoria~Dazzle While Frazzled
Megan~C’mon Get Crafty I Michelle~Michelle James Designs I Amanda~Domestically Creative
Deborah~Salvage Sister & Mister I Jeanie~Create & Babble I Sherry~Olives & Okra
Jenny~Cookies Coffee & Crafts I Emily~Domestic Deadline I Bonbon~Farmhouse 40
Leanna~Of Faeries & Fauna I Pam Larmore~P.S. I Love You Crafts I Kelly~North Country Nest I
Marie~The Inspiration Vault I Gail~Purple Hues and Me I Lynne~My Family Thyme I
Karen~Dragonfly and Lily Pads I Trisha~Blowing Away Out West Lorrin~Embrace The Perfect Mess I
Terri~Christmas Tree Lane I Sam~Raggedy Bits I Cyn~Creative Cynchronicity Valeria~Val Event Gal
Yami~The Latina Next Door I Jeannee~Centsably Creative I Tania~Little Vintage Cottage
Lauren~Wonderfully Made I Vanessa~DIY 180 I Kimberly~A Wonderful Thought I
Kim~Everyday Parties I Dru~Polka Dot Poplars
DIY Dollar Store Frosted Tealight Holder
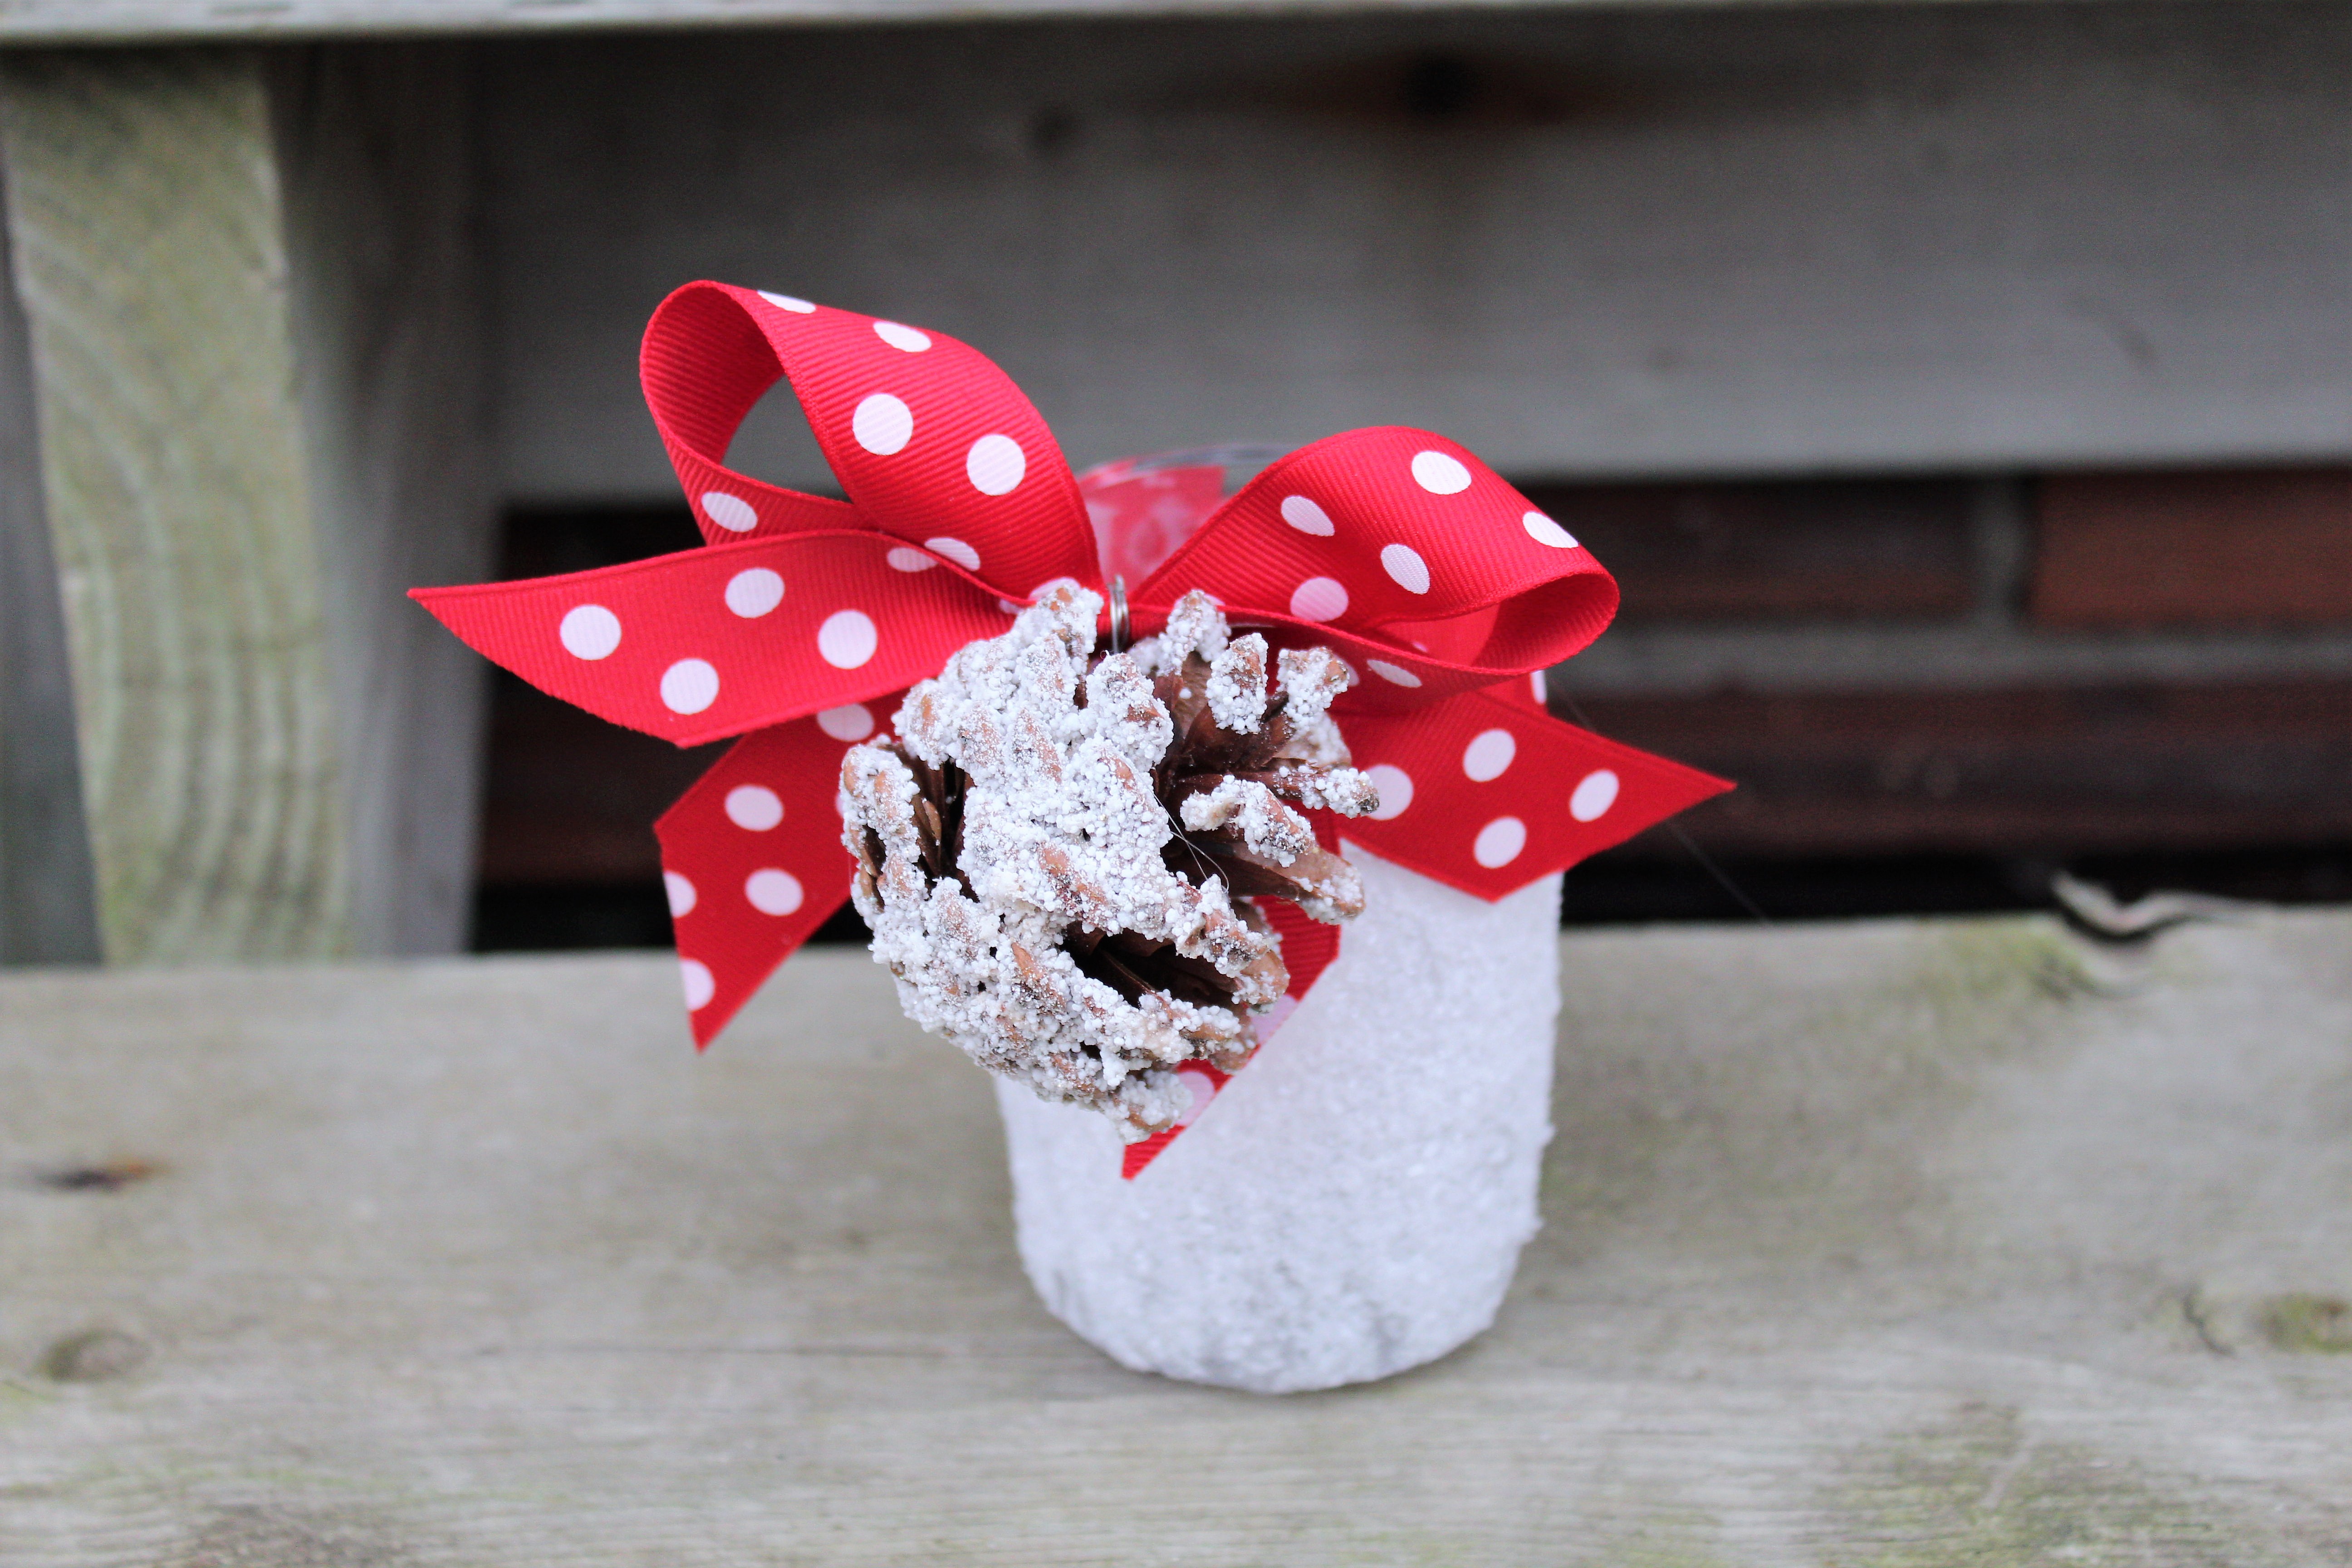
Supplies needed for each luminary (tealight holder):
A vase or jar or drinking glass (I used a glass because it was just the right size for my purposes), pine cones (1 or more depending on how large they are), Epsom salts, white glue, a paint brush, ribbon, scissors, and some wire. You’ll need a glue gun and glue sticks for it too. I also purchased battery operated tealights as I wasn’t sure if the drinking glass would hold up to the heat of a real tealight or votive without cracking. Still just as pretty!
Instructions:
Once again, this is so simple to make!
I began by pouring out some of the glue and then adding a bit of water to it. You don’t need much water! You just want to thin it down a tiny bit to make it easier to brush on. I used a box lid as my tray to hold some of the Epsom salts. Use whatever you have on hand but just remember that you might get a bit of glue on it! I brushed glue over most of the outside of my drinking glass, leaving empty space at the top for the ribbon.
Roll the glass in the Epsom salts to cover the glue.
If you find that you have missed any spots, I found it was easy enough to go back in and add more. I let it dry for about an hour first, then dabbed a bit of glue into the empty spots, and pour some Epsom salts over. I did the same thing with the tips of the pine cones to add a frosted effect to them as well.
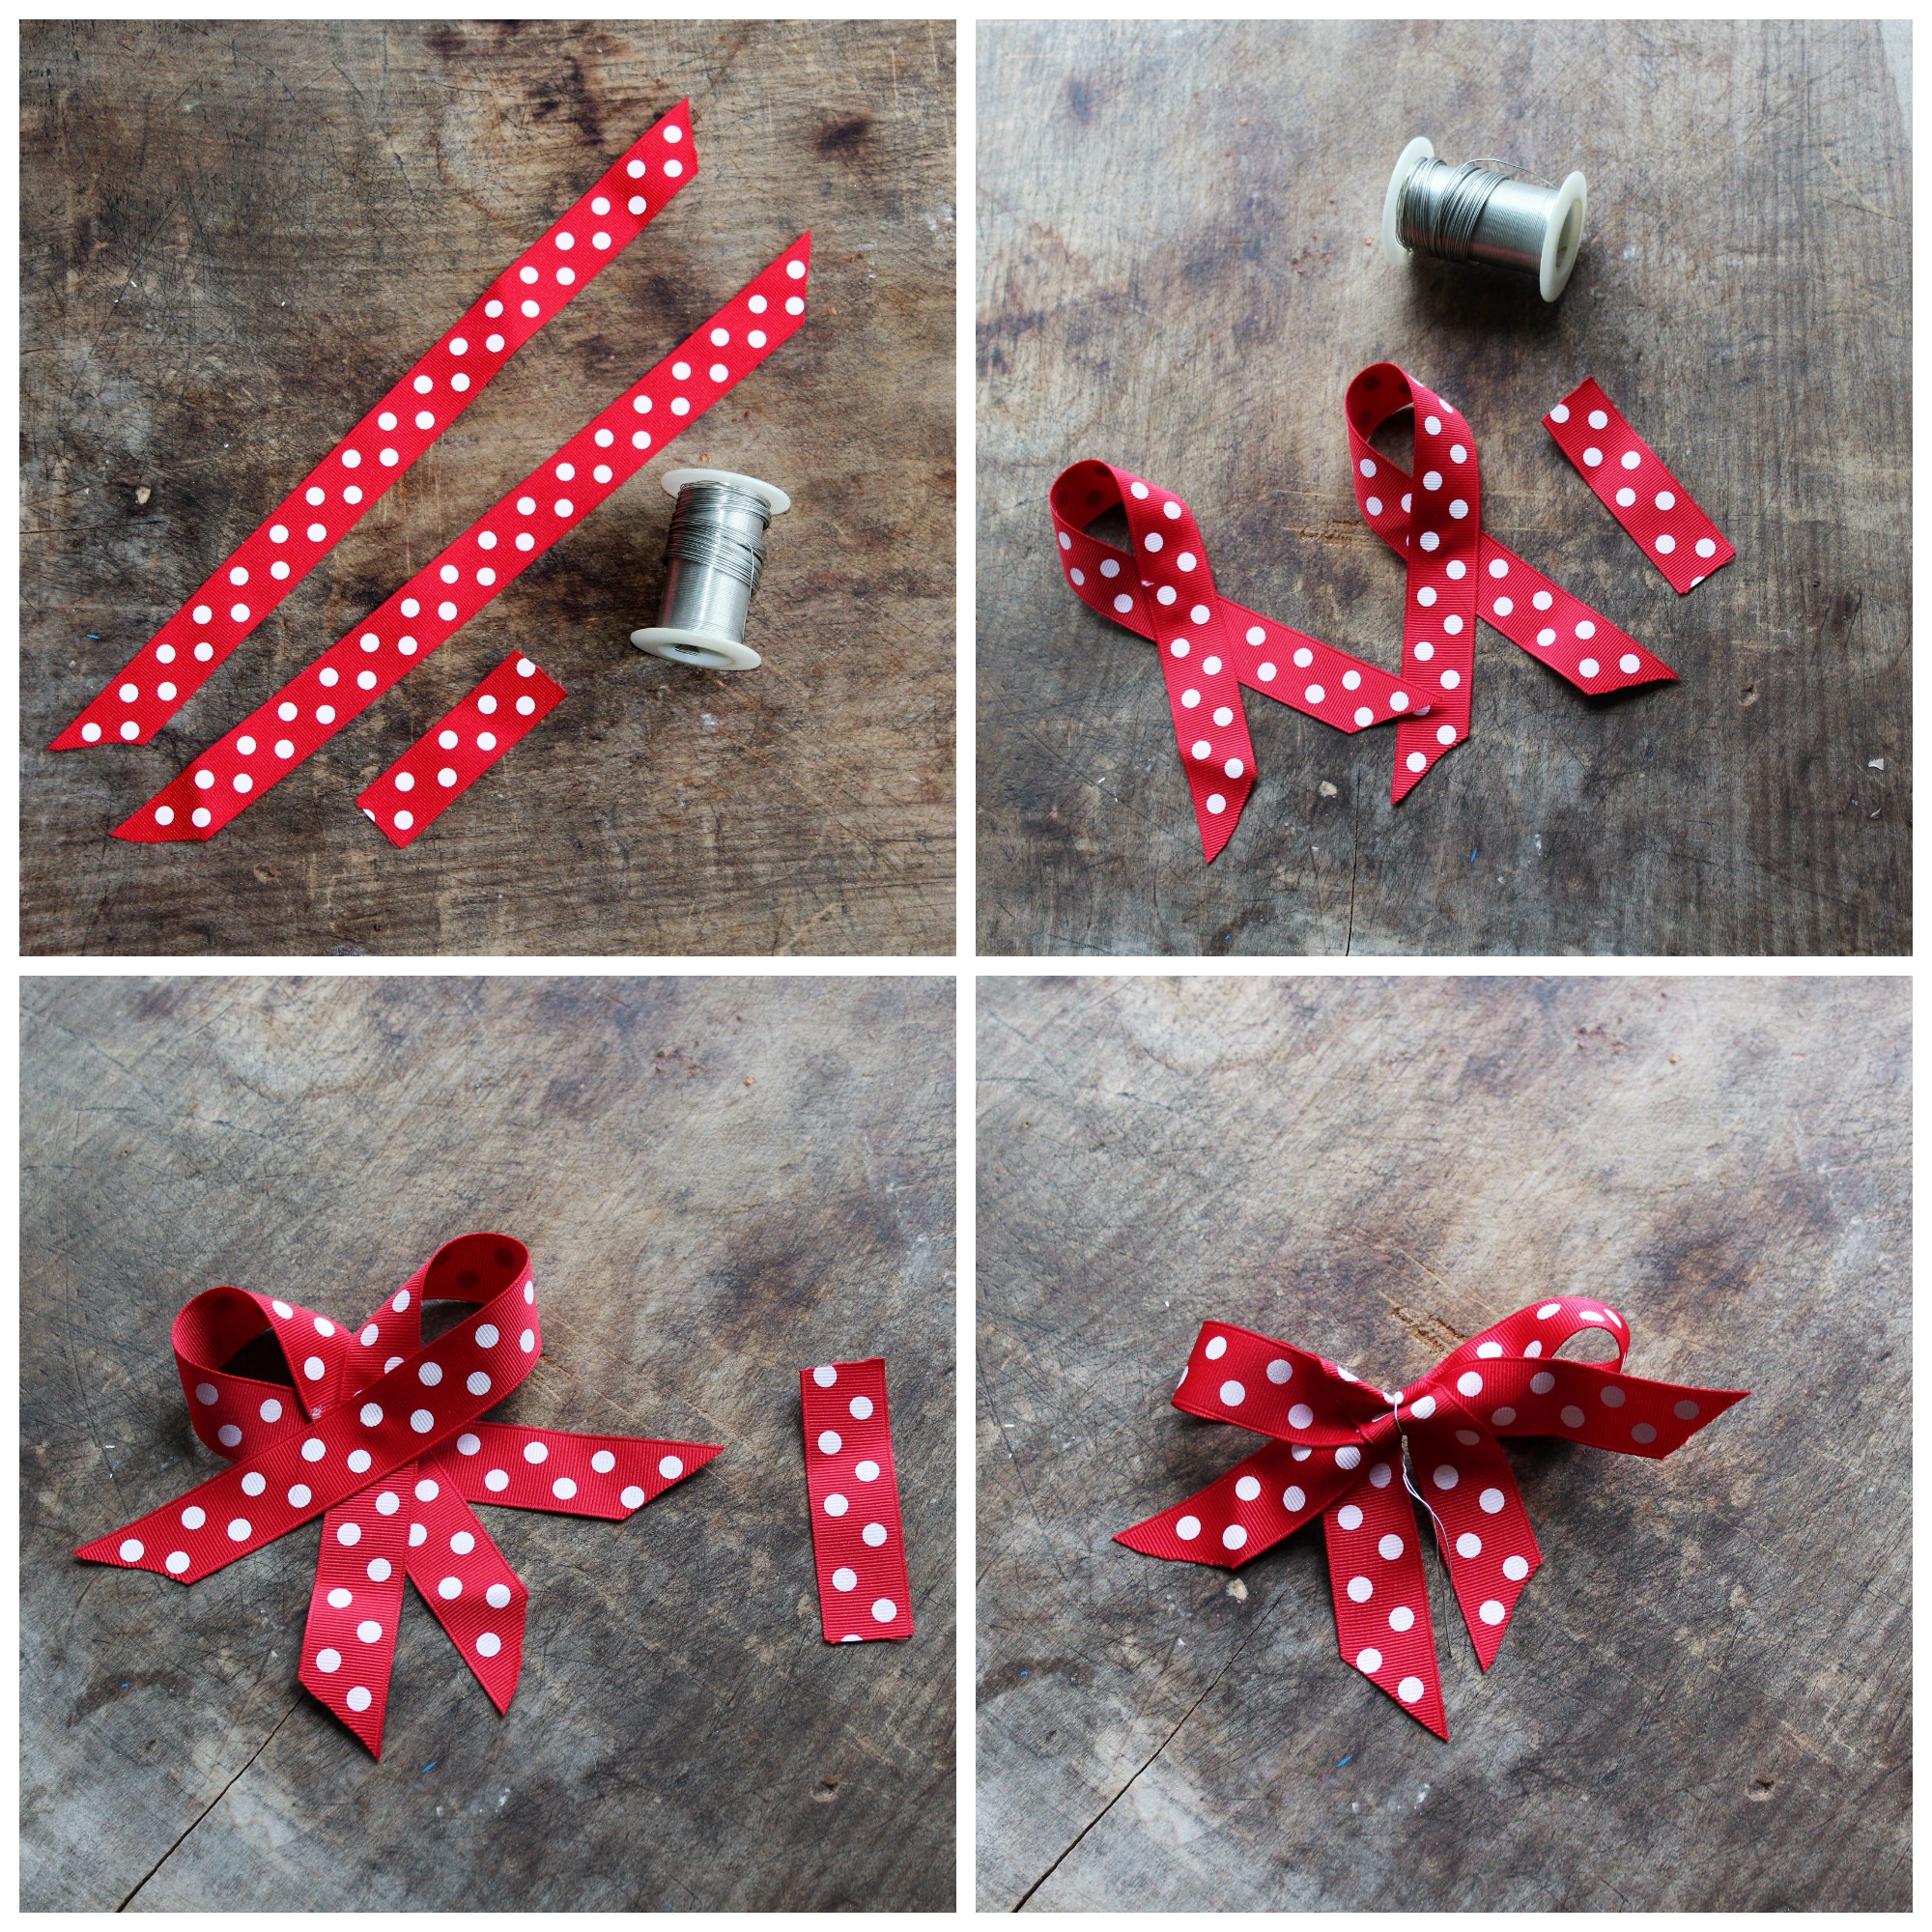
While this was drying, I made my bow.
I am no expert bow-maker so I just go with something very easy to put together. I cut two lengths of ribbon. For my purposes here, each one was about 10 inches long. I like to trim the ends to a diagonal point. I find it helps stop any fraying and just looks so neat and tidy. Make a loop out of each length of ribbon. If you have a pattern, you want to be sure that the pattern is fully showing even once you’ve made the loop. (See photos above.)
I like to use a dab of glue on each loop to hold them together more easily for the wiring.
Place one loop on top of the other and arrange as you like. Use a small piece of wire to twist around the middle, holding the loops together. This forms your bow. In this case, I found then that the pine cone I was using, covered up the part where they were wired together. If that isn’t the case for you, cut another small (1 1/2 to 2 inches) piece of ribbon to glue around that part and hide it from view.
Next, use another small piece of wire to attach the pine cone(s) to the bow.
I then wrapped a piece of ribbon around the top of the luminary. I like to use a couple of dabs of glue to hold it in place as I’m going. Using the glue gun, affix the pine cone/bow embellishment to your tealight holder where the ribbon meets.
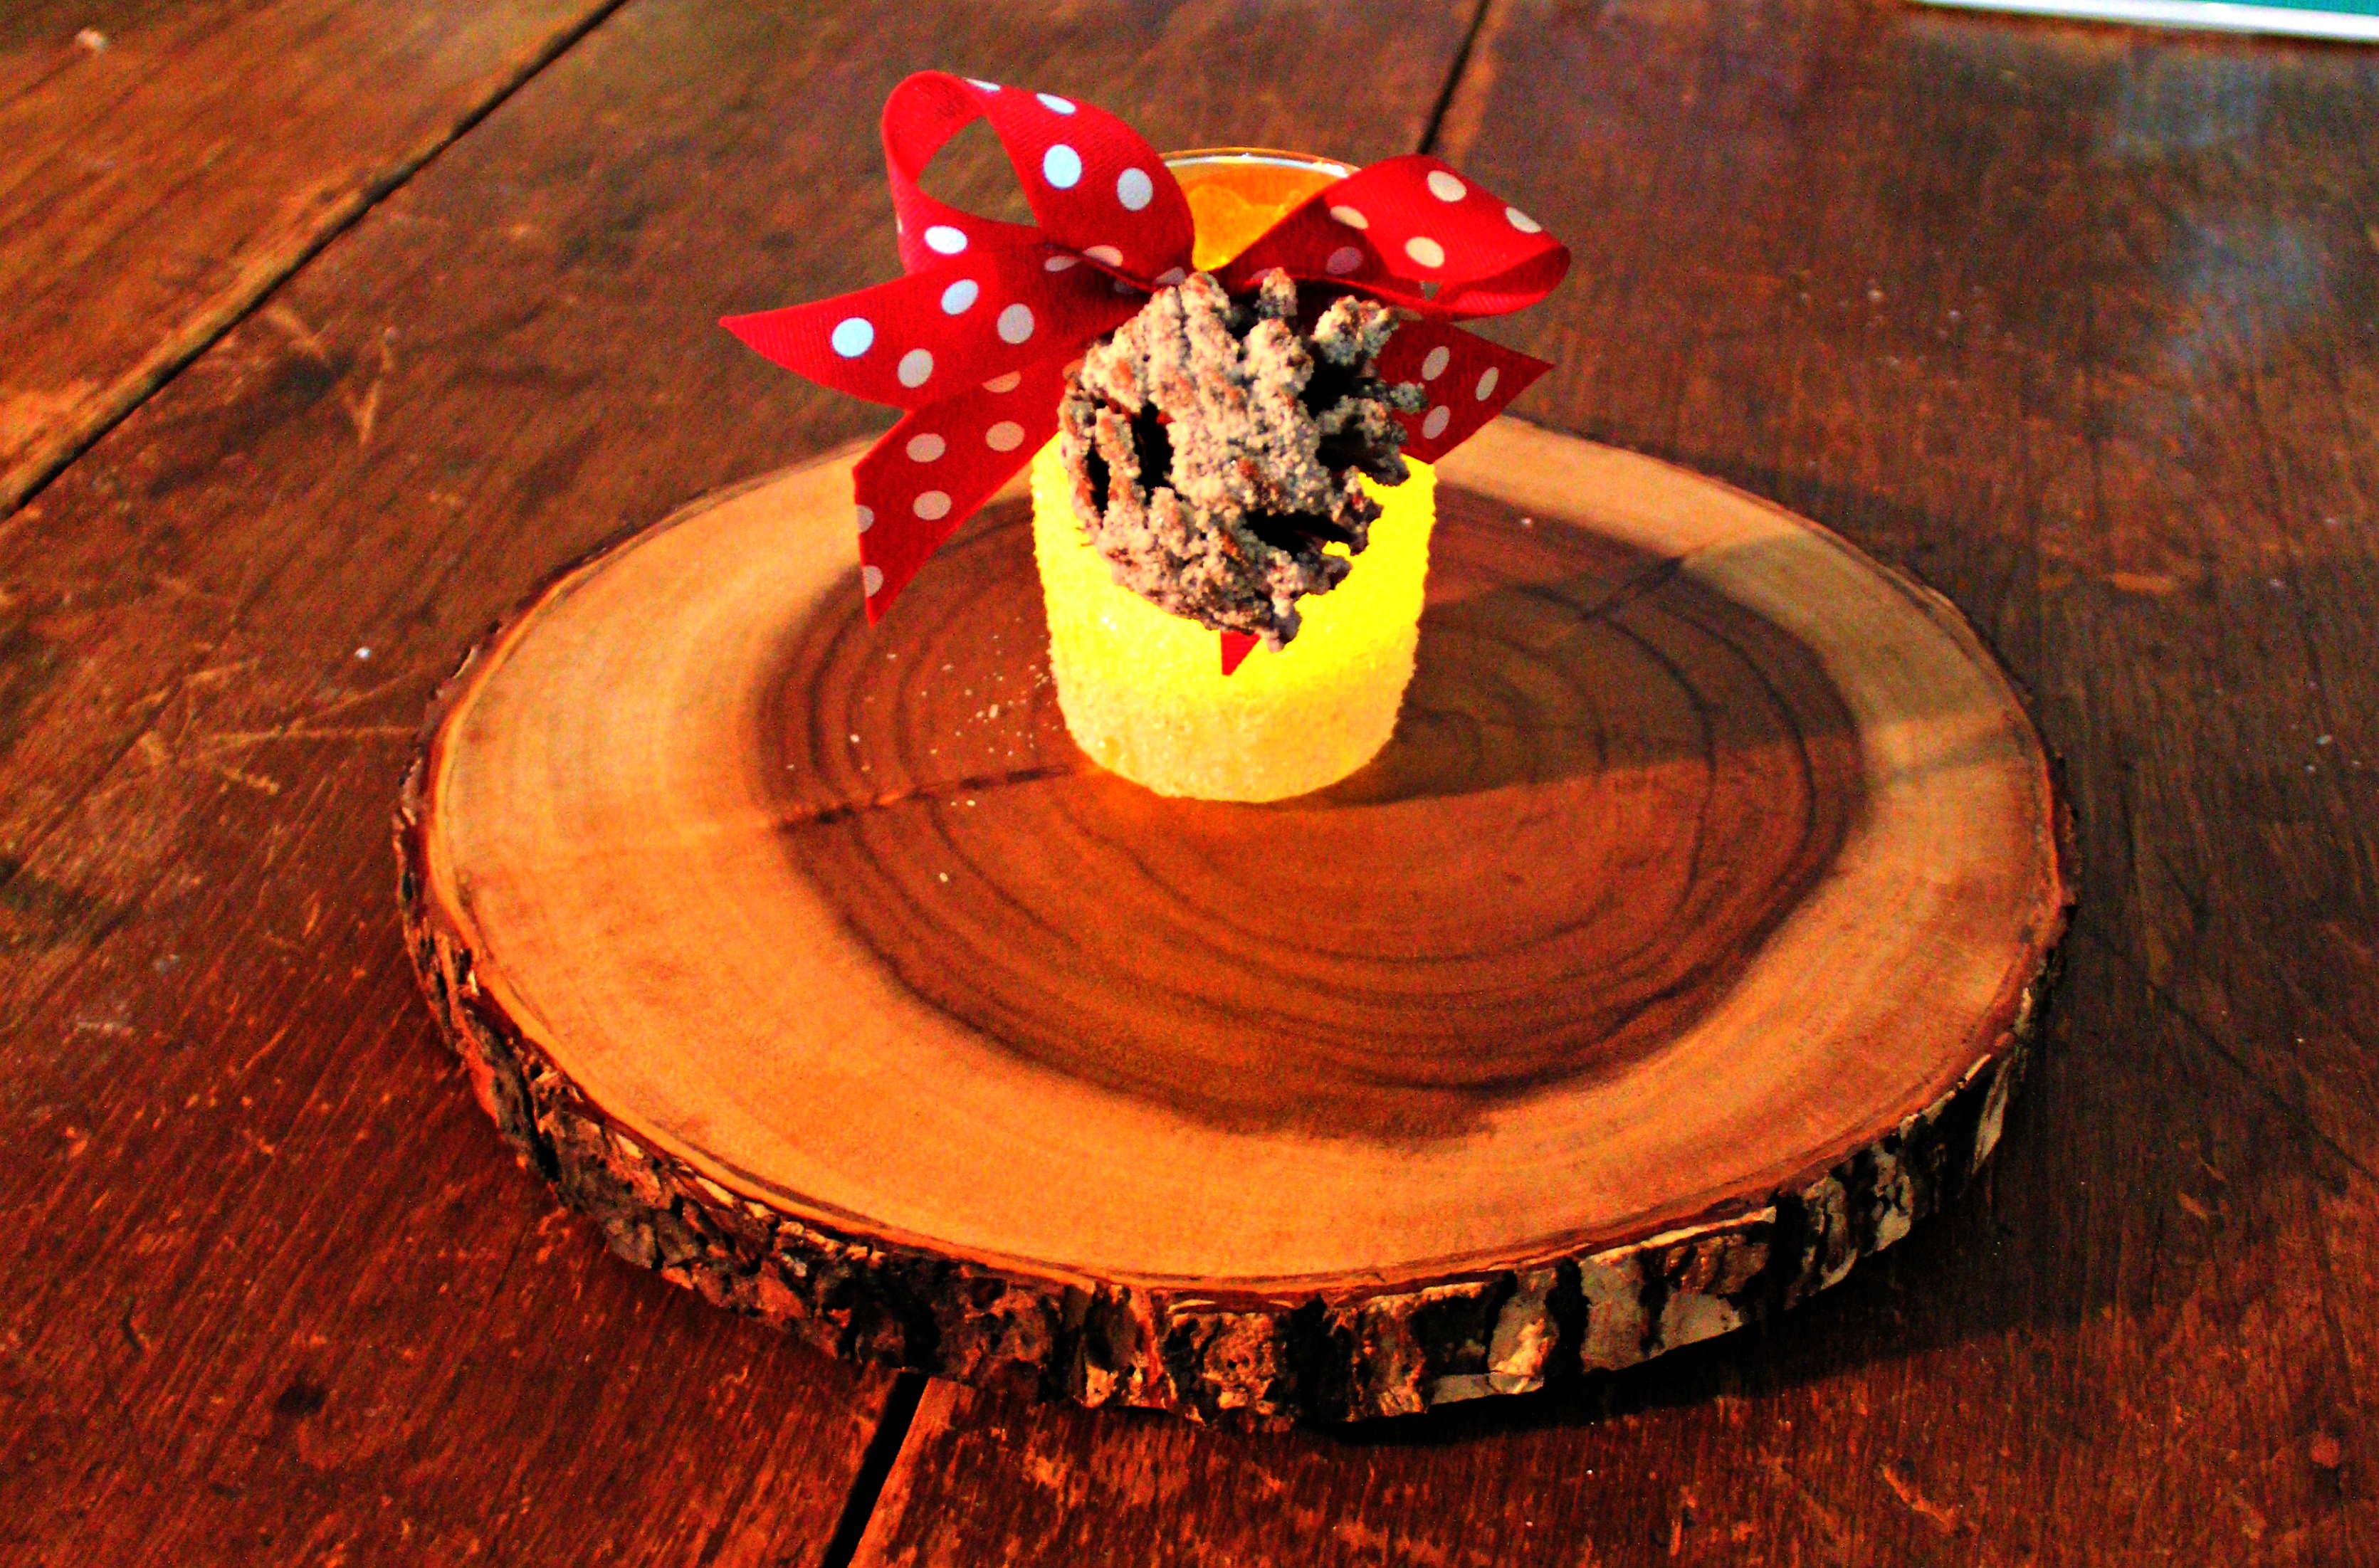
Now, all that’s left to do is light it up!
You can make 4 of these and arrange them in a circle for your Advent wreath (you could use a separate pillar candle or a larger jar luminary as your 5th center candle). They look lovely on a mantel or hearth and can make for a stunning table centerpiece as well. What I really love about them is that depending on the ribbon you choose, you can make these more generic too! Then, they can be used right through the fall, Thanksgiving, Christmas, New Year’s, and all the way to spring.
Be sure to visit our fellow 12 Days of Christmas Bloggers below for even more creative ideas this holiday season!
Emily @DomesticDeadline.com says
What a fun tea light holder! One at each person’s setting on a table would be fun too