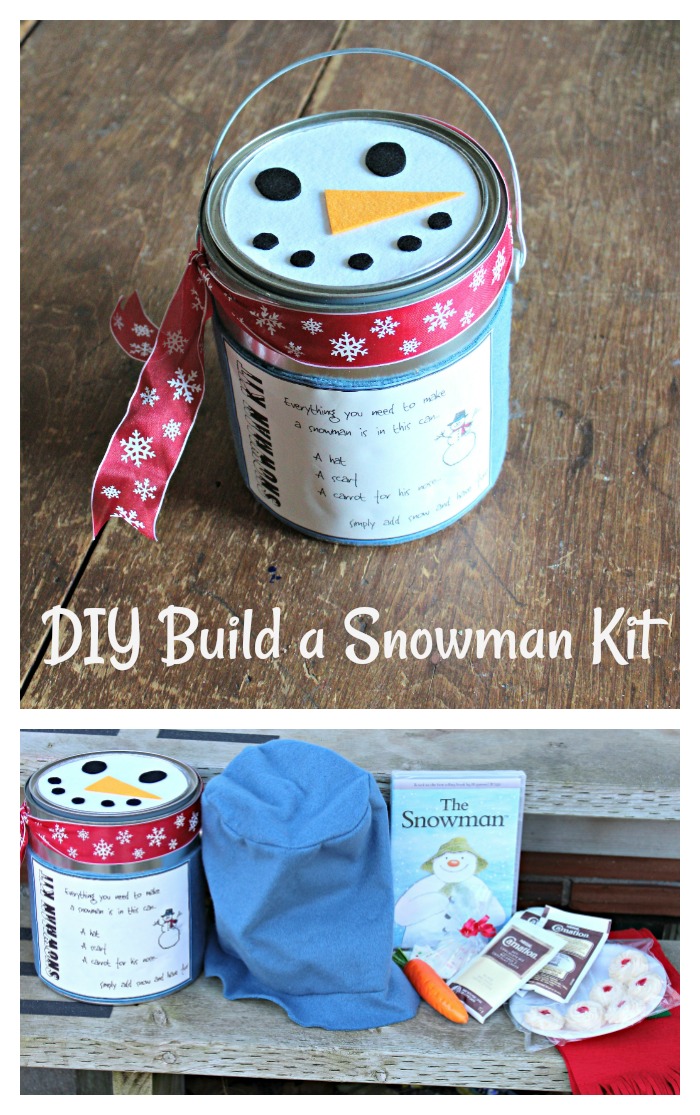
Do you wanna build a snowman? (You’re singing the song now aren’t you?) Well, you are going to love this fun DIY Build a Snowman Kit! It makes a really fun gift for any child on your list or I’m going to give you some ideas to turn it into a gift for the whole family!

DIY Build a Snowman Kit
This kit began as something my friend Sofia made for a craft sale she was having. From there, I took her idea and ran with it because I thought it was just so adorable! What a great way to give a family something fun to do together!
How to Make a DIY Do You Want to Build a Snowman Kit
You probably know by now that I love me some easy craft projects. After all, we live busy lives and I never want a lack of time to get in the way of having fun with my family. So, this idea is SUPER SIMPLE and REALLY QUICK to put together. So much so that I almost hesitate in calling this a tutorial!

Materials needed:
- A paint can. I have found that if you only need one, many of the home improvement/hardware stores will just give you a paint can on request. Since I was making a batch of these kits to give out as gifts, I asked to purchase some and they sold them to me for $1 each.
- Felt. I used a piece of standard blue craft felt to give the can some colour and texture. For the snowman on the lid, I used self-adhesive felt, making this a project that went together in under 15 minutes. You could also paint a snowman face instead.
- Ribbon. You can buy the wired kind so it will hold its shape around the can and form a jaunty scarf of sorts for the snowman.
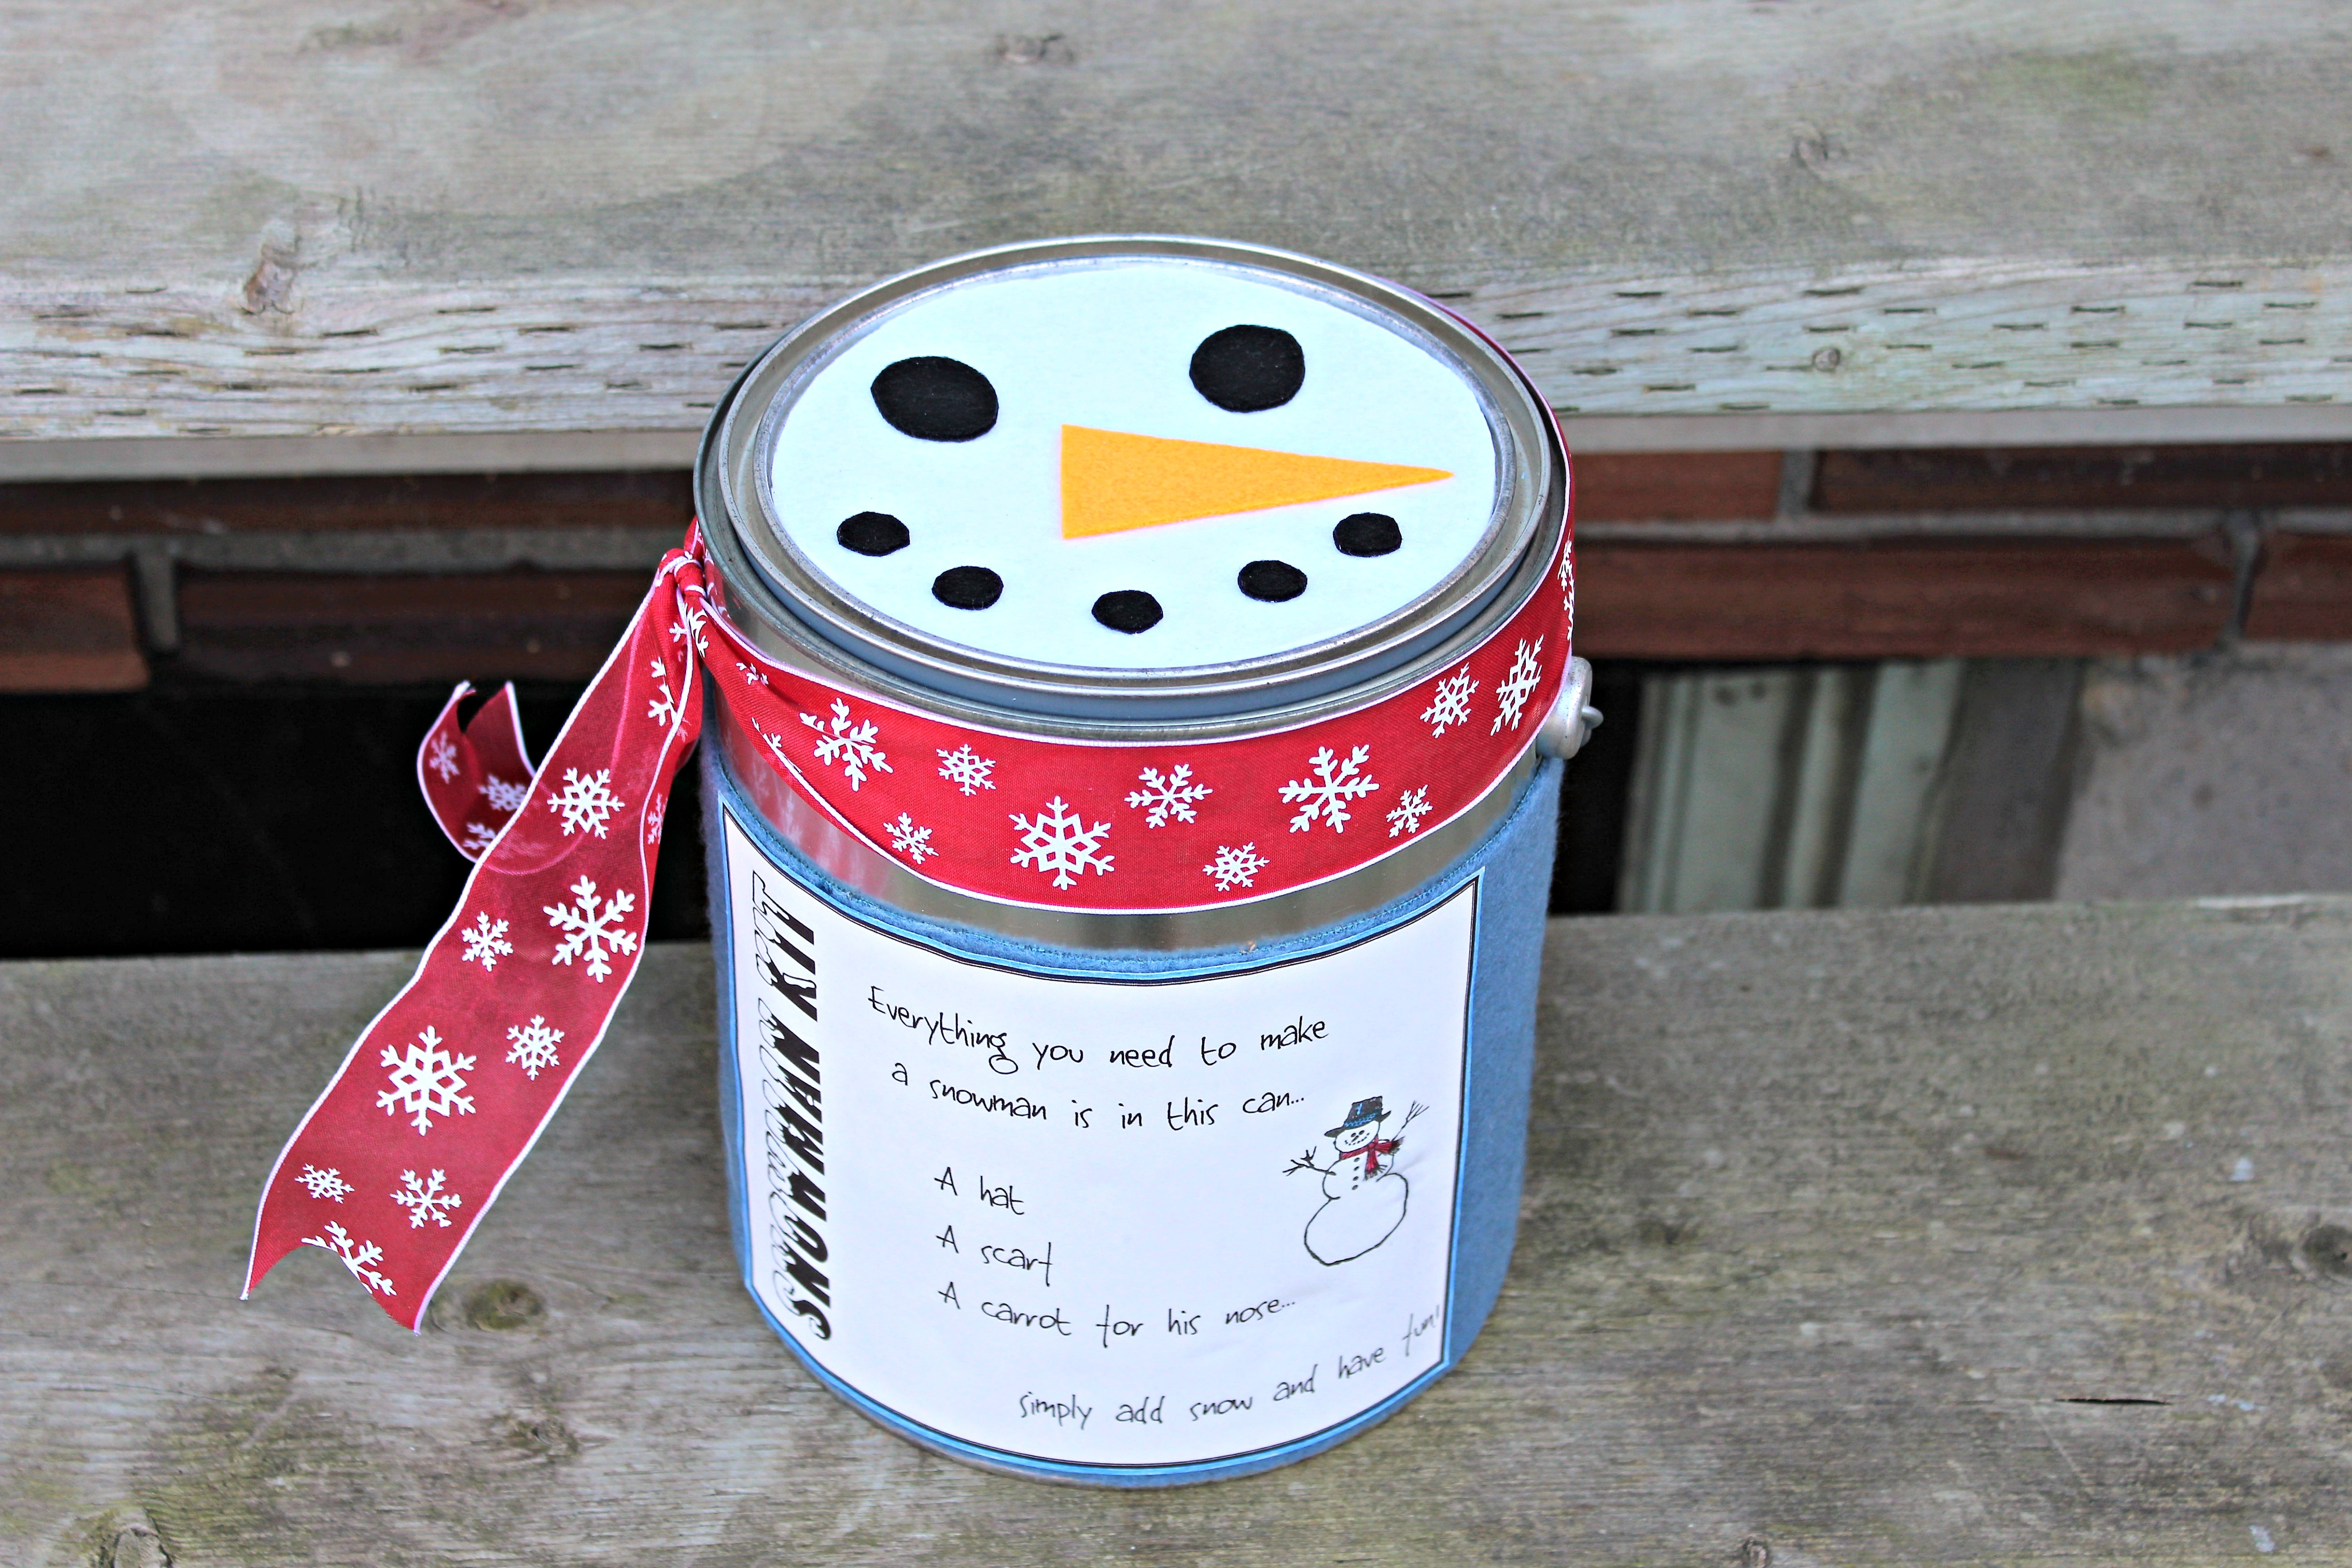
- I printed out the label explaining the contents and what they were for. I only listed the snowman building accessories and left the rest of the goodies a surprise.
- White glue. I found that hot glue showed through when I glued the label onto the felt. My preference is Aleene’s Tacky Glue.
- Items for creating your snowman – I included a floppy hat, a scarf, and a plastic carrot. You might want to add buttons, coal, or other such embellishments.
- Now here’s where the options come in. You could just put in the elements needed to turn balls of snow into a snow person as listed above. But when I give this kit to a whole family, I like to add more. I try to think of a day spent as a family, building a snowman, and then coming inside for…..hot chocolate? Cookies? Maybe some popcorn? It can be fun to add in a movie or two that the family can watch together while warming up after their fun time out in the snow. I added The Snowman, a less well-known snowman movie but one of my daughter’s all time favourites. You could even include some snowman-themed books or a small game. PLUS, I think back to the year my daughter received a toboggan for Christmas, and then it didn’t snow at all! So I like to include items that will allow the family to still have a lot of fun, snow or no snow.
These instructions couldn’t get much easier.
Glue the felt around the can. Attach the label on top of it (ps – instead of printing it on paper and then gluing it on top of the felt, you could print it out as a self-adhesive label).
Tie the ribbon around the can – you might need to secure it in one or two spots with a dab of glue. Create the snowman’s face on the can lid.
Fill the can with your chosen items and you are done! You can go an extra step and create a tag to attach to the can (or make them a snowman ornament with the family name on it to serve as the tag!)
Great gift idea, right? These are really fun festive gifts to leave on people’s doorsteps too. What an exciting surprise when they open their door and see it!
Emily @DomesticDeadline.com says
We got a dusting of snow this morning and my son was trying to build a snowman at the bus stop! He’d love this