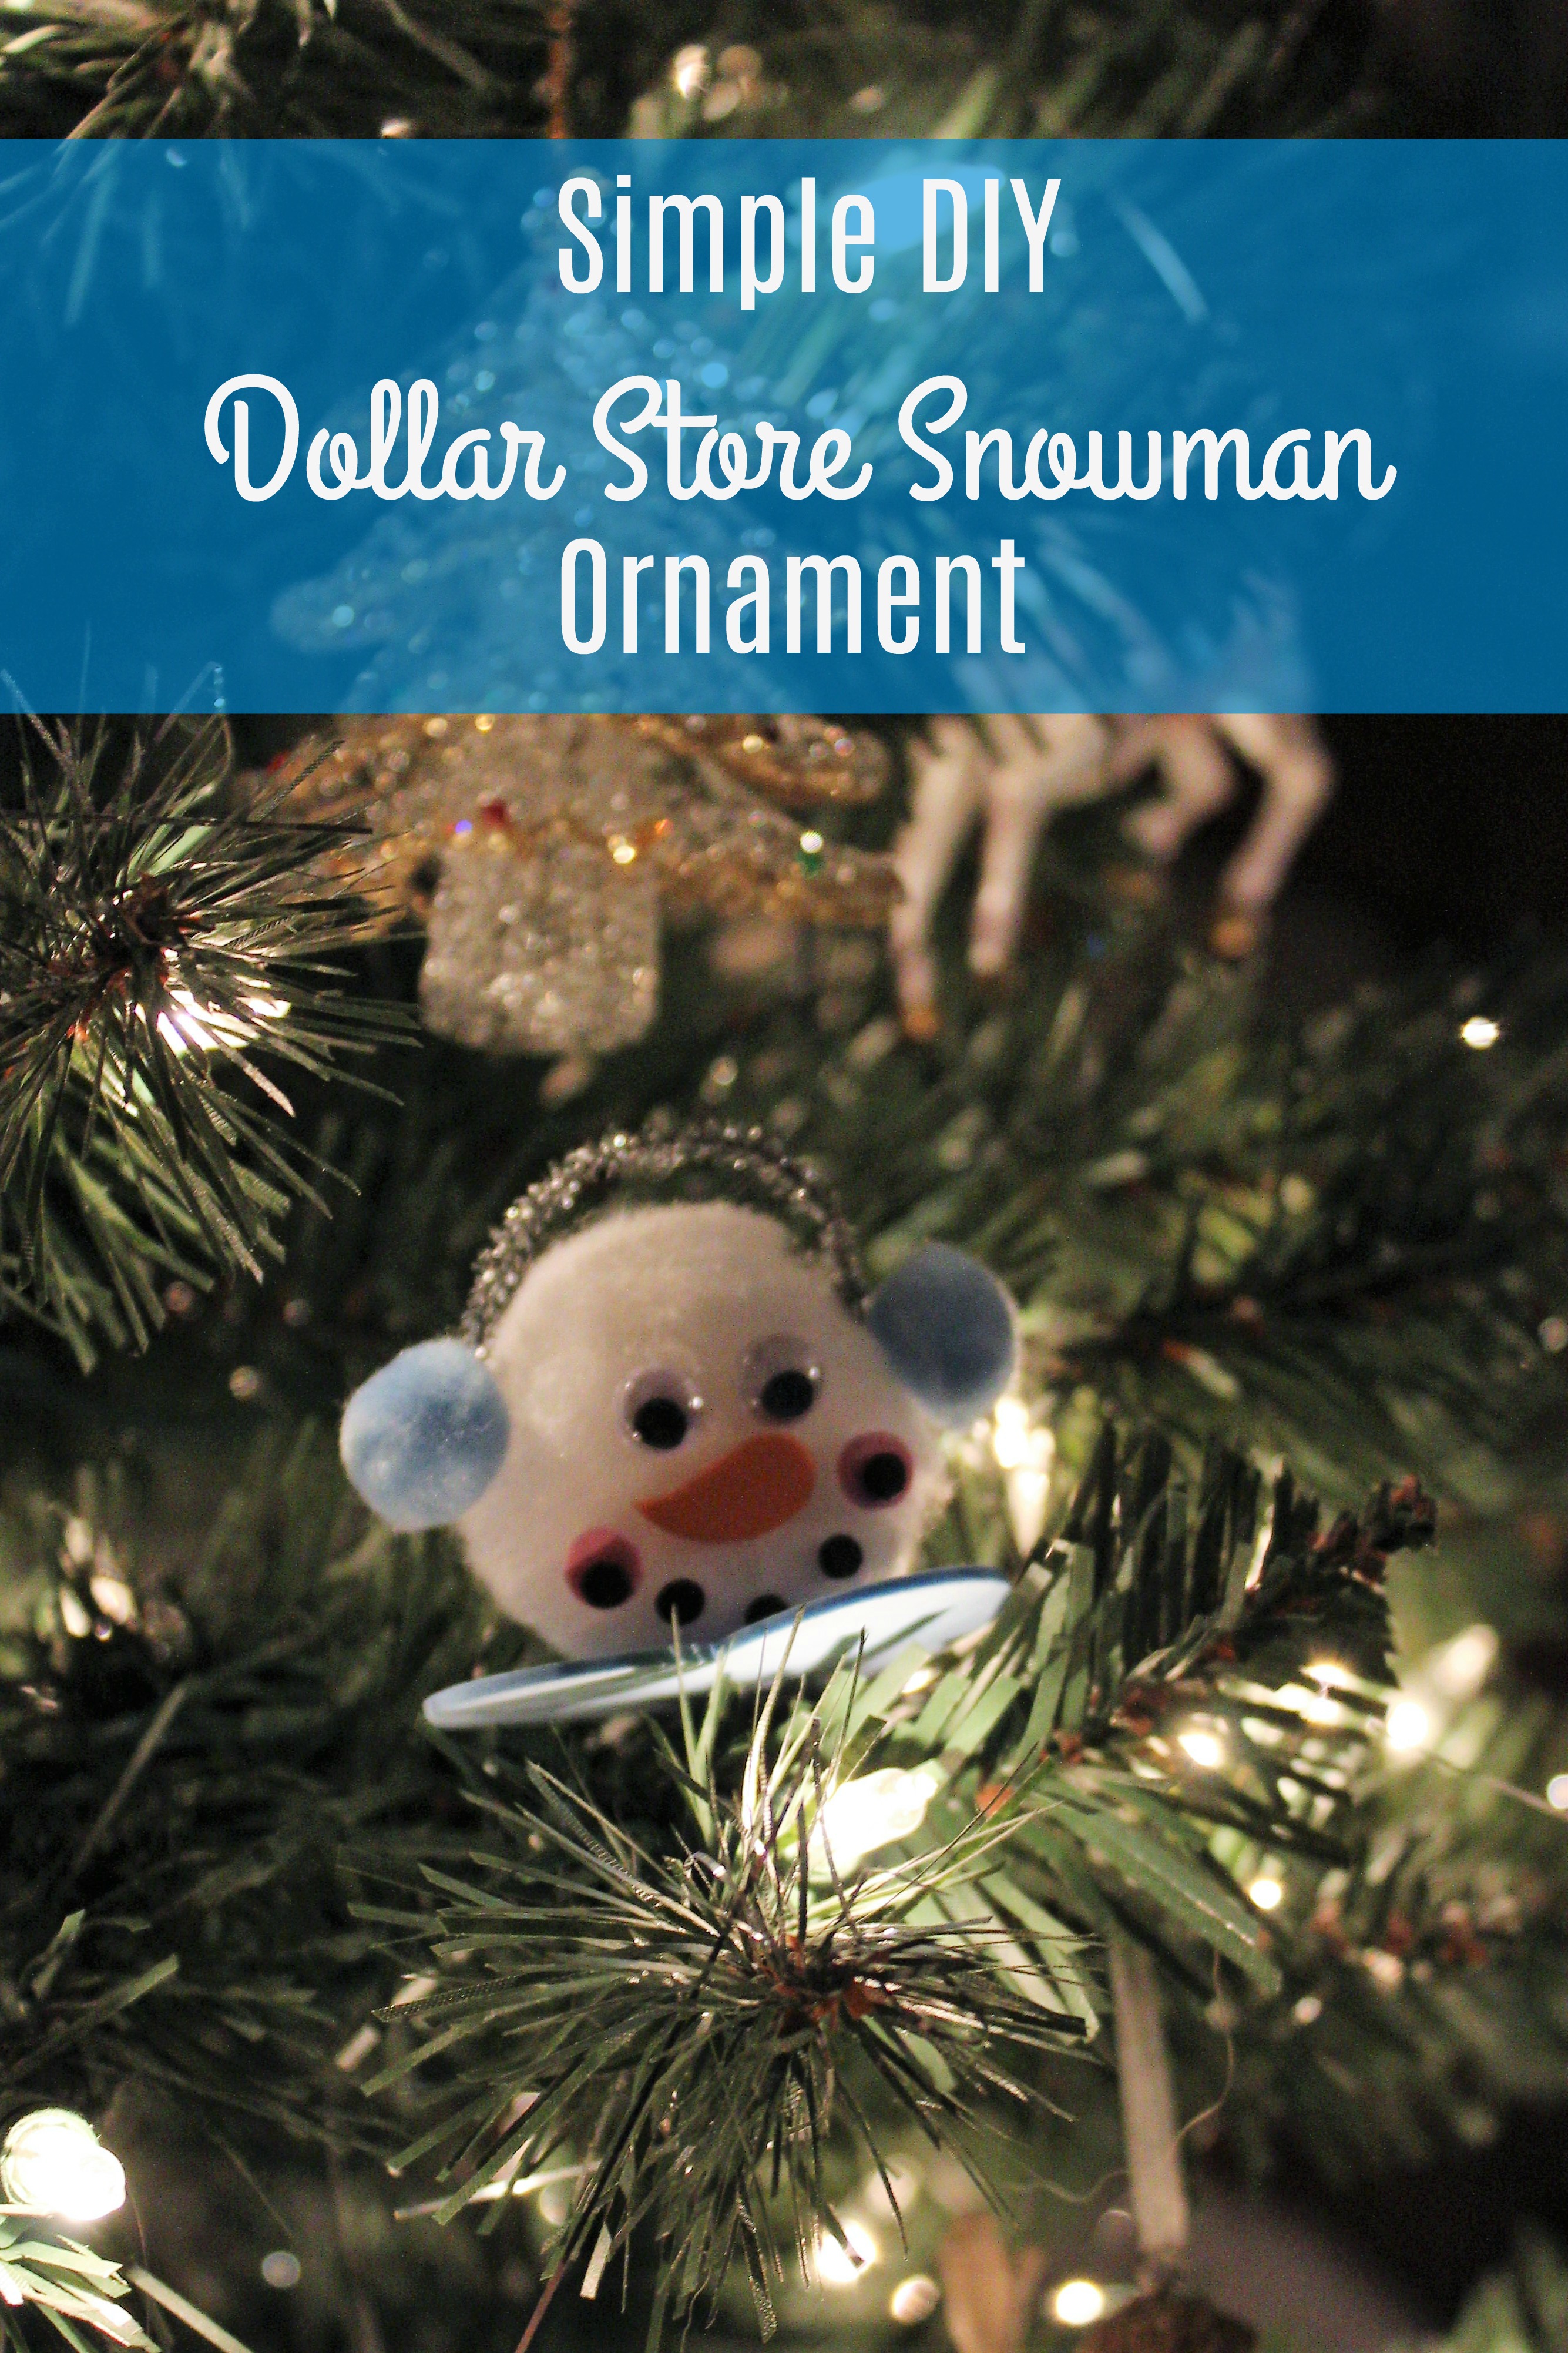
This DIY Dollar Store Snowman Ornament is super quick and easy to make. And of course, since you can get most, if not all, of the supplies needed at your local dollar store, it’s really inexpensive too!
You can make these as little shelf sitters or add a string to hang them in the tree. I like to nestle them in the branches and place them on gift packages as embellishments. Show the kids how to make the first one and then give them some scraps you have on hand and let them use their creativity to make variations of these little snow people.
How To Make a Dollar Store Snowman Ornament:
This project really couldn’t get much easier.
To make this snowman ornament, you will need:
- 1 – 1 to 1 1/2 inch diameter white pompom
- 2 – 1/4 to 1/3 inch diameter blue pompoms
- 2 googly eyes
- 1 piece of silver tinsel chenille stem – about 1 1/2 inches long
- 1 blue craft foam heart (or cut your own)- inches in diameter
- craft foam scraps in orange, pink, and black (note: you can often buy bags of craft foam shapes in assorted sizes and colours – that’s what I used)
- scissors (for cutting orange carrot nose and other shapes as needed), hole punches (if you’re going to punch out your own black and pink circles)
- white glue – I used Aleene’s Tacky Glue (my preferred brand) but you can use any white glue or a hot glue gun (Use the cool touch kind if using this with kids).
Note: It’s not difficult to adjust the sizing of the materials you use – just be sure to keep them proportional. You can obviously also use any colours you want.
Instructions:
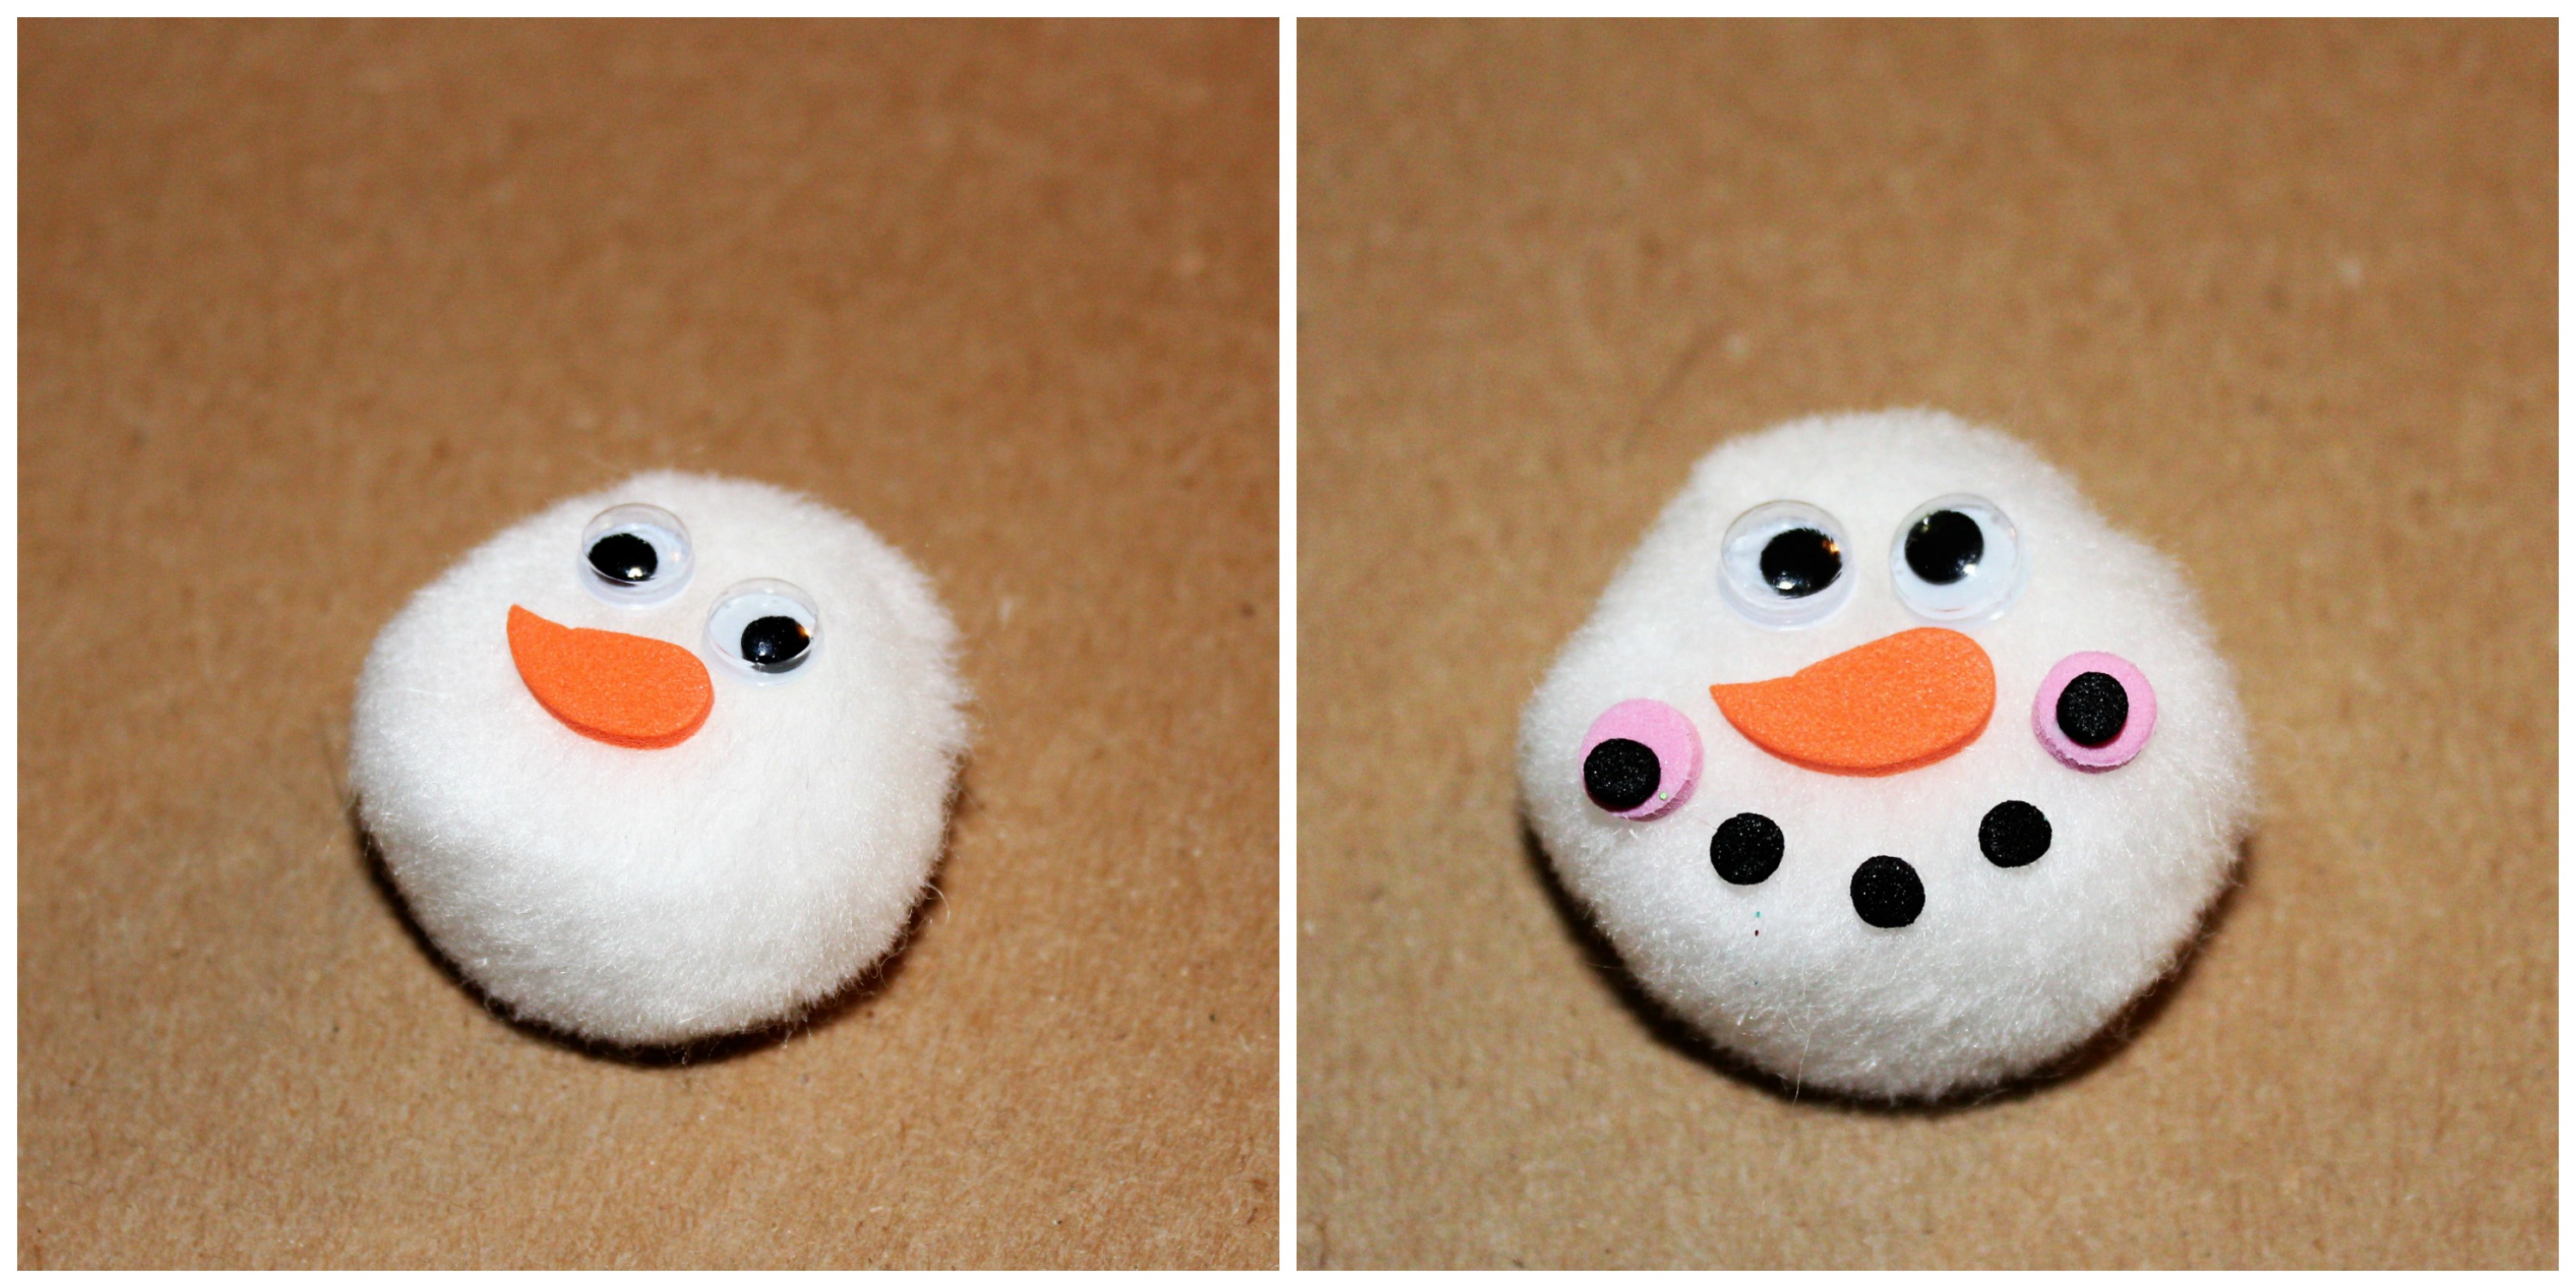
I found it simplest to glue the face on first. Begin by placing the eyes and the nose first. This makes it easier to then place the mouth in the appropriate position. Glue on the two pink circles for the blush of his cheeks first and then add the black dots for the smile. I let this dry briefly before moving on.
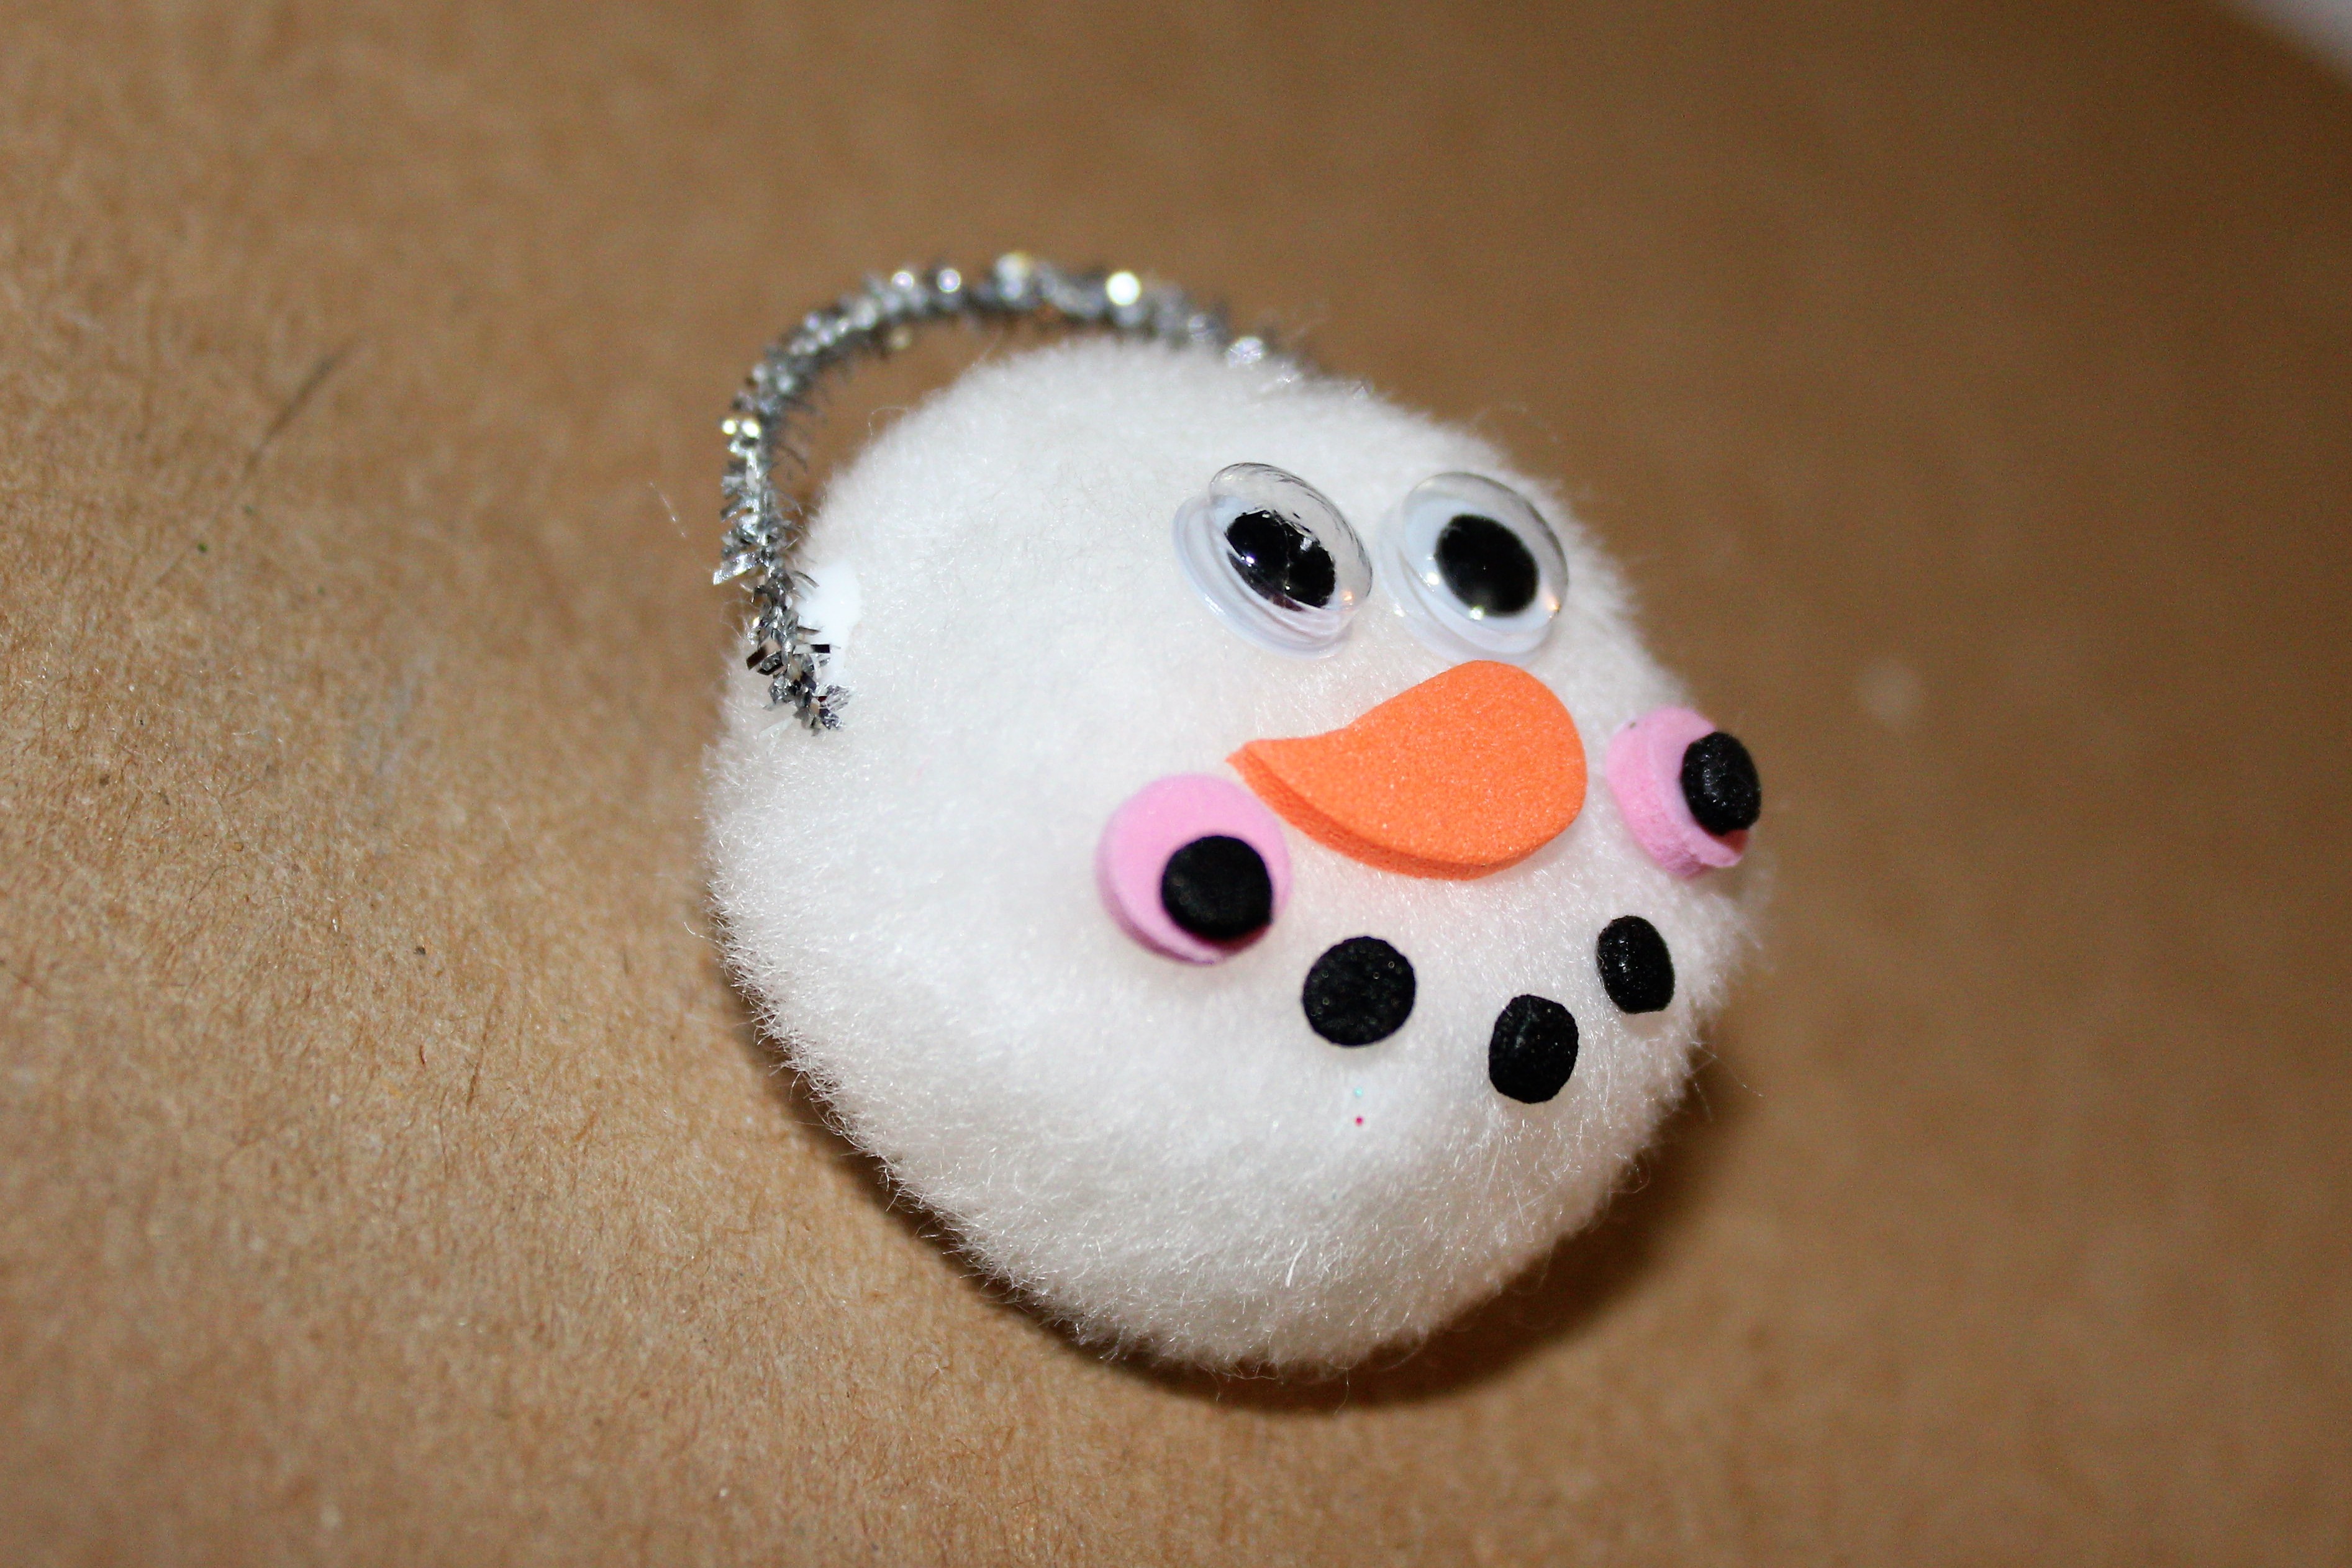
Next, bend the chenille stem into a semi-circle. This could be the trickiest part if you are making this with children. I put a dab of glue on each end of the chenille stem and then put it in place on the large white pompom. I found that a second white pompom served well as a “prop” under the stem to hold it steady while it could dry thoroughly. You might want to hot glue the stem on yourself to speed things along so the kids can move on to the next step.
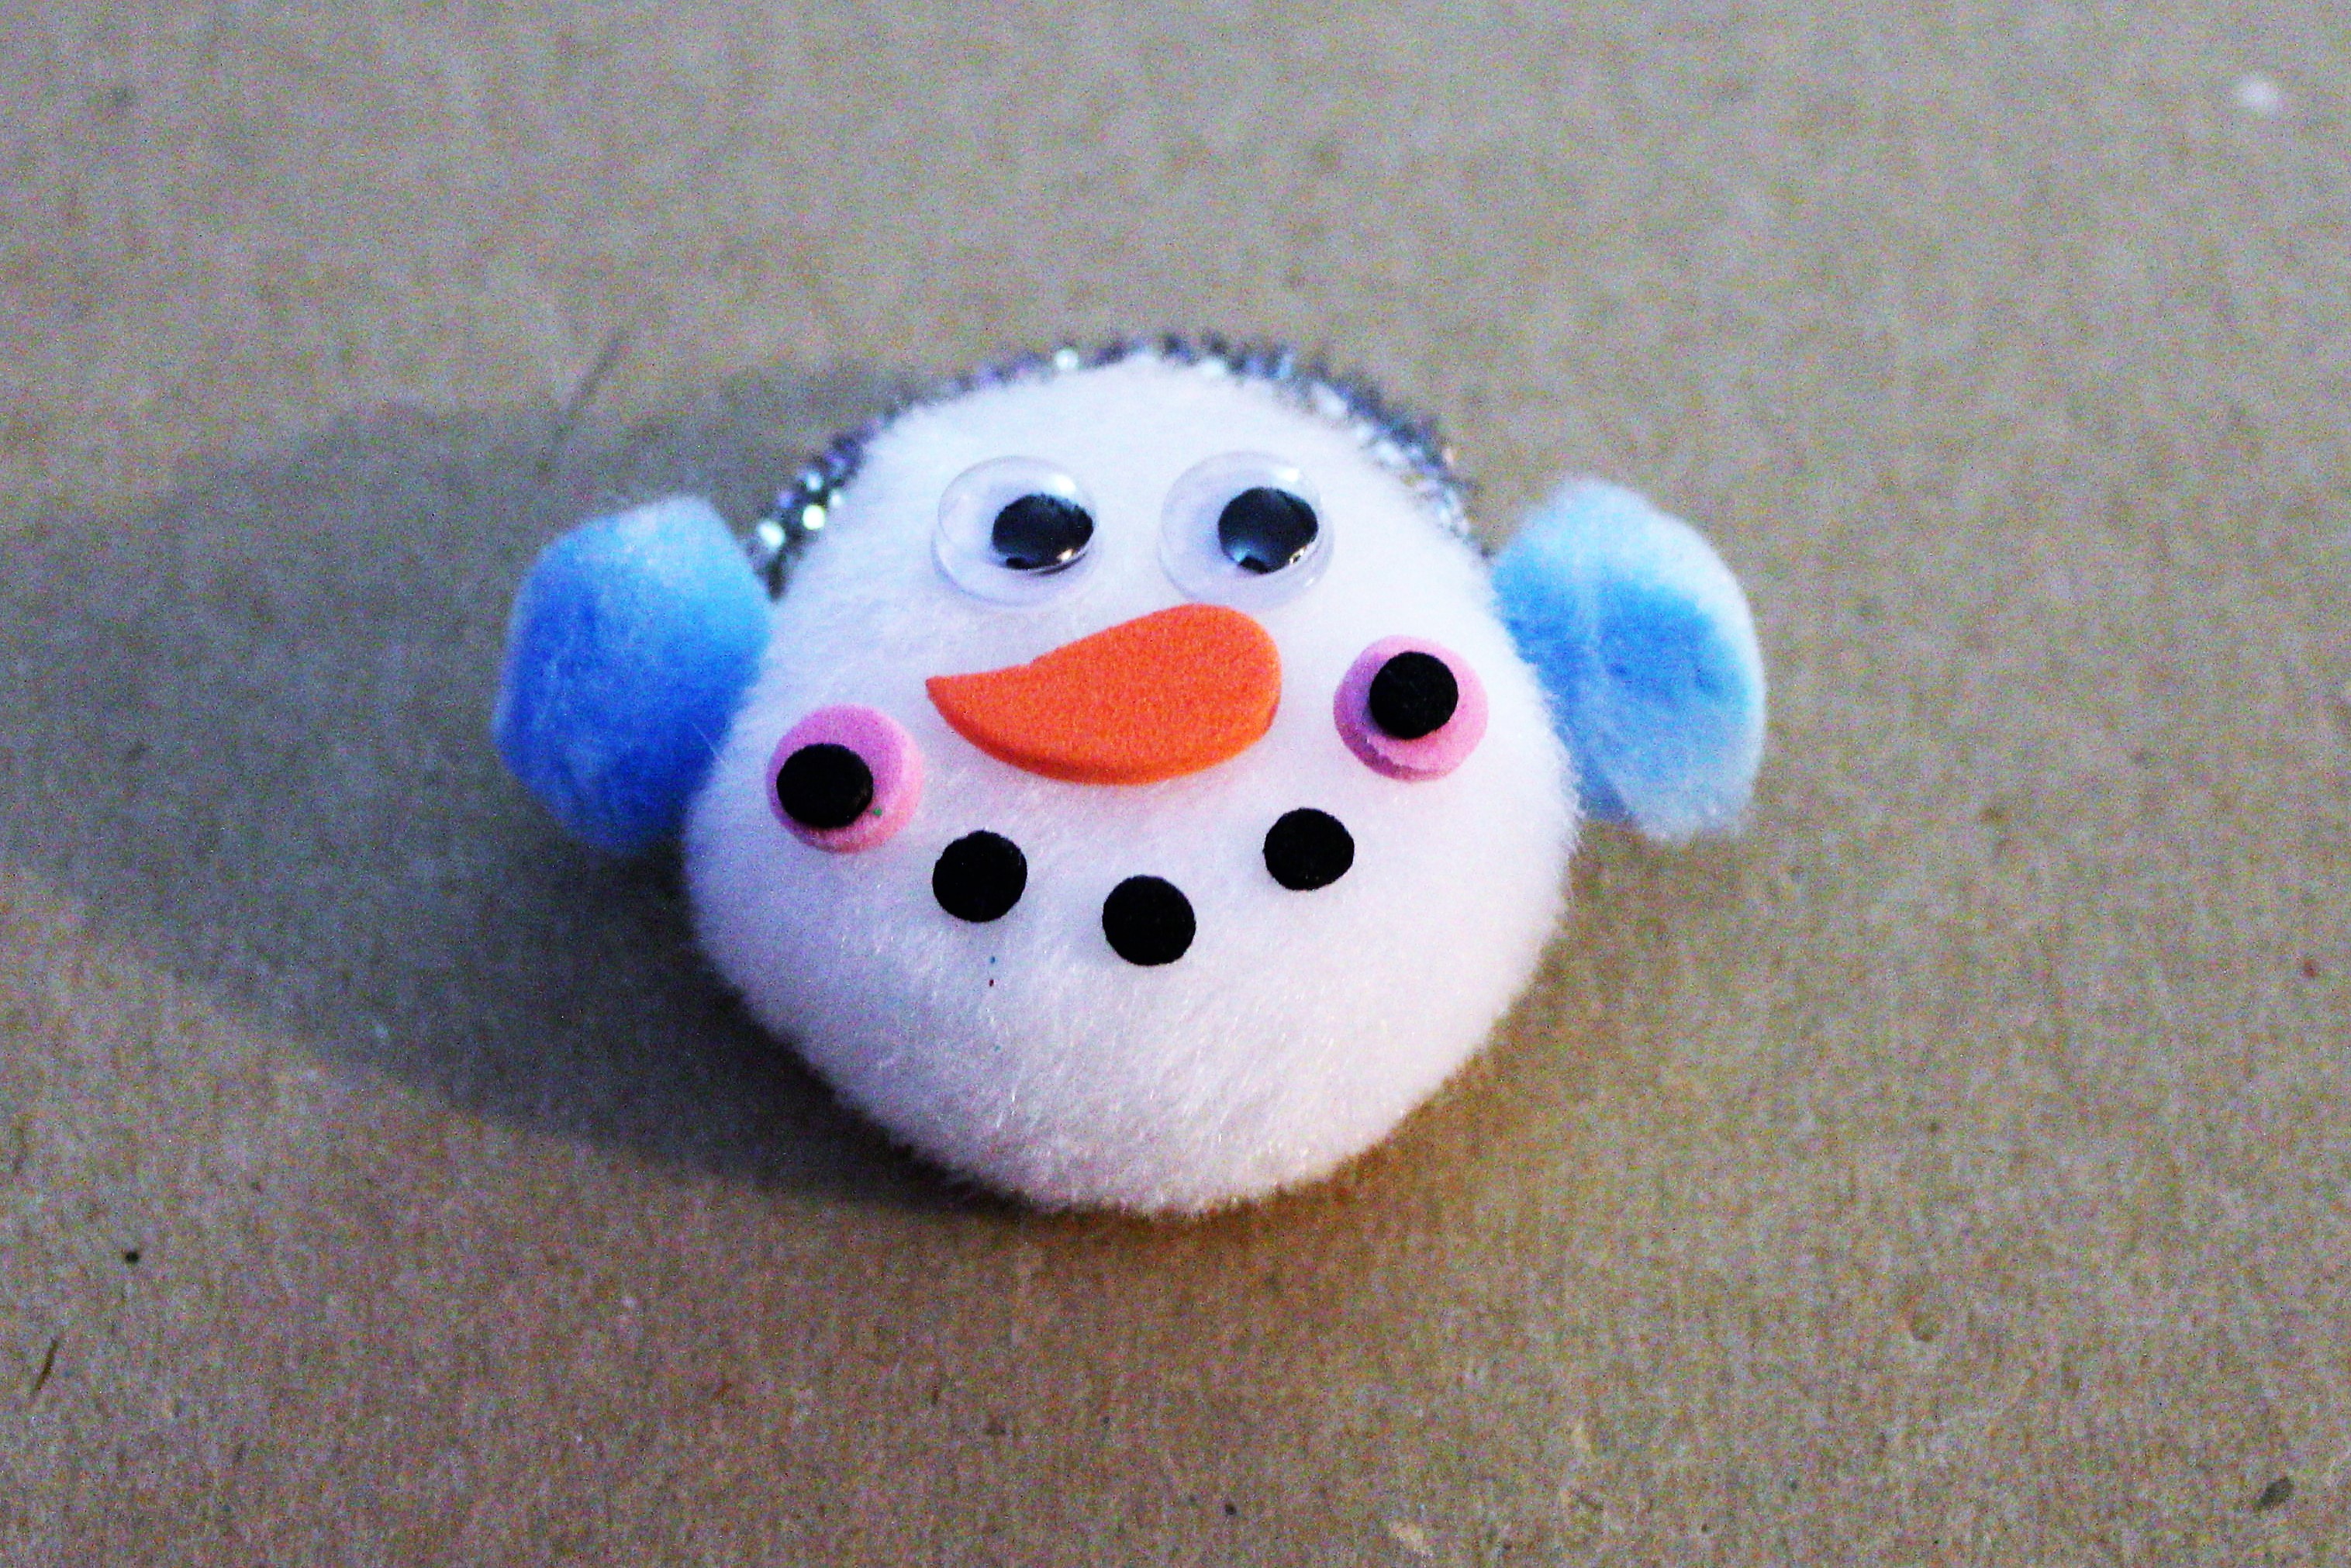
Now you’re ready for the blue pompoms to finish off the earmuffs on Ms. (or Mr.) Snowman. This is another step where I found it a good idea to let it dry quite well before finishing the assembly of the snowman ornament. If your little one is making a tree full of these or crafting up a bunch as gifts, you might get them to work on it assembly line style so they can keep busy with additional ornaments while the first ones dry.
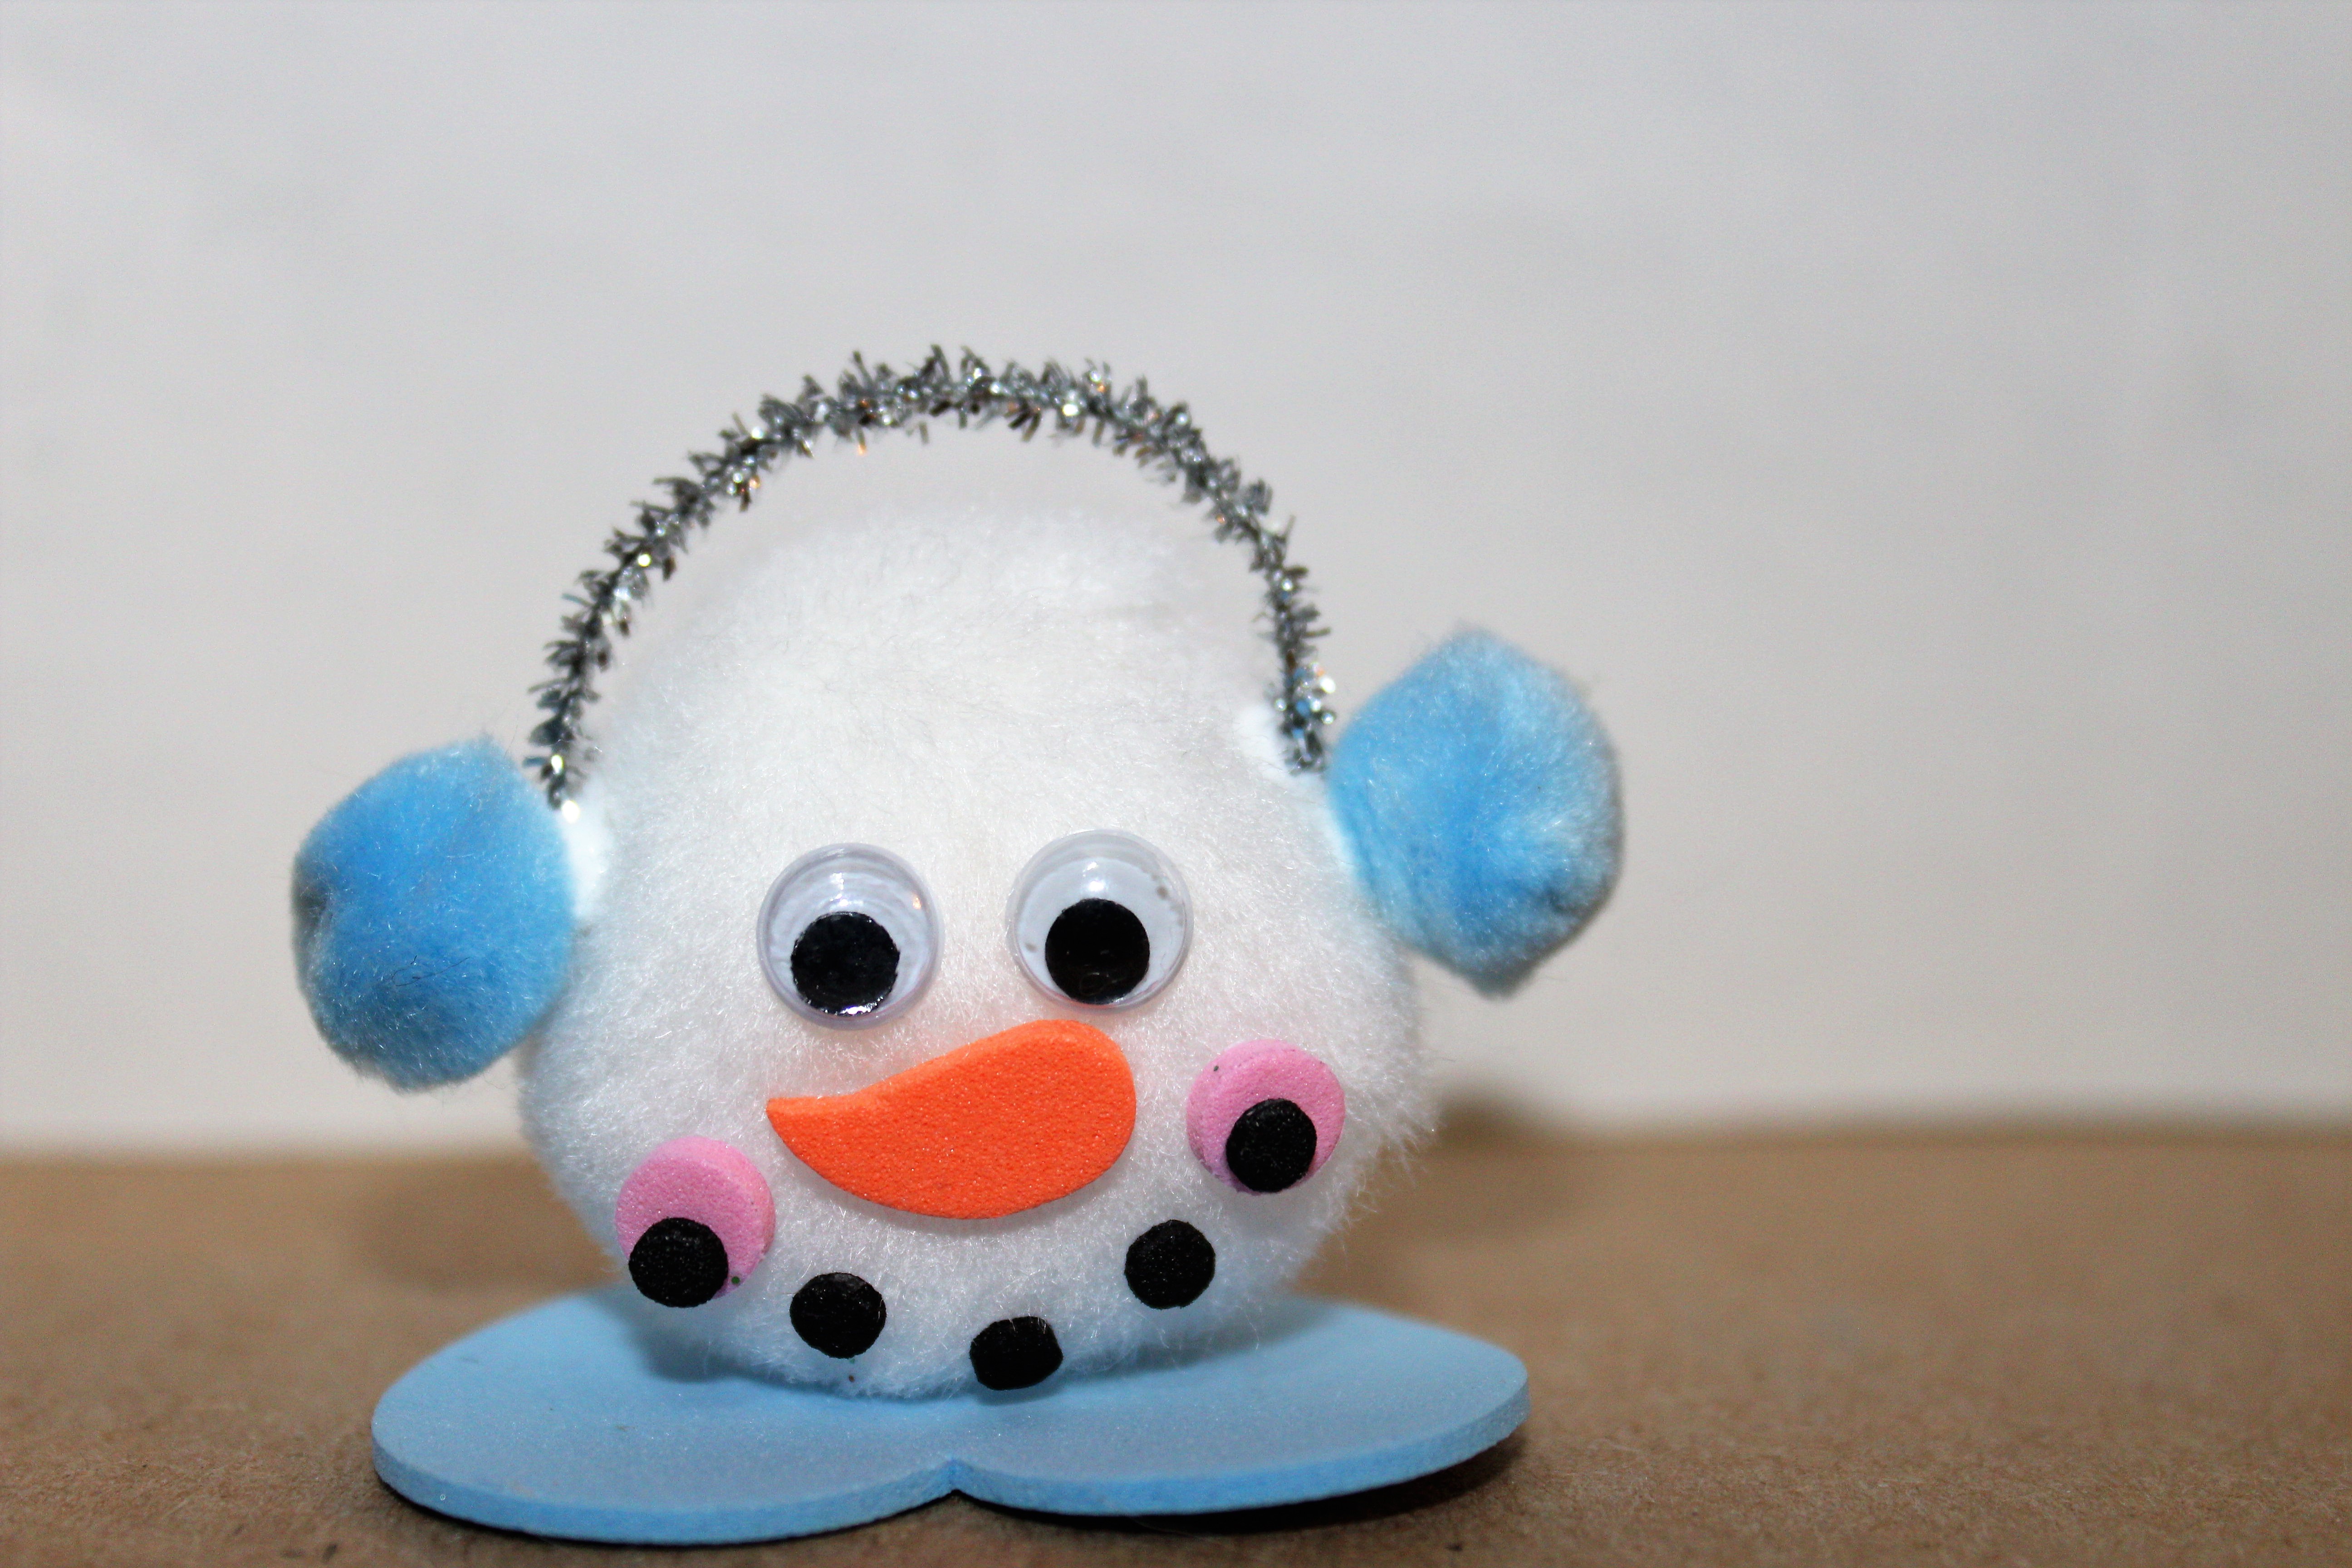
Glue your snowman onto the heart to form the feet and you’re all finished!
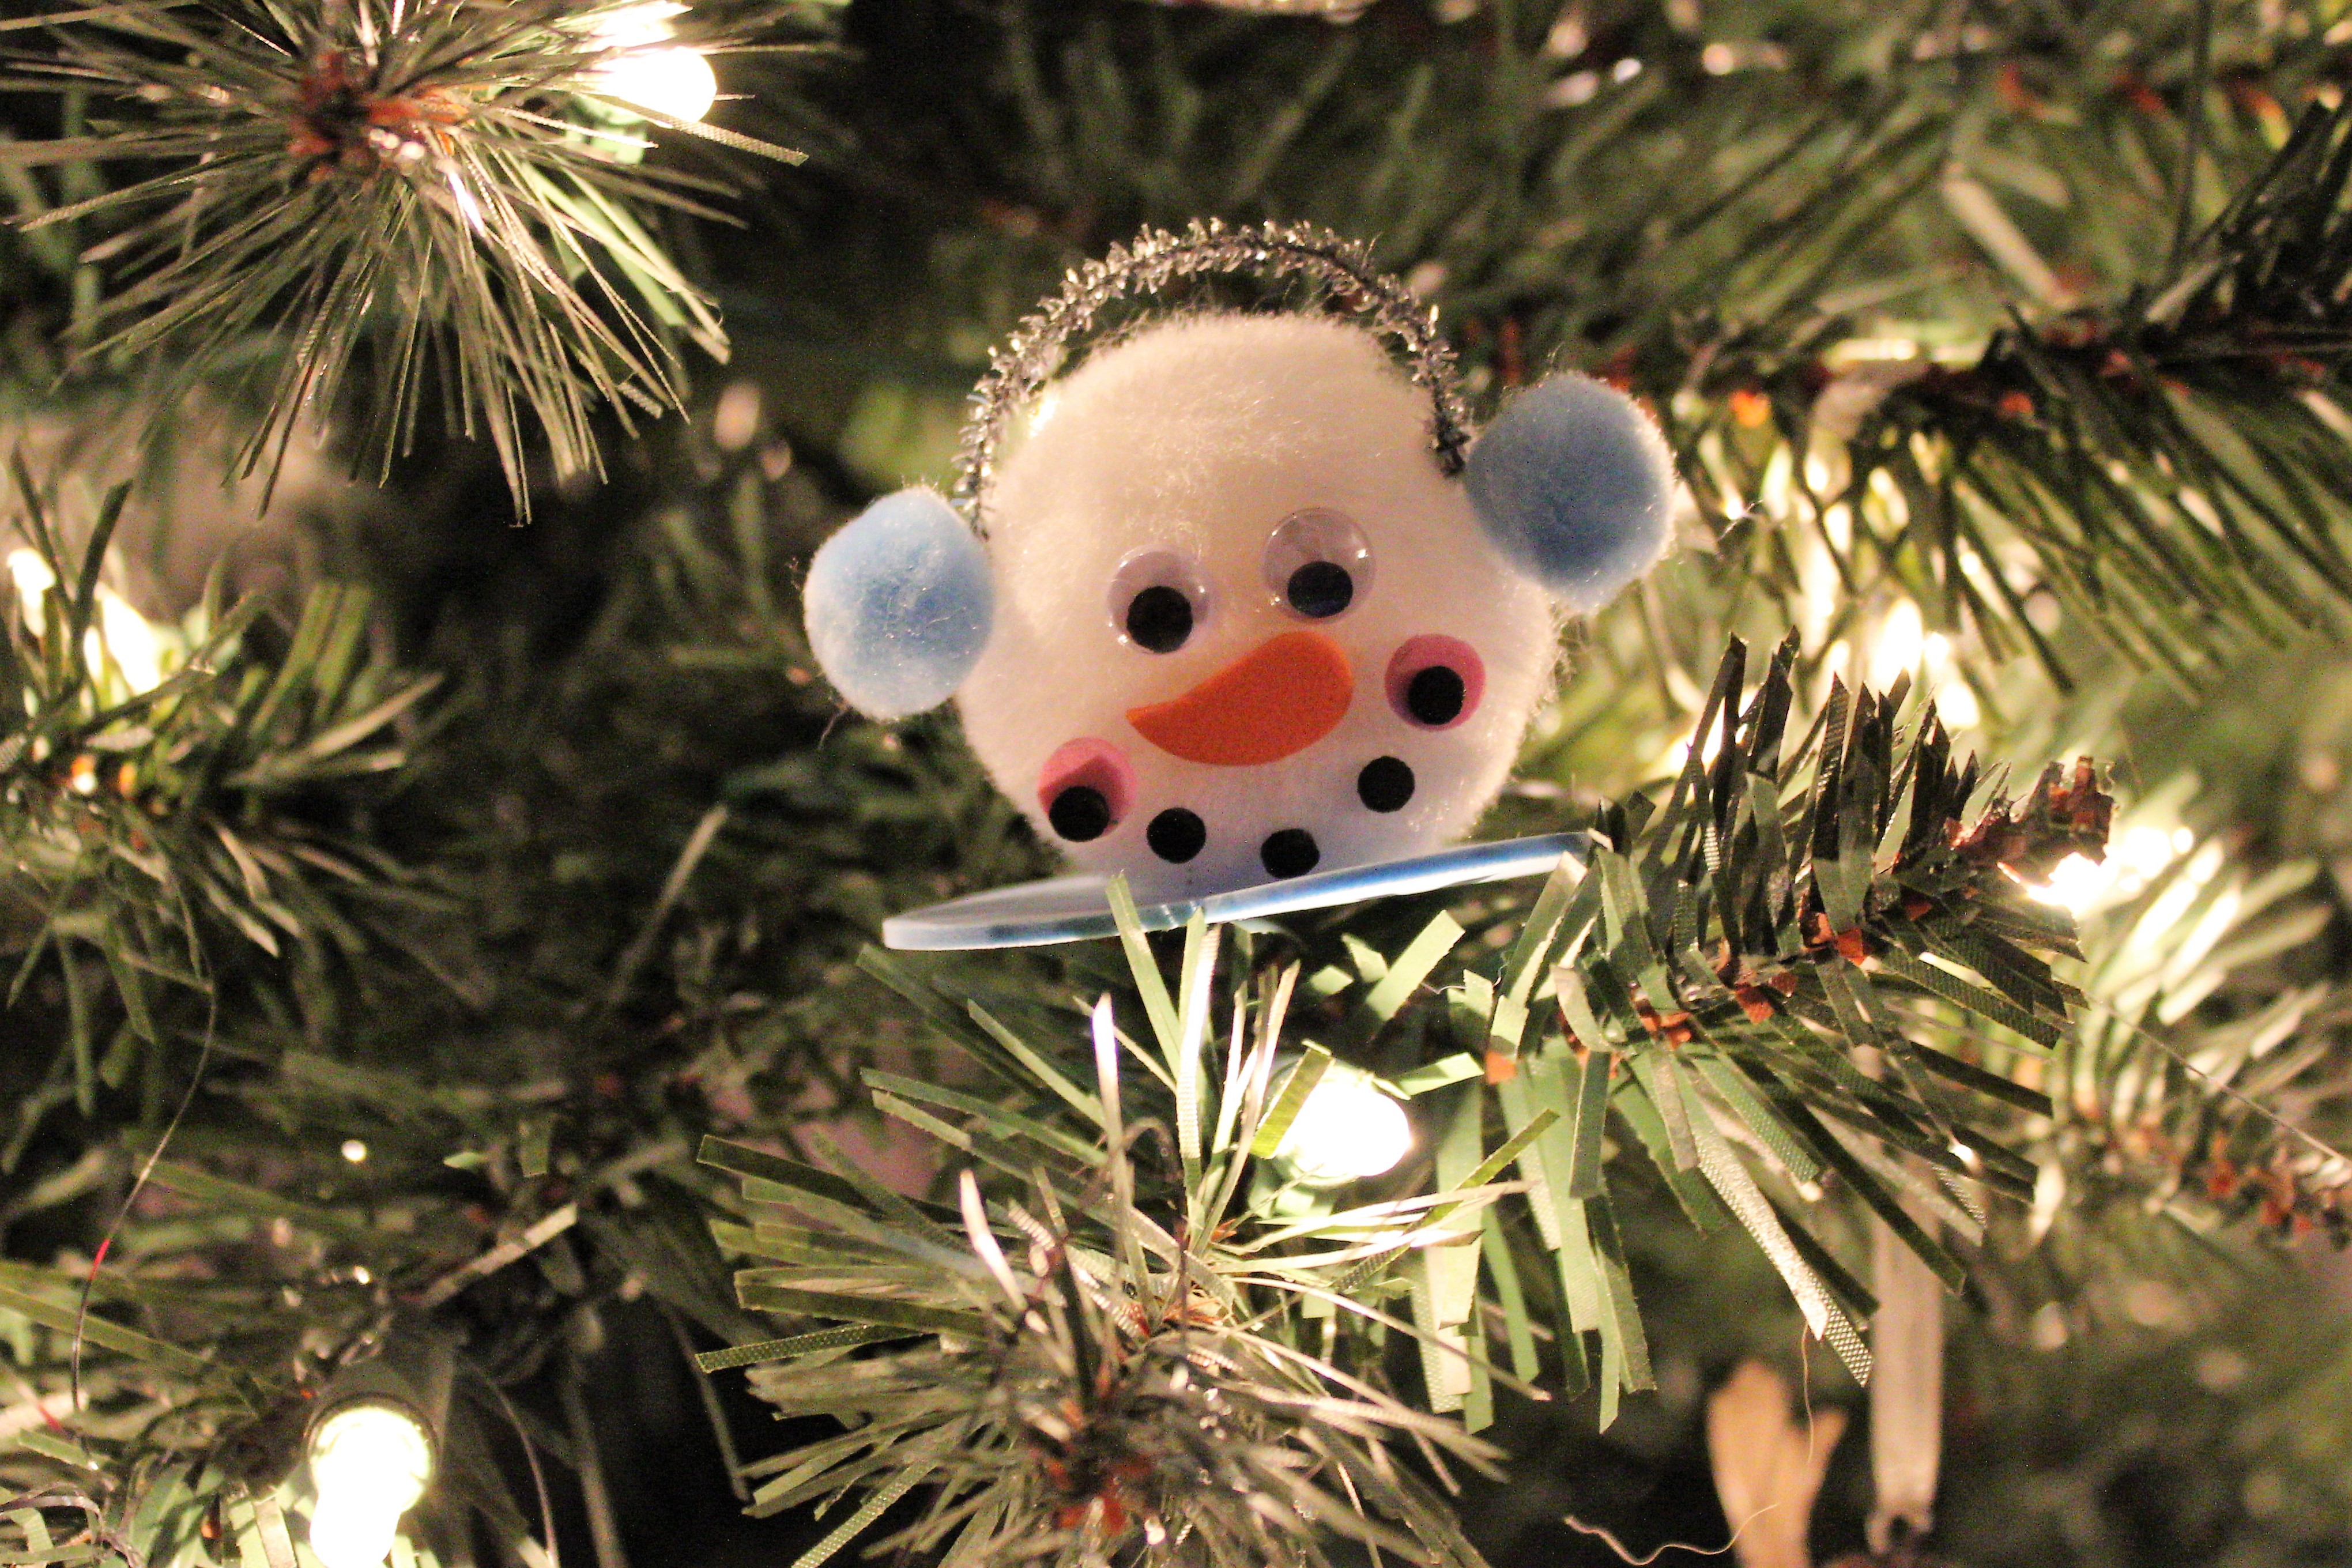
Now I just nestle my little snowmen in among the branches of my tree. However, you can certainly add an ornament hook or some string to hang them with if you prefer. Because they will stand up, these make adorable little table favors too! Leave off the feet and you can hot glue these onto pencils as cute holiday pencil toppers. They make fun stocking stuffers.
Shirley Wood says
I am mad for snowmen and yours is adorable! So glad you be a part of the 12 Days with you!
Lauren says
I literally said “AWWW” out loud when I saw this! Very very cute!!
Trisha LeBaron says
I love that you added the cute little feet. It’s such a great finishing touch to a cute ornament
Vanessa says
Snowman melts my heart. I love this and looks great.
Beverly says
This is adorable! Such a fun idea!
Erlene says
These would be so fun for kids to make and add to gifts. And love that the supplies can all be bought at the dollar store for savings.
Emily @DomesticDeadline.com says
This would be a great project for in the classroom!
Megan says
He is just too precious for words! I love the little earmuffs!
Debrashoppeno5 says
Snowmen are such fun and yours is so adorable.
Doctear says
Hey Cyn,
This is too cute not to try. So my nephew and I did it for his Christmas school project. The earmuffs completed Mr. Snowman and it is just adorable 😉