This moving caterpillar craft is a fun paper craft for kids that really comes to life! Best of all, when it’s finished, your caterpillar actually moves across the leaf, making it just as fun to play with as it is to create.
This craft works well for older preschoolers and early elementary-aged children, although some adult assistance may be needed particularly when cutting and gluing the moving mechanism.
Children’s fine motor skills vary considerably, so if the original pattern pieces feel too small for your child to handle comfortably, try enlarging the template before printing.

This easy insect craft is perfect for:
- spring activities
- bug units at school or homeschool
- storytime after reading The Very Hungry Caterpillar
- a visit to a butterfly conservatory
- or simply an afternoon of creative fun at home.
As they cut, color, and assemble their caterpillar, kids also get to practice fine motor skills while creating something they’re excited to play with afterward.
If your little ones love bugs and butterflies, be sure to check out our clay Very Hungry Caterpillar craft. You might also enjoy our Paper Dragonfly Craft or Clothespin Butterfly Craft to keep your insect-themed crafting fun going.
Moving Caterpillar Craft

Supplies Needed:
- Colored craft papers
- Colored cardstock paper
- Pencil
- Craft glue – you want a strong one like a tacky glue
- A pair of scissors
- Markers
- Pattern template
Instructions:
Step 1:
Download, print and cut out the template patterns. Select colored cardstock paper for the leaf and the strip pattern and select colored craft papers for the caterpillar patterns. Trace the template patterns on the selected papers and cut them out using scissors.

Step 2:
Take any one of the rectangle cutouts (caterpillar) and apply glue along a short side.

Step 3:
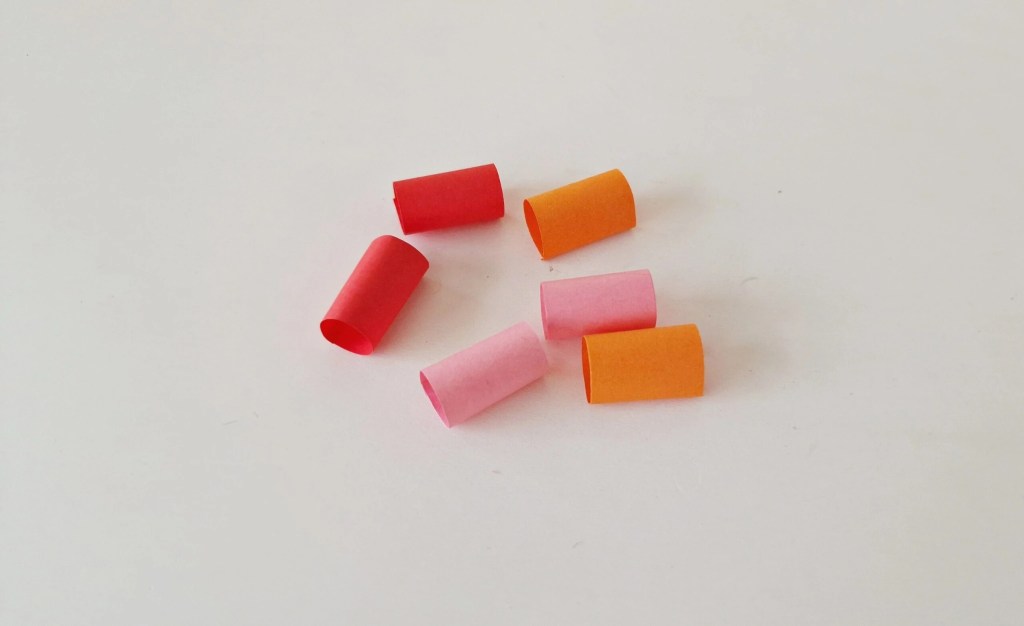
Roll the rectangle cutout and join both ends to form a cylinder shape.
Step 4:
Make a total of 6 paper cylinder shapes.

Step 5:
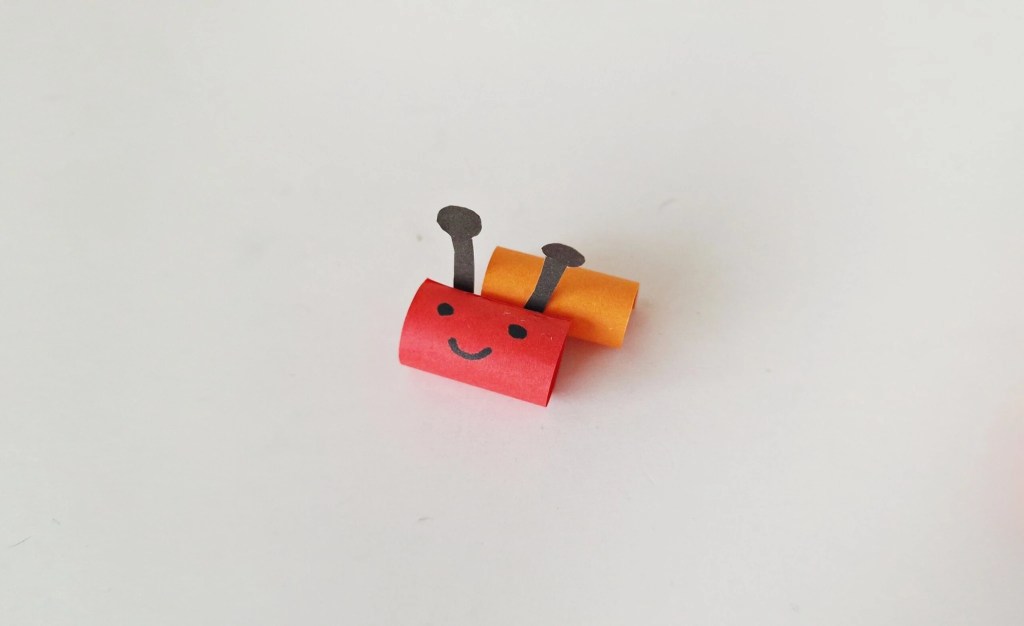
Take any one of the paper cylinder shapes and attach the antenna cutouts on it.
Step 6:
Use a marker to draw the eyes and mouth of the caterpillar on the same paper cylinder shape with the paper antennae.

Step 7:
Attach a paper cylinder adjacent to the caterpillar head cylinder shape.

Step 8:
One by one join all 6 paper cylinder shapes together on a line, keeping the head to the front of the line.
Step 9:
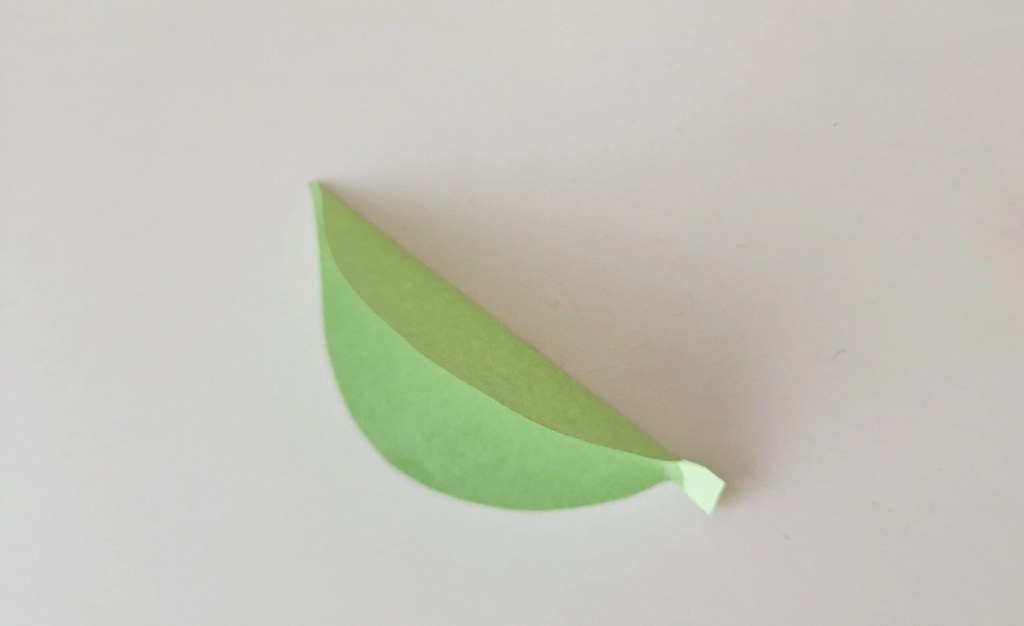
Take the leaf cutout and fold it in half, lengthwise.

Step 10:
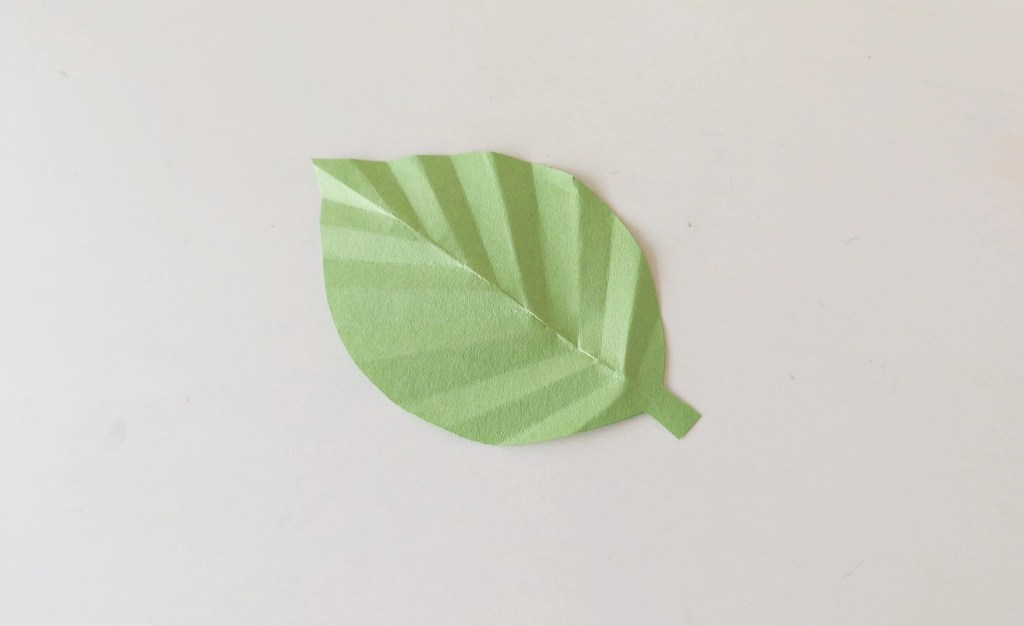
Make accordion folds on the half-folded leaf pattern as shown above.
Step 11:
Unfold all the folds.

Step 12:
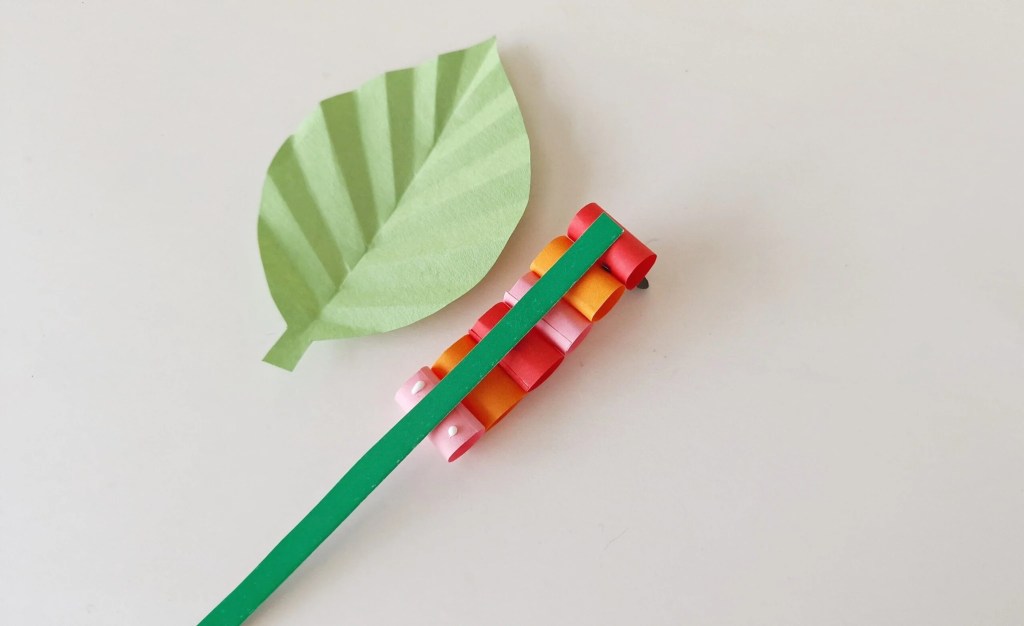
Take the cardstock strip and turn the paper caterpillar to the bottom side. Apply a drop of glue on the bottom side of the head part only.
Important: Keep the strip completely free of glue. Only the head and tail of the caterpillar should be glued down. The center of the caterpillar must not be attached to the leaf or the strip won’t slide.
Step 13:
Attach the strip to the glued part. Apply 2 drops of glue on both sides of the strip, on the paper cylinder at the end.

Step 14:
Attach the paper caterpillar to the paper leaf with the 2 drop of glues. Make sure that the strip is free from glue and the caterpillar is joined to the leaf with its tail cylinder only.
When you pull out and then push in the open end of the strip, the paper caterpillar will move.
Tips for Success
Use cardstock whenever possible.
The leaf and the sliding strip work much better when they’re made from cardstock instead of regular construction paper.
Less glue is better.
Only add tiny dots of glue where indicated. If glue gets onto the strip, the caterpillar won’t slide.
Let the glue dry completely.
Give the project several minutes to dry before trying the movement.
A stronger craft glue may help.
If you’re using very smooth cardstock, tacky glue often creates a stronger bond than a washable school glue. If using tacky glue with preschoolers, an adult should handle this step.
Adults should assemble the moving pieces.
Little ones love coloring and decorating the caterpillar, but attaching the moving mechanism is much easier for older kids or adults.
Enlarge the pattern for little fingers.
The original craft was tested with a 4½-year-old, but preschoolers’ fine motor abilities can vary considerably. There is a lot of growth and development in those years!
If the pieces are difficult for your child to trace, cut, roll, or glue, enlarge the template using your printer settings or a photocopier. Bigger pieces can make the craft much easier for younger children to manage.
Frequently Asked Questions
What age is this moving caterpillar craft best for?
This craft is best suited to older preschoolers and early elementary-aged children. It was tested with a 4½-year-old who completed most of the project with some adult help, particularly during the gluing and assembly.
Every child’s fine motor skills are different, however. Younger children can concentrate on decorating the caterpillar while an adult handles the moving mechanism, or you can enlarge the pattern to make the pieces easier for little fingers to manage.
Why won’t my caterpillar move?
Make sure the sliding strip is completely free of glue. Only the head and tail of the caterpillar should be attached to the leaf.
If glue gets onto the strip or the craft is handled before the adhesive has fully dried, the caterpillar may not slide properly.
What kind of paper works best?
Cardstock is recommended for the leaf because it helps the craft stay sturdy while the caterpillar moves back and forth. Construction paper can be used, but it may bend more easily during play.
What kind of glue should I use?
A good-quality craft glue generally creates a stronger bond than washable school glue. Whatever adhesive you use, be sure to let it dry completely before testing the moving caterpillar.
Can I make this craft with a whole class?
Yes! This is a fun classroom or homeschool activity. For younger children, it’s helpful to have an adult or older student assist with assembling the moving pieces while the children focus on coloring and decorating their caterpillars.
When I was a teacher, we had a class who served as our “buddies” for activities like this.
How can I make the craft more durable?
Using cardstock for the leaf, applying only small amounts of glue where needed, and allowing the craft to dry completely before using it will help it last longer. Laminating the leaf before assembly is another option if you’d like to reuse the craft in a classroom or learning center.
If your kids enjoyed making this moving caterpillar, there are plenty more bug-themed projects to explore! Try making our Spoon Dragonfly, Clay Butterfly Craft, or No Sew Felt Bee Bookmarks for even more creative insect-inspired fun.
If you enjoyed this moving caterpillar craft, you’ll love our newsletter! We share easy crafts, family-friendly recipes, seasonal ideas, and exclusive free printables to help make everyday life a little more creative.
I hope this moving caterpillar craft inspires lots of creative fun for the little ones in your life. It’s an easy project that’s just as enjoyable to play with as it is to make, making it perfect for spring, bug-themed learning, or any day that calls for a little creativity.
Keep the Bug-Themed Fun Going!


Michelle says
This was a terrible craft , there is no glue strong enough that a preschooler can use that would make this effective.
Cyn Gagen says
Thanks so much for taking the time to share your experience. I’m sorry this one was frustrating. You’re absolutely right that the moving mechanism can be tricky for younger children. I’ve gone back and updated the post to include some troubleshooting tips and to clarify that the assembly works best with adult help, sturdy cardstock, and allowing the glue to dry completely before trying the movement. I really appreciate you pointing this out because it will help other families have a better experience with the craft.
Cathy says
The pattern is much too small for preschool hands to handle – recommend that you increase th size of the pattern when printing to make it more manageable for little fingers! They turn out cute when done!
Cyn Gagen says
Thanks so much for sharing this suggestion! This craft was originally tested with an older preschooler, but you’re absolutely right that preschoolers’ fine motor skills can vary quite a bit. Enlarging the pattern is a great way to make the pieces more manageable for little fingers. I’m going to add that tip to the post so other parents and educators know they can easily adapt it. I’m glad your caterpillars turned out cute!