• Nav Social Menu

    • Facebook
    • Instagram
    • Twitter

Creative Cynchronicity

  • Home
  • CELEBRATE
    • Christmas
    • 4th of July
    • April Fool’s Day
    • Autumn
    • Back to School
    • Canada Day
    • Easter
    • Family Day
    • Father’s Day
    • Football Friday
  • COOK
    • Egg recipes
    • Chicken
    • Casseroles
    • Canning
    • Canadian recipes
    • Burgers
    • brown bag lunch
    • Breakfast ideas
    • Breads
    • 4th of July
    • Beef
    • Barbecue
  • CREATE
    • CB Chat
    • paper art
    • Fabric Art
    • duct tape
    • DIY Gifts
    • Craft Wars
  • TRAVEL
    • London and Beyond
  • WELLNESS
  • Cyn’s Month
  • CONTACT ME
You are here: Home / CREATE / paper art / Paper Butterfly Corner Bookmark

March 20, 2021 By Cyn Gagen Leave a Comment

Paper Butterfly Corner Bookmark

Filed Under: CELEBRATE, CREATE, paper art, Spring

  • Facebook
  • Twitter

This Paper Butterfly Corner Bookmark is so pretty and so much fun to make! I’ve been making corner bookmarks for years and they’re such a quick and easy little gift.

Send one inside a greeting card – it’s a great way to let loved ones you can’t see in person know that you are thinking of them. Or include as part of a bigger gift – place inside a special book for someone who loves to read.
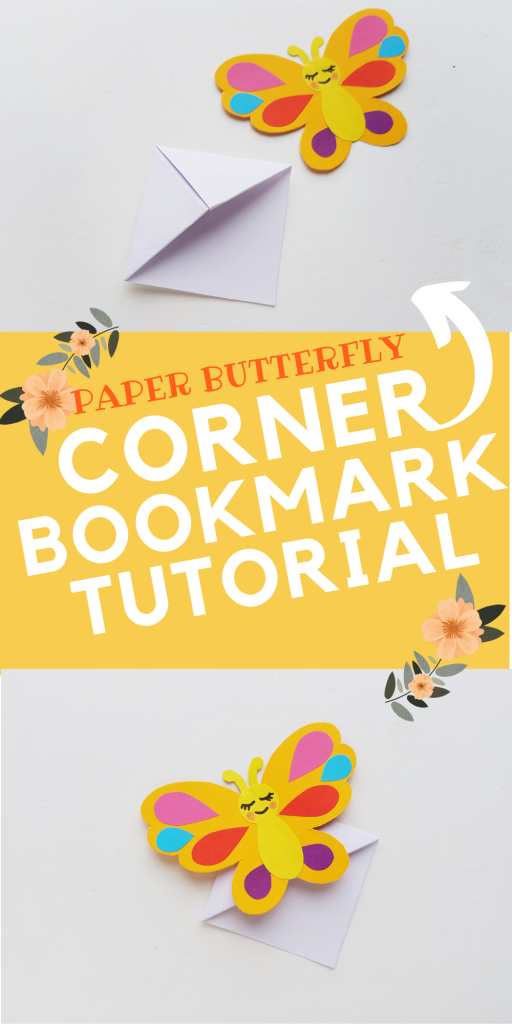
Paper Butterfly Corner Bookmark Tutorial

Paper Butterfly Corner Bookmark

Once you know how to make the origami corner bookmark, being used as a base here for the butterfly, you can make all kinds of different shapes and themes!
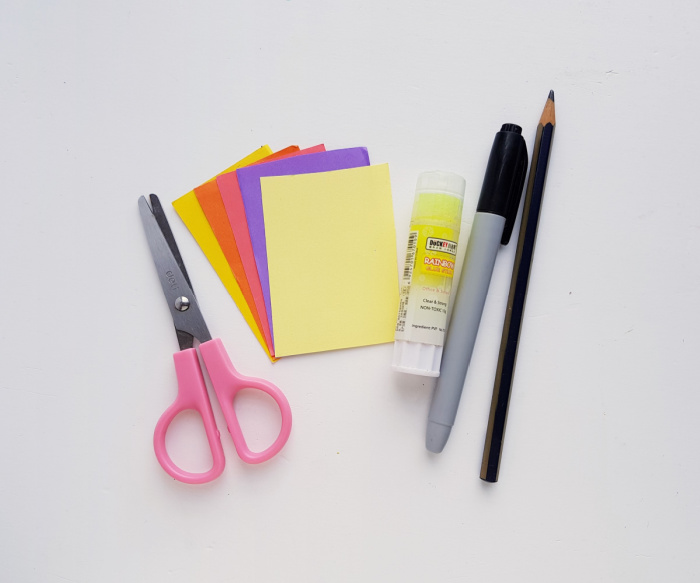
supplies needed to make corner bookmarks

List of Supplies:

  1. Colored craft paper
  2. Pencil
  3. Scissors
  4. Craft glue
  5. Black sharpie

Grab the butterfly template here.

Instructions for making butterfly shaped corner bookmark:

Tracing and cutting out the butterfly template

Step -1:

Select different colored craft papers and trace the template patterns on them. Cut out the traced patterns using scissors. The template includes the wings of the butterfly, 1 body, 2 antennas and teardrop shapes for decorating the wings.

Gluing the teardrop shapes onto the wings of the butterfly corner bookmark

Step -2:

Grab the teardrop paper cut-outs and attach them on any one of the wings.  

Adding the body and antennae to the butterfly corner bookmarks

Step – 3:

Keeping the previous pattern on mind, similarly attach the rest of the teardrop paper cut-outs on the other wing. Also attach the antenna cut outs on the top side of the body cut-out.

Adding face to the butterfly corner bookmark with Sharpie

Step – 4:

Attach the body pattern right on the middle of the wings. Use a black sharpie to trace a smiley face for the butterfly. You can also use pink highlighter pen to add 2 blushes on both cheeks of the butterfly.

Make an origami paper corner bookmark to form the base for the butterfly

Step – 5:

Use an 8 x 8 inches regular paper to make an origami corner bookmark.

Butterfly design added to origami corner bookmark

Step – 6:

Attach the paper butterfly on the triangle side of the origami bookmark and allow the glue to dry completely before using the bookmark.

Looking for more fun spring craft projects?

Carrot Bunting

Spring Mason Jar Vases

Garden Crafts You’re Going to Love

Previous Post: « Blue Bunny “Peeps” Cocoa Bombs
Next Post: Super Easy Eating Frog Craft »

Reader Interactions

Leave a Reply Cancel reply

Your email address will not be published. Required fields are marked *

Recipe Rating


This site uses Akismet to reduce spam. Learn how your comment data is processed.

Primary Sidebar

ABOUT CYN

Copyright © 2022 Creative Cynchronicity - All Rights Reserved · Privacy Policy · Networks