• Nav Social Menu

    • Facebook
    • Instagram
    • Twitter

Creative Cynchronicity

  • Home
  • CELEBRATE
    • Christmas
    • 4th of July
    • April Fool’s Day
    • Autumn
    • Back to School
    • Canada Day
    • Easter
    • Family Day
    • Father’s Day
    • Football Friday
  • COOK
    • Egg recipes
    • Chicken
    • Casseroles
    • Canning
    • Canadian recipes
    • Burgers
    • brown bag lunch
    • Breakfast ideas
    • Breads
    • 4th of July
    • Beef
    • Barbecue
  • CREATE
    • CB Chat
    • paper art
    • Fabric Art
    • duct tape
    • DIY Gifts
    • Craft Wars
  • TRAVEL
    • London and Beyond
  • WELLNESS
  • Cyn’s Month
  • CONTACT ME
You are here: Home / CREATE / Wooden Rosette Pumpkins

September 28, 2020 By Cyn Gagen Leave a Comment

Wooden Rosette Pumpkins

Filed Under: Autumn, CELEBRATE, CREATE, Halloween, Thanksgiving

  • Facebook
  • Twitter

Disclosure: Some of the links in the post below are affiliate links provided for your convenience. This means that if you purchase something through one of these links, I get a small commission at no added cost to you.

Take new wooden rosettes from the home improvement store to create
some vintage pumpkins to decorate your home this fall! These
wooden rosette pumpkins are the perfect decorating touch for autumn and right through Halloween and Thanksgiving too!

I love having multi-purpose décor items – much less to store in between the seasons, right? What I love best about these is that they have that vintage yet modern look about them.

When my daughter was little, we took decorating to the extreme. Our home pretty much looked like that particular holiday had taken over!

These days I prefer little touches that are simple and stylish. Another bonus to these DIY wooden pumpkins is that they are quick, easy, and inexpensive to make too!

HOW TO MAKE DIY WOODEN ROSETTE PUMPKINS

materials needed to make wooden rosette pumpkins

Materials:

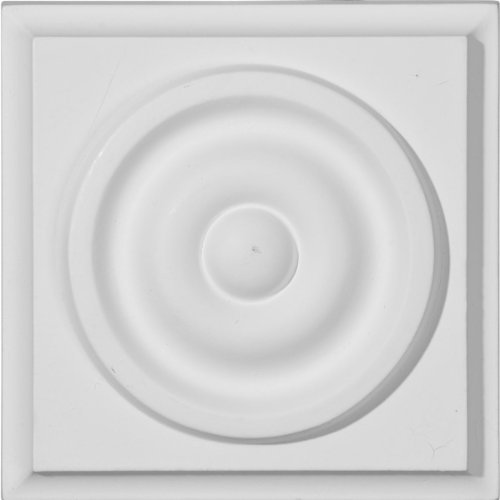
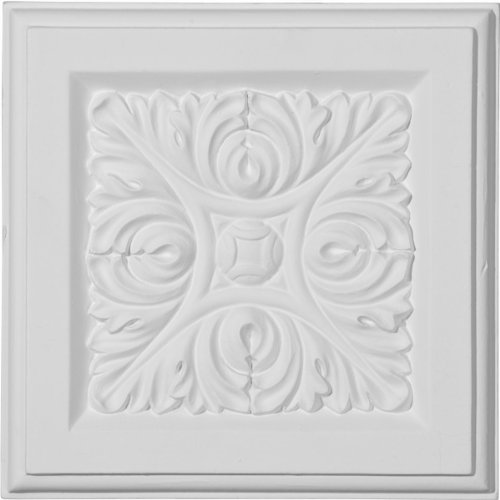
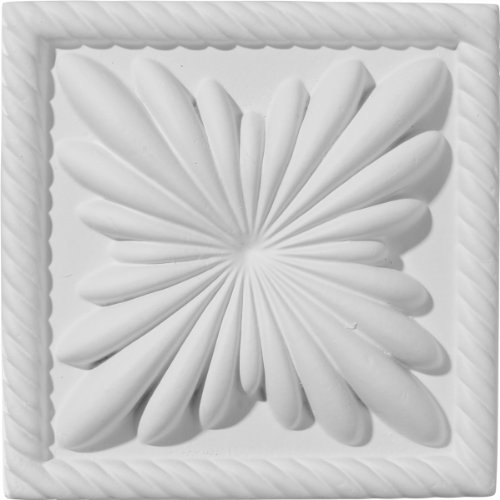
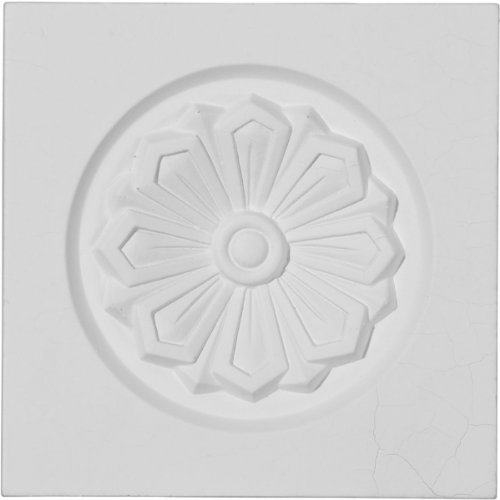
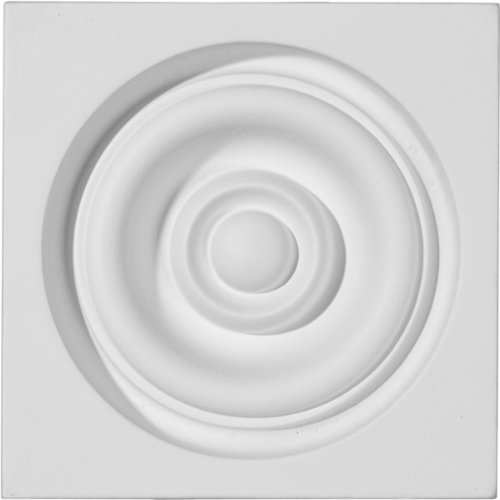
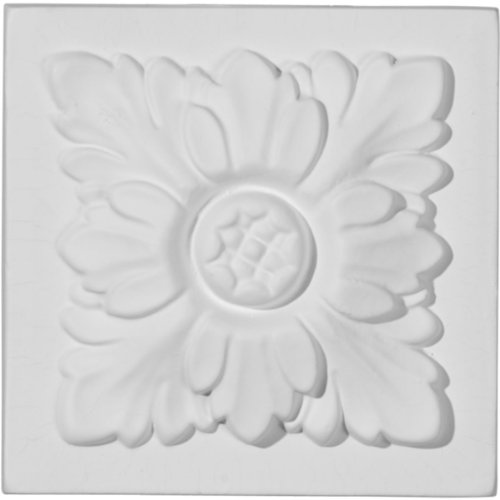
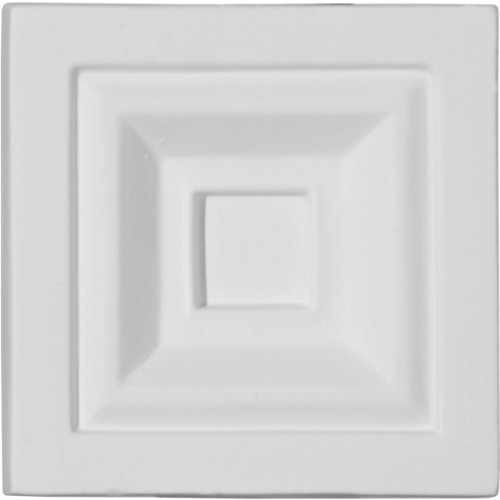
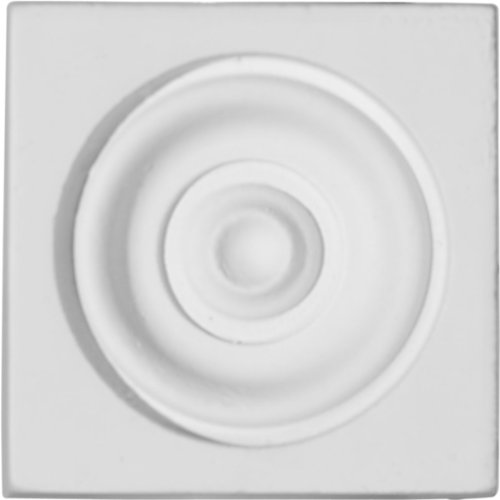
Wooden Rosettes – (in a variety of sizes – I used 2 ½”; 3 ½” and 4 ½”)

Ekena Millwork PB03X03AT 3 3/4-Inch W x 3 3/4-Inch H x 1 3/8-Inch P Anthony Plinth BlockEkena Millwork PB03X03AT 3 3/4-Inch W x 3 3/4-Inch H x 1 3/8-Inch P Anthony Plinth BlockEkena Millwork PB03X03AT 3 3/4-Inch W x 3 3/4-Inch H x 1 3/8-Inch P Anthony Plinth BlockEkena Millwork PB05X05X01OD 5 1/4-Inch W x 5 1/4-Inch H x 1 1/4-Inch P Odessa Plinth BlockEkena Millwork PB05X05X01OD 5 1/4-Inch W x 5 1/4-Inch H x 1 1/4-Inch P Odessa Plinth BlockEkena Millwork PB05X05X01OD 5 1/4-Inch W x 5 1/4-Inch H x 1 1/4-Inch P Odessa Plinth BlockEkena Millwork PB04X04CO 4 3/8-Inch W x 4 3/8-Inch H x 1-Inch P Cole Plinth BlockEkena Millwork PB04X04CO 4 3/8-Inch W x 4 3/8-Inch H x 1-Inch P Cole Plinth BlockEkena Millwork PB04X04CO 4 3/8-Inch W x 4 3/8-Inch H x 1-Inch P Cole Plinth BlockEkena Millwork PB04X04X01EM-CASE-2 W x 4 1/8Ekena Millwork PB04X04X01EM-CASE-2 W x 4 1/8Ekena Millwork PB04X04X01EM-CASE-2 W x 4 1/8Ekena Millwork PB03X03FL 3 1/2-Inch W x 3 1/2-Inch H x 1 1/4-Inch P Floral Plinth BlockEkena Millwork PB03X03FL 3 1/2-Inch W x 3 1/2-Inch H x 1 1/4-Inch P Floral Plinth BlockEkena Millwork PB03X03FL 3 1/2-Inch W x 3 1/2-Inch H x 1 1/4-Inch P Floral Plinth BlockEkena Millwork PB04X04X01RE 4 1/4-Inch W x 4 1/4-Inch H x 1 5/8-Inch P Reece Plinth BlockEkena Millwork PB04X04X01RE 4 1/4-Inch W x 4 1/4-Inch H x 1 5/8-Inch P Reece Plinth BlockEkena Millwork PB04X04X01RE 4 1/4-Inch W x 4 1/4-Inch H x 1 5/8-Inch P Reece Plinth BlockEkena Millwork PB03X03X01DE 3 1/4-Inch W x 3 1/4-Inch H x 1 1/8-Inch P Devon Plinth BlockEkena Millwork PB03X03X01DE 3 1/4-Inch W x 3 1/4-Inch H x 1 1/8-Inch P Devon Plinth BlockEkena Millwork PB03X03X01DE 3 1/4-Inch W x 3 1/4-Inch H x 1 1/8-Inch P Devon Plinth BlockEkena Millwork PB03X03AT 3 3/4-Inch W x 3 3/4-Inch H x 1 3/8-Inch P Anthony Plinth BlockEkena Millwork PB03X03AT 3 3/4-Inch W x 3 3/4-Inch H x 1 3/8-Inch P Anthony Plinth BlockEkena Millwork PB03X03AT 3 3/4-Inch W x 3 3/4-Inch H x 1 3/8-Inch P Anthony Plinth BlockEkena Millwork PB03X03X01KE 3 3/4-Inch W x 3 3/4-Inch H x 1 3/8-Inch P Kent Plinth BlockEkena Millwork PB03X03X01KE 3 3/4-Inch W x 3 3/4-Inch H x 1 3/8-Inch P Kent Plinth BlockEkena Millwork PB03X03X01KE 3 3/4-Inch W x 3 3/4-Inch H x 1 3/8-Inch P Kent Plinth BlockEkena Millwork PB03X03X01ER 3 3/4-Inch W x 3 3/4-Inch H x 1 1/8-Inch P Eris Plinth BlockEkena Millwork PB03X03X01ER 3 3/4-Inch W x 3 3/4-Inch H x 1 1/8-Inch P Eris Plinth BlockEkena Millwork PB03X03X01ER 3 3/4-Inch W x 3 3/4-Inch H x 1 1/8-Inch P Eris Plinth BlockEkena Millwork PB05X05X01OD 5 1/4-Inch W x 5 1/4-Inch H x 1 1/4-Inch P Odessa Plinth BlockEkena Millwork PB05X05X01OD 5 1/4-Inch W x 5 1/4-Inch H x 1 1/4-Inch P Odessa Plinth BlockEkena Millwork PB05X05X01OD 5 1/4-Inch W x 5 1/4-Inch H x 1 1/4-Inch P Odessa Plinth BlockEkena Millwork PB02X02X01MA 2 3/8-Inch W x 2 3/8-Inch H x 1-Inch P Maria Plinth BlockEkena Millwork PB02X02X01MA 2 3/8-Inch W x 2 3/8-Inch H x 1-Inch P Maria Plinth BlockEkena Millwork PB02X02X01MA 2 3/8-Inch W x 2 3/8-Inch H x 1-Inch P Maria Plinth Block


Americana acrylic paint from DecoArt – Dark Chocolate; Bright Orange; Jack-O-Lantern Orange; Burnt Orange

DecoArt Americana Acrylic Paint, 2-Ounce, Dark ChocolateDecoArt Americana Acrylic Paint, 2-Ounce, Dark ChocolateDecoArt Americana Acrylic Paint, 2-Ounce, Dark ChocolateDecoArt Americana Acrylic Paint, 2-Ounce, Burnt OrangeDecoArt Americana Acrylic Paint, 2-Ounce, Burnt OrangeDecoArt Americana Acrylic Paint, 2-Ounce, Burnt OrangeDecoArt DA229-3 Paint Acrylic Jack O Lantern Orange 2OZDecoArt DA229-3 Paint Acrylic Jack O Lantern Orange 2OZDecoArt DA229-3 Paint Acrylic Jack O Lantern Orange 2OZDecoArt Americana Acrylic Paint, 2-Ounce, Bright OrangeDecoArt Americana Acrylic Paint, 2-Ounce, Bright OrangeDecoArt Americana Acrylic Paint, 2-Ounce, Bright Orange


Americana Weathered Wood Crackle Medium

DecoArt Americana Mediums, 8-Ounce, Weathered WoodDecoArt Americana Mediums, 8-Ounce, Weathered WoodDecoArt Americana Mediums, 8-Ounce, Weathered Wood


Other Supplies:

Paintbrush
– 1” flat wash

Low Temp Glue Gun and Glue Sticks

Scissors

Garden Pruning Shears

Tree Branch – from the yard

Ribbons
– assorted scraps of green

FolkArt Soft Grip Wash Brush SetFolkArt Soft Grip Wash Brush SetFolkArt Soft Grip Wash Brush SetSurebonder Mini Low Temp Glue Gun - Crafts for Kids and Fun Home ActivitiesSurebonder Mini Low Temp Glue Gun – Crafts for Kids and Fun Home ActivitiesSurebonder Mini Low Temp Glue Gun - Crafts for Kids and Fun Home ActivitiesGorilla Hot Glue Sticks, Mini Size, 4Gorilla Hot Glue Sticks, Mini Size, 4Gorilla Hot Glue Sticks, Mini Size, 4Westcott 8Westcott 8Westcott 8Fiskars Softgrip Bypass PrunerFiskars Softgrip Bypass PrunerFiskars Softgrip Bypass PrunerFiskars Micro-Tip Pruner Non-Stick Blades, Orange/Black (399211-1003)Fiskars Micro-Tip Pruner Non-Stick Blades, Orange/Black (399211-1003)Fiskars Micro-Tip Pruner Non-Stick Blades, Orange/Black (399211-1003)


Instructions:

Step One

Base coat the wooden rosettes with Dark Chocolate and 1” flat wash
paintbrush.  Let dry.  Apply a second coat, if necessary.

Step Two

Randomly apply Weathered Wood medium with 1” flat wash paintbrush.  Painting it on heavily in some areas and lightly in others will result in a variety of cracks on the finished pumpkins. 

Allow medium to dry completely (about 30 minutes).

Step Three

Apply a thick coat of the orange paint with a very limited number of strokes. Do not paint over the same area more than once. 

As the paint dries it will crackle.  Large cracks will appear where the medium was put on thick and small cracks will appear where the medium was put on thinly.

Step Four

Cut tree branch into 1” to 1 ½” lengths with pruning shears and then attach to top, center of each pumpkin with glue gun.

Step Five

Gather a variety of green ribbons, trim them into 6” lengths and then knot in the center.  Attach at base of pumpkin stem with glue gun.  This is a great way to use up bits and pieces.

Display a set in your home all autumn long or give a set as a great hostess gift! 

Quick and easy to create with limited supplies, these wooden rosette pumpkins go together in just about an hour.  The hardest part is waiting for the paint to dry!

Check out some more super cute pumpkin crafts here!

Previous Post: « Make Ahead Thanksgiving Sides
Next Post: Four Fun Ideas For National Coffee Day »

Reader Interactions

Leave a Reply Cancel reply

Your email address will not be published. Required fields are marked *

Recipe Rating


This site uses Akismet to reduce spam. Learn how your comment data is processed.

Primary Sidebar

ABOUT CYN

Copyright © 2023 Creative Cynchronicity - All Rights Reserved · Privacy Policy · Networks