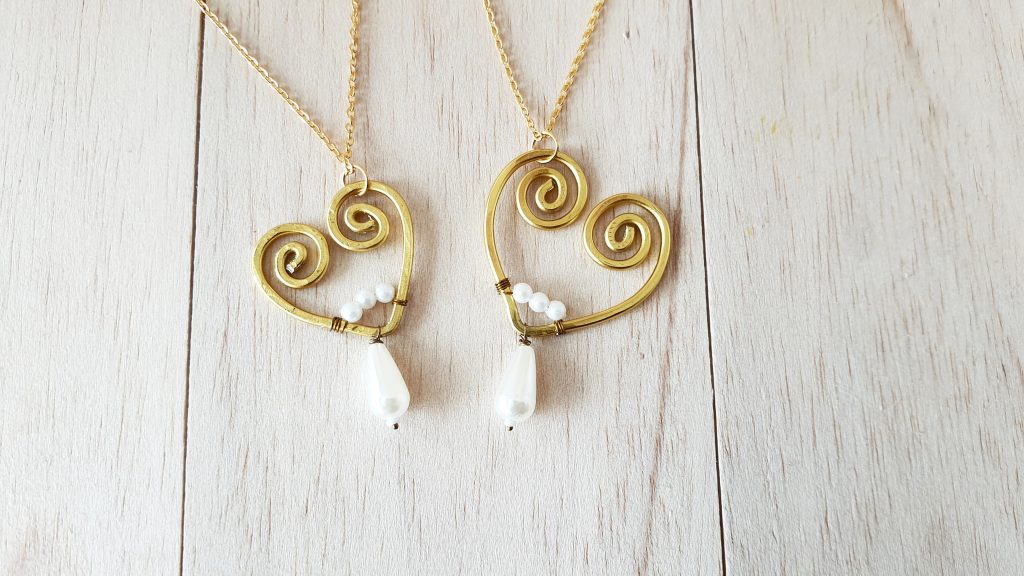
This wire heart pendant is so pretty and so easy to make. Tweens, teens, and adults could make these for themselves or to give as a gift.
They would be perfect for gifting to your Mom for Mother’s Day, your BFF for their birthday, or someone special for Valentine’s Day or Christmas. How about getting a group of friends together for a “crafternoon” to make some of these together?
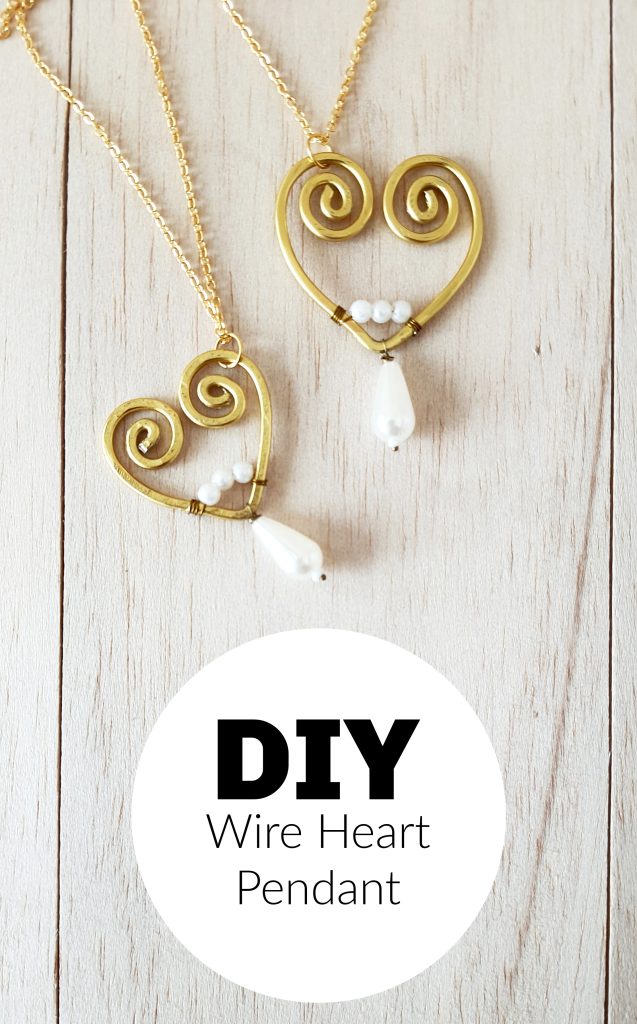
Wire Heart Pendant
Minimal supplies are needed to make this beautiful wire heart pendant. Follow the simple step-by-step tutorial and make something special.
List of Supplies Needed:
- Jewelry wire – 18 gauge
- Craft pliers – Cutting, flat-nose, and looping
- Teardrop beads
- Small round beads
- Memory wire
- Chain or necklace
Instructions:
Step 1:
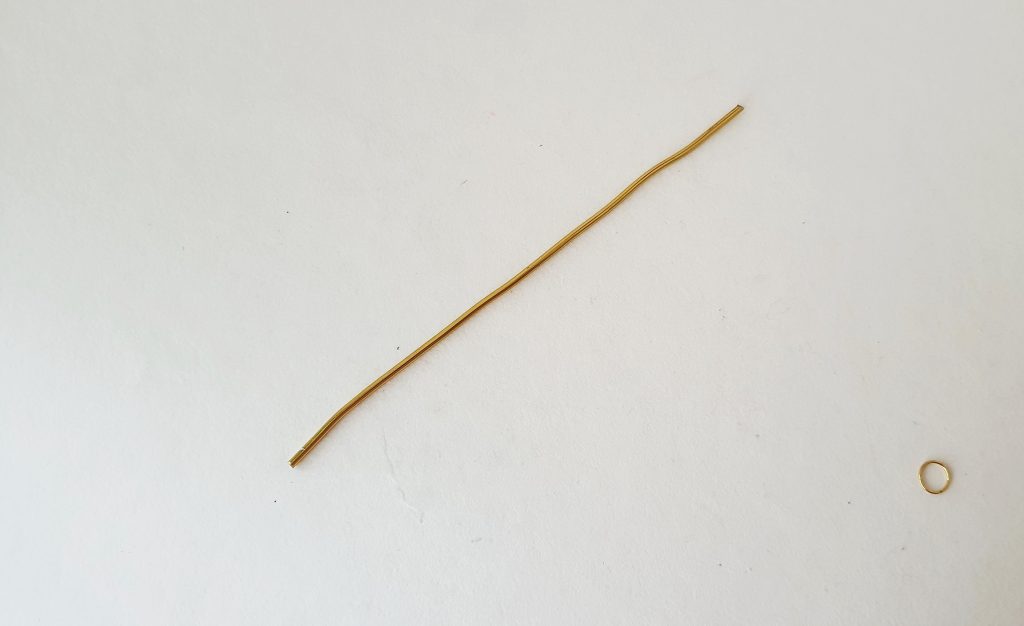
Measure and cut a 6-inch (16 cm) piece of wire.
Step 2:
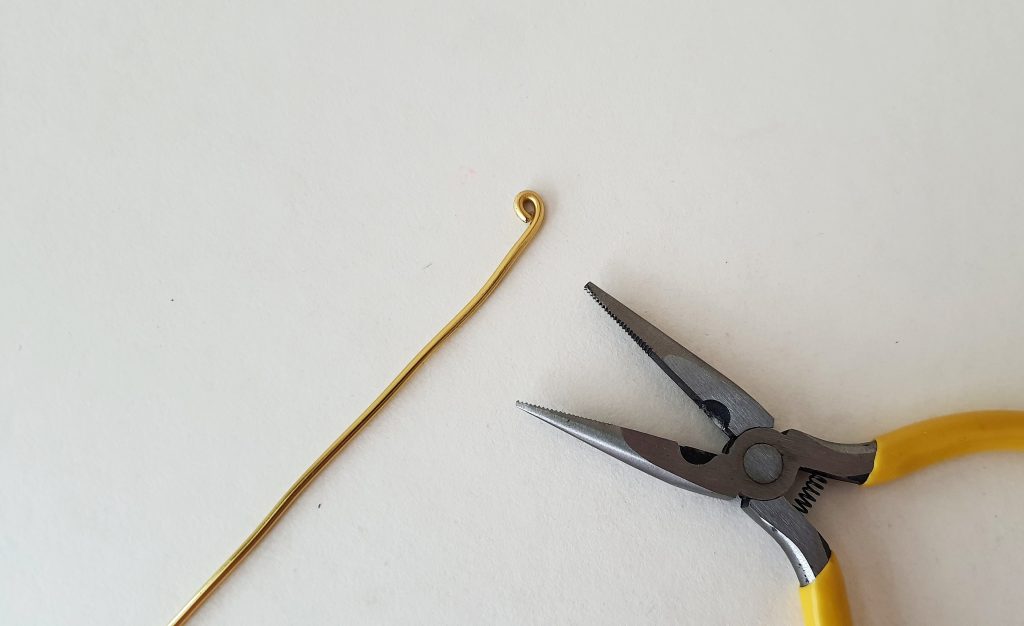
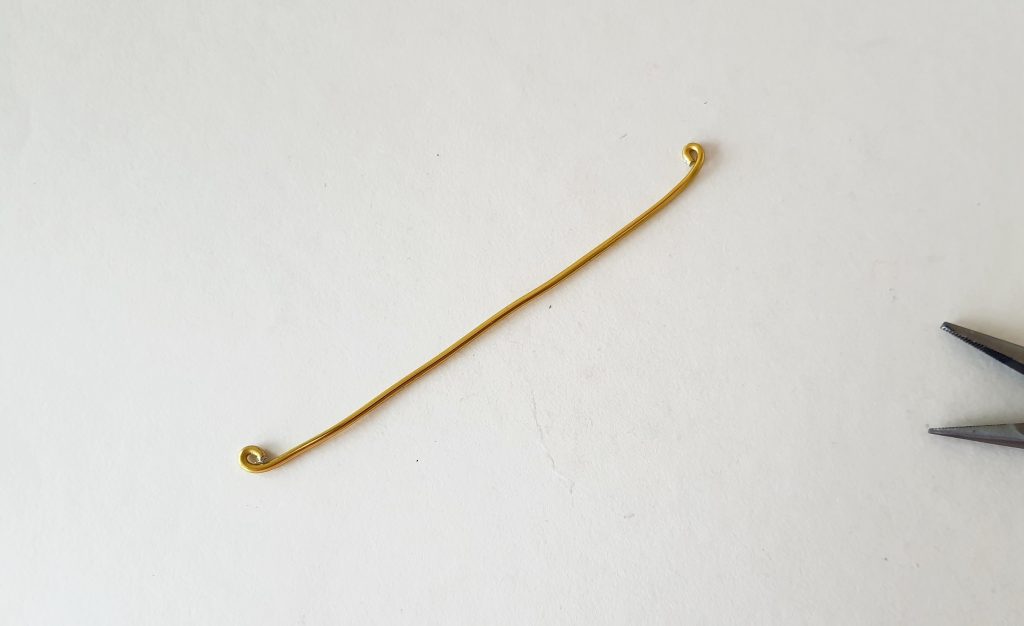
Use the looping pliers to create a loop at any one of the open ends of the prepared wire.
Step 3:
Create another loop at the other end of the wire.
Step 4:
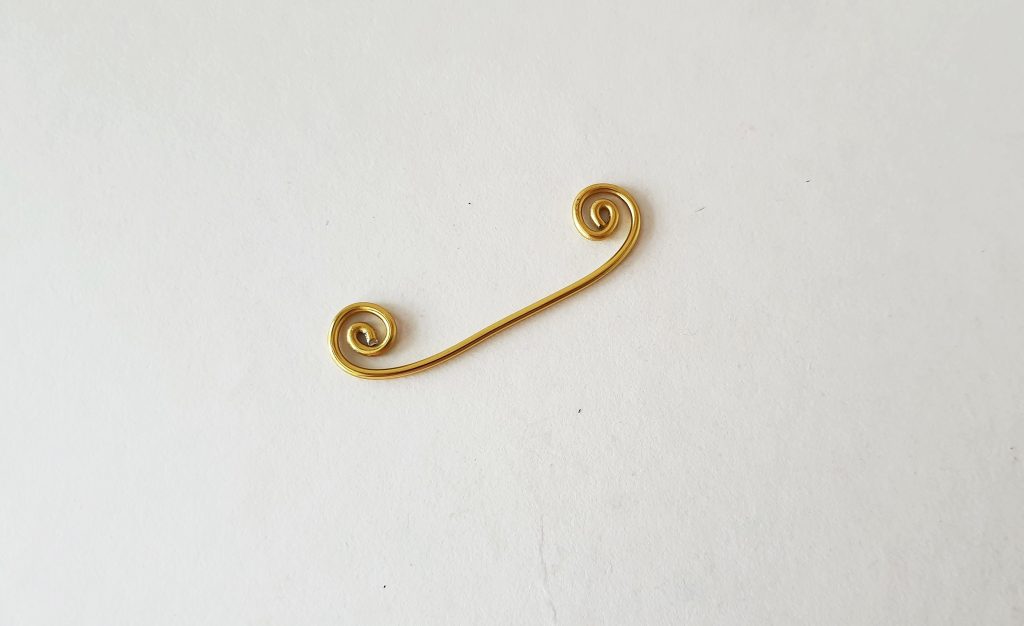
Circle the loops 2 or 3 times to create twirl patterns on both ends of the wire. Make sure to keep the twirl the same size.
Step 5:
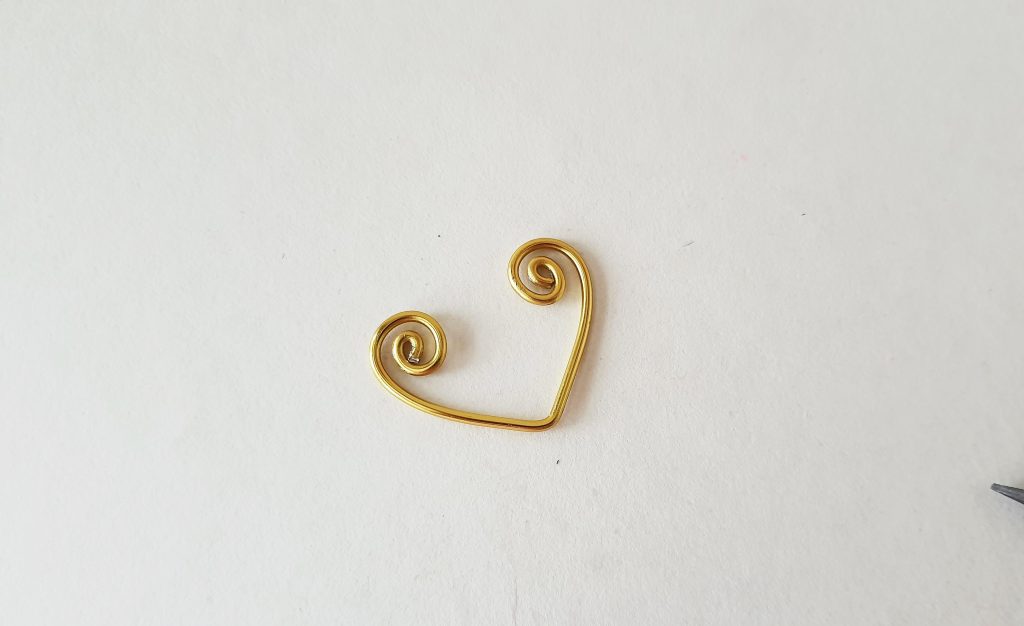
Measure and mark the middle point of the wire (between the twirls). Bend the wire at that point, bringing the twirls towards each other.
Step 6:
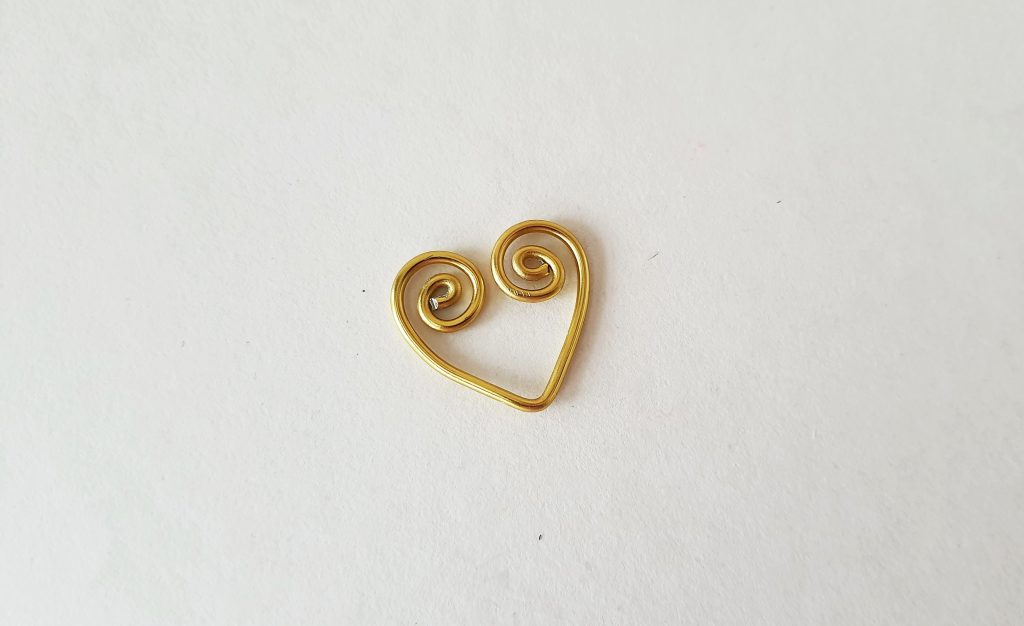
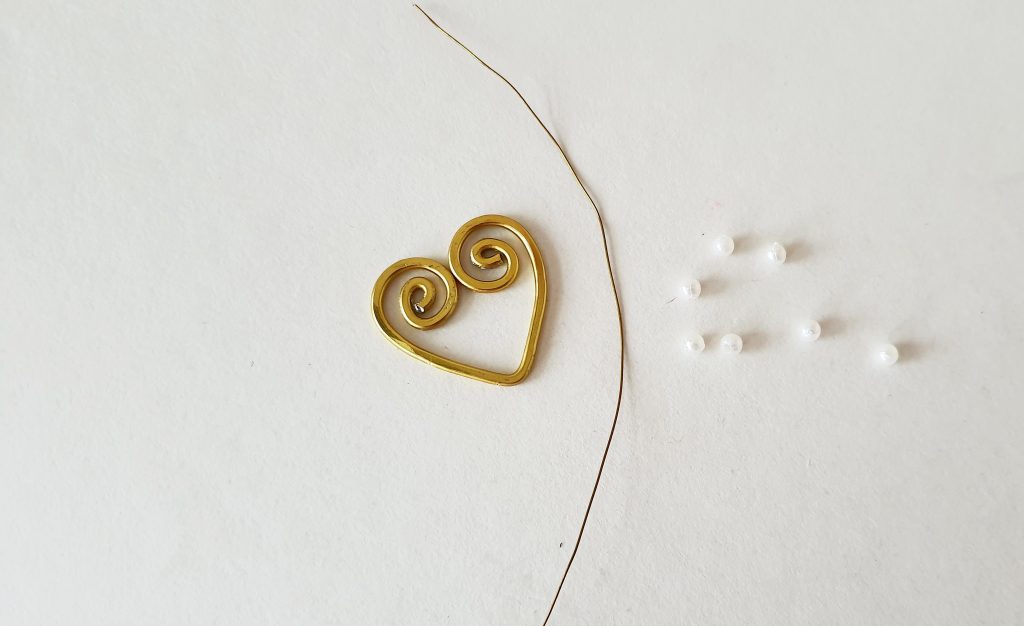
Bring the twirls adjacent to each other to form the heart shape.
Step 7:
Place the wire heart on a flat, even and hard surface. Hammer the heart shape to flatten it; this will give the wire heart a sturdy structure. Prepare a piece of beading wire or memory wire and a few small round beads.
Step 8:
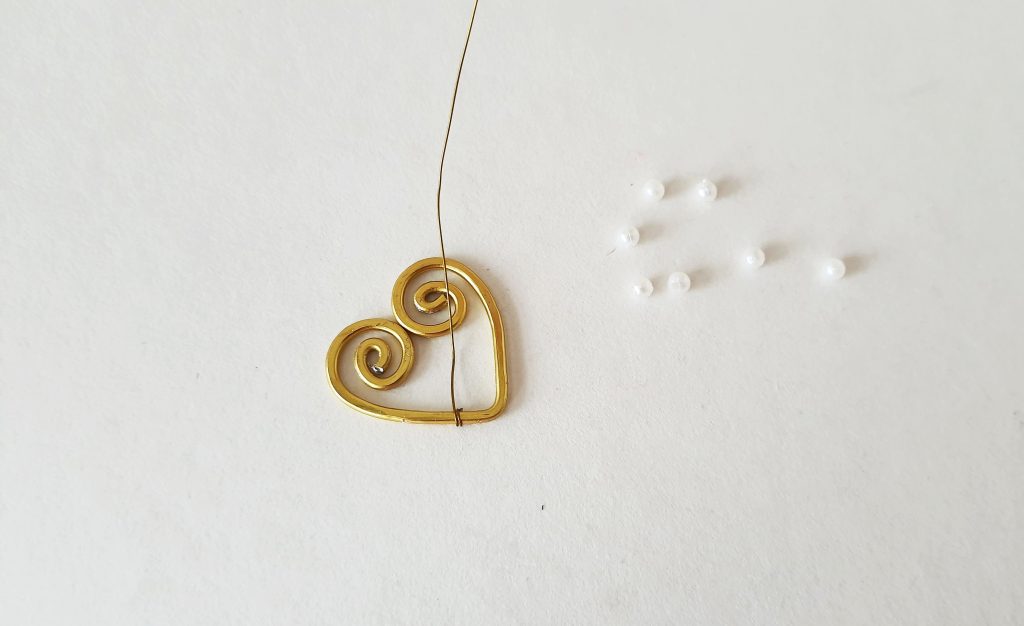
Coil the beading wire around a band of the wire heart, near the bottom side.
Step 9:
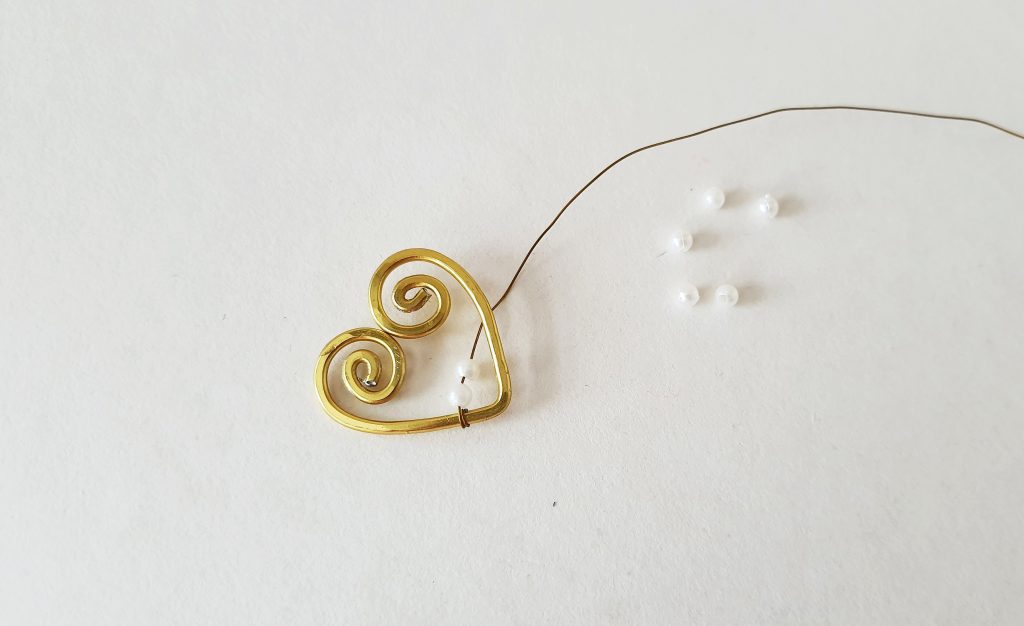
Insert 2 or 3 beads through the open end of the coiled wire.
Step 10:
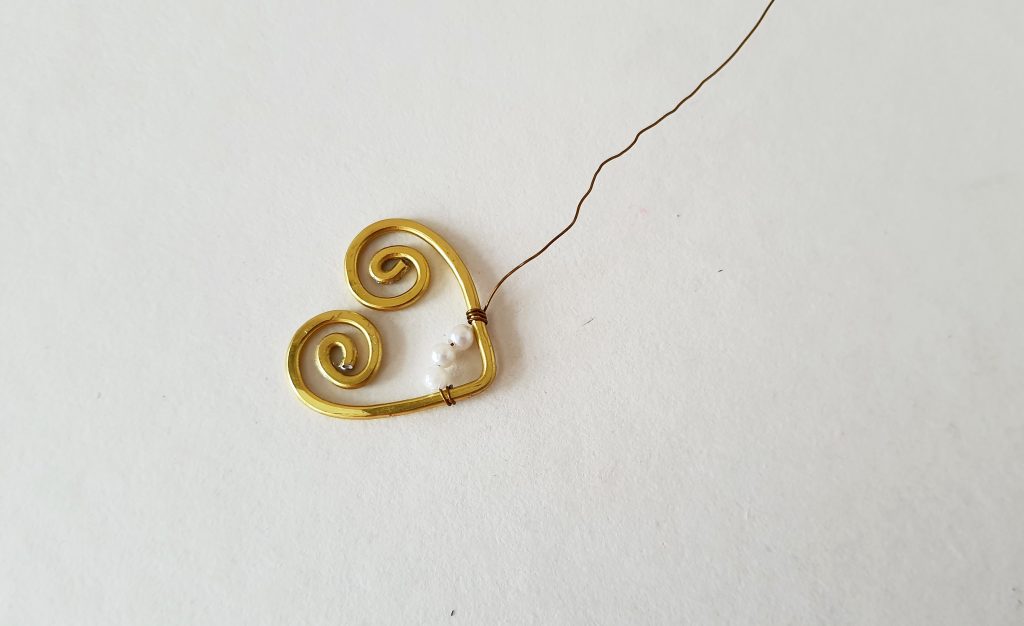
Close the beading wire by coiling it around the opposite band of the wire heart.
Step 11:
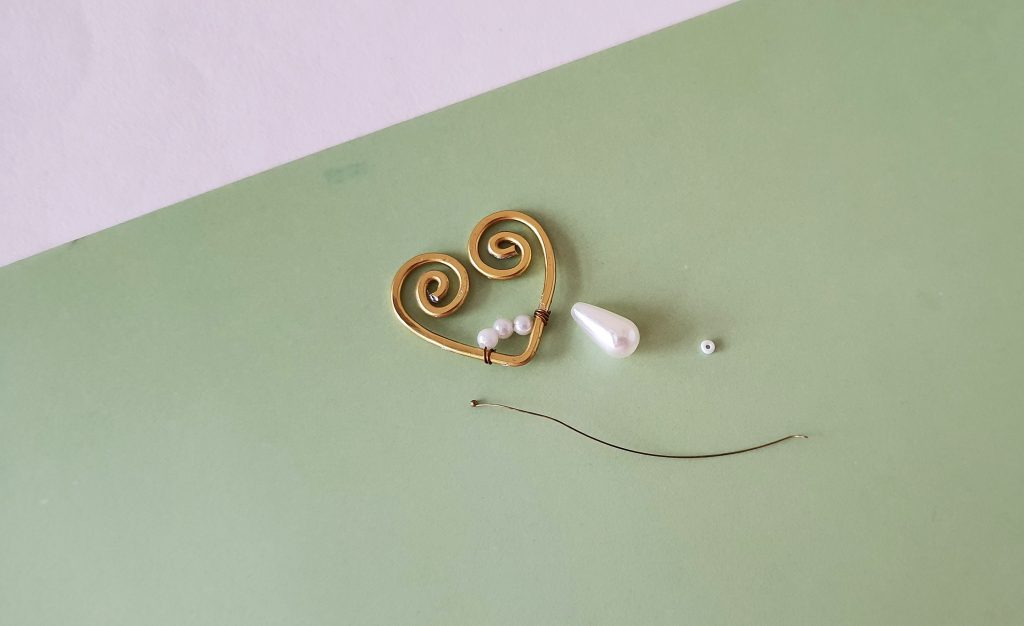
Cut off extra beading wire after coiling it. Select a teardrop bead, a seed bead and a ball head pin.
Step 12:
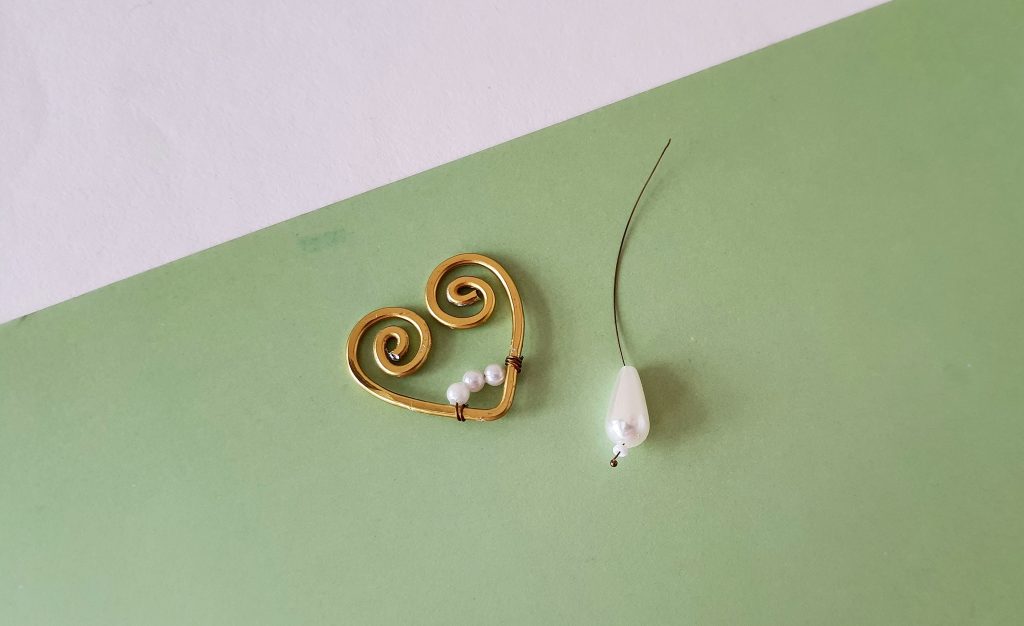
Insert the seed bead and then the teardrop bead into the ball head pin.
Step 13:
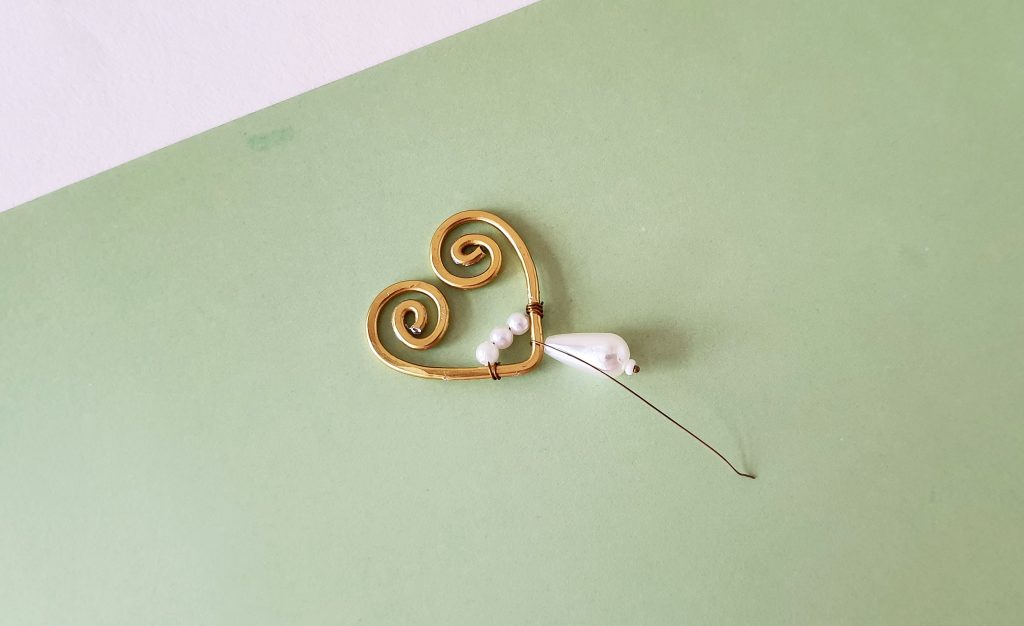
Push the beads all the way adjacent to the ball of the pin. Coil the open end of the pin around the bent part of the wire heart.
Step 14:
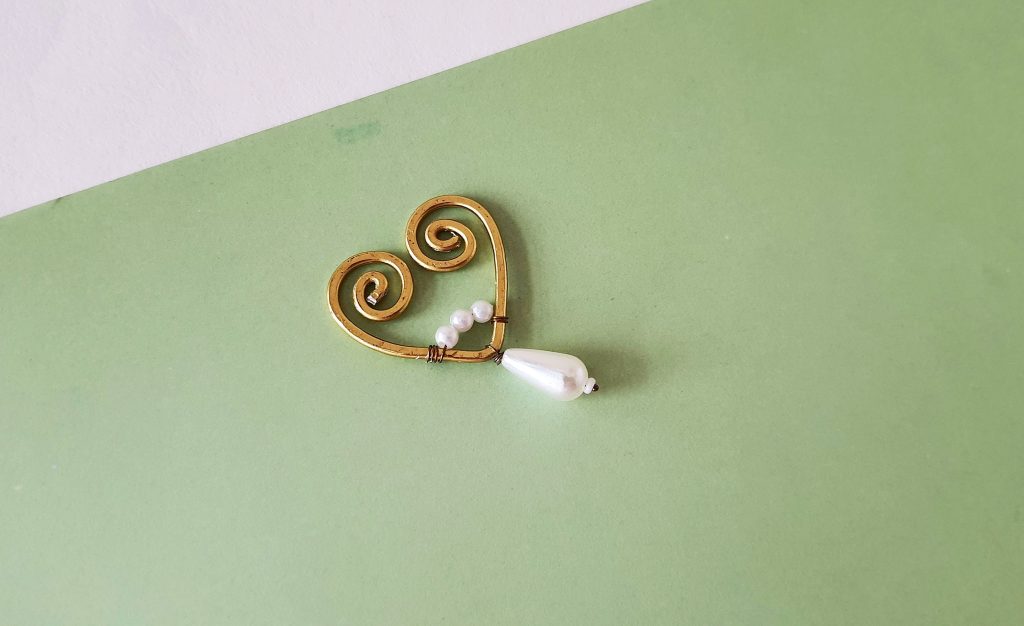
Coil all the remaining wire or cut off extra after coiling a few times. The pendant is now ready. You can attach it to a necklace through the jump ring.
Leave a Reply