Learn how to make some super simple magazine crafts – bracelets, bowls, trivets, coasters, and more simply by coiling paper from magazine pages.
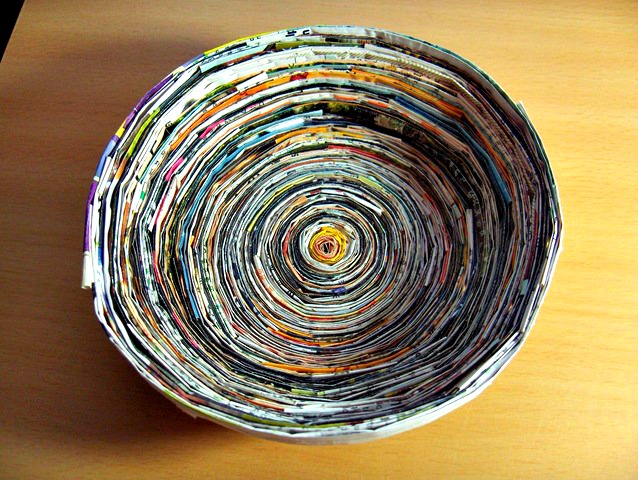
Let’s save those old magazines and get crafty with them! Yes, you can actually make bowls from magazine pages.
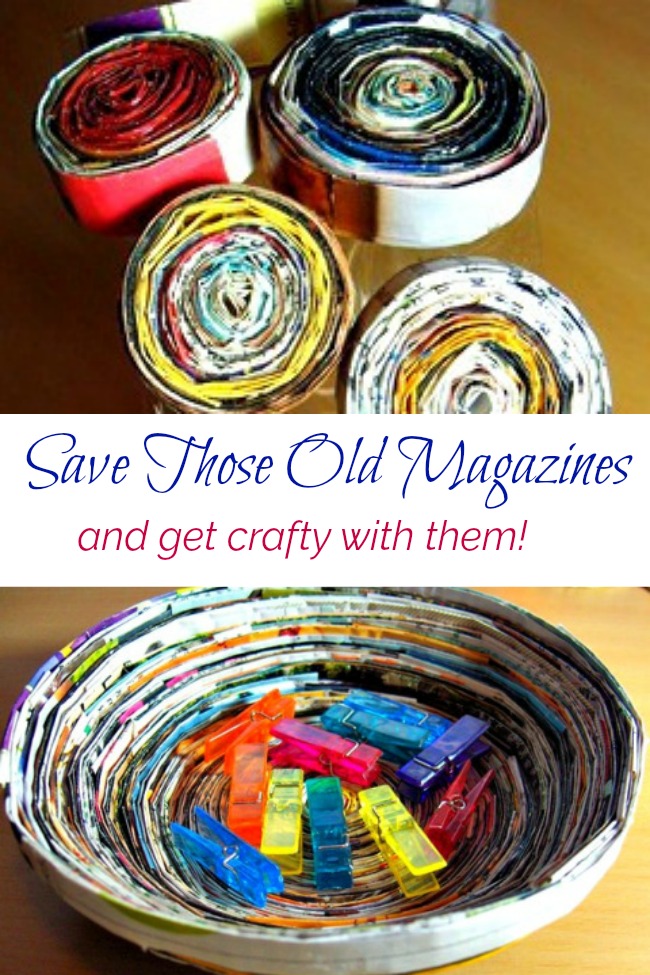
Make Bowls from Magazine Pages
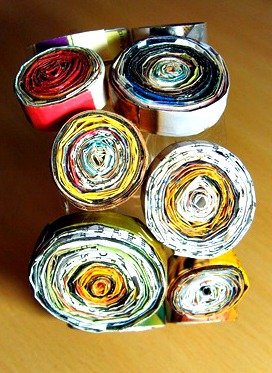
Some of you may remember a few months back when I showed pictures on here of my water bottle bracelets. One of them was covered with coils made of magazine page paper.
Pictured below: Here are the coils on the water bottle bracelet. I can imagine a picture frame done in the same method looking really pretty! I’d like to fill it in with more tiny coils or some beads or something.
Well today, I am showing you how to expand on one of those coils and turn it into a bowl.
Now, let’s get started with making a paper coil bowl. Note: if you don’t have any old magazines, pretty much any paper will do!
RIPPING THE PAGES
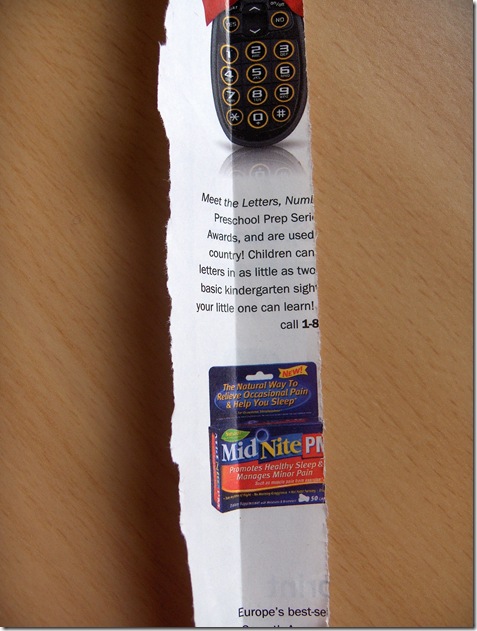
Get started by ripping those pages out of an old magazine. I can usually get about 8 strips from one magazine page.
When I rolled up 12 strips, I ended up with a coil that was about 1 1/4 inches in diameter to give you an indication of how many pages you’ll need.
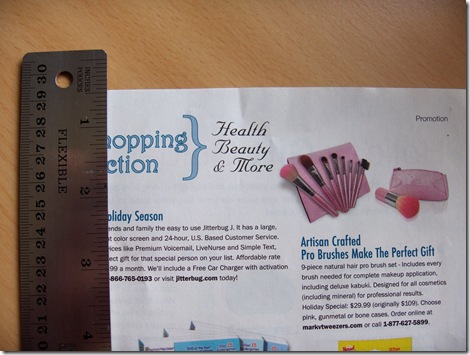
From the pages, you’ll want to cut or tear strips (along the longest edge of the page or I guess you could think of it as tearing them vertically down the page). The strips should be roughly 1 to 1 1/2 inches wide.
You could certainly use a paper cutter to cut the strips to size but I found a ruler with a nice metal edge that was about an inch wide.
I laid the ruler down on the page and just tore. This meant that I could do it pretty much anywhere without having to pull out the big paper cutter,
It also meant I didn’t have to measure out each and every strip because the ruler did it for me. If you decide to tear your strips too, don’t worry. The raw edges won’t show after the folding procedure.

FOLDING THE STRIPS
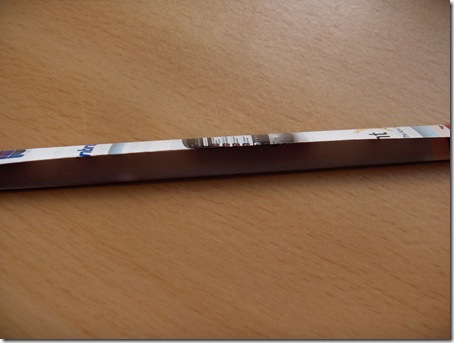
For each strip, you need to fold it in half lengthwise.
Open it up and then fold in from each of the edges to meet that middle fold. Make good sharp creases. I find it easier to glue and coil them if they have good creases in them!
Now close the whole thing up along that center fold. If you sew, you can think of it like double fold bias tape. When it’s all folded, your strip that started as 1 inch would now be 1/4 inch wide.
GLUING THE STRIPS
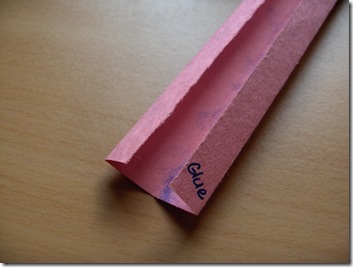
You’re going to join the strips together by tucking the end of one inside of another and securing it with glue stick.
Some hints I’ve learned along the way: for the very first strip I’m going to use right in the center of the coil, I glue the whole strip together (inside the fold).
Don’t do this for any others – just the very first strip. For the other strips, I put a little dab of the glue at one end to hold just that end closed and then, that’s the end I tuck into the next strip, securing it there with more glue.
In the picture above, I’m showing you where I put a dab of glue and then pressing the two sides together to close off one end.
I work with four strips glued together at a time. This means you aren’t stopping to add on new strips every couple seconds as you coil but it also isn’t so long that it becomes cumbersome and hard to handle without ripping or having it fall apart.
In the pictures above, I’m showing you where I put dabs of glue and then insert the strip with the glued end into another strip for joining.
MAKING THE PAPER COILS
To begin the coil, take that first strip and give it a little fold at one end. You’ll be able to roll the rest of the paper around that fold to create a coil of paper.
If it’s easier for you, you can use something like a toothpick or bamboo skewer to begin the coil around instead of making the little fold.
As you begin to roll the coil, you want to dab on a bit of the glue every couple inches or so. I found it especially important to put glue in those spots where the pieces were seamed together.
You may find you need to glue a little more often once the coil gets bigger. Don’t glue it completely together or it won’t expand out into the bowl shape.
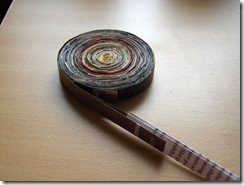
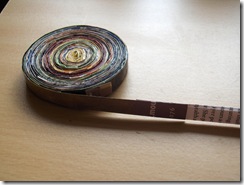
When you get near the end of the length of strips you’re coiling, leave a little “tail” hanging out so you have a place to join on another length.
In the pictures above, you can see the “tail” I left as I was coiling to be able to join another set of 4 strips on and continue coiling.
SHAPING THE BOWL
Some people like to start using a bowl they have as a mould for this once they have a bit of a base created. Turn the bowl upside down and put the base coil you have on the bottom of the bowl.
They then continue to coil around the bowl. I found that awkward.
I found it easier to continue making the coil flat against my work surface. Then, when I had a coil big enough to turn into a bowl, I placed it on the mould for the coating stage.
Pictured above, the coiled paper being pressed down over the bowl I’m using as a mould so I can coat it with a clear sealant.
For the coating, I covered my bowl with plastic wrap to protect it. I placed my coiled piece over the bottom of the boil and gently pressed it down into a bowl shape.
While it was still on the bowl, I coated the outside of it with Liquitex Gel Medium (the one I used is the Gloss Super Heavy Gel).
This worked wonderfully! I’ve heard of other people using shellac or Mod Podge with good results as well. I let the gel medium dry and then applied a second coat.
When that was dry, it was stiff and sturdy enough to remove from the bowl mould. I could now coat it with the gel medium (2 coats once again) on the inside of the bowl.
Once that dried thoroughly, the bowl holds its shape very well.
Obviously this bowl can’t be washed and isn’t food safe. It does make a very pretty decorative bowl. My daughter took this one to university to use on her desk for holding paper clips and such.
Leave it flat like I’ve done in the picture above and it can serve as a trivet or coaster.
See? An easy peasy way to make bowls from magazine pages. It’s a great way to upcycle those magazines into something beautiful and useful!
If you love making paper crafts, check out this post on how to do paper quilling.







Marta says
I shared it on facebook too!
I love this idea…mine hasn’t gotten very far ! lol
Darla says
I love this. I do a home decor business and now I know what to do with my old catalogs.
Alesia says
Hellooooooooooooooo Don’t worry be happy because I love this idea and the upcycle of it all! Huggers Alesia psssssssst going to share on FB right now. LOL cool2craft partygal. giggle
Tamara Williams says
Wow thanks so much for sharing this is the coolest idea! Sharing w/ facebook friends too!
Asha says
wow ! what a wonderful idea !
too good i like too much.
thanks for the idea .
Asha says
wow! what a beautiful idea dear
i love it ..thanks for the idea
Marge says
This is a great idea and I really want to thank you for the easy to follow directions.
SANDY BRIGGS says
IM GONNA TRY THIS FOR SURE AND IM LOOKING FOR PATTERNS FOR ODD AND DIFFERANT THINGS TO MAKE OUT OF PAPER,I AM TRYING TO MAKE BASKETS NOW, ,SO IF ANYONE KNOWS WHERE I MIGHT FINDS THESE I WOULD LOVE IT, THANKS TO ALL AND I DO LOVE THIS SITE OF YOURS, HUGGS SANDY
Monica says
I just realized that I have a huge supply of old magazines. I usually roll them up to put in my boots so they will stand up but I don’t have more boots that need rolled up magazines. This is a great idea to use up all those old magazines while having fun and then have gifts for family and friends. Thanks for the great idea!