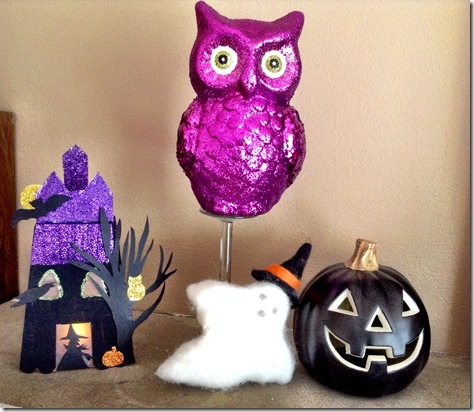
 Do you ever get in a rut, creatively? I’ve been feeling that way lately. It’s not so much that I was sitting down and trying to craft but unable to; rather, I wasn’t finding any time to craft and it was beginning to affect my creativity in other parts of my life too. So, when I heard about Laura Kelly’s Popcorn Box Blog Hop, I thought – that’s it! I’m signing up for it so that I’m COMMITTING to crafting instead of pushing it aside in favour of my To Do List.
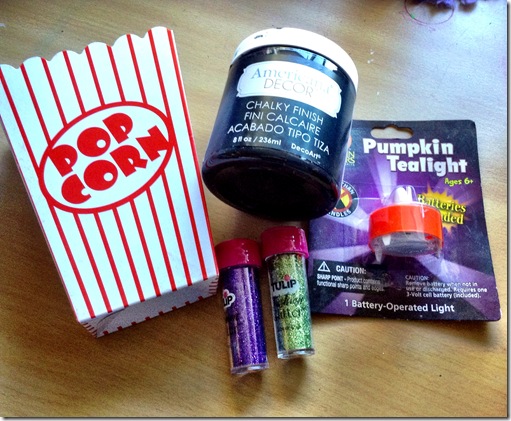 I admit – at first when my package arrived and I pulled out the popcorn box, I looked at it and thought, ok now what AM I going to do with this? It had to be Halloween themed so naturally I started thinking of bats and pumpkins and ghosts and things like that. I saw this battery operated tealight sitting in my craft studio and that’s when it hit me that I wanted to make some kind of a luminary. I finally settled on a haunted house luminary so when the tea light is turned on, the windows will light up. So, the basic materials I’m using for my haunted house are: Americana Decor Chalky Finish paint in carbon, a foam paintbrush, several colours of Tulip glitter, Aleene’s Tacky Glue and an old gift card to apply it with, my Westcott scissors, scraps of cardboard (cereal boxes), black cardstock, waxed paper, and of course the popcorn box and tealight.
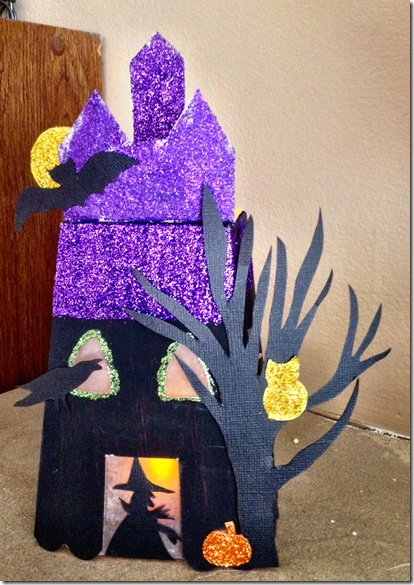 The haunted house is pretty simple to make. I chose to turn the popcorn box upside down so that it would sit overtop of the tealight. I extended the roof into some peaks to make it look more like an old haunted house with pieces of cardboard that I cut into shape and then folded a flap at the bottom to give me a flat surface to glue it to the top of the house (which is, of course, the bottom of the box).
Handy hint: the popcorn box is flat at first and you need to open it up but it tends to want to collapse back into its former flattened state once you start working with it and gluing things onto it. A piece of duct tape on the inside of the bottom of the box will help it holds its shape.
I painted the box (it took a few coats to get full coverage) and let it dry. While it was drying, I started cutting out the various Halloween themed items I wanted to add to the house – the pumpkin, witch, owl, moon, bat, raven, and tree. In the case of several of these items, I covered them with glue and then appropriately coloured glitter.
Once the box was dry, I cut out the front door and some windows (there are more on the sides of the house too). I glued some waxed paper into the openings of the door and windows to diffuse the light and hide the tealight. I glued on the roof pieces and allowed this to dry thoroughly before moving on. It needs to be really secure before you proceed to the next steps.
Once the roof is secure, I glittered it with the purple glitter and then I glued on all of my Halloween themed items to give the house a little more punch. You can be creative and customize these to whatever symbols most appeal to you. This would be a really fun project to do with the kids – let each one make their own custom haunted house and line them up in a window or on your mantel for a fun decoration that lights up the night!
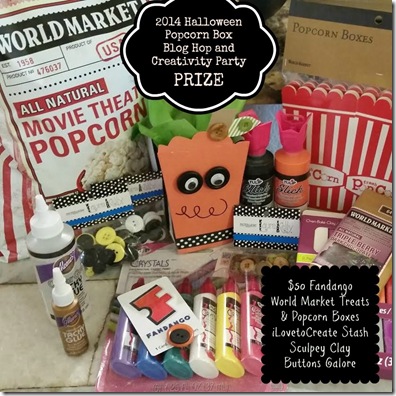 NOW for the giveaway (US only):
The prize for the contest is a $50 Fandango Movie gift card, a pack of popcorn boxes from World Market and $45 of iLTC/craft supplies to decorate with:
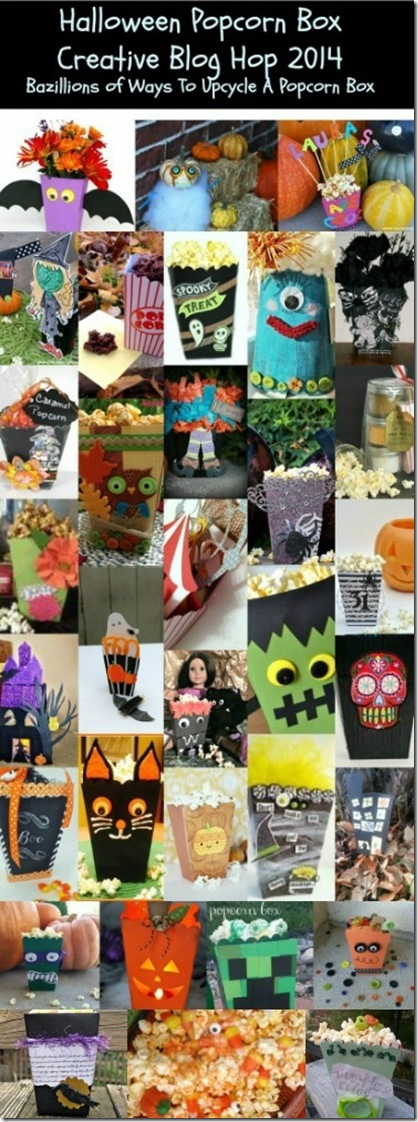
Please be sure to visit my fellow crafty buddies to check out what they transformed their popcorn boxes into and get more fun crafty Halloween ideas!
Allie says
Making a haunted house out of your popcorn box is so clever, all your decorations look great.
Allie, Chaska Card Company
Laura Kelly says
I love the way this came out! SO adorable and spooky cute!