Using simple supplies from your local dollar store, you can make the cutest little Mini Crate Easter Bunny you’ve ever seen. This little rabbit makes an adorable shelf sitter and is the perfect home decor item not just for Easter, but all spring long.
Place it on your mantel, add it to your table centerpiece display, a spring-themed tiered tray – the possibilities are endless. It’s so simple to make and so inexpensive since most, if not all, of the supplies can be found at your local dollar store.
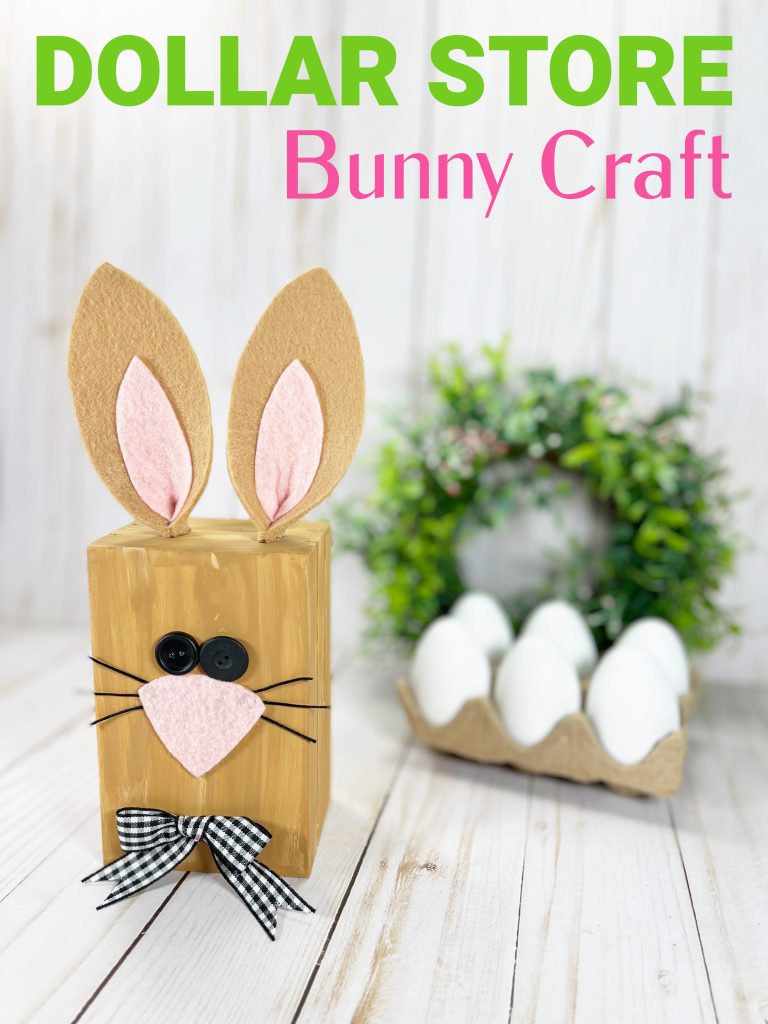
DOLLAR STORE MINI CRATE EASTER BUNNY CRAFT
Supplies Needed:
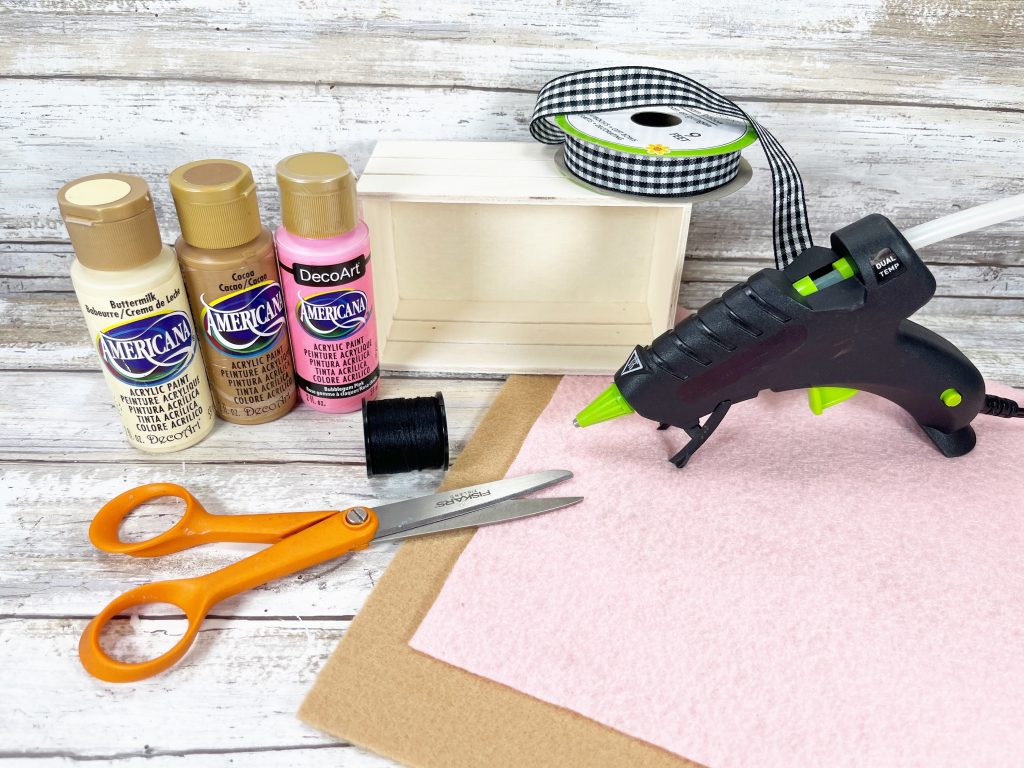
- Mini Wooden Crate
- Craft Felt – Cashmere Tan, Baby Pink
- Permanent Marker– Dollar Store
- Acrylic Craft Paint – Light Brown, Cream
- Scissors
- Paintbrush
- Ribbon, Gingham
- Buttons, Black – ¾” round
- Glue Gun and Glue Sticks
- Embroidery Floss, Black
- MINI CRATE RABBIT PATTERNS
Instructions:
STEP ONE
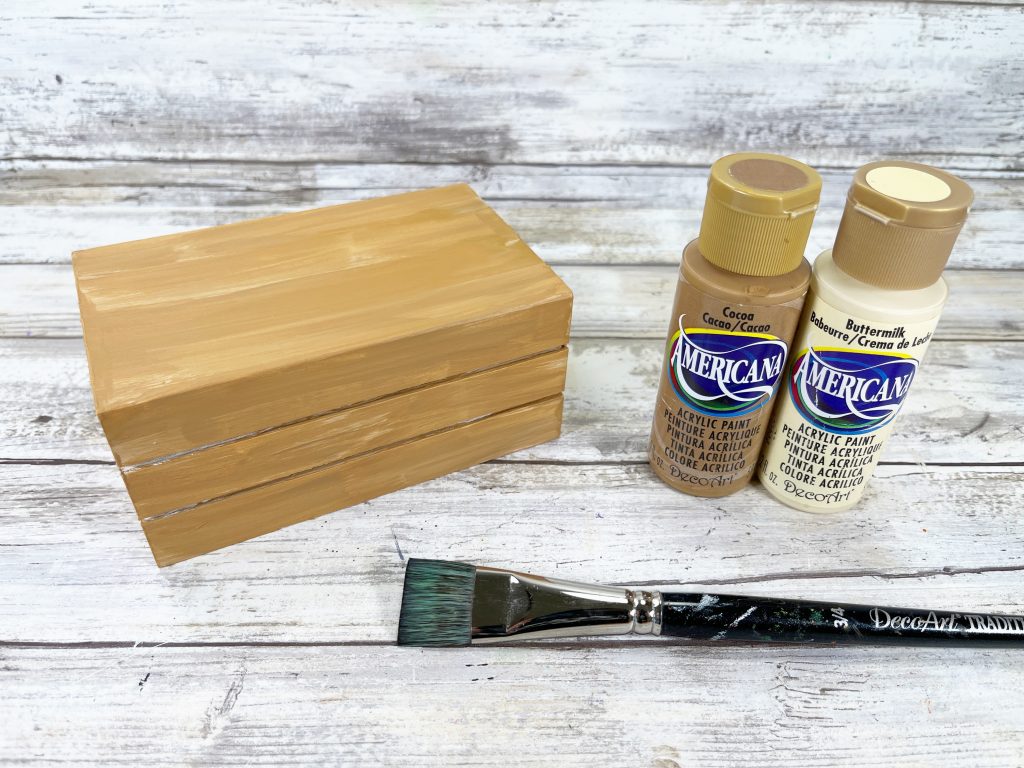
Gather all supplies. Basecoat the mini wooden crate with a combination of light brown and cream acrylic craft paint. Paint quickly and loosely, so the colors do not get over-mixed. This will give the look of fur. A mini crate was used for this craft, but any size would work. Wouldn’t this be fun with a large crate that you could sit by your fireplace or front door?
STEP TWO
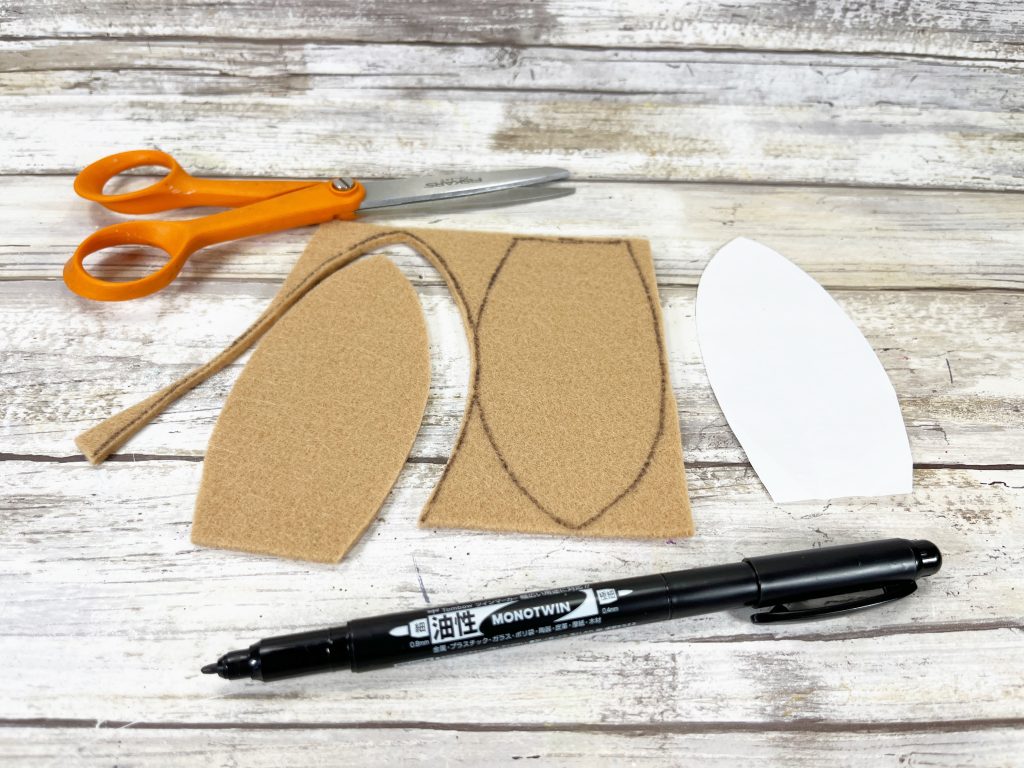
Download and print the MINI CRATE RABBIT PATTERNS. Cut out patterns with scissors.

Using a permanent marker, trace two outer ears on cashmere tan felt, two inner ears, and a nose on baby pink felt, and then cut them out with scissors. You could also use colored cardstock or craft foam for this project.
PRO TIP: Cut inside the traced line, so that your finished project looks neat and clean.
STEP THREE
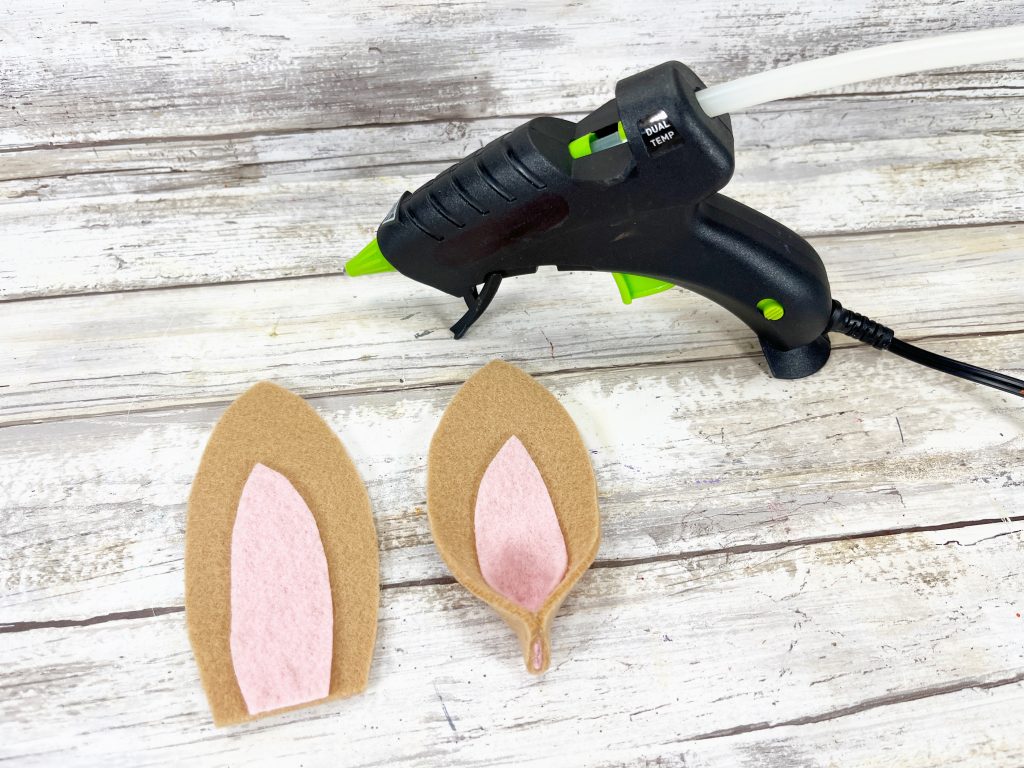
Attach the pink inner ear felt pieces to the center of the cashmere tan outer ear felt pieces with a glue gun and glue sticks. Place a small dot of glue at the base of each ear, and then fold it in half to give the ears dimension.
PRO TIP: You can use liquid craft glue for this project, but you will have to wait for it to dry.
STEP FOUR

Using a glue gun and glue sticks, attach two black buttons for the eyes. Measure and cut three 4” long pieces of black embroidery floss and glue just under the eyes for whiskers. Attach the pink felt nose using the photo for placement.
STEP FIVE

Trim any long ends of the Rabbit’s embroidery floss whiskers with scissors.
STEP SIX
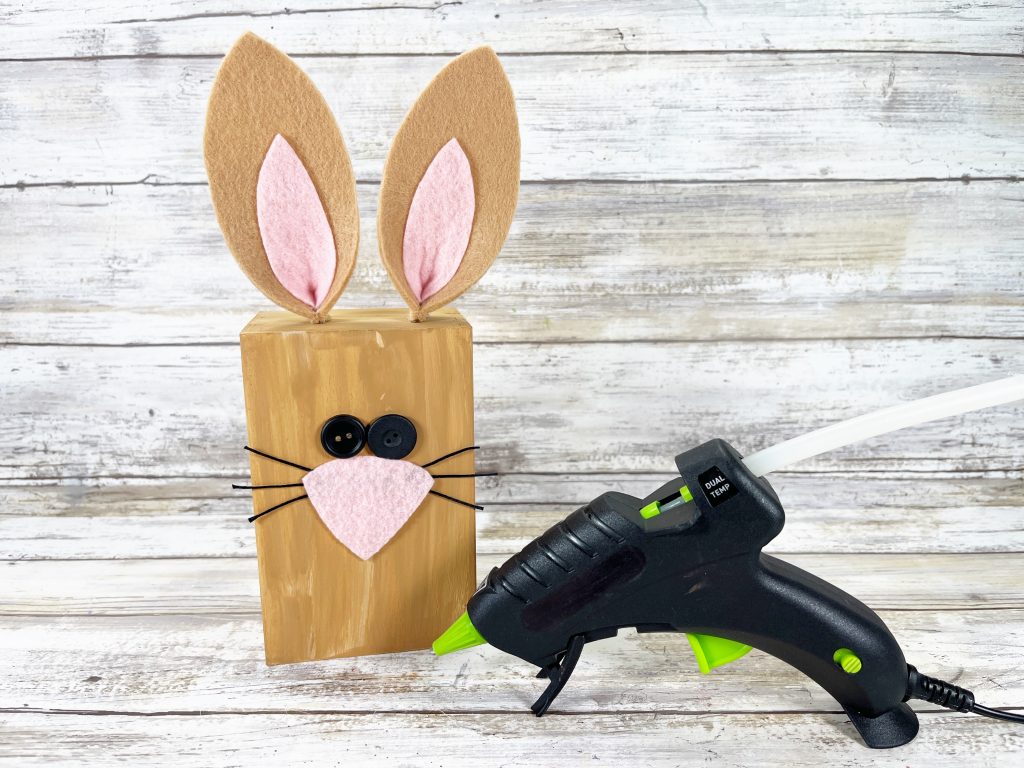
Run a line of glue along the bottom edge of the ears and attach them to the top left and right of the mini crate.
STEP SEVEN
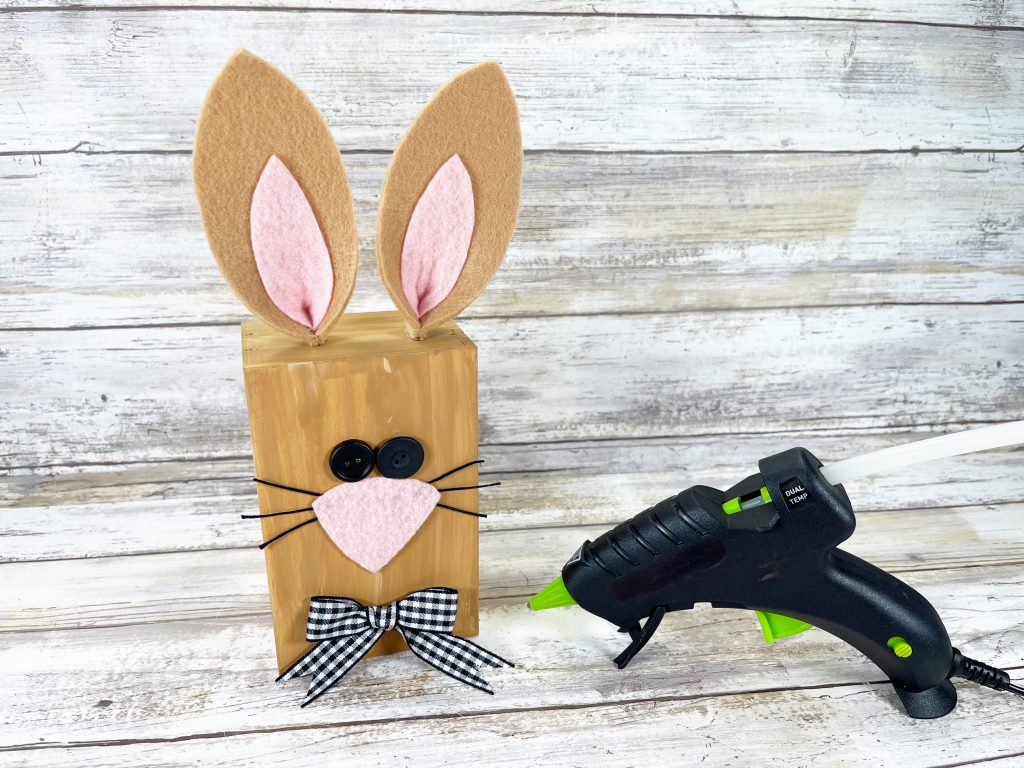
Tie black and white gingham ribbon into a bow. Trim the ends with a notch to prevent fraying and attach them to the bottom of the mini crate bunny with a glue gun and glue sticks.
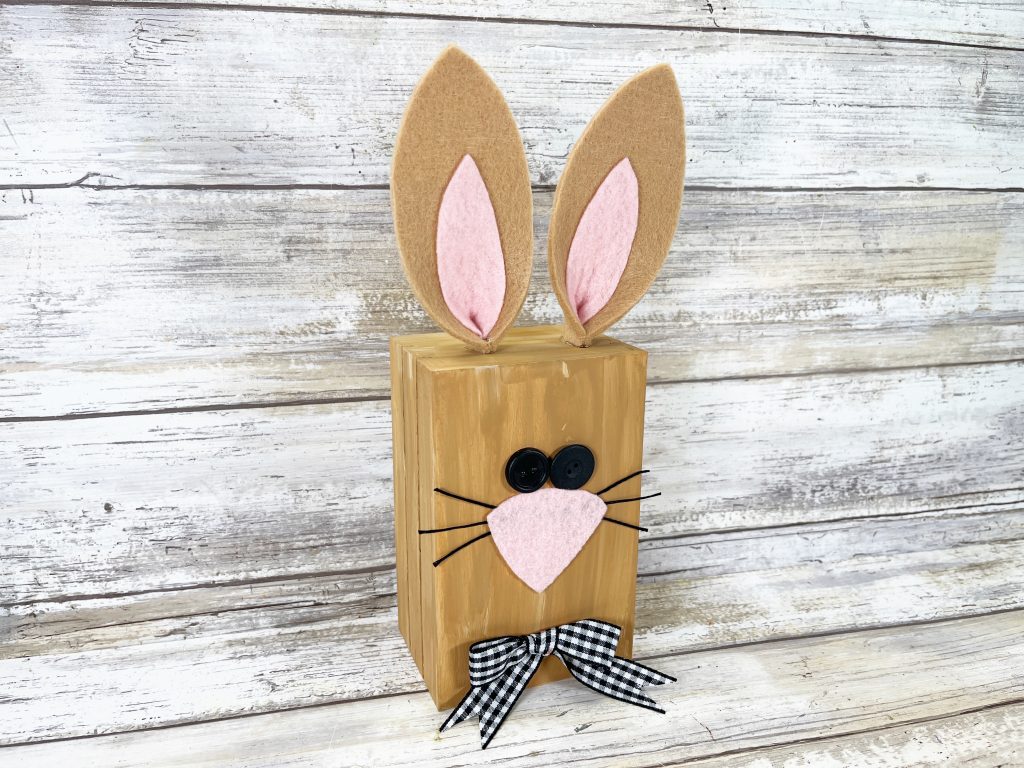
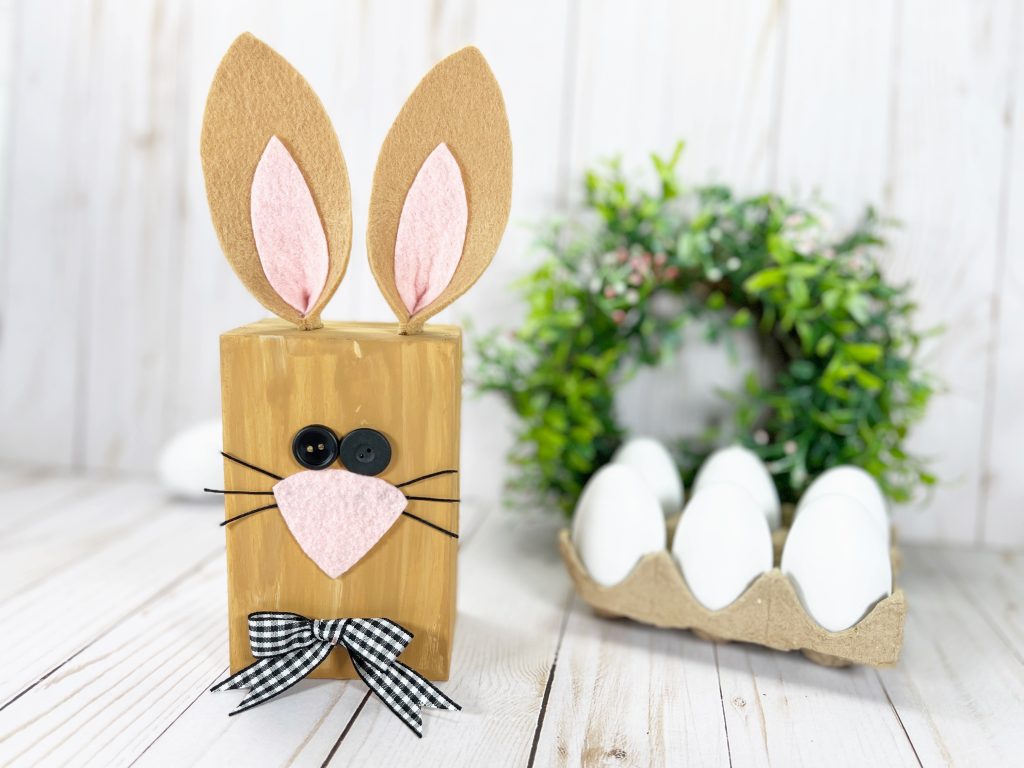
And here is Mr. Rabbit ready for his close-up! Make several and gift them to a teacher, friend, or neighbor. You can also use them as place cards for your family’s Easter dinner. Make each one with different colored bows or other details to customize them. They are so quick and easy to make with the kids.

Leave a Reply