Especially if it’s fake snowflakes!!! We got our first snowfall yesterday – I guess it seems fitting since this is Canada and it is now December but still….sigh. All I can think of is the shovelling and the driving in it and all those things that aren’t quite so much fun about snow! So lately, in the Creative EdVentures room, I’ve been turning my camera to face out the back window so that others can see the snow falling in my backyard and trying to focus on the beauty of it. It IS really pretty and so far it’s not sticking to the roads or anything, so I’m just trying to enjoy it for now.
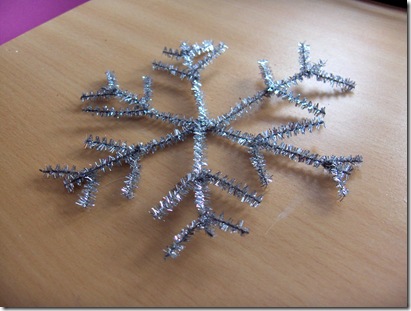
I’ve got a large picture window in my living room and have decided to fill it with various types of snowflakes. I made some large ones a few weeks ago from craft sticks and wanted some smaller ones as well. This is one of the smaller snowflakes I have made from glittery chenille stems (pipecleaners). I wanted something glistening and shiny there to catch the light. These are very quick and easy to make and only take 4 chenille stems to make one snowflake. With a little guidance, older kids could have fun making these as well – you might even want to show them how to make one and then challenge them to come up with more designs of their own!
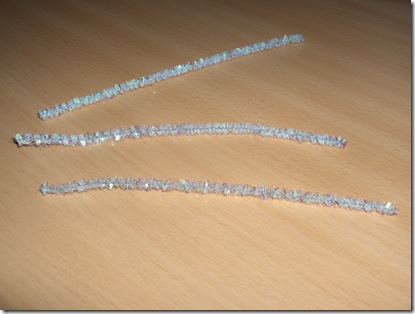
For the main part of the snowflake, cut 3 pieces of chenille stem 6 inches each.
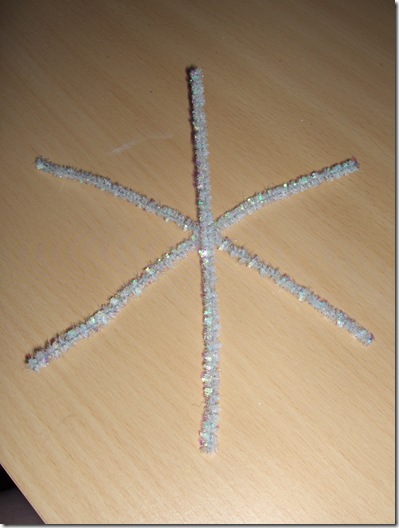
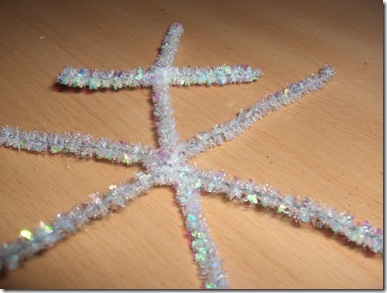
Cross the 3 chenille stem pieces into an asterisk shape and wrap around each other to secure.
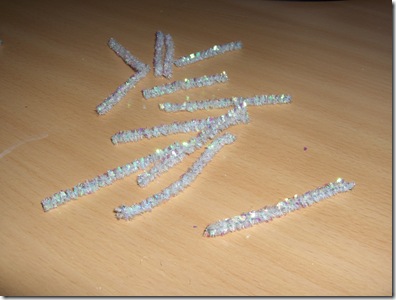
Cut 6 pieces 2 inches each and 6 pieces 2 1/2 inches each. (Obviously you can alter the sizes of all of the pieces to make larger or smaller snowflakes – just keep your measurements proportional.)
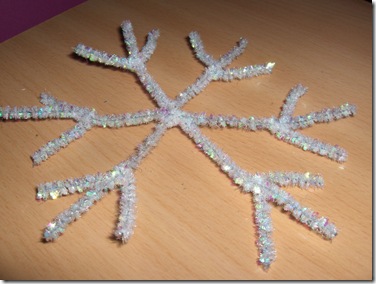
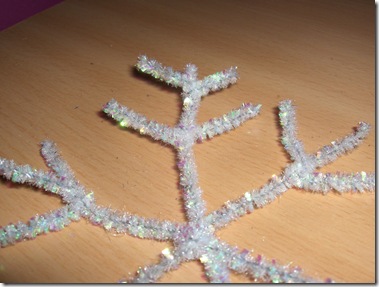
Take each of the 2 1/2 inch pieces and wrap one around each of the “arms” of the snowflake about midway from the center.
You then want to bend each of these new cross bars up slightly as pictured above.
Do the same with each of the 2 inch pieces, placing each of them closer to the end of each arm.
You can add a string or something similar as a hanger on your snowflake.
Check in tomorrow for another snowflake idea!
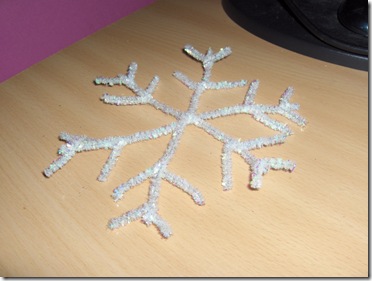
[…] These glittery snowflakes are quick and easy to make and take only 4 chenille stems for each one. They add a lovely shimmery touch to your home during the holidays or anytime throughout the winter. The kids can have fun making enough to fill your windows! Click here for the instructions. […]