I just love the simple but colorful style that is common to Scandinavian decorations. I had a friend who was from Denmark when I was little and I was always in awe of her Christmas decor. Now, I’m making my own Felt Scandinavian Ornaments.
Simple supplies such as felt, and fabric paint transform into bold and elegant Scandinavian ornaments. Check my photos for inspiration or look some up on Google for more ideas. You could even turn it into a teachable moment and have the kids research some designs to use when making their own ornaments.
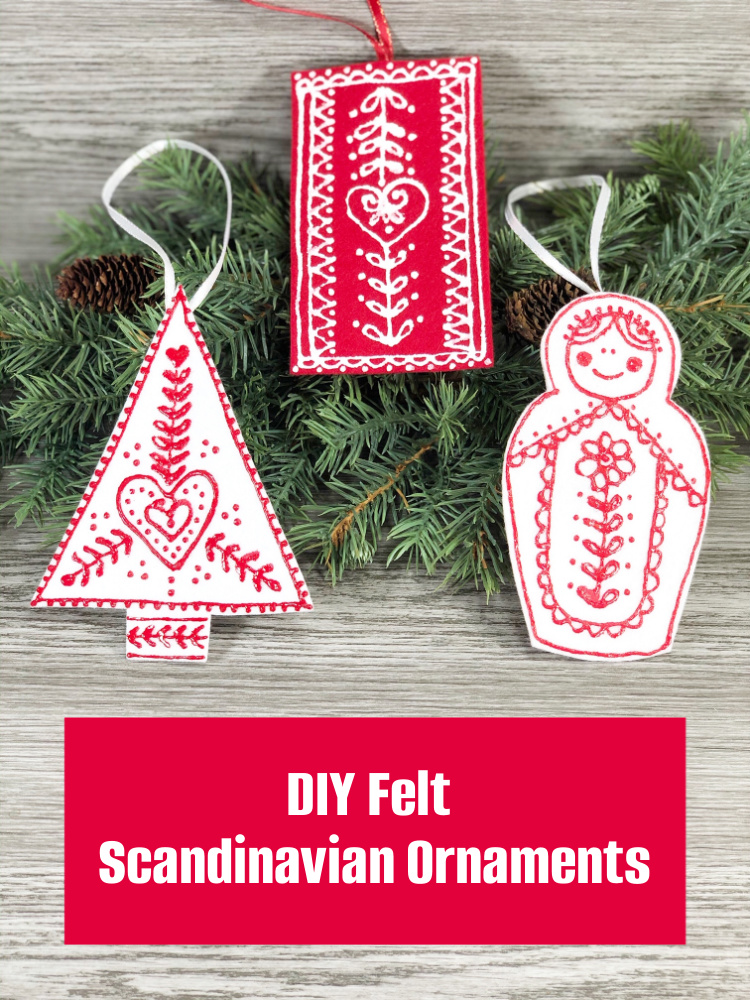
Felt Scandinavian Ornaments
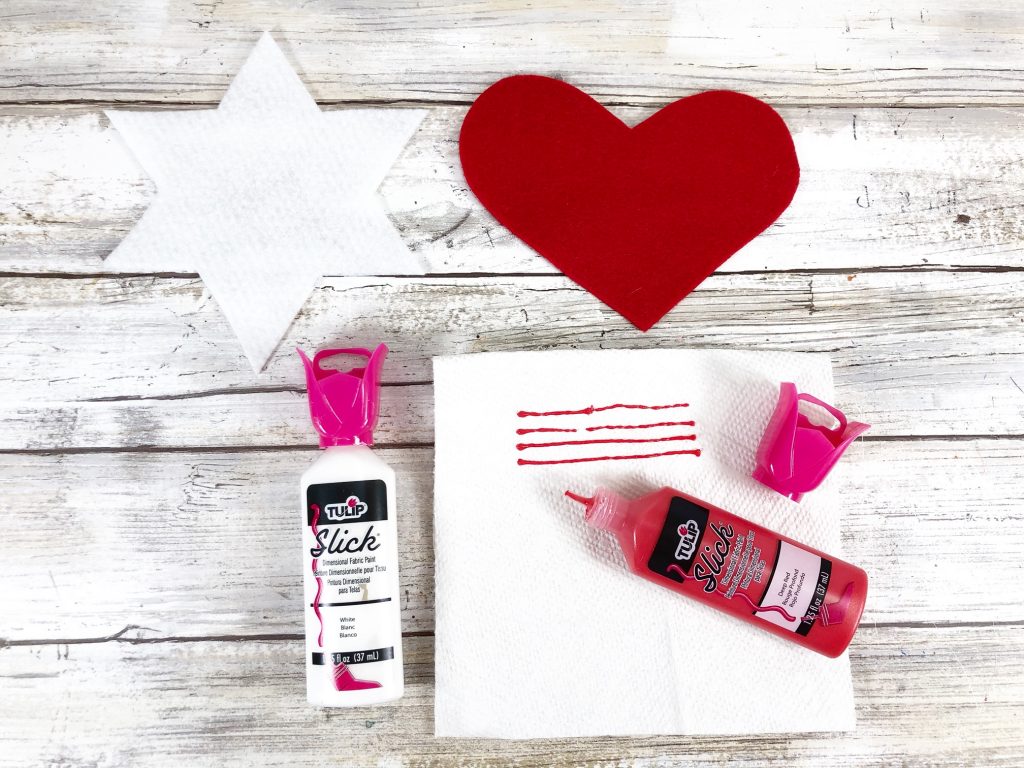
Supplies:
- Felt Craft Sheets – Red and White
- Dimensional Fabric Paint – Slick Red and Slick White
- Glue Gun and Glue Sticks
- Chipboard or Poster Board
- Permanent Marker or Chalk Pencil
- Ribbons – Red and White
- Scissors
- Paper Towels
- Toothpicks
- Ornament Patterns (see below)
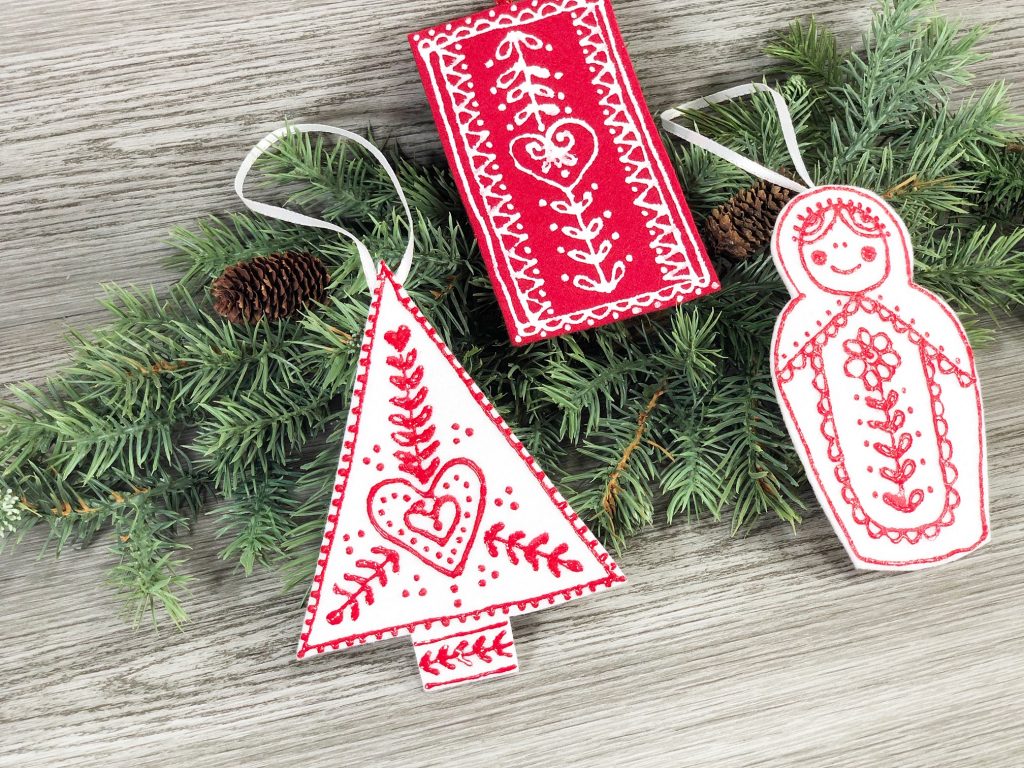
Step-by-Step Instructions:

STEP ONE
Gather all your supplies before getting started. Download, print, and cut out the ornament patterns.
Grab the Scandinavian felt ornament patterns here.
If you are going to create quite a few ornaments, trace patterns onto cardboard (I use old cereal boxes) and cut them out for sturdiness. Trace patterns onto red and white craft felt with a permanent marker and then cut them out with scissors.
Pro Tip: Using a non-permanent marker on felt will cause the ink to transfer onto your hands and the surrounding felt. Cut inside the traced lines to ensure you end up with a clean finished project.
STEP TWO
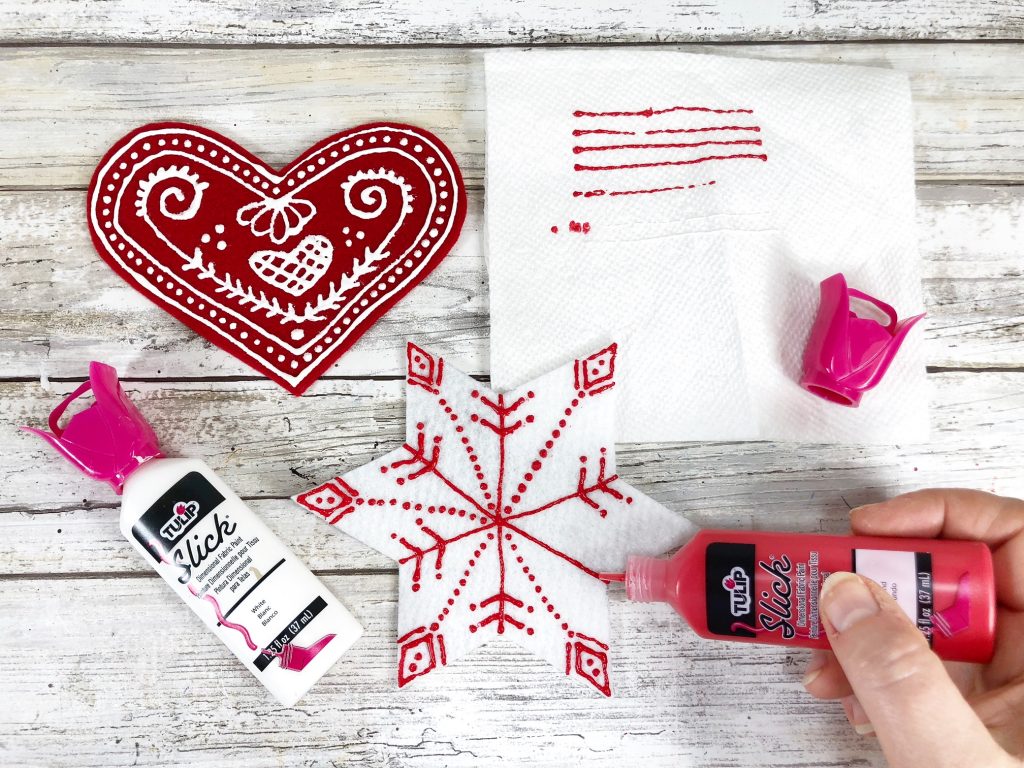
Gently tap the tip of the fabric paint container onto a paper towel and then start the paint flowing on the towel to prevent any blobs of paint. The tapping will also help prevent air bubbles. Practice on the paper towel, squeezing the paint bottle to get an even flow.
Pro Tip: If you do end up with a paint blob, use a toothpick to remove it.
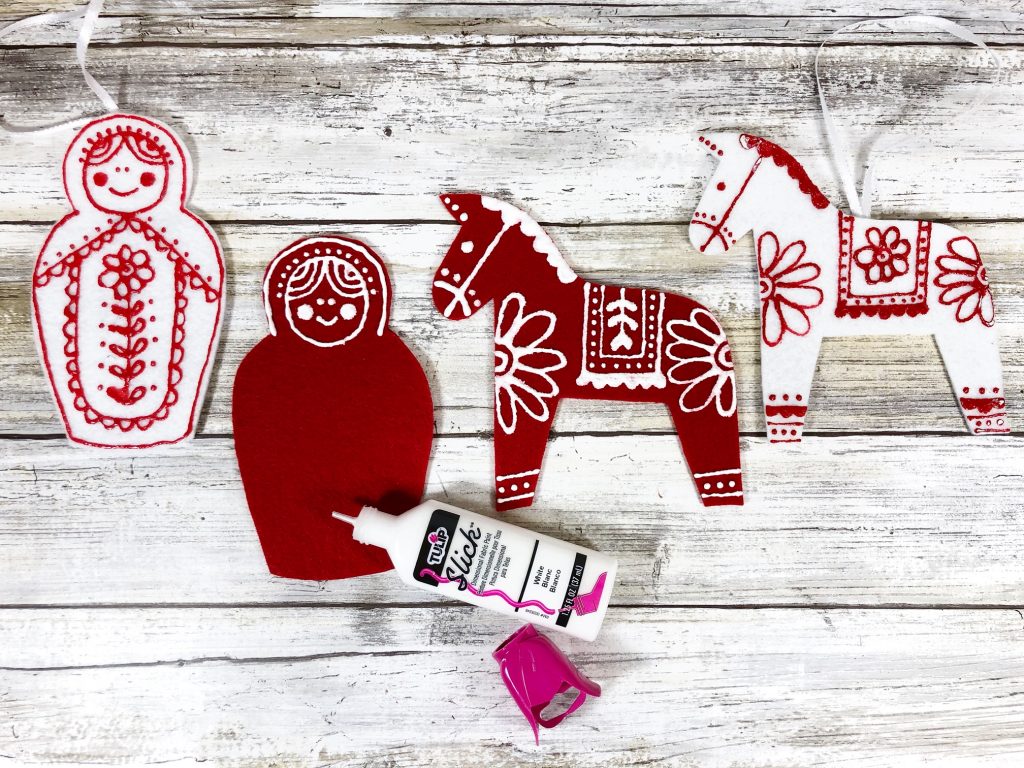
Using the photos (or the designs you find) as a guide, add the faux embroidery stitches with dimensional fabric paint. Use red paint on white ornaments and white paint on red ornaments for an authentic Scandinavian appearance. Let the ornaments dry thoroughly.
Pro Tip: If using your own designs, print out extra templates and practice on them first.
STEP THREE
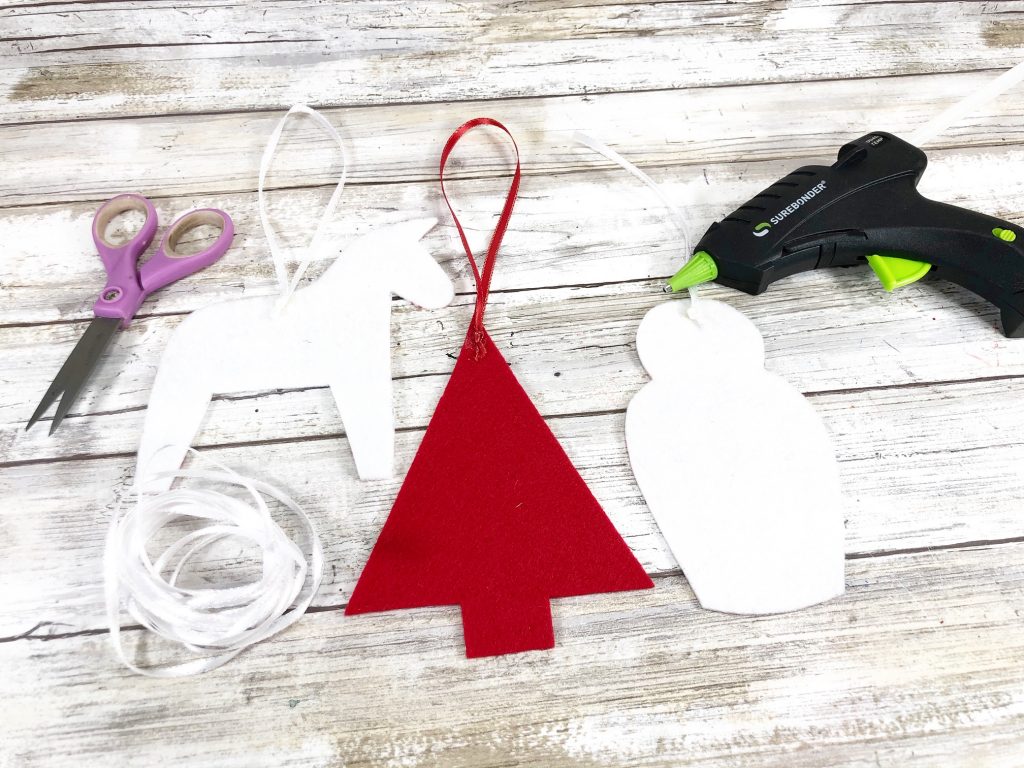
Measure and cut a twelve-inch length of coordinating ribbon for each ornament. Knot the ends of each ribbon to create a loop. Flip the ornaments over and attach the ribbon loop to the top center of each ornament to create the hanger.
Here is a detailed photo of the ornaments for you to use as inspiration if desired.
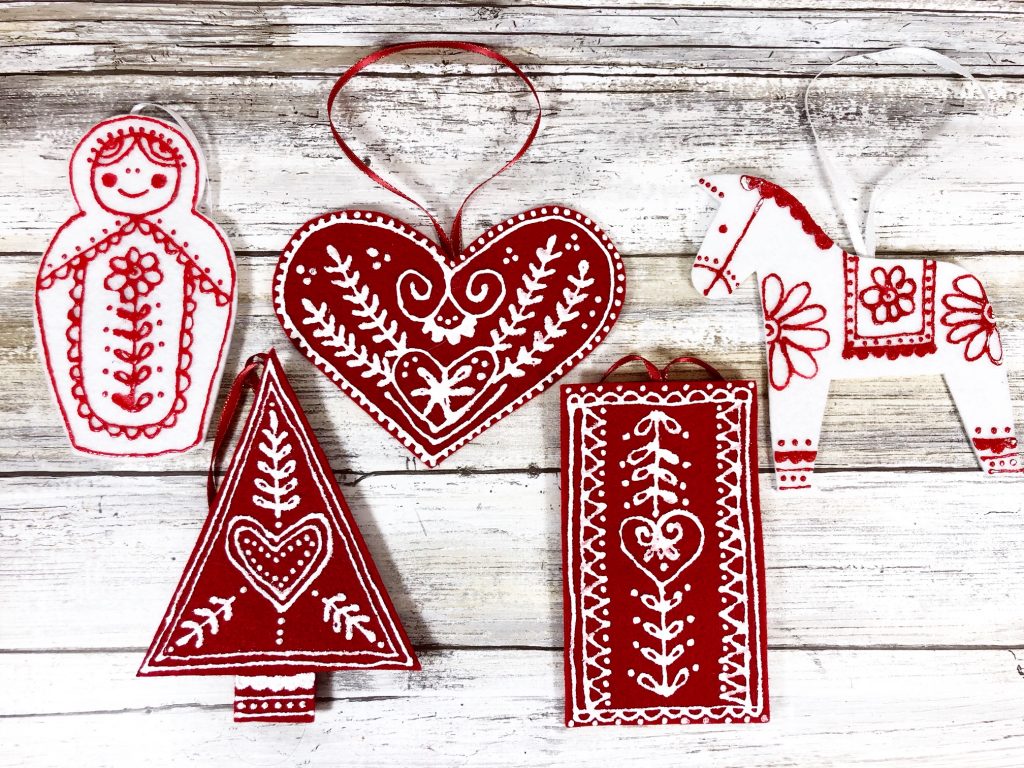
Create faux Embroidered Scandinavian Felt Ornaments to decorate the tree (and give as gifts!) this year! Let the kids get creative, draw custom shapes, and use a rainbow of felt and paint colors to match your home décor.
Leave a Reply