Disclosure: Some of the links in the post below are affiliate links provided for your convenience. This means that if you purchase something through one of these links, I get a small commission at no added cost to you.
Want to make some fun wire pumpkin earrings for fall? These are quick and easy to make. It only takes about 15 minutes to make a pair.

DIY Wire Pumpkin Earrings
Of course, these earrings are perfect for Halloween, but I would wear them all autumn. They’d be really cute for Thanksgiving or just any old fall day! Add some personality to your favorite fall outfit.

Supplies (for one pair):
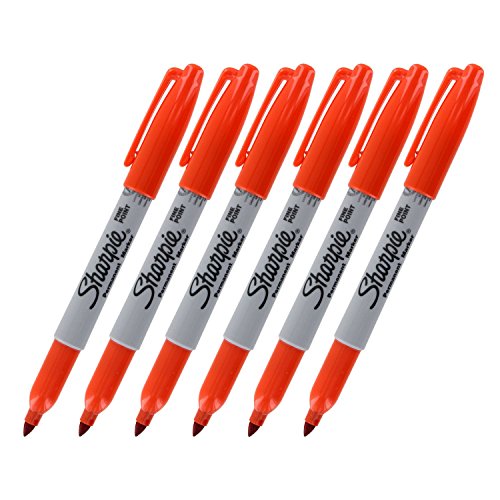
1 Orange Sharpie Permanent Marker
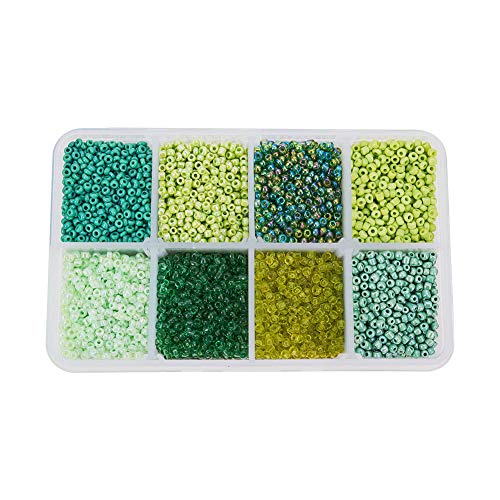
6 2mm Small Green Beads
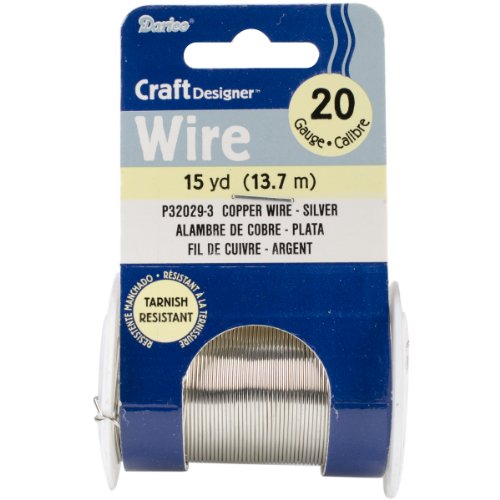
Jewelry Wire – note, you can sometimes find orange wire. If you use this, you will also need some plain silver wire. I used 20 gauge. I find that 20-22 is a good all-purpose one for this type of jewelry making.
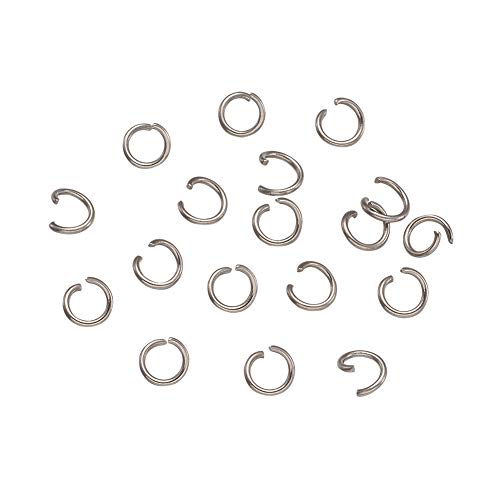
2 4mm Jump Rings
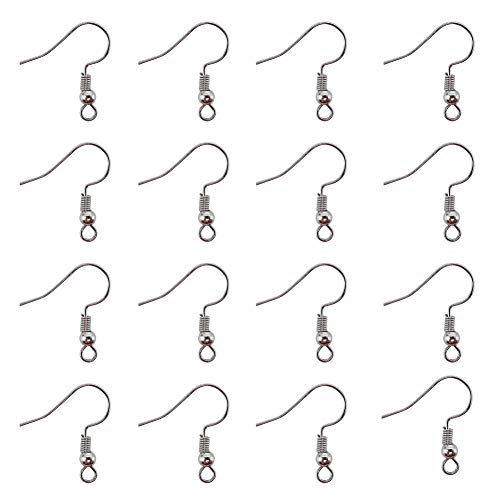
2 Earring Hooks
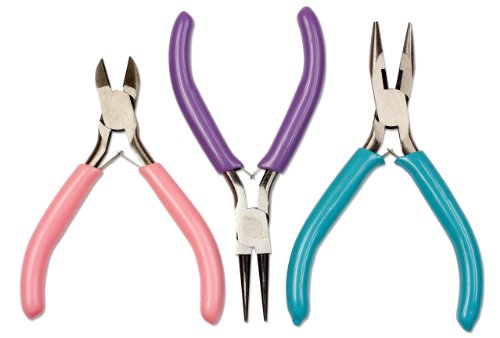
Pliers
Wire Cutters (or scissors)
Small Screw Driver (or another small object that is about as thick as a sucker stick)
Shopping links below for your convenience. As an Amazon Associate I earn from qualifying purchases.
Sharpie Permanent Marker, Fine Point, Warmer Orange, Pack of 6PH PandaHall 1 Box Mixed Style Green 12/0 Glass Seed Beads, 2mm, Hole: 0.5mm
Craftdady 1000Pcs Stainless Steel Open Jump Rings 4mm Tiny Round 0.6mm Thick Connector Rings for Jewelry Making
TOAOB 100pcs Earring Hooks Hypo Allergenic Ear Wires with Ball and Coil 18mm Fish Hook Earrings Making Supplies Jewelry Findings
Darice Craft Wire 20 Ga NonTarnish Silver 15yd
Cousin Craft & Jewelry Making Tool Kit, 3-Piece
Directions:

Step 1. Start by wrapping the wire around the marker 10-12 times. Be sure to leave about a 3-inch piece sticking out at both ends then cut it from the rest of the wire.

Step 2. Slide the wrapped wire off of the marker.

Step 3. Using your fingers pinch the loops together. Then using those long ends run it through each side and wrap it around. You want it to hold all the loops together.

Step 4. Now take those long ends and fold them to one side.

Step 5. Grab a loop from both sides and pull them to each other. It should start to uncoil the loops. You can use your fingers to separate them. The pumpkin should now be taking shape with the long wires sticking up out of the center.

Step 6. Take the marker and color over the wire. You can do as much or as little as you like to get the look you want. Don’t color the wires that are sticking up.

Step 7. Slide the three green beads down over the wires in the center. Make sure they slide over both wires.

Step 8. Wrap those long wires tightly over the small screwdriver and then back around the wire and twist a few times. Cut off ends of the wire and then using the pliers pinch the cut edge so it is not sticking out.


You can find more adorable pumpkin crafts here.
Leave a Reply