Using simple and inexpensive supplies from your local dollar store, you can create these quick and easy Craft Stick Pumpkins in about half an hour.
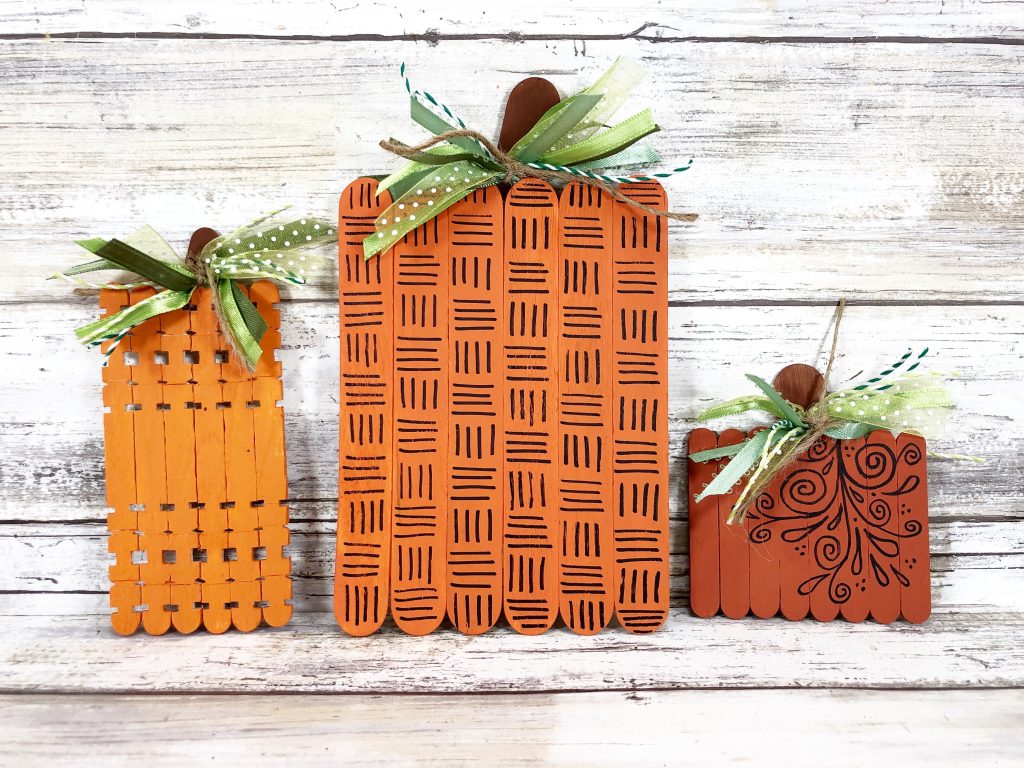
Make some yourself or get the kids to help you and add their own decorating style! Make a variety of sizes so you can group them on the mantel, a tiered tray, or use as a table centerpiece.
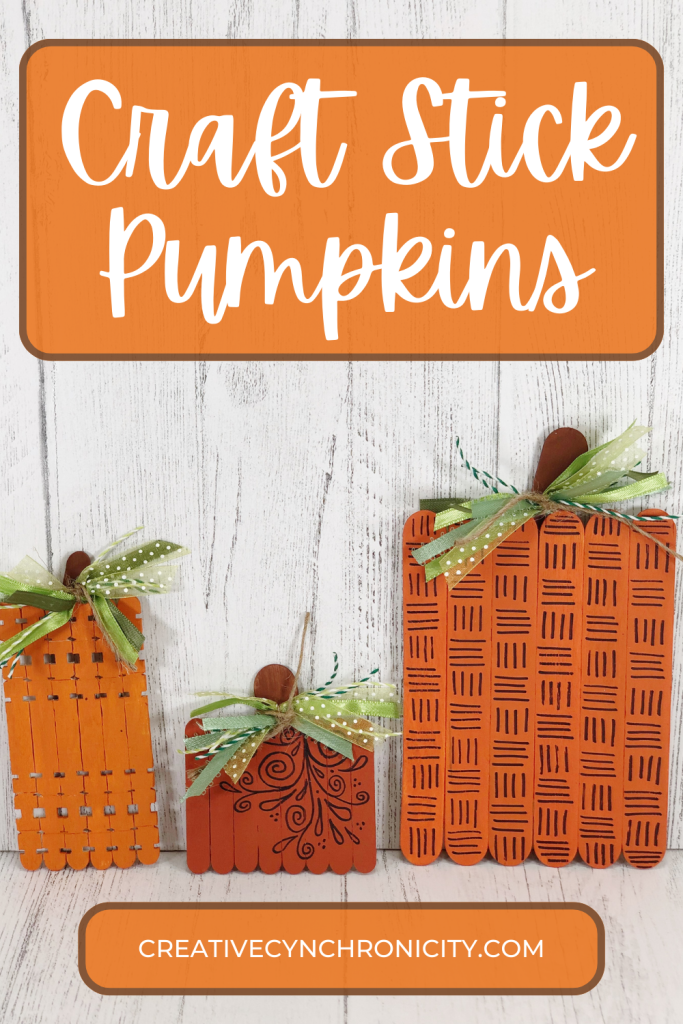
DOLLAR STORE CRAFT STICK PUMPKINS
Materials:

- Craft Sticks, Jumbo – Dollar Store
- Craft Sticks, Mini
- Skill Sticks
- Assorted Ribbon, Baker’s Twine and Scraps – Green
- Natural Jute Twine – Dollar Store
- Acrylic Craft Paint – Light, Medium, and Dark Orange, Brown
- Permanent Black Marker – Dollar Store
- Glue Gun and Glue Sticks
- Scissors

Instructions:
STEP ONE
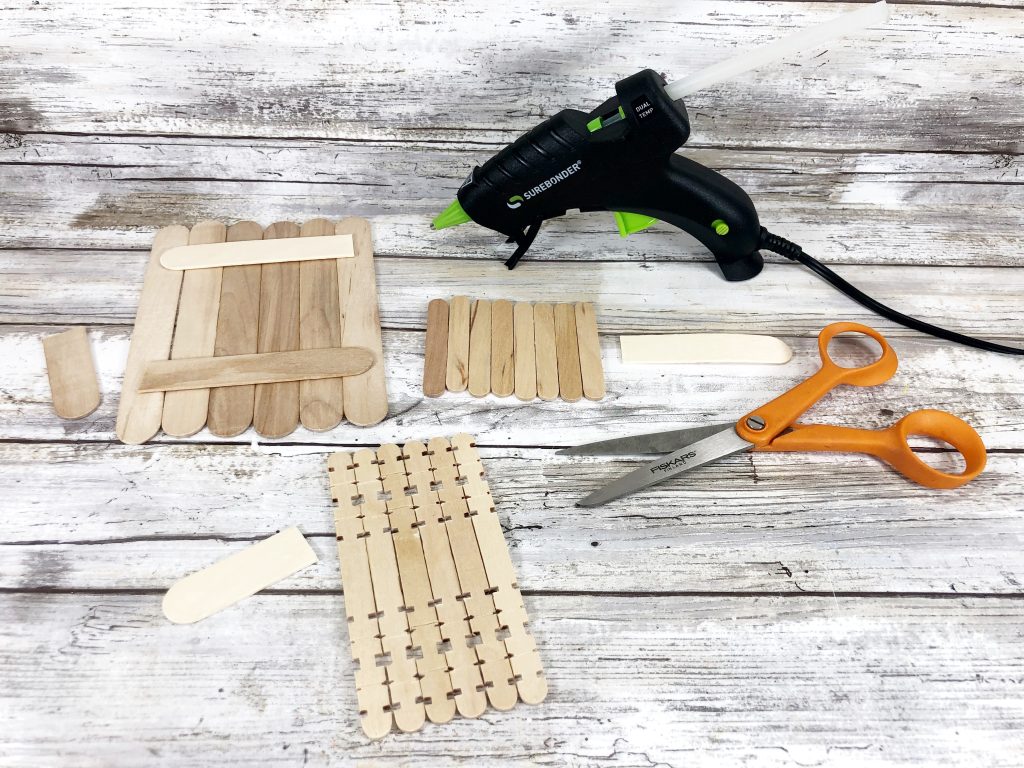
Gather all supplies. To create pumpkins, line up six jumbo craft sticks, six skill sticks, and eight mini craft sticks on your work surface. Using scissors, trim additional jumbo craft sticks to the width of each pumpkin and attach with a glue gun and glue sticks.
STEP TWO
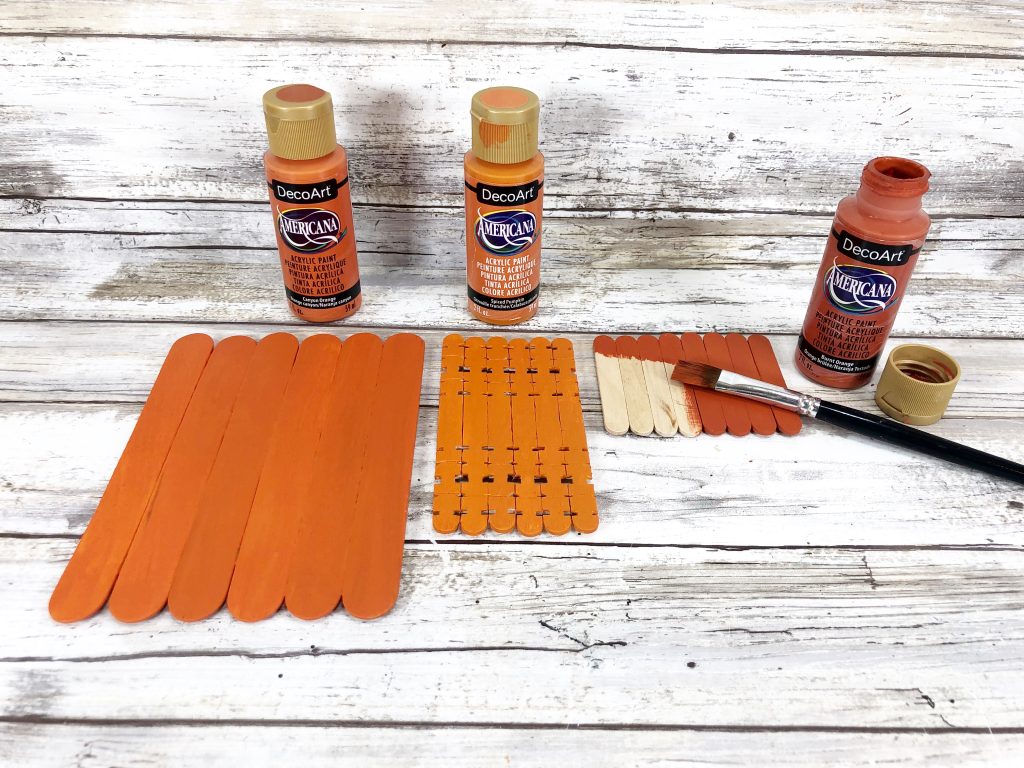
Paint each pumpkin with a different shade of orange acrylic paint, light orange, medium orange, and dark orange. Set aside to dry and apply a second coat, if necessary.
STEP THREE
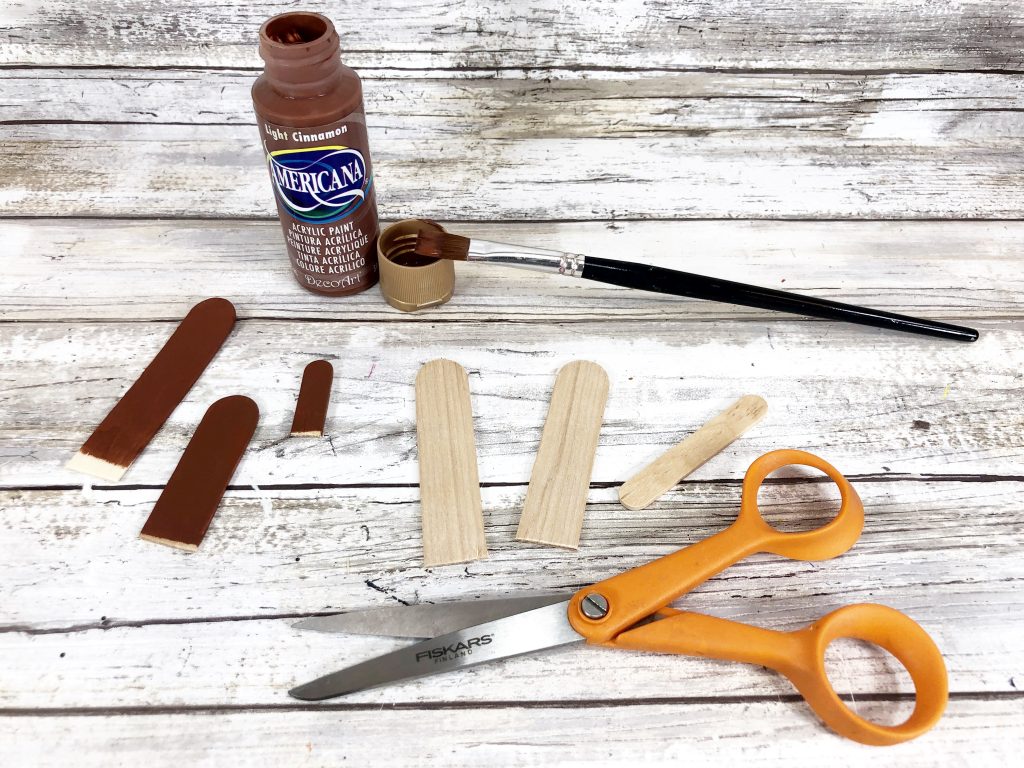
Trim additional jumbo craft sticks with scissors, to create the pumpkin stems. Paint with brown acrylic craft paint. Set aside to dry and apply a second coat, if necessary. Once dry, attach each stem to the top center of the back of each pumpkin with a glue gun and glue sticks.
STEP FOUR
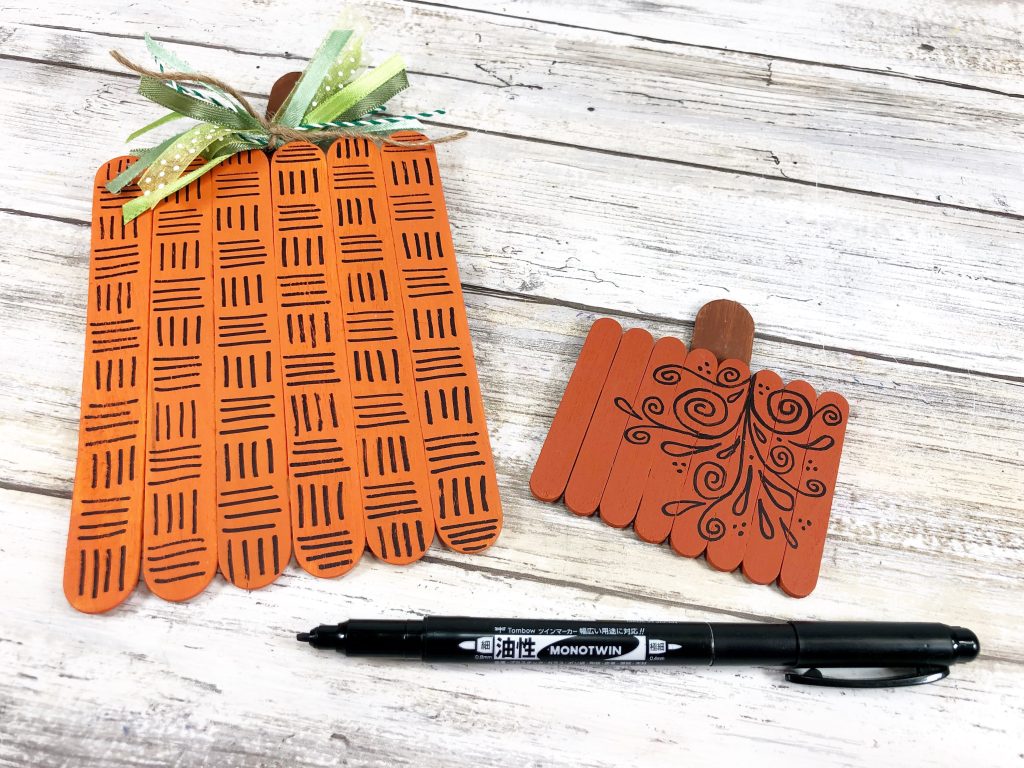
Using a black permanent marker, draw patterns on the plain craft stick pumpkins. Create a basket weave on the largest pumpkin by alternating horizontal and vertical lines. Draw a variety of swirls and teardrops on the smallest craft stick pumpkin to look like vines. Get creative with this step and let the kiddos help!
STEP FIVE

Cut assorted ribbon, baker’s twine, lace, and rick rack scraps into 4” lengths. Cut an 8” length of natural jute twine and tie in a knot around the scraps, then tie around the pumpkin stem and secure with a knot. Trim ends of ribbon and twine, if necessary.
Leave a Reply