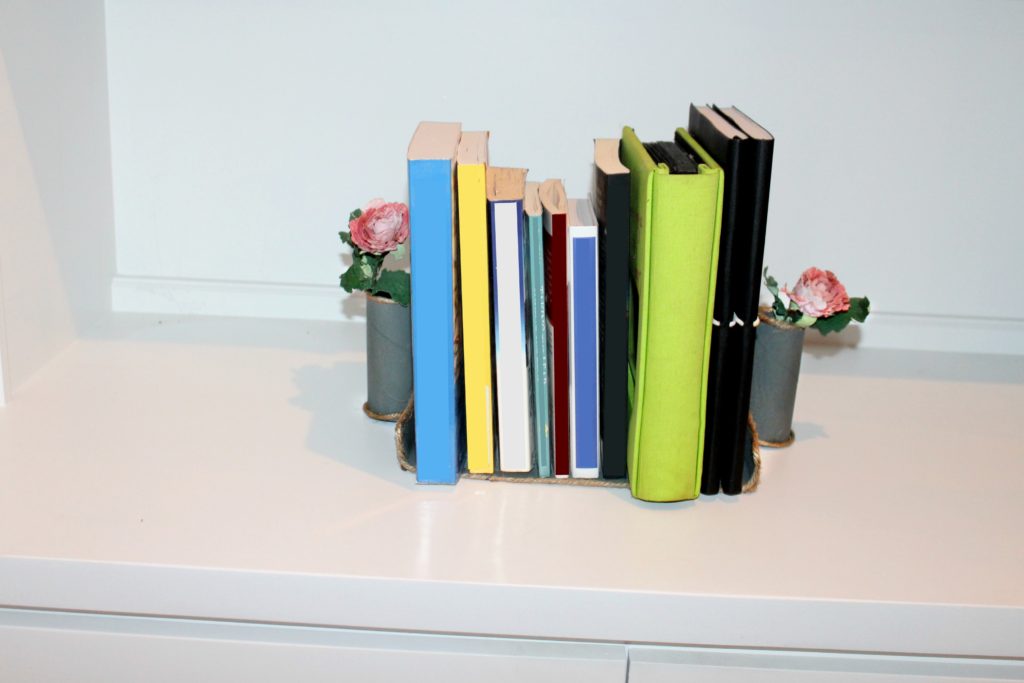
Earth Month may be over but that doesn’t mean that the recycling and upcycling stops around here. I love to take materials I have just hanging around the house and turn them into something useful and beautiful. These Upcycled DIY Flower Vase Bookends are a fun way to make over a plain old cardboard box. They’re the perfect way to brighten up your office or to give as a gift. Recipient not really a fan of flowers? Turn those “vases” into pen and pencil holders instead.
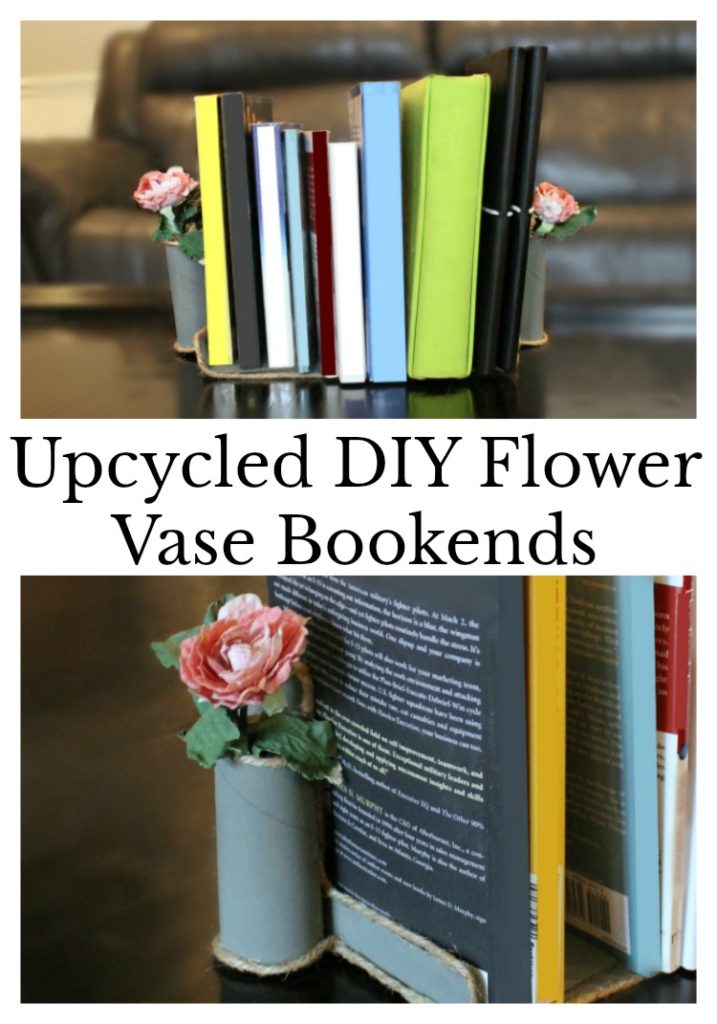
Upcycled DIY Flower Vase Bookends
Here are the materials you’ll need:
- Heavy weight cardboard box with dimensions similar to 5 1/2 “ tall x 7” wide x 10” long.
- Heavy duty craft scissors
- 2 empty toilet paper tubes
- Hot glue gun
- Two or more faux flowers to put in the vases
- Books
- Something to decorate the box with – paint and paintbrushes, self-adhesive paper, Washi tape, and fabric are all options.
Instructions:
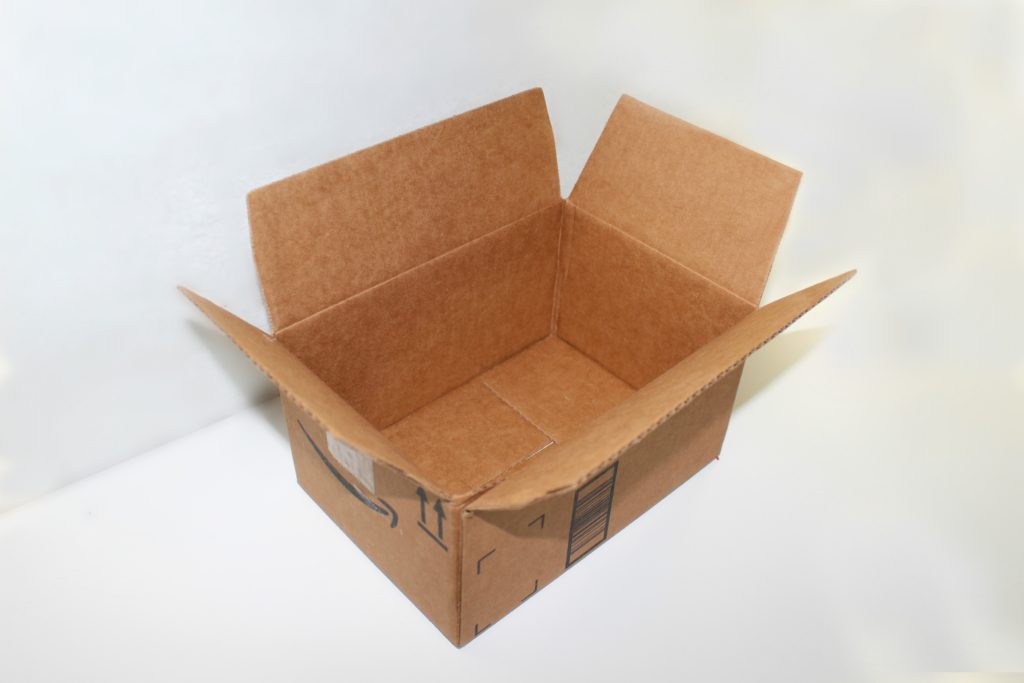
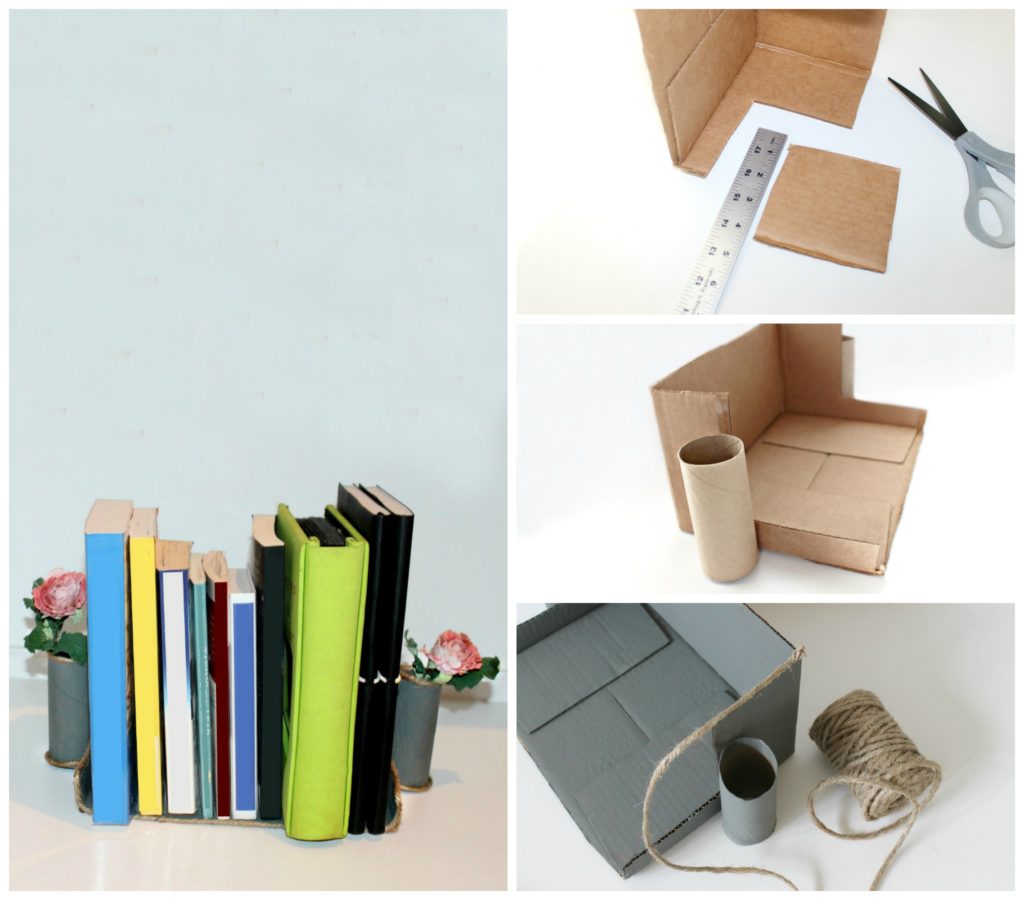
Step 1. Cut the flaps off the top of the box
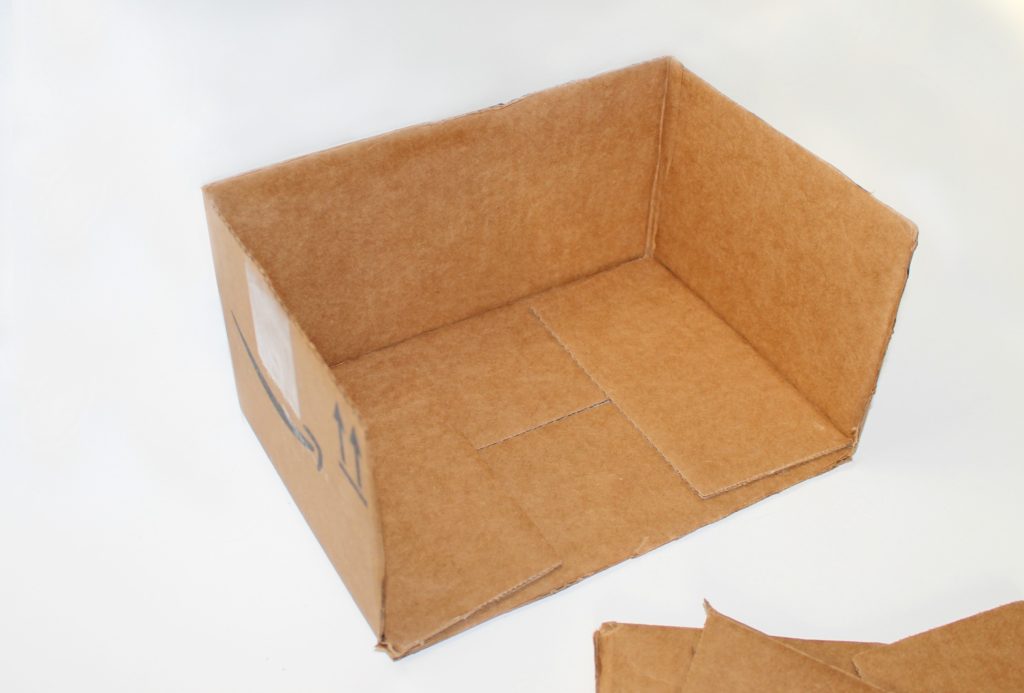
Step 2. Cut one of the long sides off (Leaving 3 sides and the base.
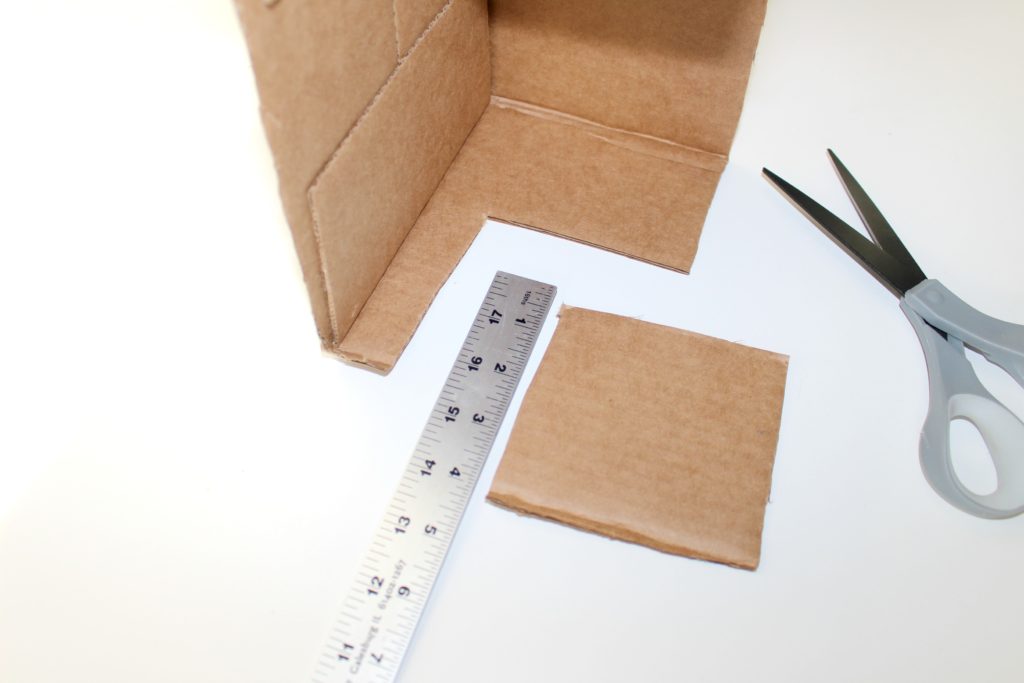
Step 3. Cut a 4 x 4 inch square off one of the top outside corner.
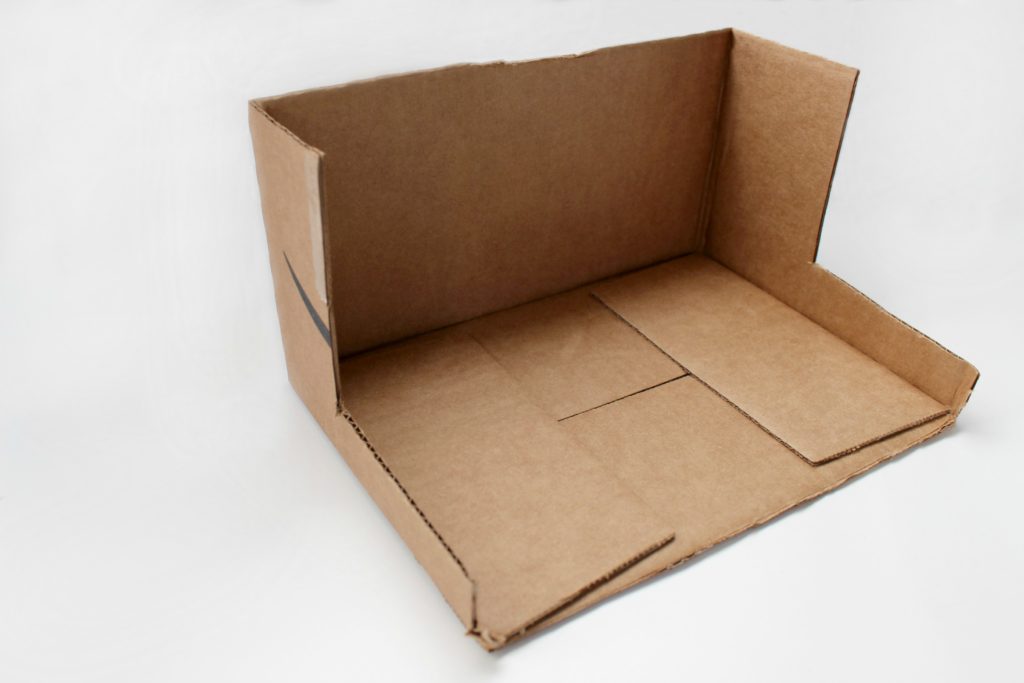
Step 4. Repeat on the opposite side of the box.
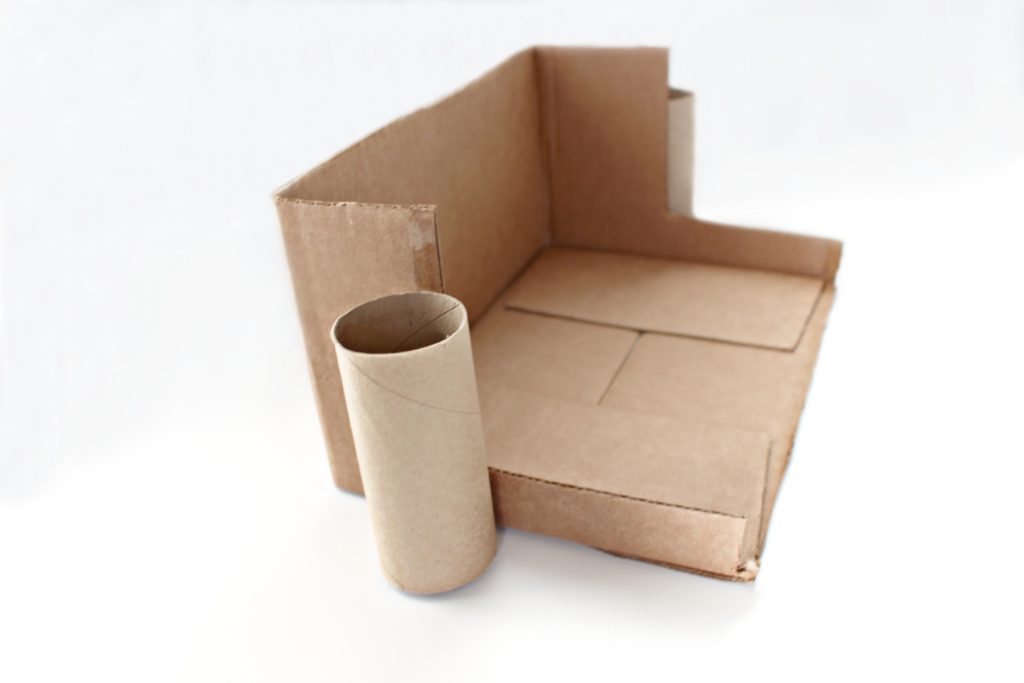
Step 5. Use the hot glue gun to attach a toilet paper roll to each side of the box up against the part where it gets taller (as shown).
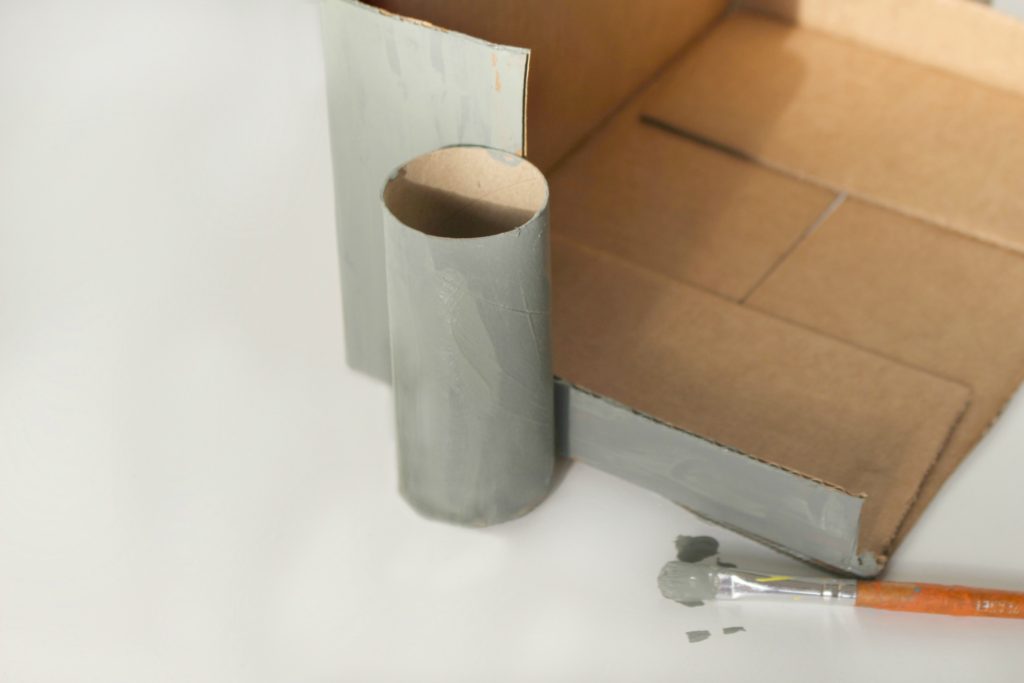
Step 6. Paint the box grey (or whatever color you prefer). Let Dry.
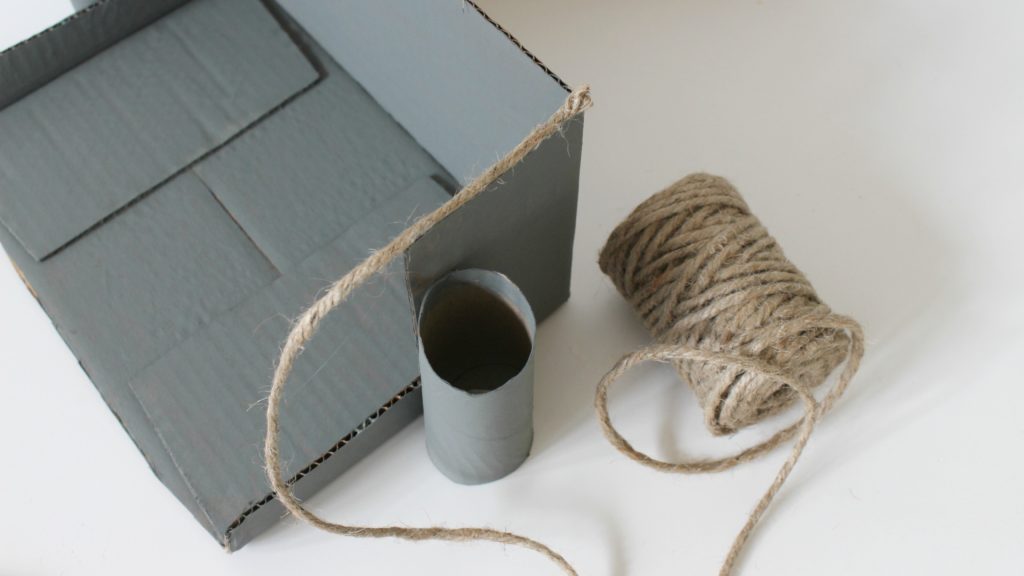
Step 7. Use the hot glue gun to attach the twine to the edges of the box. Start at one of the ends of the box and slowly work your way around the edges.
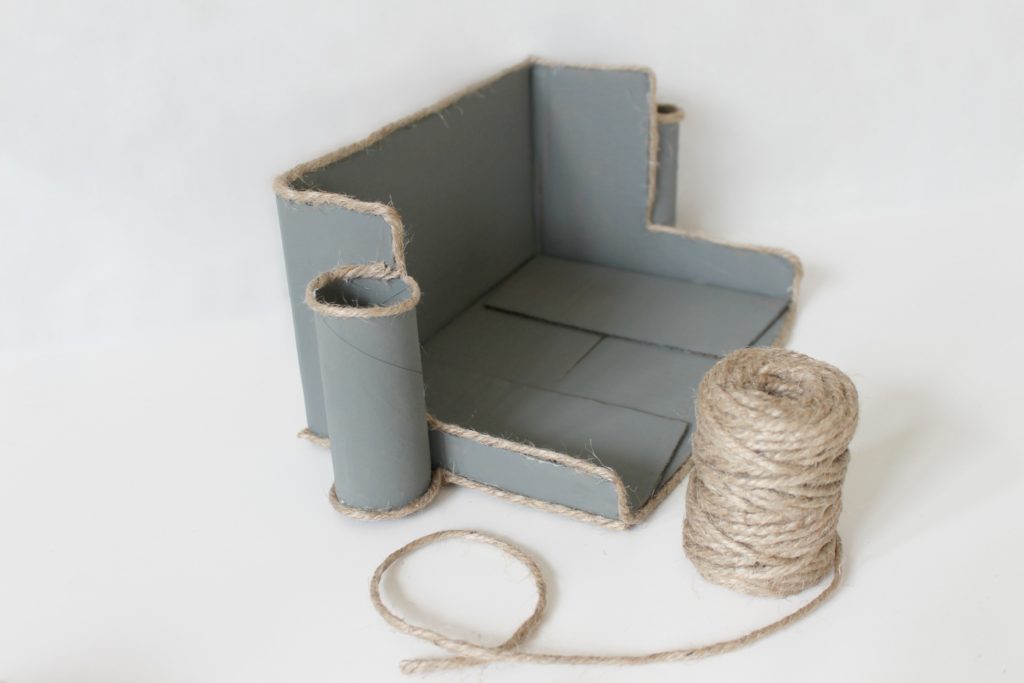
Step 8. Trim the ends of the twine where you need to in order to start a new line. Make sure the ends are glued down securely. Remember to do the edges at the top and bottom of the toilet paper tubes so that it has a finished look.
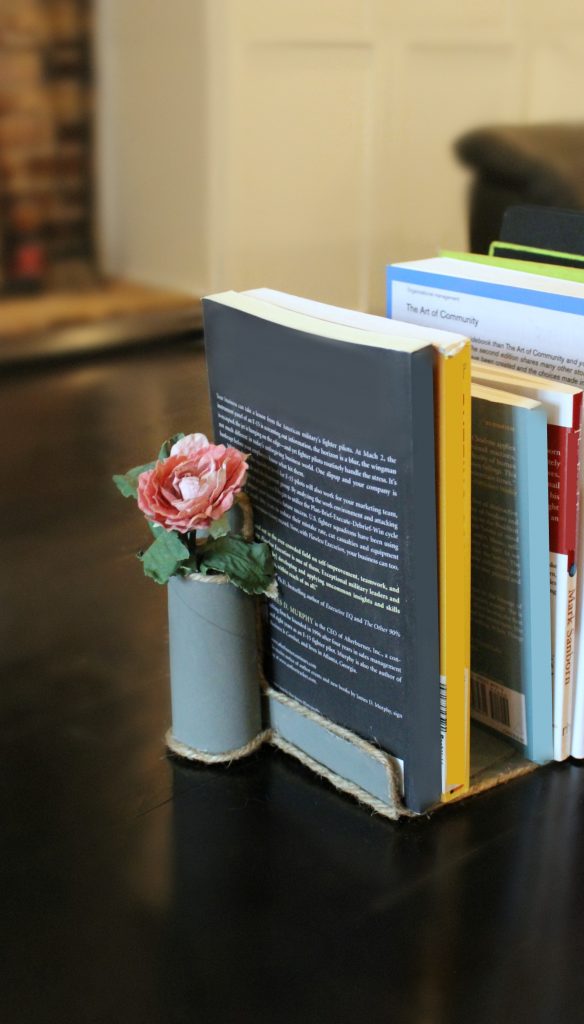
Step 9. Add your faux flowers and books.
And that’s it! Cute idea, right? I think it would be a fun project to work on with the kids to get them excited about setting up their desk space to get ready for back to school too!
Leave a Reply