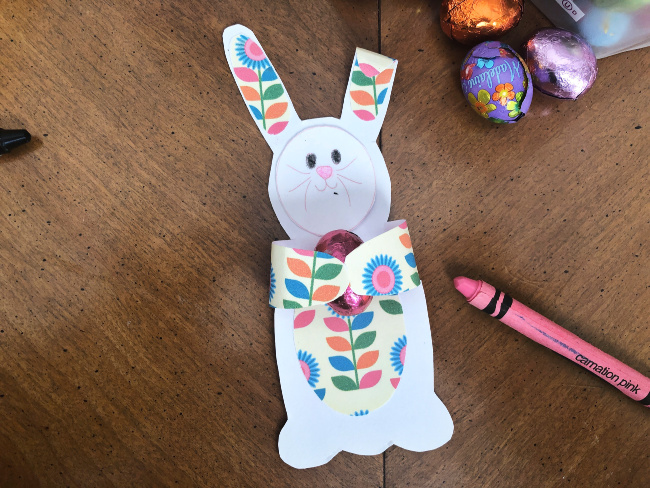
This is such an easy and adorable craft. You’ll need to have a printer to print out the PDF pattern for this super cute Easter Bunny Candy Hugger craft, but then grab the kids and get crafting! This is great practice for working on their scissor skills, as well as some basic coloring and gluing.
You can use any kind of small candy here – just remember that it needs to be wrapped so it doesn’t end up with any glue or tape on it! You could also put a tiny toy in the bunny’s arms – maybe a small ball or something like that. Whatever it is that the bunny is hugging, the recipient is sure to love this sweet little craft project.
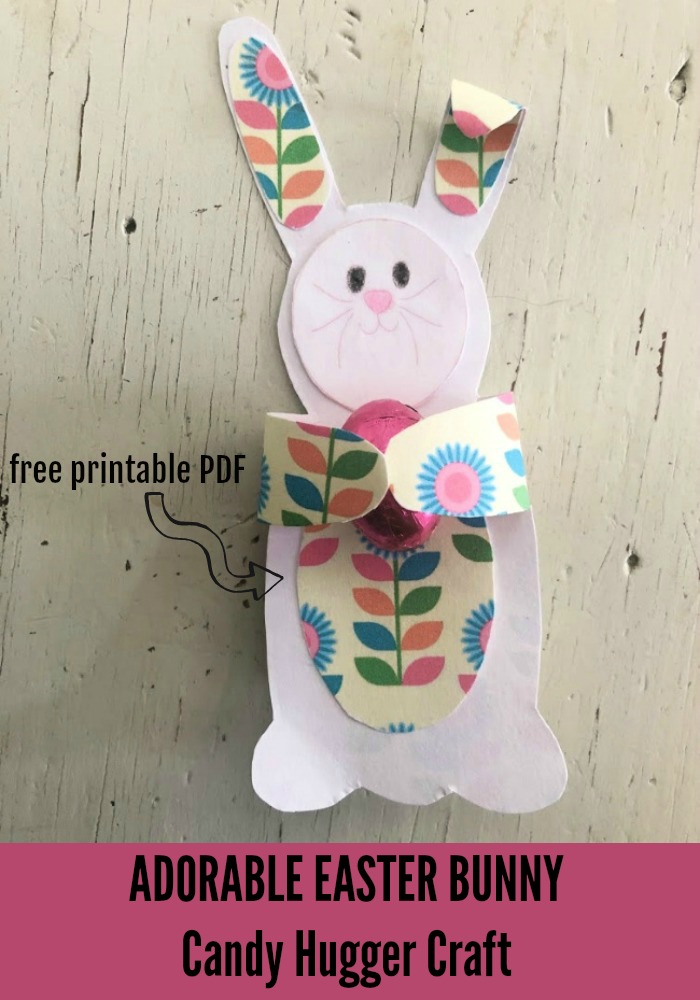
Easter Bunny Candy Hugger Craft
Materials needed:
- Color Printer
- Cardstock
- Glue stick
- Crayons
- Scissors
- Cotton ball or pompom
- Tape or glue dots
Step by Step Instructions:
1 – Print out the Easter Bunny Candy Hugger PDF (below).
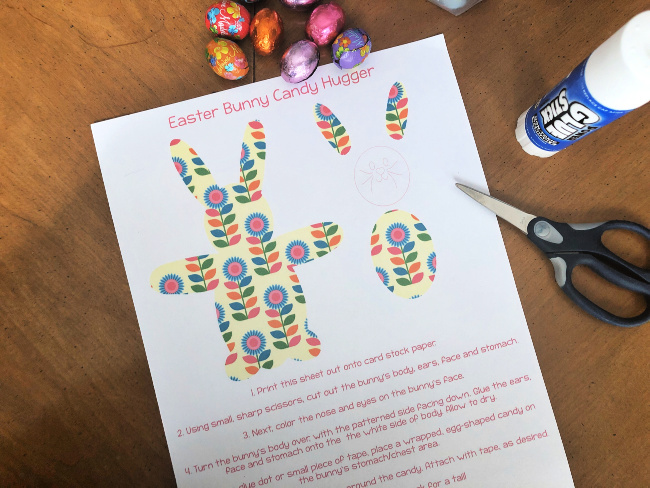
2 – Cut out the bunny pieces. Note: it says to use sharp scissors. This doesn’t mean they have to be the pointy kind. What it means is that they can’t be those super cheap kids’ kind that barely cut through anything (especially cardstock). I highly recommend Fiskars kids’ scissors.
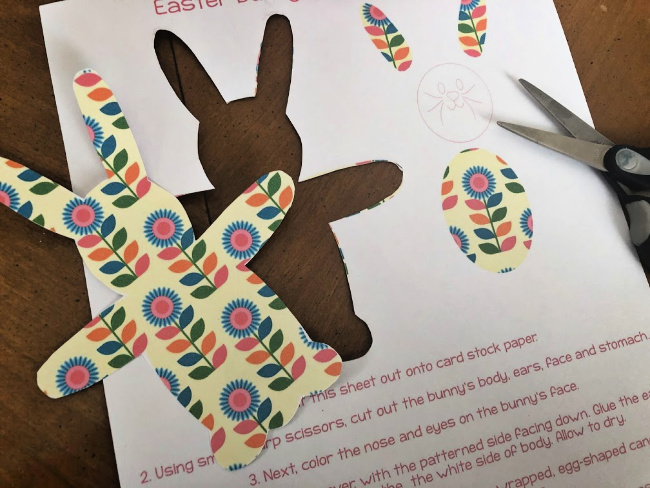
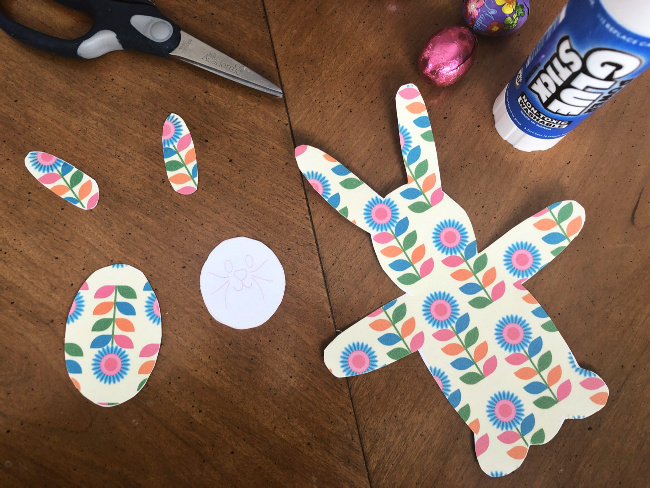
3 – Color the bunny’s facial features.
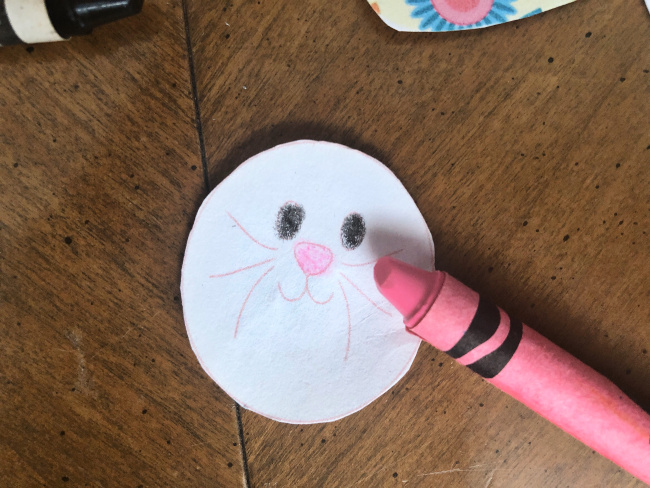
4 – With the patterned side of the bunny facing down, glue the ears, face, and stomach onto the white side.
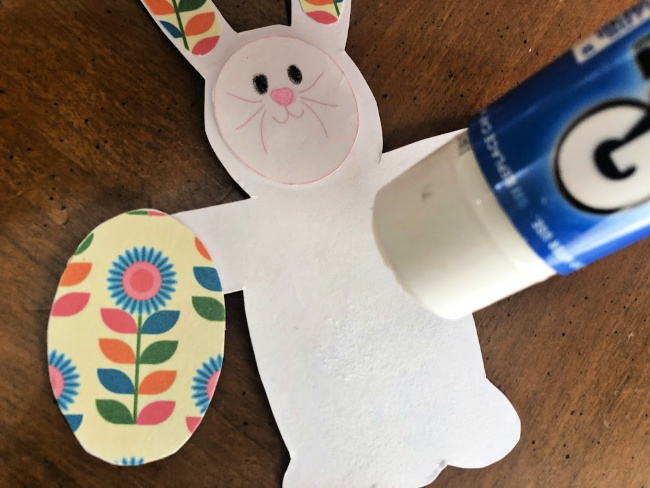
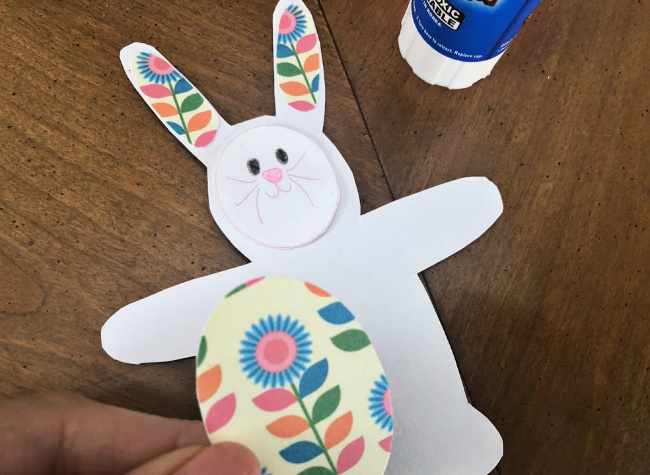
5 – Use a glue dot or small piece of tape to attach the candy or small toy to the bunny’s stomach/chest area.
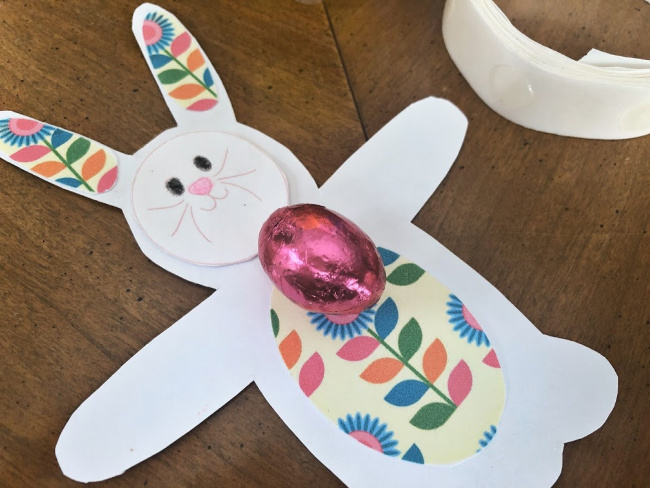
6 – Bend the bunny’s arms to wrap around and use some tape to hold them in place.
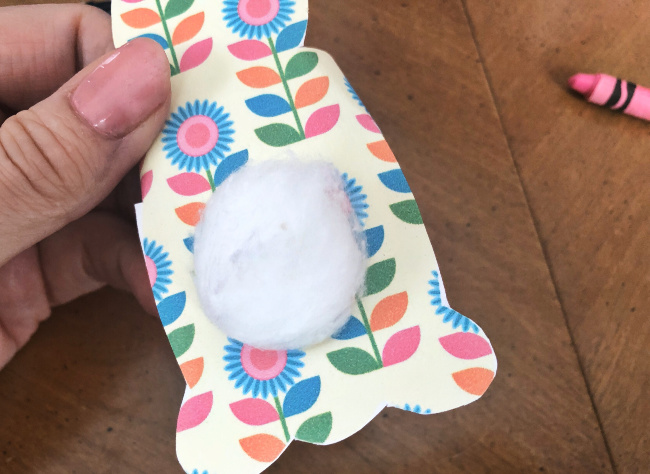
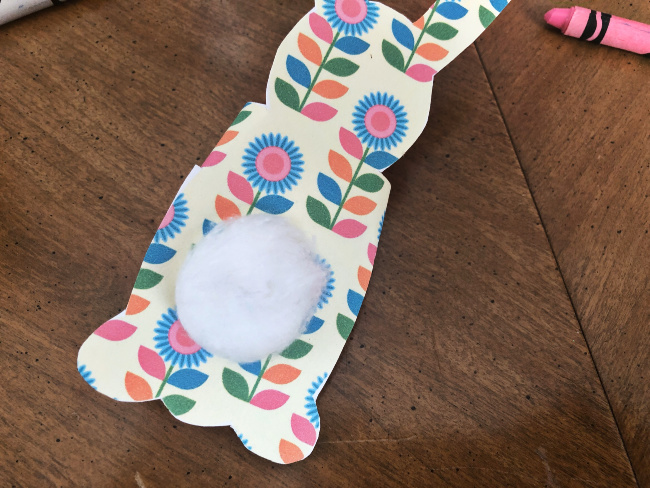
7 – Glue the cotton ball on the back of the bunny as a tail.
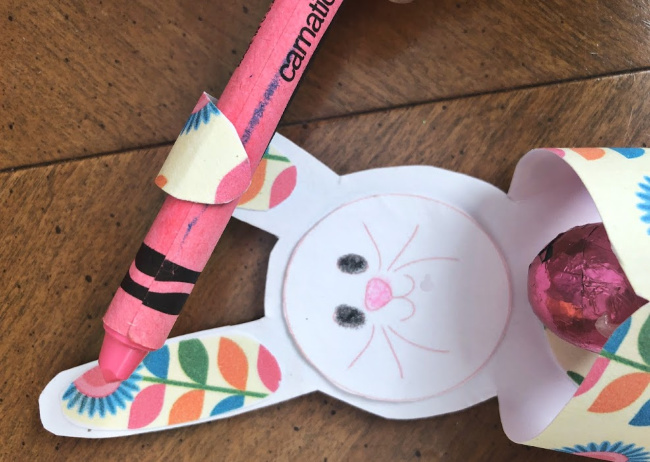
Bonus step: You can use the crayon or a pencil to curl one or both ears.
Click on the image below to download the PDF:
bunnyegghugger_4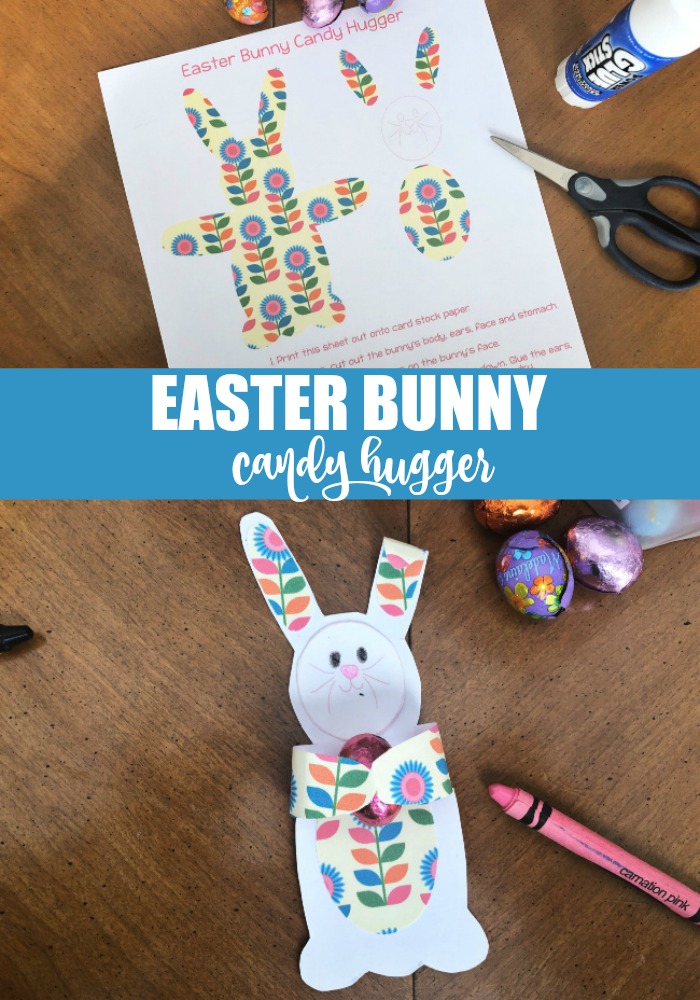
Looking for more Easter fun for the kids?
Free printable Easter coloring and activity sheets
Leave a Reply