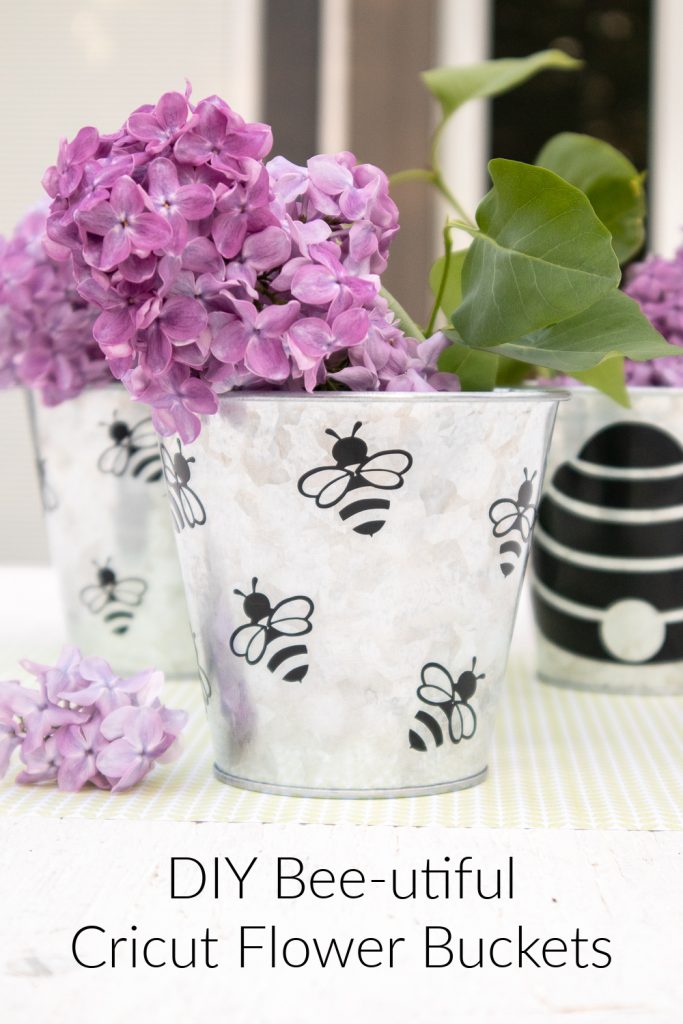
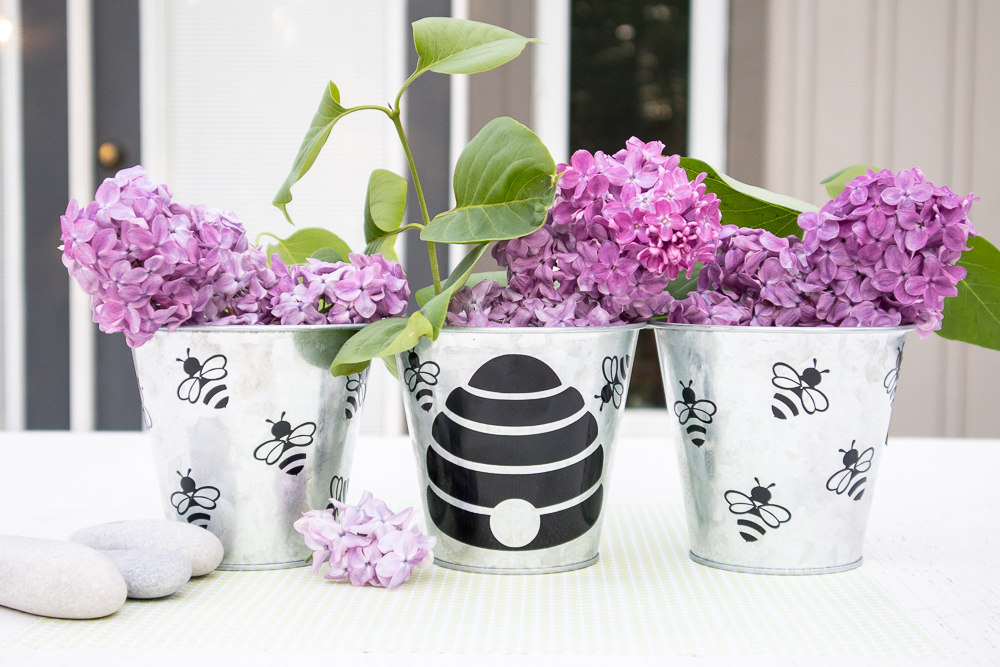
These sweet Cricut flower buckets are the perfect home decor item for spring and summer. Adorned with bees and a beehive (free SVG cut file included) add your favorite flowers and enjoy them all spring and summer long.
Quick and simple to make, we use a Cricut Joy here, but you can make them in a Cricut Explore or Cricut Maker instead. These flower buckets make a lovely gift for Mother’s Day, housewarming, teacher appreciation, or many other occasions.
You might also like these projects:
DIY Bee-utiful Cricut Flower Buckets (with SVG)
Disclosure: Some of the links in the post below are affiliate links provided for your convenience. This means that if you purchase something through one of these links, I get a small commission at no added cost to you.
Materials Needed:
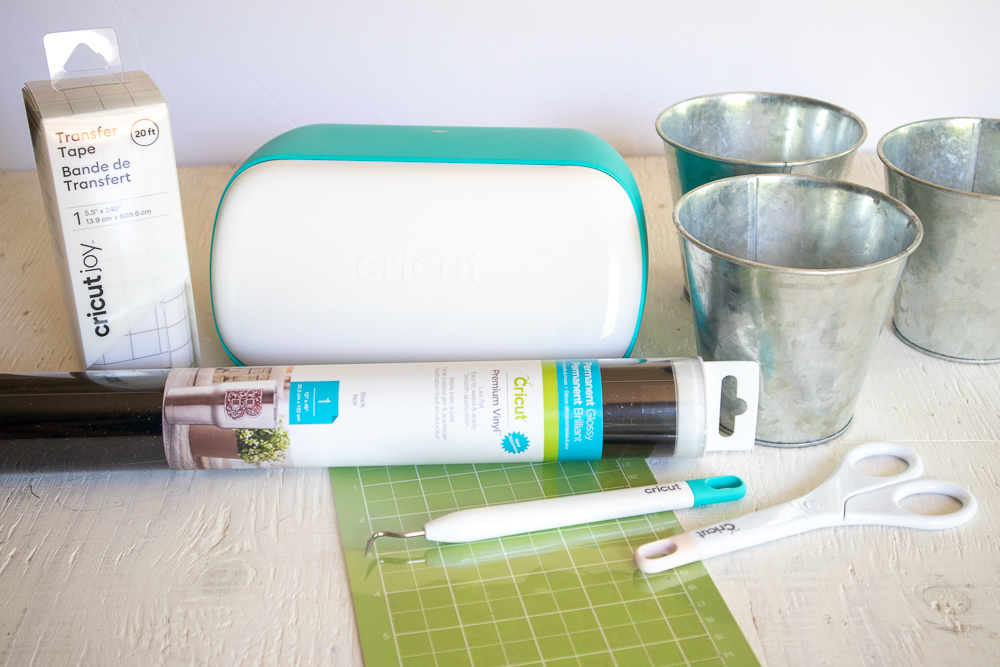
-A Cricut Joy (or other Cricut machine such as the Cricut Maker or Cricut Explore) with Fine Point Blade
–Cricut Permanent Glossy Vinyl, black or Oracal 651 Vinyl, black
– Standard Grip Mat for Cricut Joy or Standard Grip Mat for Cricut Explore/Maker
-set of 3 Galvanized Buckets, 4” high (you can often pick these up at dollar stores too)
Instructions:
- Gather supplies.
Preparing the Images:
Open Cricut Design Space.
Click on the “+” sign to start a new project, opening up a blank canvas.
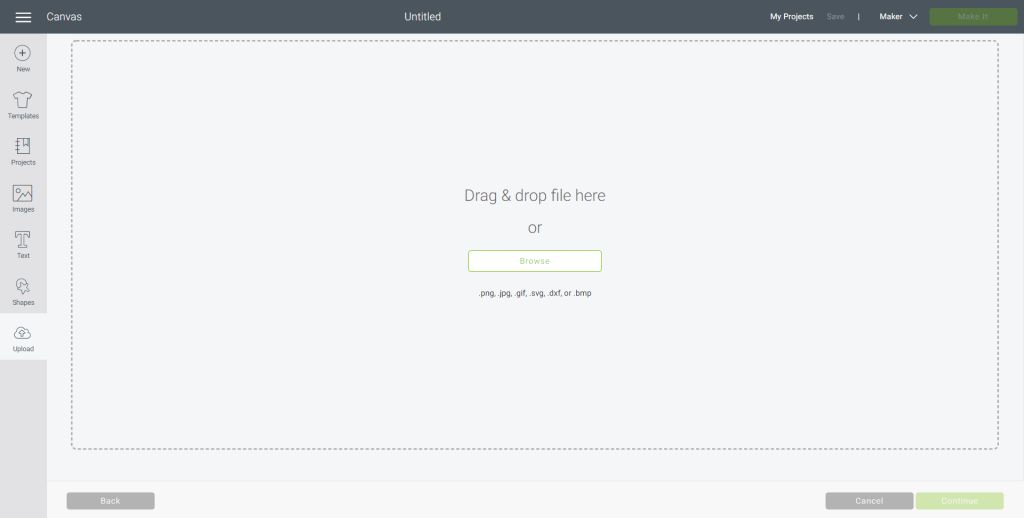
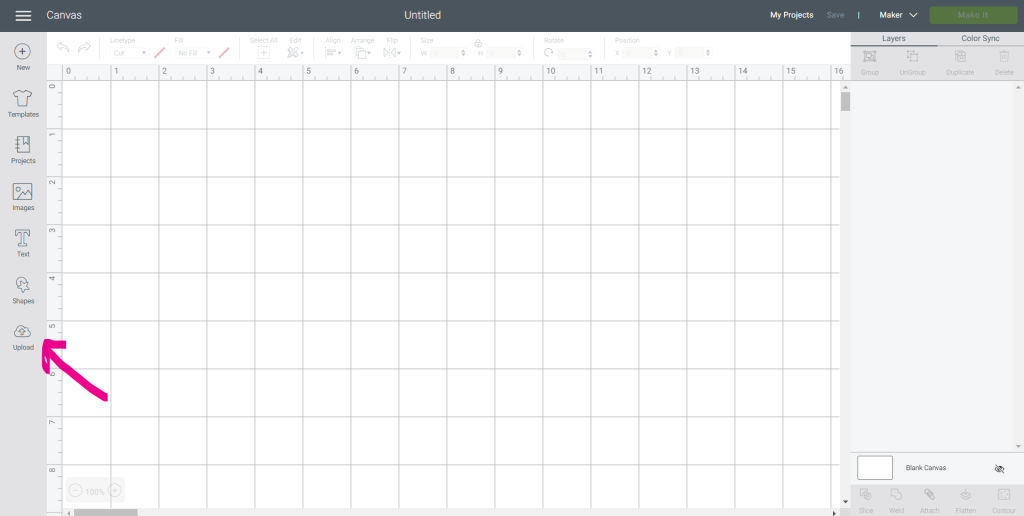
Click on the “Upload” button from the toolbar and browse your downloaded files to insert the SVG file.
The cut image will appear on the canvas. Click on the “Ungroup” button.
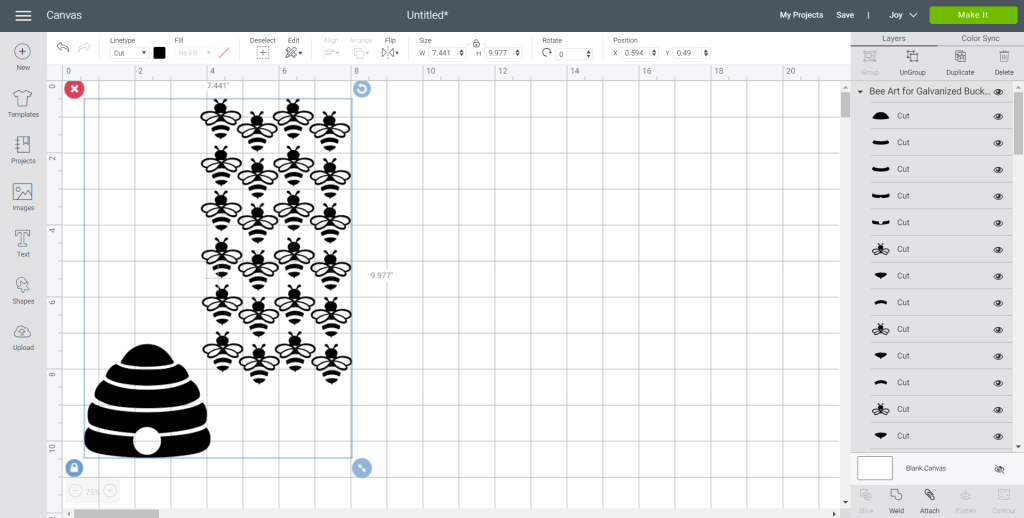
Highlight the beehive image and click on the “Attach” button to secure all parts of the image together for cutting.
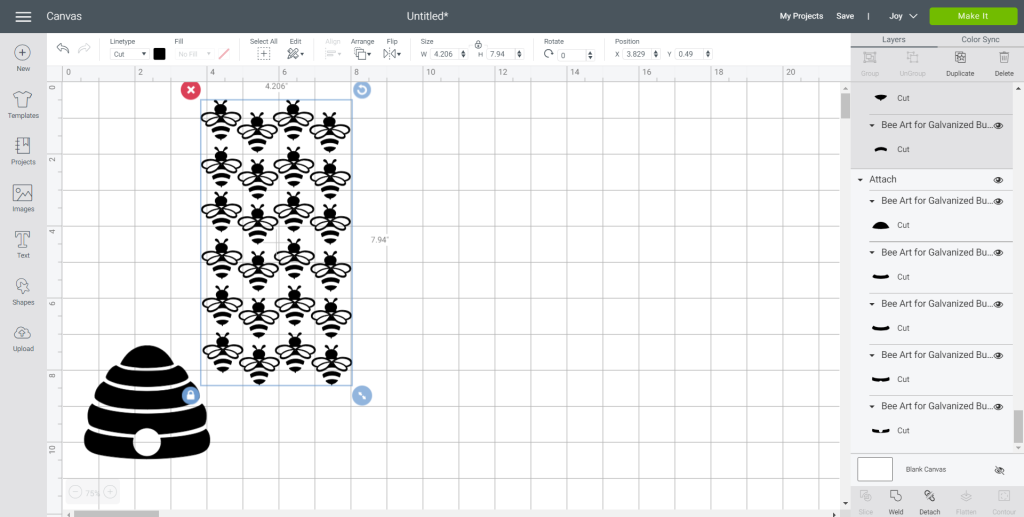
Next, highlight the bees and click on the “Attach” button to secure all parts of the bee images together for cutting.
Maintain the size or adjust to fit your buckets. To adjust the size, highlight the image and click on the size box in the top toolbar. Change the measurement to suit your galvanized buckets size accordingly.
Cutting the Permanent Vinyl:
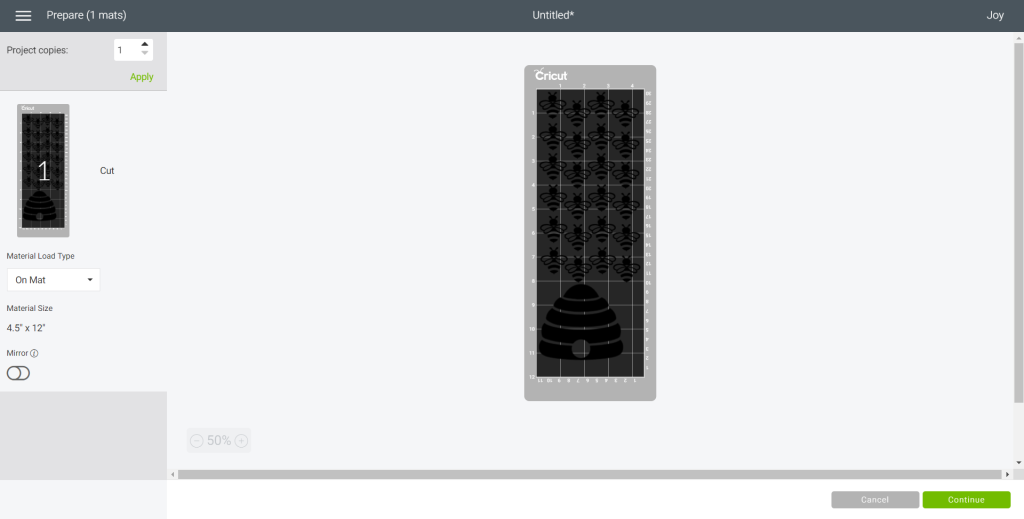
Select “Make It” in the upper right corner to proceed with cutting.
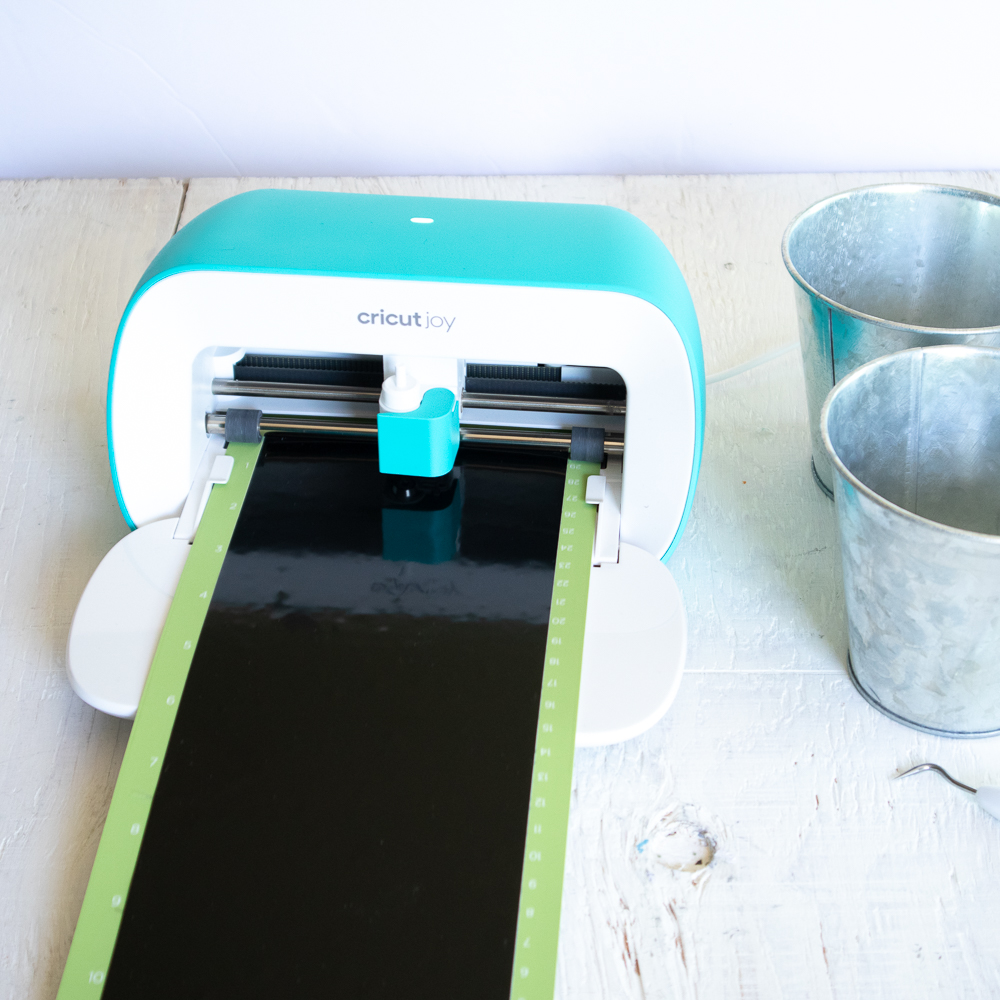
Choose “With Mat” to cut Permanent Vinyl with Cricut Joy.
Choose Premium Vinyl, Permanent from the list of options in the drop-down menu.
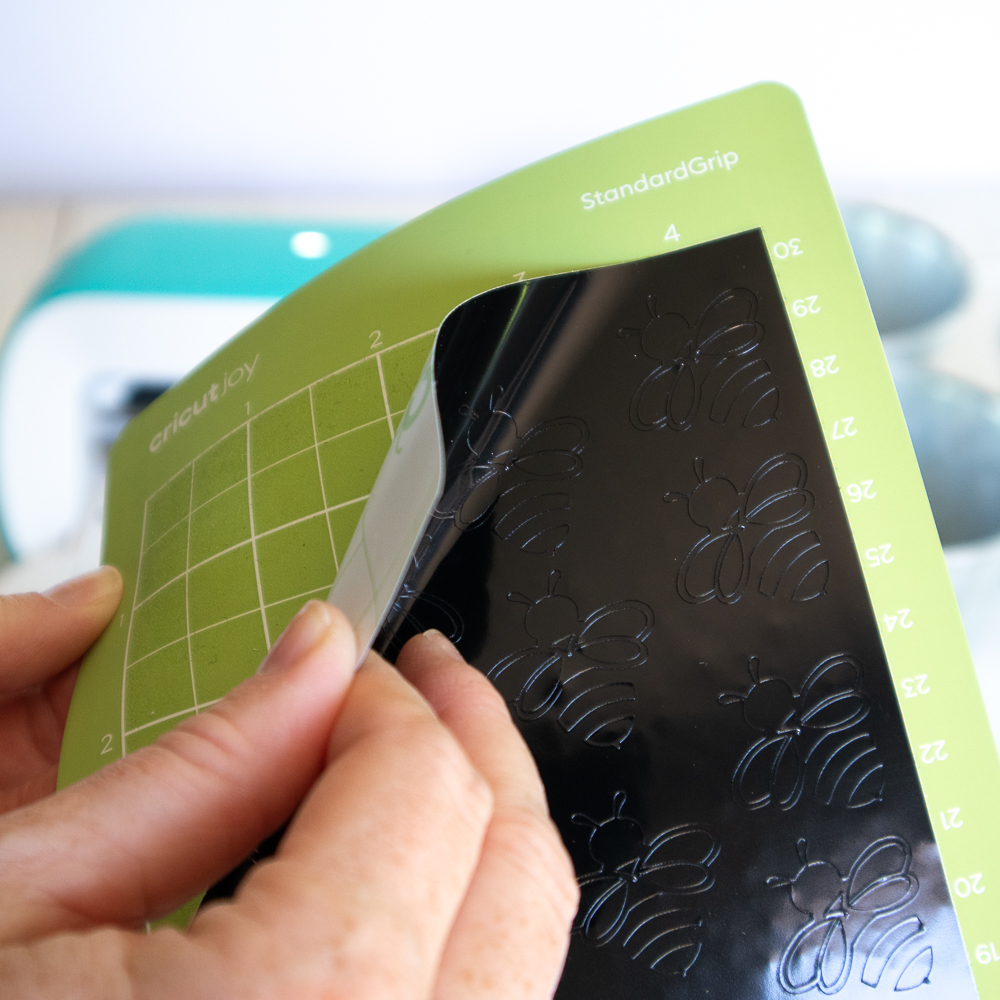
Cut the width of the Premium Vinyl to fit onto the Cricut Joy standard grip mat and then place the Permanent Vinyl on the mat.
Following the instructions as prompted on the screen, cut out the vinyl.
How to Assemble the Buckets
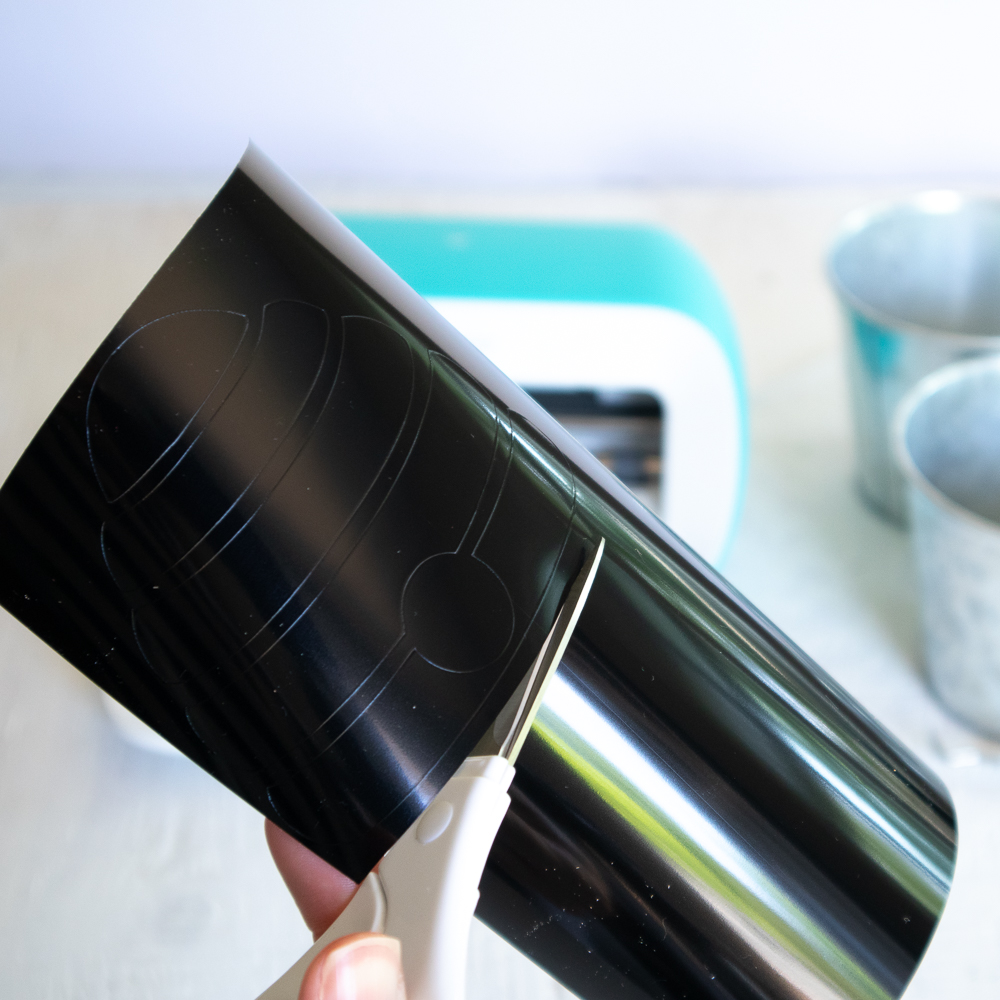
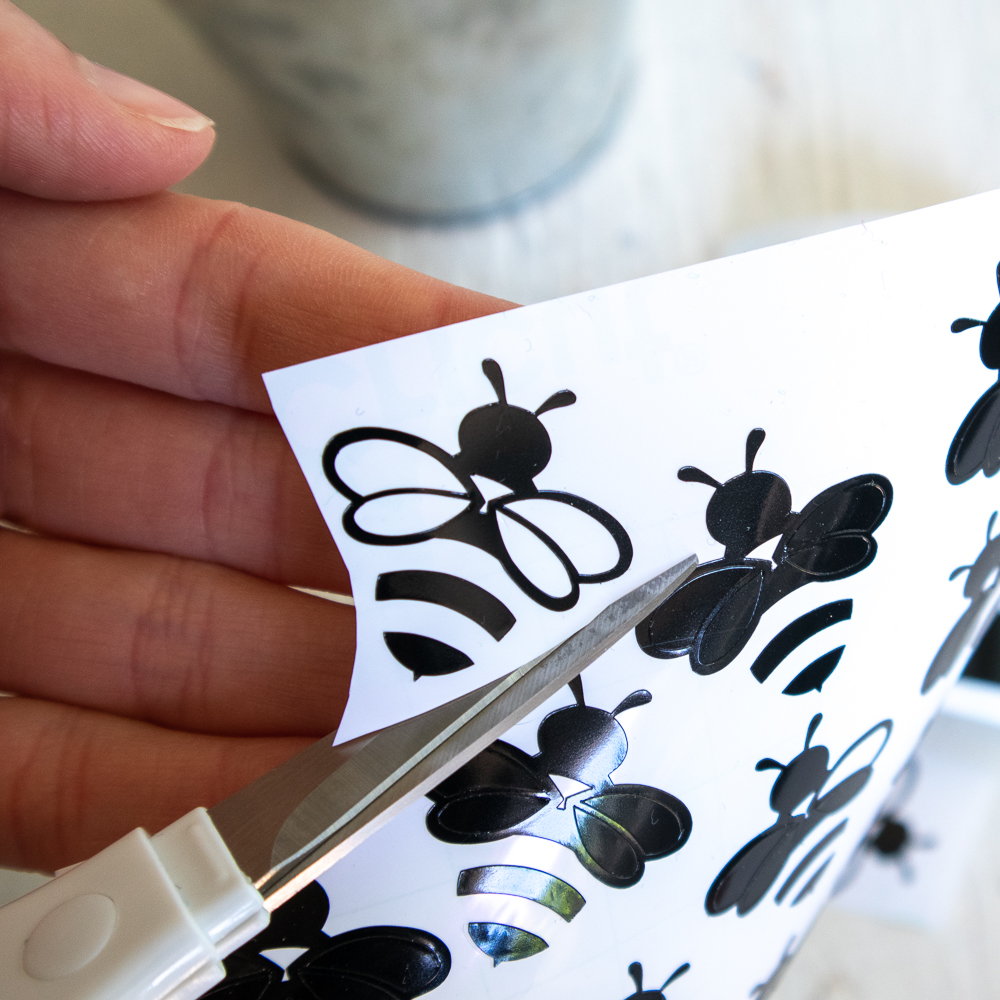
Cut around the beehive image with a pair of scissors.
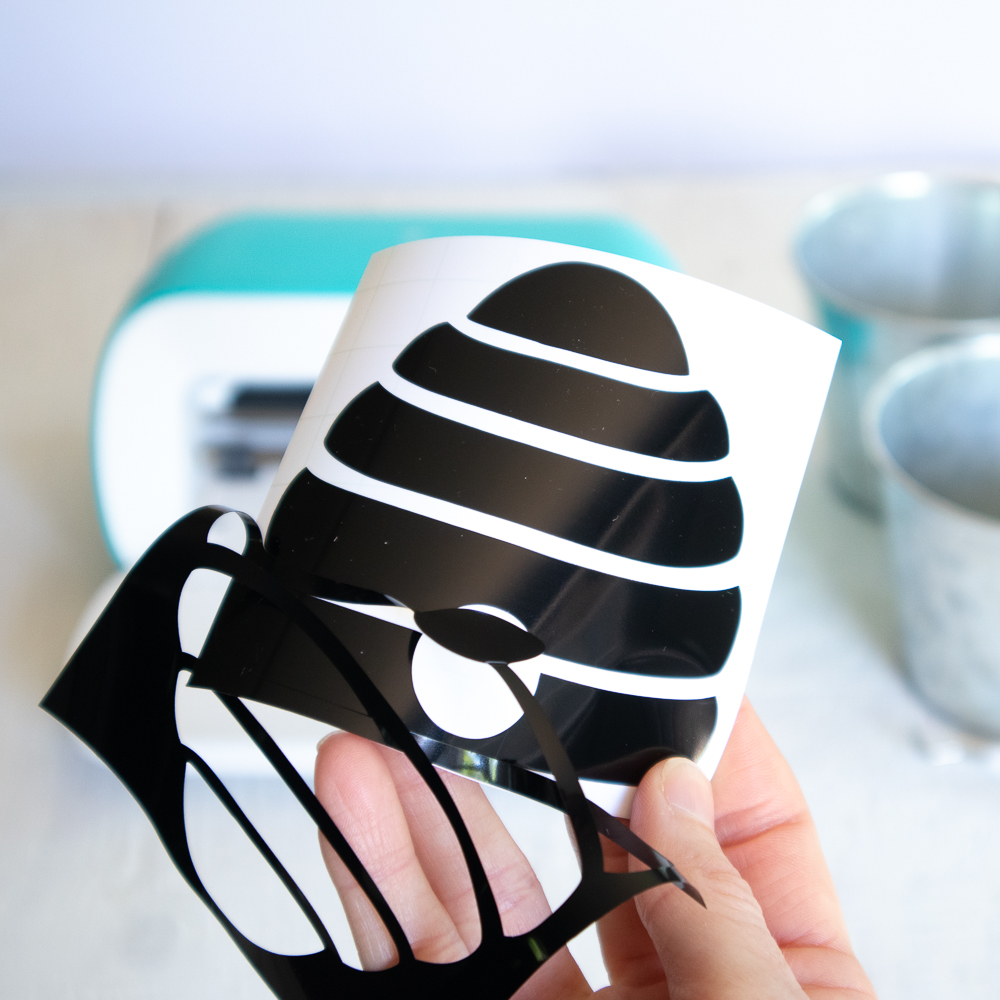
Using the weeding tool, peel away the excess vinyl around the cut images and discard.
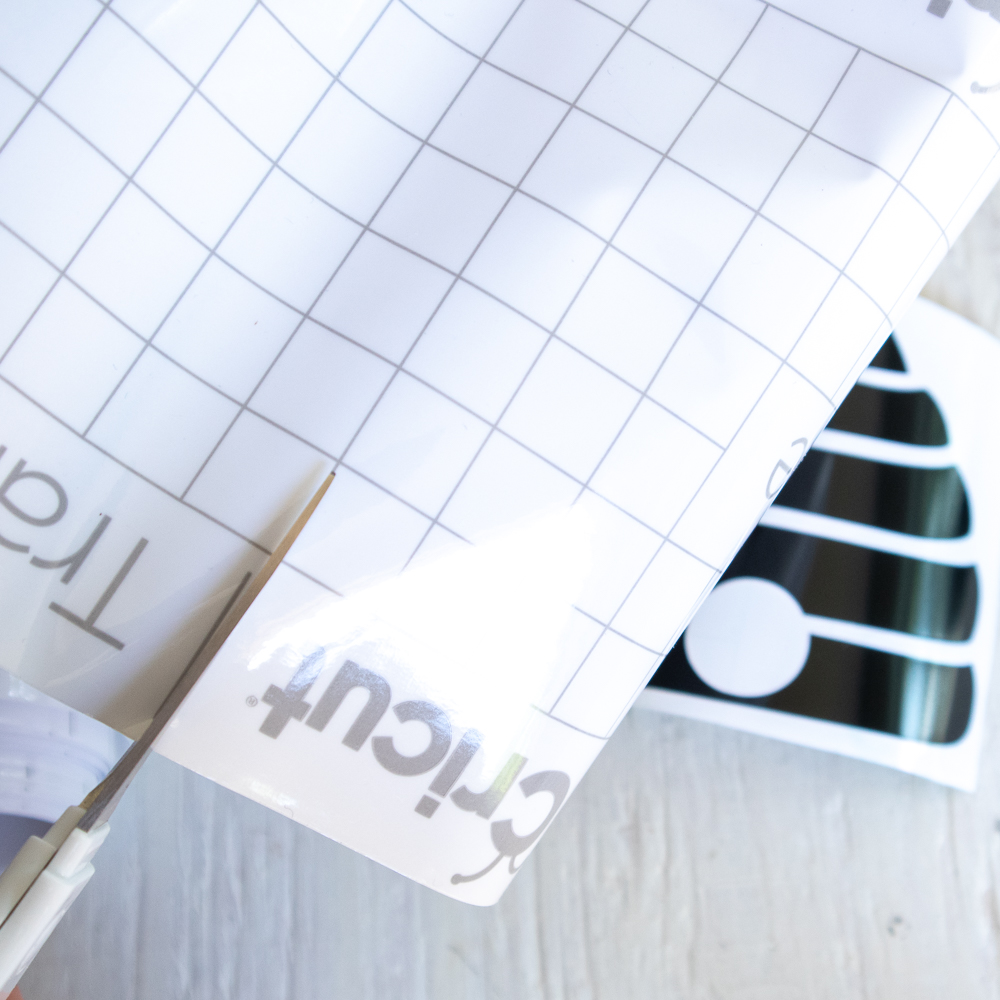
Cut a piece of transfer tape a bit larger than the size of the beehive.
Peel away the transfer tape backing and place the transfer tape overtop of the cut image. Gently rub the vinyl to help it stick to the transfer tape.
Peel away the vinyl backing, leaving just the image adhered to the transfer tape.
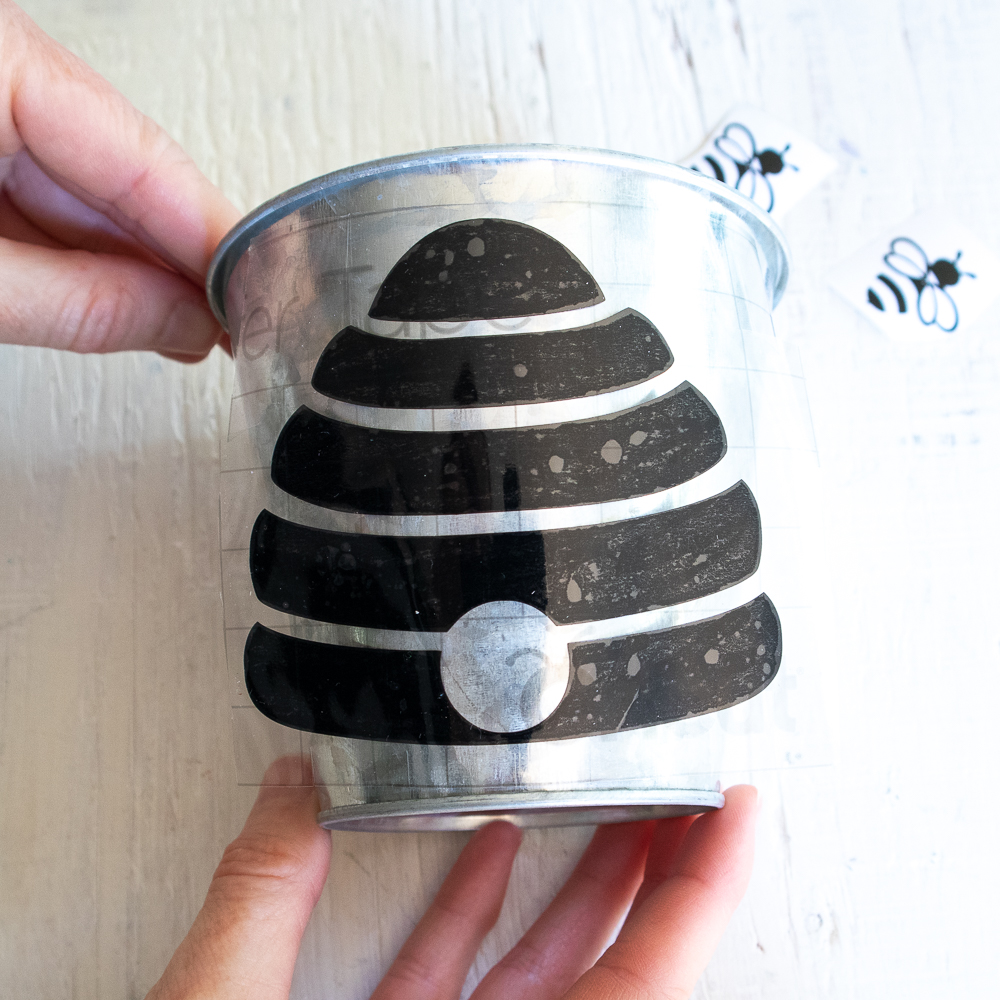
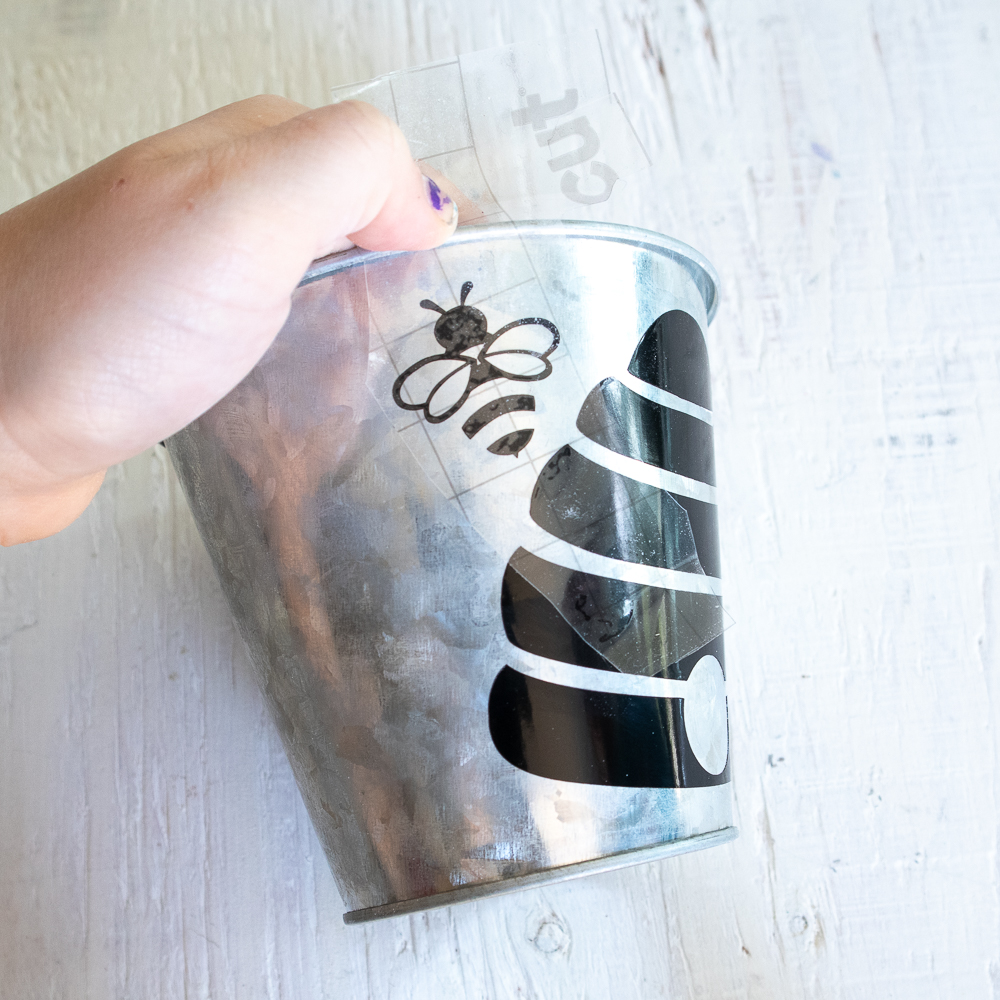
Position the beehive with the transfer tape onto one of the buckets and press in place.
Press the image down with your fingers or with the Cricut scraping tool to help it to stick to the bucket.
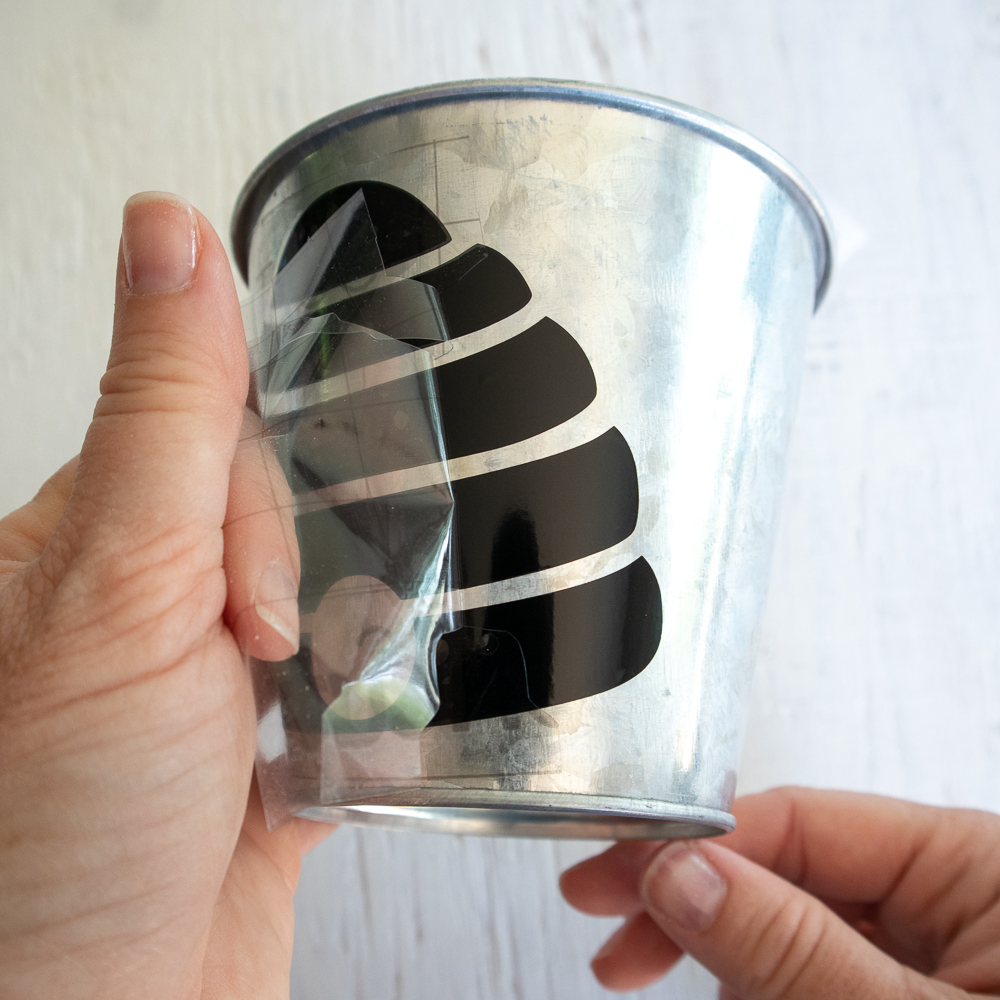
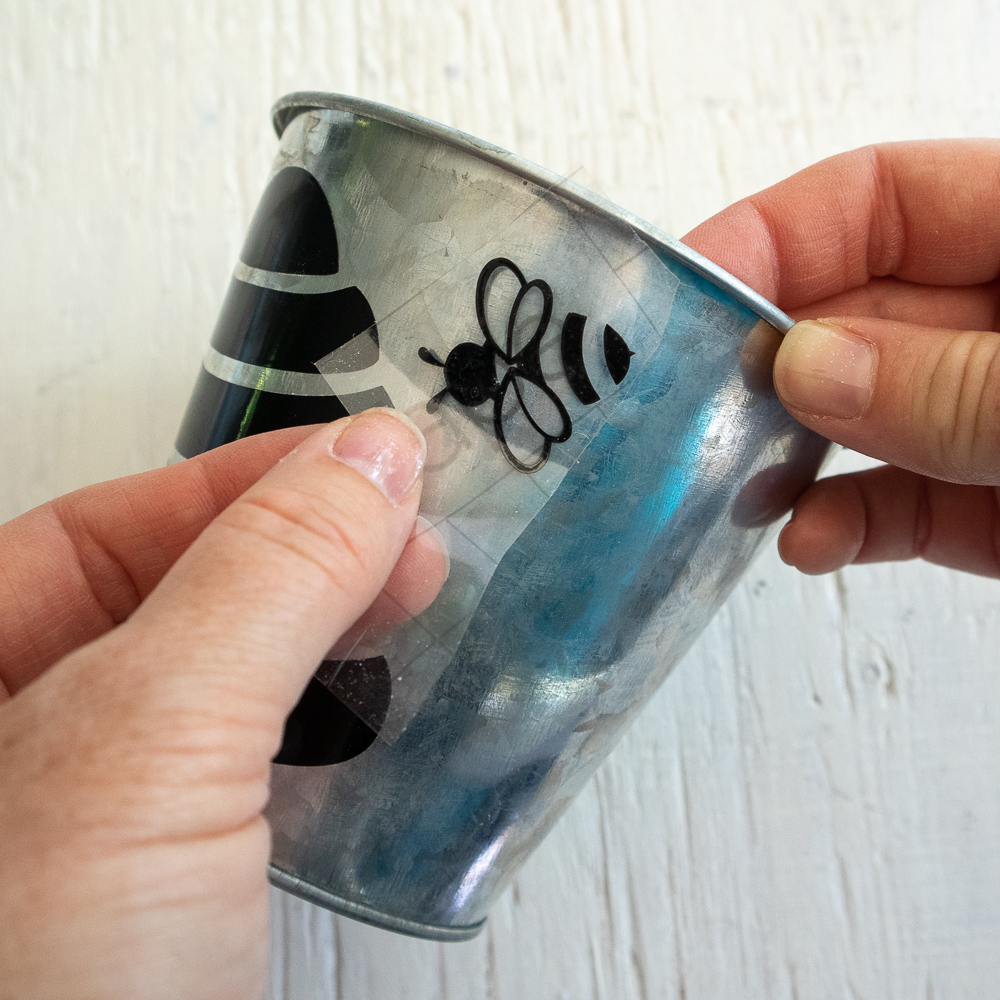
Slowly remove the transfer tape leaving the vinyl image on the bucket.
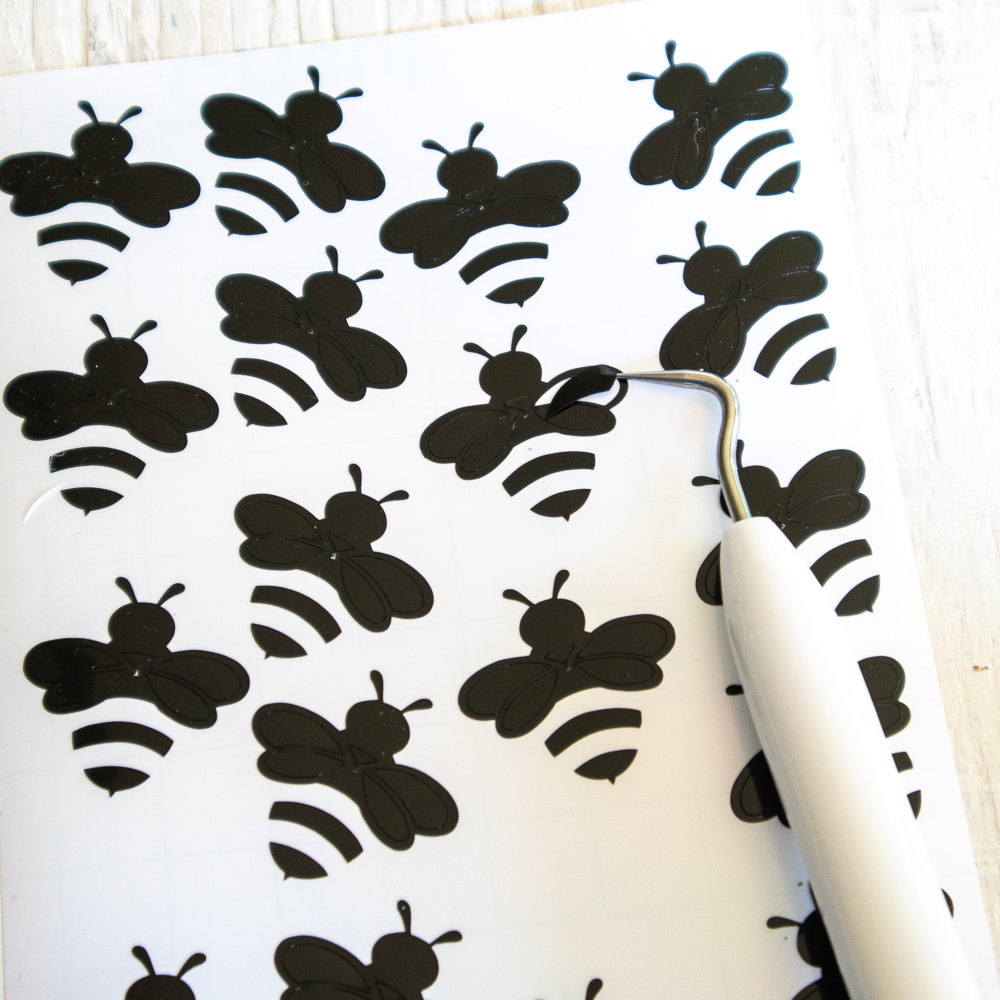
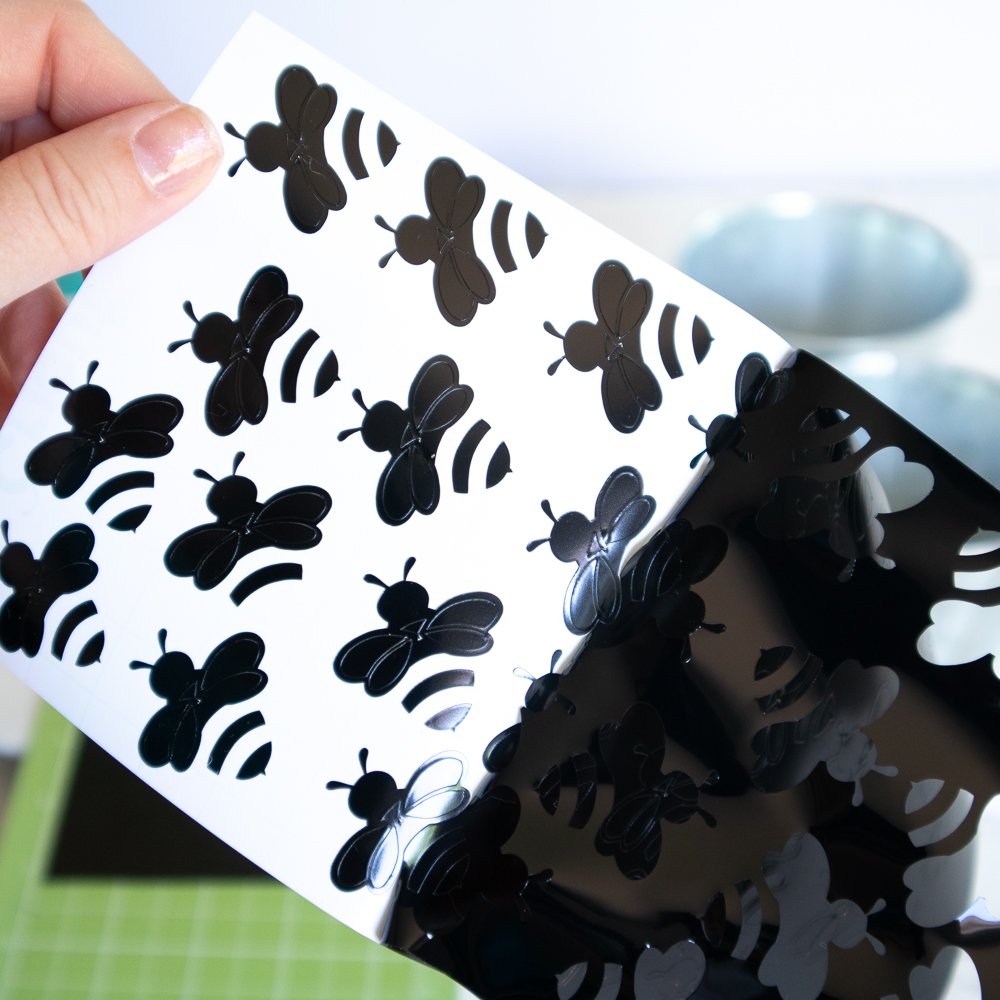
Repeat with the individual bees and place them randomly all over the buckets in different directions.
Fill the buckets with your favorite flowers or other accessories and enjoy:). If adding water, line the decorative buckets with a waterproof container to avoid leaks.
Leave a Reply