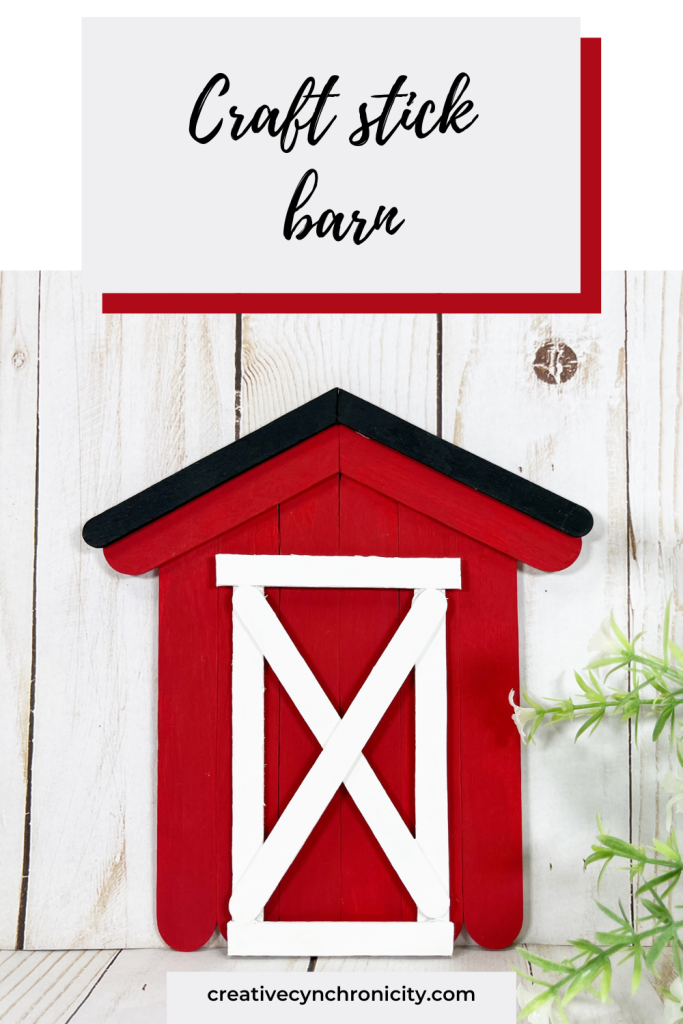
This craft stick barn is such a fun accompaniment to our craft stick farm animals. It’s a quick and easy kids’ craft. This is an inexpensive craft because you can get most if not all of the supplies can be purchased at the dollar store.
This would be fun anytime, but it’s a really great activity for a farm unit at school or a farm-themed birthday party. You could tie this into a farm-themed story time or a trip to a local farm.

DOLLAR STORE CRAFT STICK BARN
Materials needed:

- Craft Sticks, Jumbo
- Craft Sticks, Regular
- Glue Gun and Glue Sticks
- Acrylic Craft Paint – Red, White, Black
- Paintbrush
- Scissors
- Pencil
- PATTERNS CRAFT STICK BARN
TIP: You can use liquid craft glue for this project, but you will have to wait for it to dry.

Instructions:

STEP ONE
Gather all supplies. To create the barn, line up six jumbo craft sticks on your work surface. Using scissors, trim additional jumbo craft sticks to the width of the barn and attach with a glue gun and glue sticks.

STEP TWO
Lay a jumbo craft stick diagonally at the top of the barn, make a pencil mark at the center, and cut at an angle.

Attach the left-hand roof piece to the barn. Repeat with the right-hand side of the barn roof.

STEP THREE
Paint the entire barn, and roof with red acrylic craft paint. Let dry, and apply a second coat, if necessary.

STEP FOUR
Download and print the BARN PATTERN. Lay out and cut regular craft sticks to create a rectangle, using the barn door pattern as your guide. Attach two craft sticks, in an “X” pattern using a glue gun and glue sticks.

STEP FIVE
Paint the craft stick barn door with white acrylic craft paint. Let dry, and apply a second coat, if necessary.

STEP SIX
Using scissors, cut two regular craft sticks at angles, slightly longer than the jumbo craft stick roof. They will become the barn shingles.

STEP SEVEN
Base coat the craft stick shingles with black acrylic craft paint. Let dry, and apply a second coat, if necessary. Attach to the left and right-hand side of the roof with a glue gun and glue sticks.

Leave a Reply