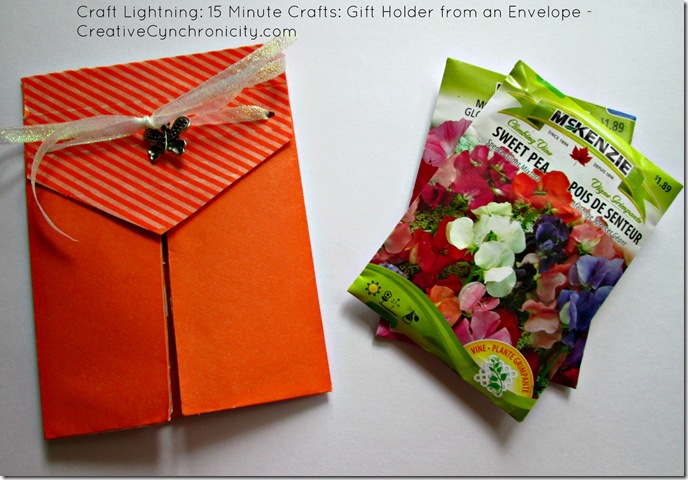
Welcome to another week of Craft Lightning: Crafts You Can Make in 15 Minutes or Less, hosted by The Country Chic Cottage and 30 Minute Crafts! I’m so happy to be sharing this fun idea for a gift holder made from an envelope with you today. It’s quick, it’s easy, and it can be just perfect for last minute gifts. Let’s get started.
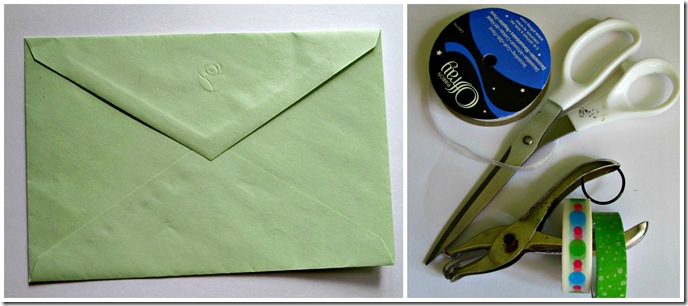
The basic supplies you will need are: an envelope (this one is about 5 by 8 inches which is a good size to hold things like packets of seeds or teabags – a little bit smaller and it would be great for holding a gift card or wallet sized photos), a pair of scissors, a hole punch, some ribbon, and something to decorate the envelope with. I’m using Washi type tape so I don’t need any adhesive but you might want to use scrapbook paper (or leftover scraps of wrapping paper) or something like that. I also add an embellishment of a charm to one of my gift holders and a decorative brad to the other. Buttons, stickers, rubber stamping, and paper flowers are all good options too – or you don’t have to add any further embellishments at all!
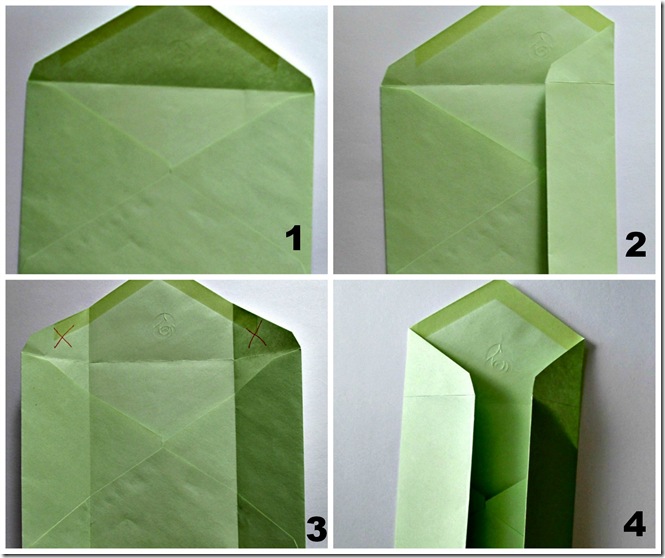
We need to begin by folding the envelope to form the little gift holder. On many envelopes, you’ll see the middle of the envelope clearly marked for you – on picture 1, you can see where the parts of the envelope all meet in the middle and you can use this as your guide for folding. If the envelope you’re using doesn’t have that, you can either eyeball it or use a ruler and measure. Fold one side into the middle as in picture 2. Fold the second side into the middle – it should look like picture 4 (yeah, I know…I got them out of order. Sigh) Now, you’re going to make some cuts and cut away the sections I’ve marked with the red Xs in picture 3.
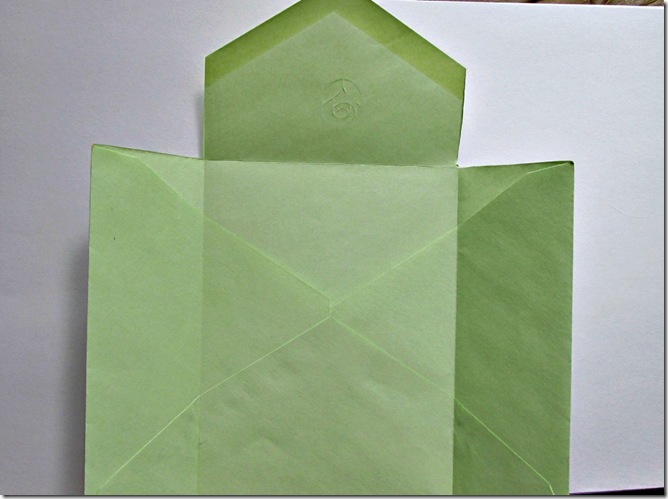
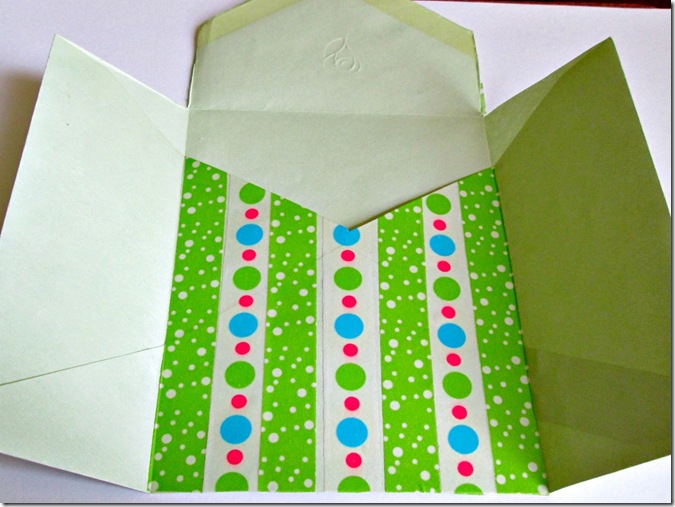
Once you’ve cut those sections away, this is what you should be left with. Now it’s time to start decorating and embellishing.
As you can see, with this one I simply added Washi type tape vertically to the center section to add some interest and color.
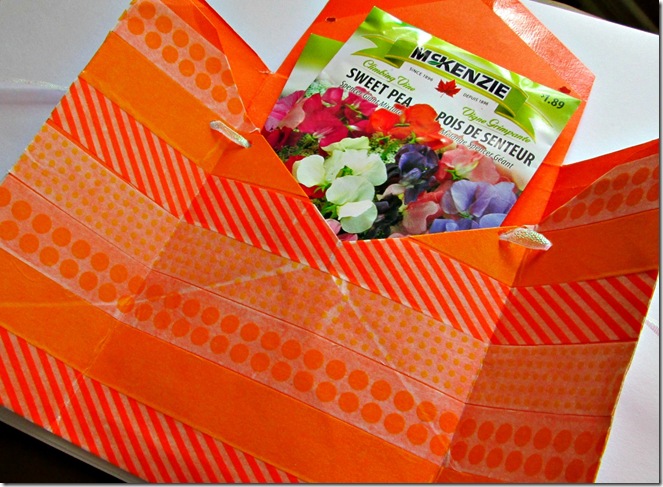
On this one, I went horizontally across the entire interior of the gift holder. I also like to cover the outside of the flap as often this is where the envelope’s watermark is and again, it makes it prettier and more interesting.
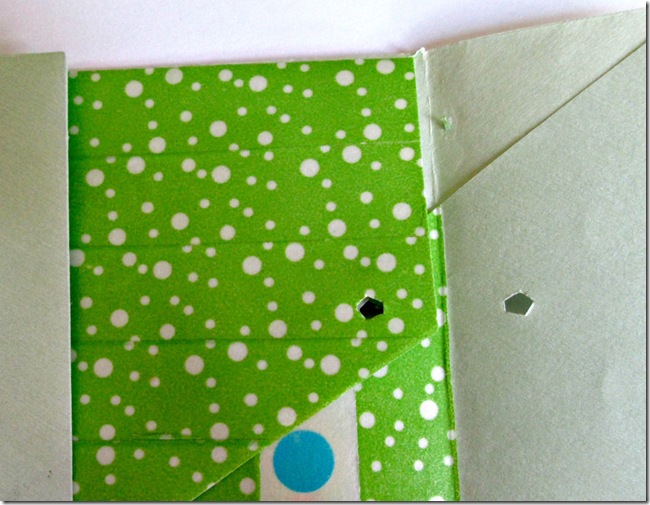
Next, you need to punch holes for the ribbon which will hold your little envelope gift holder closed. I close the whole thing up and then punch through near the right and left edges of the gift holder, ensuring that it goes through the side flaps and the top flap.
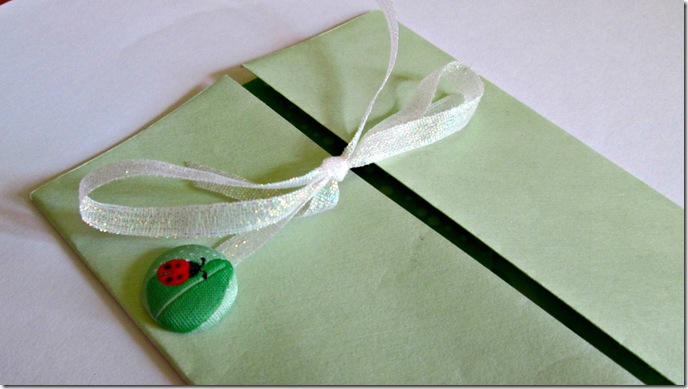
You can choose to fold the top flap to the inside and have it hidden from the initial view as I did here or you can fold the top flap to the outside as I did with the orange one. It’s just personal preference and in either case, it helps to hold whatever little gift you’re putting into the envelope inside and keeps it from falling out.
Now be sure to click on the Craft Lightning button below and head on over to see the rest of the fantastic crafts that you can make in 15 minutes or less!

Angela@AboutAMom says
This is so clever and I love the idea of gifting seed packets! Just pinned to one of my Craft boards.
Kasandria Reasoner says
This is such a cute and EASY idea. I love cute and easy. Thanks for the tutorial!
Kas
Dawn says
That’s really cute! I would have never imagined you made that so quickly!
Chelsea @ Someday I'll Learn says
That is adorable! How cute would these be for Easter?! Or for little grad favors.
Ronni Keller says
That’s seriously so cute!! Totally pinned that!
Niki says
So Cool!! Love this idea.
Jenn says
What a cute idea! I am not a crafty person so this looks easy enough for even me to try 🙂
Kecia says
Cute way to give a gift. I love it!
Kristyn says
love this idea, such a cute craft!
bonnie@uncommon designs says
How cute and clever! 😉
Linda Duensing says
I love this project and would love to print it but there is no print button. Any suggestions?
Linda D.
Cyn Gagen says
So everyone is aware, I’ve added a print and PDF button to make it easier. 🙂
Rebekah Armstrong says
My daughter posted this idea to my time line on Facebook and I think it’s the cutest thing ever! I love paper crafts and this one is easy to boot. I CAN’T WAIT TO TRY IT!! It sounds like it would be a really fun mass make! P.S. LOVE THE WEBSITE!!
Cyn Gagen says
Thank you so much! I hope you find lots of fun things here to try. PS – there are LOTS more paper crafts to come. It’s one of my favorite things to do. 🙂