***with bonus Minions pencil topper you can make in 5 minutes or less!
I don’t know about you but it feels like summer just started (well, actually with the weather we’ve been having, I’m still kind of waiting for summer!) and here we are talking about Back to School! The reality is that it will be here before you know it. What better way to get the kids excited about a new school year than with a special back to school project inspired by the Minions (is anyone else SUPER excited about the new Minions movie opening this week???). This is an easy project but younger kids might need some help with the duct tape (it can get stuck to itself and it’s difficult to separate again) and of course, with the cutting tools. Best of all, the pencil case can be made in 15 minutes or less AND I’ve included a bonus project – a Minion pencil topper that is so quick and easy to make that it will take 5 minutes tops!
Back to School DIY Minions Pencil Case in 15 Minutes
Supplies you’ll need:
Duck Brand Duct Tape in Yellow, Blue, Black, and Minions print
Westcott Non-stick Scissors and/or Rotary Tool
Cutting mat if using the rotary tool
A work surface that the tape won’t stick to – I used an acrylic cutting board but one of those silicone work mats you can get for arts and crafts or the ones you can buy for use in baking will work well too. If you can’t find something else, you can used waxed paper BUT it needs to be secured with tape to your table because it can be quite frustrating if it starts moving around or forming creases.
A good strong glue like Aleene’s Tacky Glue or a low heat glue gun and glue sticks for it
1-2 large googly eyes
Something like a ruler to measure with
For the pencils – pencils (of course!), large yellow pompoms (or yellow yarn and a pompom maker), large googly eyes (1-2 for each), black felt. You’ll also use the glue and cutting implement mentioned above.
Instructions:
You need to start by making some sheets of duct tape. Duck Brand duct tape is available in sheets as well as the rolls and you can certainly use these if you prefer and if you can find them in the colors and patterns you want to use. I find that for children, it’s often a bit easier to work with the rolls of tape because you’re just adhering one small section at a time instead of an entire sheet. At this point you can choose to cut or tear the strips. Just a hint, the rotary tool makes this project extra easy (just be sure not to use the same tool you use for fabric) but if you are using scissors, I found I could make the cleanest cuts if I cut with the sticky side facing up.
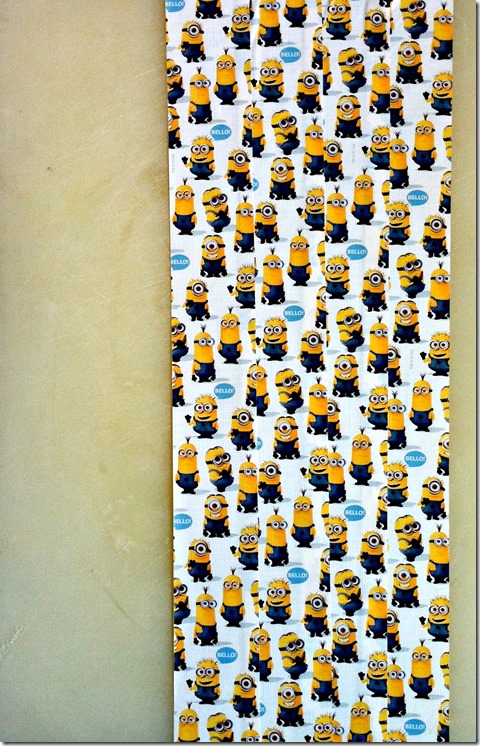 You’re going to need a piece that is blue on one side and Minions print on the other with a finished size of 4 inches wide by 5 inches tall. For the back, you’ll need it to have a finished size of 4 inches wide by 15 inches tall and it should be yellow on one side and Minions print on the other. Be sure that you are using the Minions print in such a way that it they will be oriented in the right direction and not upside down.
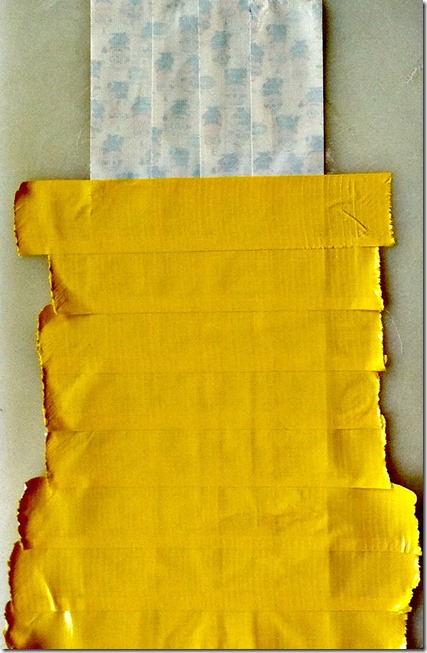 Lay out pieces of tape that are a couple of inches longer than the finished side you will need on your work surface, overlapping each piece slightly as you go. Flip that piece over and apply the other color/pattern of tape in the opposite direction. When finished, you should have a sheet of duct tape that is covered on both sides.
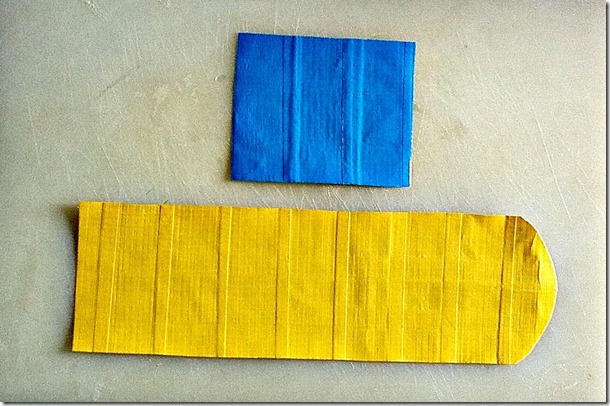 Cut the sheets into the finished sizes you need as outlined above. I had initially rounded the top end of the back (the part that will form the flap) but found that I needed to adjust that once I had the strap that holds the flap in place. You can see what I need in the picture below.
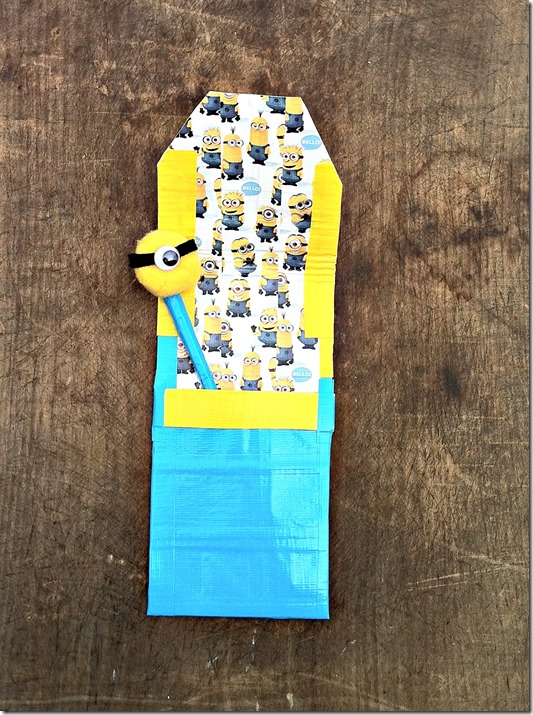 Cut a piece of yellow tape that is 4 inches long. Fold it from each of the long edges into the middle to form a strip without any sticky tape parts showing. This is going to form the strip that will hold the flap in place and keep the pencil case closed.
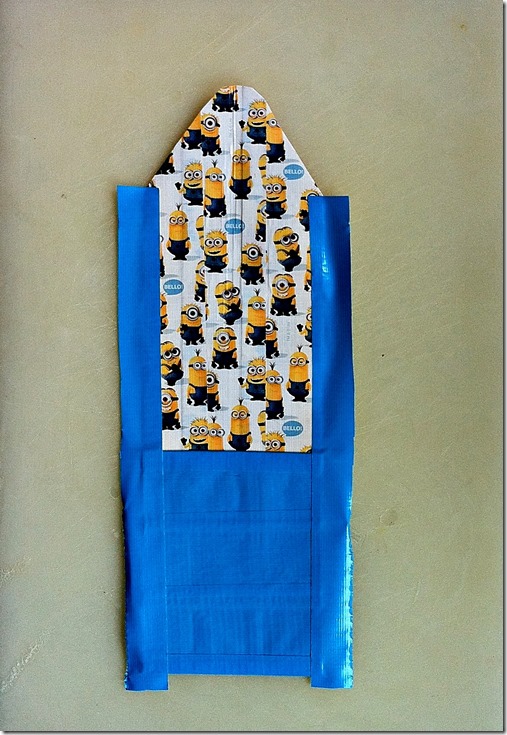 Place that strip on the front of the pouch so that as you are assembling, the strip will be taped in place as well. It’s a good idea to fold the flap over so you can make sure you’re taping the strip in the right spot! To assemble, you are going to use strips of tape that have been cut in half lengthwise. Place the front and back together and tape it to form a pouch. Use the same strips of tape to cover any raw edges as well.
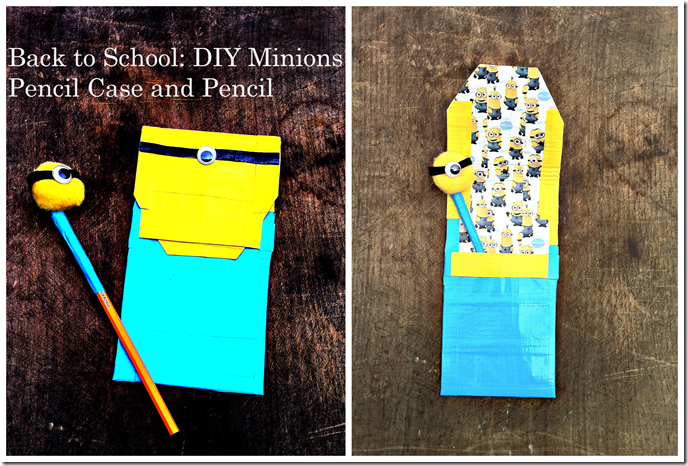 Now, add a skinny strip of black duct tape on the flap to form the strap of the Minion’s goggles and glue a googly eye on top. For the bonus pencil project, simply cut a thin strip of black felt and glue that around the yellow pompom. Glue a googly eye (or eyes) onto the strip of felt. Attach the the pompom to the pencil (the glue gun work fastest and easiest here but it will work with patience and tacky glue). I couldn’t find blue pencils, so I wrapped a piece of blue duct tape around the top part of the pencil to add to that Minion appearance.
And there you go! Two simple, super quick, and inexpensive back to school Minion projects!
For more Back to School themed Craft Lightning (projects made in 15 minutes or less minus drying time), click on the image below!
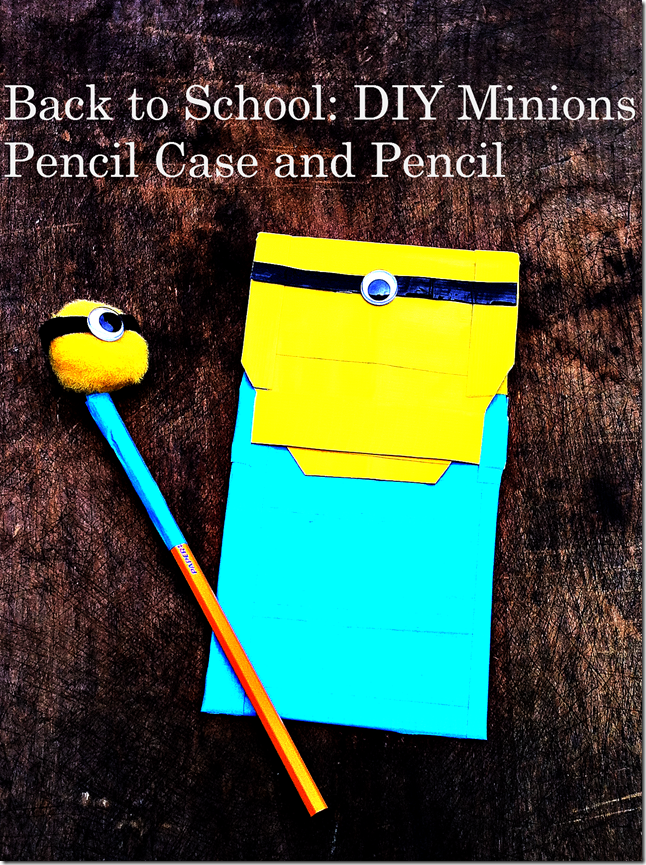

[…] Minions Case From Creative Cynchronicity […]