Today, I’m sharing a favourite project of mine – one that I learned when I was in about Grade 3! I’m making sun catchers from tissue paper. Tissue paper is already naturally translucent but add a glaze to it and the light just shines through beautifully!
They’re lots of fun to make and there are a variety of ways to create these. You probably have everything you need on hand. If not, they’re readily available at your local dollar store or craft store. You can easily order them online as well!
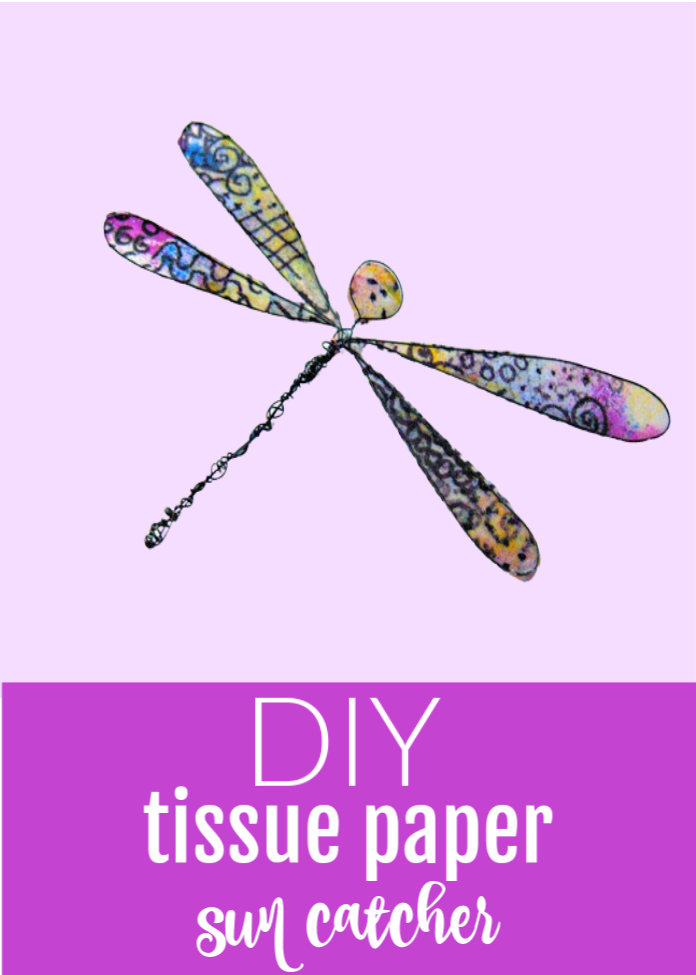
Tissue Paper Suncatchers
When I was in school, we made the structures for these out of old wire hangers. Boy oh boy, is that ever a lot of work to bend those! Simple jewelry making wire or floral or craft wire works really well here. It makes for a much more child-friendly project.

I just freehanded a shape but you can use cookie cutters or even colouring book images as your pattern.
Decorating with Tissue Paper
We used multiple colors of tissue paper, but you can also use food coloring, markers, or craft dyes for this project too. The only thing I have to warn you about is that some paints and inks will “bleed” a bit.
Sometimes the colors of the cheaper brands of tissue paper have a tendency to bleed as well. Be sure to protect your work surface against any staining. You might even want to experiment a bit before working with the tissue paper – you could end up with stained hands!
You can piece together different colors quite easily simply by applying one colour to a small section and then a different colour to another section.
I decided to make my own patterned paper by pressing on a three coloured rubber stamping ink pad all over white tissue paper. You can try dribbling on some food coloring or ink. Let it spread naturally before adding the next color.

Gluing the Tissue Paper
My tissue paper was quite thin and tearing easily so I decided to use a double layer of it. This meant that I didn’t need to wait for the ink to dry. I simply folded my paper with the ink on the inside and kept moving along!
I added some extra details with a black Sharpie – just random doodles because once it’s cut up and applied to the dragonfly shape, you won’t see the full effect of it anyway. Rubber stamping is another option for creating your own patterned paper.

When I was a kid and we made these, we watered down white glue but here I’m using Mod Podge. I had matte Mod Podge on hand but the gloss formula makes for a really pretty finish too! You could also apply some Mod Podge dimensional magic in one of the glittery formulas for some extra shimmer!
You want to lay your paper down on a surface that won’t cause sticking issues. So, you don’t want to work on newspaper but a plastic plate, some waxed paper, or a silicone/teflon crafting mat are great.

Attaching the Paper to the Wire
Brush on some Mod Podge (or watered down white glue) across the surface of your paper. I found a foam brush was best as bristles could cause tears in the paper.
Lay your wire shape down on the paper and press gently to assure that the wire is making contact with the Mod Podged paper. Don’t worry if it doesn’t make contact everywhere. You can go back in with another application of Mod Podge to catch any little spots you may have missed the first time once this layer dries.
I’m only working on a small section at a time here so that you can easily see what I’m doing. You can apply the paper to the entire frame all at once. Once it dries enough to be handled, flip it over and apply more Mod Podge to the other side. It dries quite quickly as long as you don’t overdo with the glue.

Finishing up Your Sun Catcher
Attach some fishing line or something similar and hang in your window. On a sunny day, the sun will shine through and pick up all the lovely colours in your paper!
Easy peasy and you can fill your window with beautiful tissue paper sun catchers in no time! Make seasonal or holiday shapes and you can adorn your window for each new special occasion!
Looking for more ideas for keeping the kids busy? Check out these 100+ Craft Projects for Tweens and Teens!
A Little Craft in Your Day has more fun teen craft ideas!
Annie Bella says
I love this crafty idea and I love how the finished product turned out!
Erin@myveryeducatedmother says
Cyn, these are awesome! My kids made dragonflies with sticks, vines, and yarn on a field trip and I’ve been trying to come up with a more colorful, crafty version, these would be perfect!
Ashley says
What I fun idea! This would be great to do with my son, he loves modge podge …who doesn’t? : )
Bobbie says
I love these. It would be great to put colored glass beads down the tail of the dragon fly too.
Amy* says
So pretty Cyn! I’m working on a tissue paper project right now and you’ve given so many helpful tips. I wondered about stamping on the tissue. And when it comes to gluing who knew to just fold it over 🙂 Thanks!
Amy*
Bonnie and Trish @ Uncommon says
What a fantastic project! So fun and the wire shape is art in itself!! Wonderful!! 🙂
Lisa says
Really love this! So colorful and pretty! I would like to try this craft with my 5 year old Granddaughter. She loves to craft with Gramma!
Thanks for the inspiration!
Carmen says
How cute!!! What an adorable idea for using up those bits of pretty tissue paper that seem to be everywhere after the holidays. Awesome!
Kristin Tweedale says
Really really love this! Perfect for a sunny afternoon! I should make a couple for my parents’ garden!!
Lezlye says
What a neat idea! This would be great for kids too!
Mandy Collins says
What a cute idea to work with old favorites in a new way
cheryl boglioli says
This is so awesome, Cyn. I want to make one! Love it …love it…love it…
Marlene Newman says
So much fun….I think I’ll make one today even thought I have a lot of other things [work] to do. Ugh.
Thanks for sharing.
Marie says
Thank you for the lovely idea! Adding beads to the wire “body” gives it yet more beauty and dimension. Thanks again!
Charlotte from AZ says
This is such an awesome idea! Thank you so much for the detailed tutorial…I will be trying these little guys in several sizes. I think they would be neat as embelishments for my cards. Thanks for sharing!!
Linda walker says
What a crafty idea.
A fellow crafter says
What a great project. This will make a wonderful bit of fun for my 6 yr old niece when next we see each other. Thanks for the idea and the details ~a fellow crafter