This craft uses those dome shaped lids from the Slurpee cups to create really pretty ornaments. I’m using the term Slurpee here because it’s one that most people seem to be familiar with, but really, in my neck of the woods you can find these same slushie type drinks with the dome lids at a variety of convenience stores and amusement parks.
For decorating these ornaments, there are a variety of methods you can use. So far, I’ve tried decoupaging on them with paper napkins or tissue paper as I did here:
You can decorate these globes from the inside or the outside. The blue and green one above was covered in paper napkins from the inside. I used Liquitex Gel Medium to apply them to the lids, either cutting or tearing them into workable pieces and then overlapping them a bit. I paint some gel medium on the inside of the lid and then start pressing on some pieces of napkins. I use a dab more of the gel medium in the places where they overlap to ensure that all pieces are securely glued down to the lid. You can use Mod Podge in place of the gel medium – it works just as well (I just happened to have gel medium on hand). I like to work on each lid one at a time rather than gluing them together into the ball shaped ornament first. I just find each half easier to handle, especially if using paints and it’s much easier to put them down to dry as each separate half rather than the whole ornament.
Another method I’ve tried is painting on them as I did with this one:
On this one I worked on the outsides of the lids. The advantage of working on the insides as with the decoupage one is that you then have the plastic covering over your work. This adds a nice sheen to it and keeps it protected. If you work on the outsides, it’s important to test the paints you are using. I used your basic acrylic craft paints on them and found that different brands yielded different results. Some brands would peel off of the plastic quite easily if you bumped the outside of the ornament. As well as testing the paints to see how well they hold up on the plastic, you will want to go over the surface with some kind of clear sealant to add protection to the decoration you’ve added if you are decorating the outside of it.
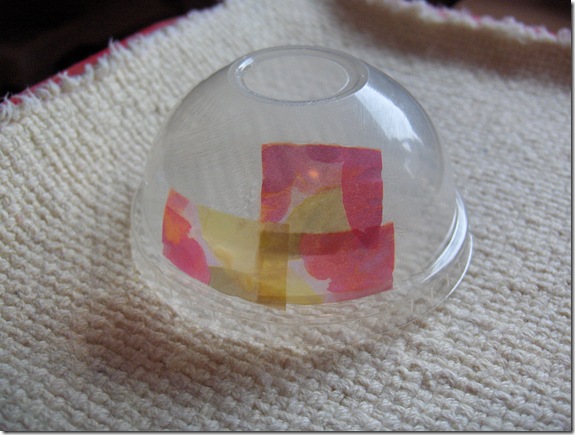
On this one, I made a sort of patchwork effect with alcohol inks:
I poured out a little bit of alcohol inks at a time (they evaporate quickly!) and used a brush to paint on a random patchwork design. I also added an extra effect by simply dripping some of the inks directly out of the bottles and letting them just run down the sides of the lid. I also used some plain rubbing alcohol to blend the colours together. This makes a nice transparent ornament which is great as a suncatcher or I can envision it with pretty little twinkle lights inside. I keep thinking that one of those battery operated tea lights would be nice in here too but you’d have to figure out a way to turn it on and off. With the alcohol inks, I found it was no problem to work on the outsides of the lids. Once the colour dried, which happens quickly with alcohol inks, it didn’t rub off or peel off or anything. I didn’t even put a top coat of anything over the inks – it’s glossy enough because of the transparency of it and the inks seem permanent so I didn’t feel there was a need.
Once you have both halves done, it’s time to assemble this into an actual spherical ornament. My recommended method of putting the two halves together is to simply place them edge to edge. Obviously, these edges are very thin so I find that using some strips of a narrow painter’s tape to hold the two halves together is very helpful. Warning: If the paint you are using doesn’t adhere really well to the plastic lids, it may peel off when you remove the painter’s tape.
Once you have it taped together, simply go right along the “seam” with your hot glue gun. You need to go just one small section at a time because along with the glue sealing up that seam, you also need to place a piece of ribbon or twill tape or something similar on top of the glue and seam. This ribbon helps to further hold the two lids together and I haven’t had any problems with it coming apart when using this method. I work in one small area at a time usually from piece of tape to piece of tape so I can remove the tape as I get to it. You can see in the picture that there is sort of a “lip” above and below the ribbon. That can be left as is (covered with your decoupage or paints etc.) or you can disguise it by gluing on more ribbon above and below the strip that’s holding the two parts together. Instead of ribbon, you could also glue some small buttons, beads, a strip of lace, or other such trims along those edges. You can also embellish your ornaments with any number of things! As you can see in the blue and green example, I glued buttons randomly onto the ornament. Beads, charms, glitter, sequins, images (how about some family photos to personalize these ornaments?) and so on can be added.
I hung these out in my pear tree to take the pictures of them and was struck by how pretty they look out there! Wouldn’t this be festive for an outdoor party?
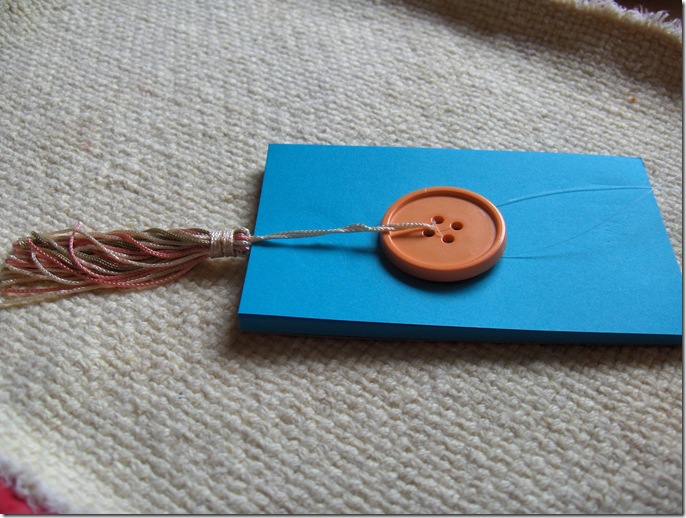
Now, your final step will be adding a hanger to your ornaments. I like to use fishing line because it’s strong and invisible. One thing you have to think about though are the holes in the lids (where the straw would go through). There are a number of ways to cover those holes while creating your hanger for your ornament. On the blue and green one, I used large buttons over the top and bottom holes. I cut a piece of fishing line and folded it in half. Then I ran each of the ends up through two of the holes in the button.
If you want to add something like a tassel to the bottom of your ornament, it’s easy to attach that as part of this procedure. Simply run your fishing line through the loop of the tassel before you put it up through your button. I like to tie the line off on the other side of the button just so I’m sure it holds in place while I’m attaching it to my ornament. Note: On a few of the ornaments, I have also used some pretty coloured ribbon or cord because I wanted that effect instead of the fishing line. The fishing line threads through the buttons easily with no needle required but you will likely have to use a large eyed needle with ribbon or cord.
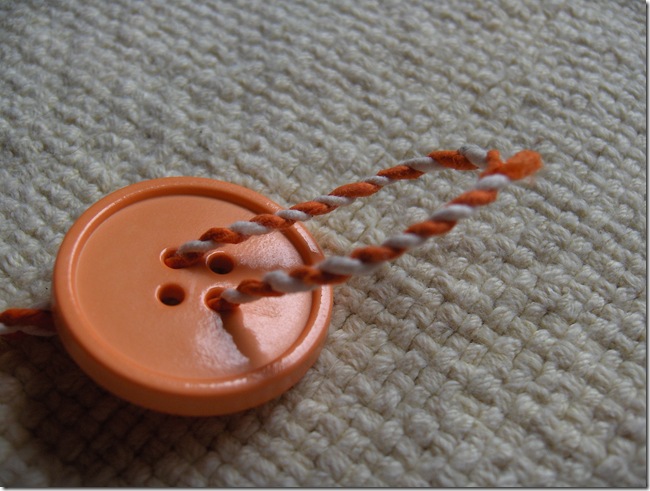
Here I did it with a loop of cord so you can see it more clearly than with the fishing line.
Here’s where I’ve tied it off on the other side – it doesn’t need to be a big fancy knot – just something that will keep the button from sliding off your fishing line while you feed it up through the ball to create your hanger.
Once I have this button attached to my fishing line (or ribbon or cord or whatever) it’s time to feed it up through the bottom hole in your ornament and out through the top hole. I’ve found that using a pen with one of those clips on it (for attaching to your shirt pocket or pad of paper) to be the easiest method of doing this. With some cords, like the one I show above, they are stiff enough that you don’t need anything to help you feed it through but certainly with the fishing line it can be quite tricky to get both ends through without some assistance. I run both ends of the line up under the clip and then push the pen through the two holes.
Here it is done with the fishing line:
And since that’s difficult to see, here it is done with the cord so you can see more clearly what I mean:
Once I have fed the line up through both holes, I use a couple little dabs of hot glue in between the button and the bottom hole just so it won’t shift around. I then run my two ends of the fishing line up through two of the holes of the button I’m using to close up the top hole, again using a couple dabs of glue to hold it in place against the top of my ornament. I tie a knot again and then make my loop for my hanger, tying it off with another knot. It can be quite pretty to stack up several buttons (same size or in different sizes) instead of just one or stack some beads on top of the buttons. Other options for closing the hole include large beads (as was done with the top of the ornament made with alcohol inks) or taking strips of felt and rolling them up into coils (securing with tacky glue as you go) and gluing those over the holes. If using the felt coils, you will need to use a needle to feed your fishing line through. You can also use large jingle bells to cover the bottom holes or simply cut out circles of cardboard and then cover them with paint or decorative papers. If you are collaging/decoupaging on the outsides of the lids, you can just cover the holes with pieces of packing tape and then collage right over the tops of them.
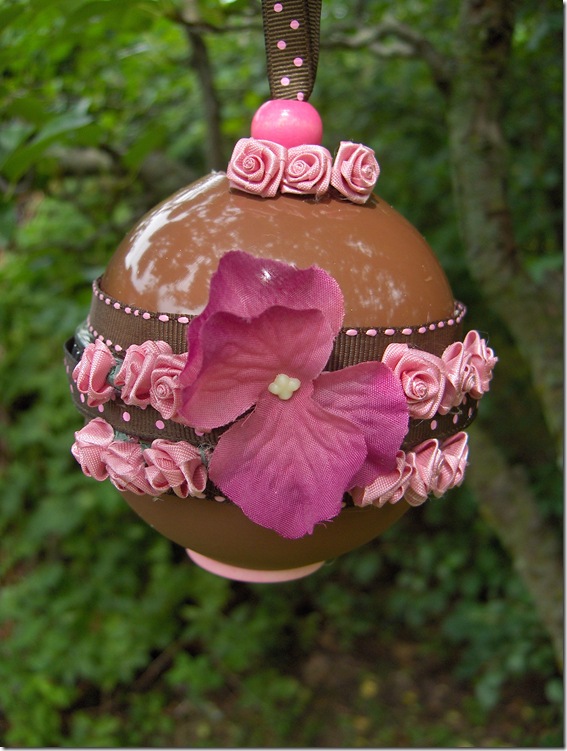
For this ornament, I painted the top on the inside and the bottom on the outside. You can see how much glossier the top looks because of having the plastic on the outside. I added several strips of ribbon and tiny silk ribbon roses with one large central flower for more embellishment. This was one where I wanted to have a ribbon hanger and because of the opaque nature of it due to the brown paint, I didn’t need something invisible like the fishing line so you can see I ran ribbon up through the bottom button and then out the top bead.


Bev Mossman says
HI Cyn
Great project today as always love these ornaments you have done a wonderful job Hope to make some thanks again for also sharing the instructtions and sharing on Cool 2 craft today hugs love and prayers Love You Bevinfl
Wendy T. Gibson says
I have a funny feeling that we both bought watermelon Frosters at Macs on the same day during the great heatwave of Summer 2010!
Everytime I get a froster I get that tingly crafty sense too … lol … SO glad you figured out what they wanted to be!
Can’t wait to make my Fairarrium!