If you’ve hung around this blog for very long, you know that I love quick and easy crafts. I don’t have a lot of time to devote to crafting these days (sadly) so ones like this, that can be done in 15 minutes or less are ideal.
You might also know how much I love inexpensive crafts – if I can reuse items from around the house to save money and help the environment, all the better! So this week, I’m taking part in Craft Lightning: Recycled Crafts edition.
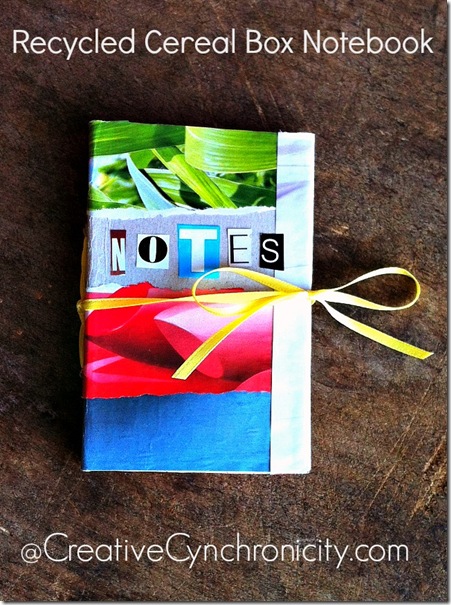
Quick and Easy Cereal Box Notebooks
A few things I have in abundance around my house are cereal boxes (or quinoa boxes or rice boxes and so on), scrap paper (why are there always those few sheets of paper that just won’t go through the printer properly and if you try to put them through again – forget about it!!!), and magazines.
I decided to use all three to make fun little note books. I keep one on my bedside table, one in the kitchen, one in the car….pretty much anywhere so that I’m prepared anytime inspiration for a new art piece or a new blog post might strike!
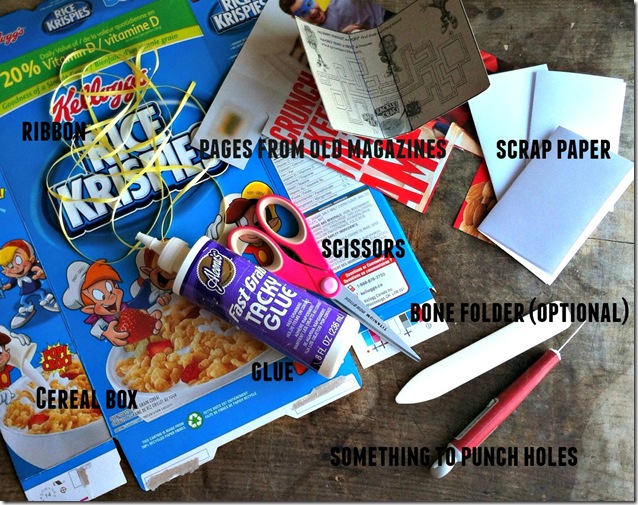
The materials you need for these scrap cardboard note pads are:
- Scrap cardboard such as cereal boxes
- Glue (a good glue stick will work too)
- Scissors (a paper cutter would come in handy too if you have one)
- Something to punch holes (I’m using my paper piercer also known around here as my pokey stabby tool)
- A bone folder (this is handy for making the creases but not essential)
- Scrap paper
- Magazine pages (these are optional – the boxes are often so colorful and graphic as is that you might not want to cover them)
- Ribbon
Instructions for making these recycled quick and easy cereal box notebooks:
Cut a rectangle of cardboard for the cover of your notebook. I made two folds to create a deeper spine on the book but you can just simply fold the piece in half.
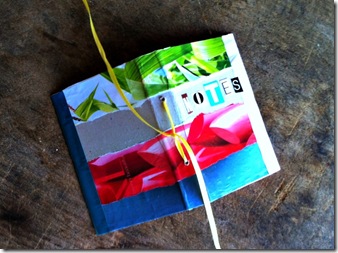
Cut or tear pieces of magazine paper and glue on to decorate the cover if desired. I covered both the outside and inside cover. I also cut out letters to add the word NOTES to the front cover. You could personalize it with someone’s name too or by subject.
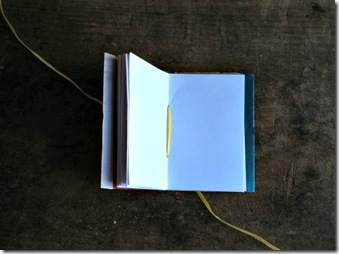
Cut the scrap paper into rectangles double the width you need for the pages. Fold those rectangles in half to form the “signatures” (groupings of pages) in the book.

Poke holes at the fold of each page signature. I pile them up together in manageable bundles so there’s not too much to poke through at once and then use that as my pattern for each of the next bundles so the holes match up. Also poke holes to match in the cover of the book (on the spine).
Use the ribbon to secure the pages to the cover. I pulled the ribbon through from the inside to the outside of the cover and tied a note to hold it. I left the ribbon long enough so that it would wrap around and tie in a bow to hold the notebook closed when not in use.

Easy peasy right? The kids would probably get a kick out of making these and it could be a great way to keep them busy!
I made mini notebooks that I could stash anywhere (even in my purse) but really, you’re only limited by the size of the scrap cardboard. If you decide to make larger notebooks though, you’ll need to poke more holes and bind the book in several places to make it secure.


Angie @ CCC says
Great idea Cyn! Thanks for joining!
Patricia A. McGoldrick says
Great idea! I like the suggestion for ribbon! Will try!
Paula schuck says
I know my kids would be all over this! They are always sewing notebooks together out of cardboard so this is super for them. Thanks for the easy fast lightning craft!
Megan Walsh says
A fun way to spend more time with my family! The Recycled Crafts series are one of my fave! It is surprisingly just how much we can do in order to reuse our things, instead of throwing them away!
Laura Dodson says
I’ve found that if you cut the paper a tad bit smaller than the cover, it’s a bit more forgiving than making it the same size. Plus when the paper is folded, it won’t extend past the ends of the covers.
Cyn Gagen says
Great tips! Thanks for sharing!
Lesley says
You could also gloss the cover to give it a shine.