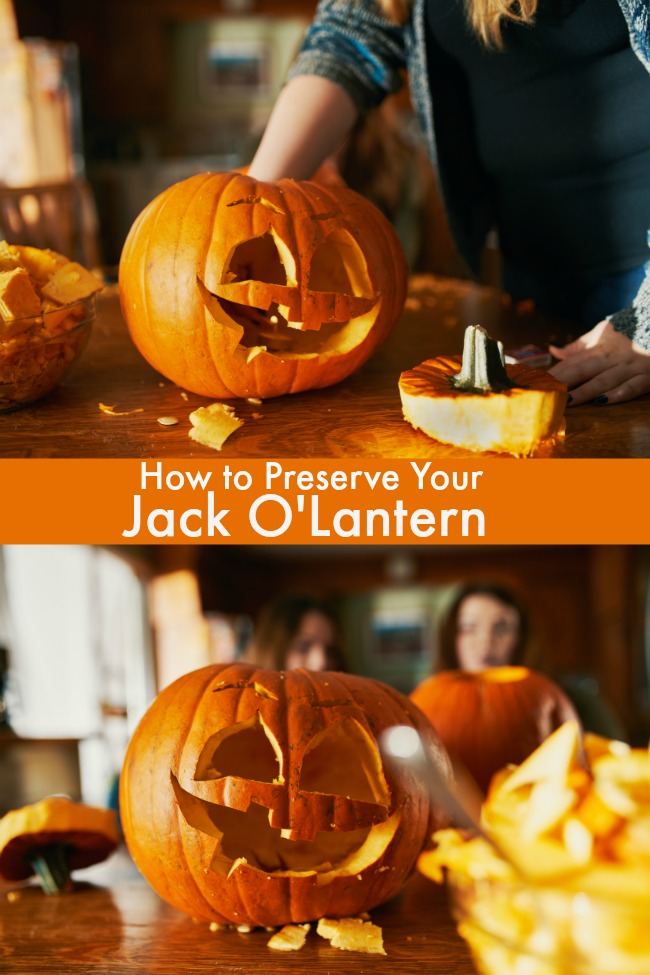
One year, while my daughter was young, I remember taking her out for trick-or-treating. As we came back home, we were greeted with a sad sight. Our Jack O’Lanterns were sagging and mushy. ALREADY! That’s when I learned how important it is to choose the right pumpkin for carving. And once you have picked it out, you need to know how to take care of it.

How to Preserve your Jack O’Lantern so it Stays Fresh and Lasts Longer
We’ve probably all been there before. We put all that work into carving the perfect Jack O’Lantern only to have it rotting by the next day. It’s such a fun tradition but it can kind of feel like you’re throwing money down the drain. Pumpkins aren’t super expensive but goodness knows, if my family is going to put all that work into giving it the perfect face, I want it to last more than 24 hours!

CHOOSE THE RIGHT PUMPKIN
Step one happens before you even bring the pumpkin into your house. You have to begin by choosing the most appropriate pumpkin for carving. These tips on how to pick out the best pumpkin will help!
STORE THE PUMPKIN PROPERLY
Pumpkins like cool temperatures but they can be seriously damaged by frost. We keep ours in the basement (we actually have a root cellar but just the regular cool part of the storage room works just fine). If you want to sit yours outside for some fall decor before carving them for Halloween, just be sure to bring them inside each evening (or at least, if frost warnings are issued – I would bring mine in every night to protect them from being stolen or smashed anyway).
WAIT AS LONG AS YOU CAN BEFORE CARVING
No matter what you do to care for your Jack O’Lantern, the fact is that once it’s carved, pumpkin is going to rot at an accelerated rate. If you need pumpkins for a party a week before Halloween AND you want some for October 31st, you can’t count on using the same ones for both. Buy extra pumpkins.
PRO TIP: One year, we painted faces on the pumpkins first. We were able to enjoy them like that for a couple weeks and then the night before Halloween, we carved faces on the same pumpkins so we could see them all lit up.

TREAT THE PUMPKIN TO SLOW DOWN ROTTING
Once you’ve carved your pumpkin, you can help slow down the rotting process by spraying it with a 1:2 bleach water solution. This helps prevent the growth of fungus and mildew and keeps it looking fresh longer. We also rub Vaseline over the cut edges and find that this extra step can keep it moist and protected as well.
I recently heard that you can use peppermint essential oil in place of the bleach and it works just as effectively. I’ll be testing it out this year and will let you know about my results!
AVOID THE USE OF CANDLES
Say whaaaaaat? I know, earlier I mentioned wanting to see the Jack O’Lanterns all lit up on Halloween night and now I’m saying to avoid candles. Here’s the thing – heat is bad for the pumpkins and speeds up the decaying process. I highly recommend those battery operated tealight candles you can get at the dollar store. Buy a bag of them and you’ll be all set! At the very least, if you insist on using a candle, be sure to put it into a candle holder. This helps contain some of the heat and minimizes its effects.
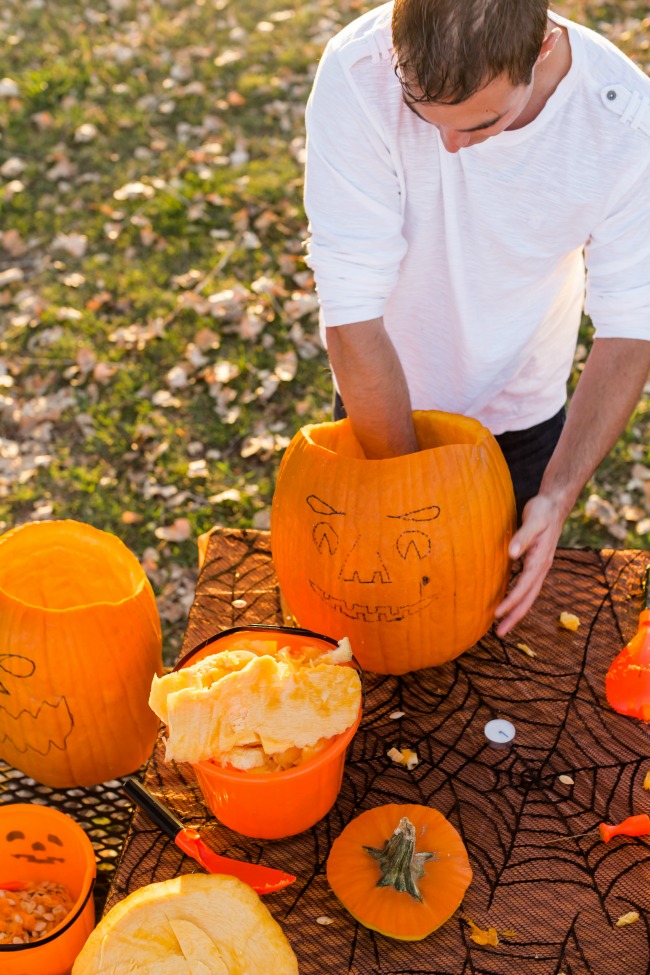
Once you’ve carved those Jack O’Lanterns, be sure to save the seeds! Toasted pumpkin seeds are one of the yummiest things about fall and you can flavor them in so many ways. Besides, this helps you really get your money’s worth out of them. (and you know, I just love to save money!)
Find local pumpkin patches in the London, Ontario area here.
Leave a Reply