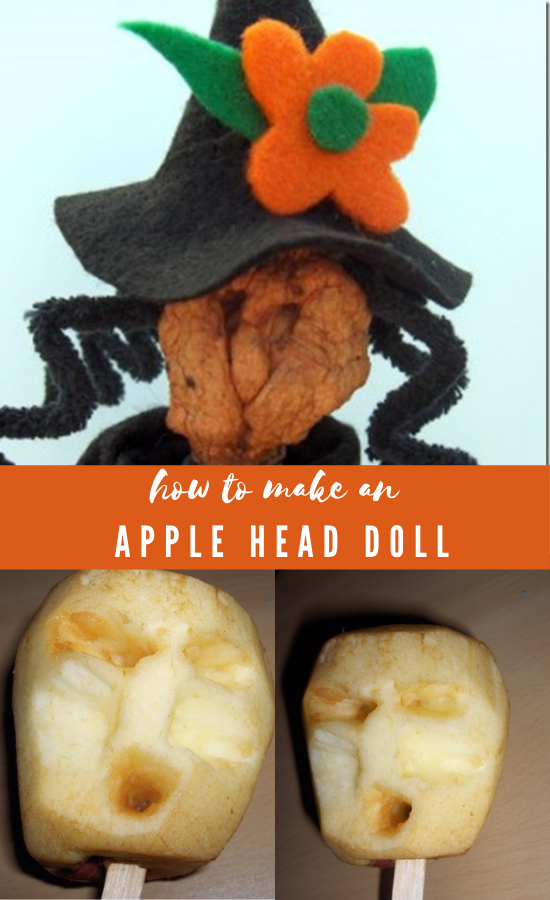
When I first began this blog, my very first blog post was about making applehead dolls. Here is that post about Hazel the Halloween Witch, an apple head doll, updated for 2020.
Hazel the Hallowe’en Witch Apple Head Doll
What Kind of Apples to Use
You need firm apples such as Granny Smiths or Red Delicious apples…softer ones will not hold up as well to the carving and drying process.
Carving the Apple Head
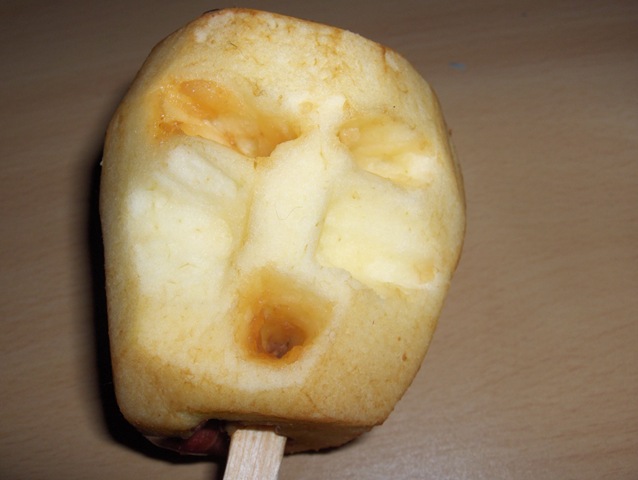
Simply peel the apple and start carving. You don’t need to use a sharp knife. I’ve made these with kids and we used plastic knives and spoons, popsicle sticks, or table knives.
Don’t get too hung up over the carving process. Whatever you carve into the apple is going to change quite a bit over the course of the drying process anyway so you won’t end up with exactly what you intend.
Just try to cut recesses for features like the eyes, mouth and ears. You can also cut in some scars or wrinkles to add character to the face. For the nose, it’s suggested that you cut a triangle between the mouth and eyes.
As you can see in these pictures, all I’ve basically done is to hollow out spaces for eyes, I usually just cut a round shape for a mouth, and then for the nose, I cut away on either side of a sort or rectangle shape – sort of giving it sunken cheeks.
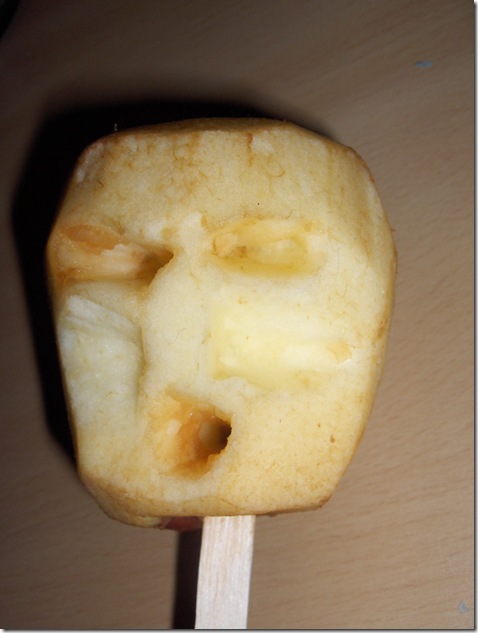
This is not a fine art sculpture! You don’t have to create perfect facial features. Just cut in the hint of the features because truly the apple and the drying process does most of the work.
You can never predict just how an apple will dry and so you just need some basic shapes there for it to work around. As it starts sinking in on itself, those cuts you made will become more pronounced, more definition will be added to the face and the features will become clearer and more face-like.
Adding Extra Character to the Apple Head
Some people like to use cloves inserted in the eye openings to give more definition to the eyes. You can also use grains of rice to add teeth. Moss works well as hair.
As the head dries, you can even poke and pinch it to help guide it along into the shape you want, if desired. I’ve always just let them do their own thing though.
Important Tips
I found it easiest to place the apple on a popsicle stick. This made it easier to hold and carve and then also gave the doll some structure. This simplified the process when it came to adding clothing.
You can also use a dowel or skewer, although I find most skewers are too thin to really support the apple well. Some people like to use wire instead so they can create a full body armature from it.
Drying the Apple Head
There are multiple ways of drying out your apple head. I’ve heard that some people use a dehydrator but I don’t own one, so I was unable to test that.
Salt Method
Once you have carved the apple to your satisfaction, coat it with lemon juice. The first time I tried this, I essentially gave it a bath in the juice. This seemed to make it too wet though and it slowed down the drying process.
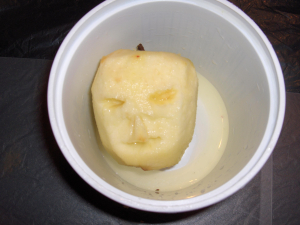
The next time, I brushed the lemon juice on and this worked much better. Once coated in lemon juice (this helps the drying process and keeps it from getting too brown), roll the apple in salt. You want it completely coated with the salt.
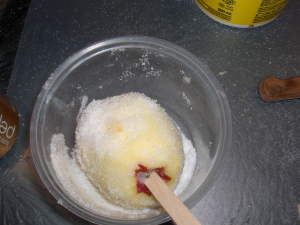
It helps now to prop them up somehow…an empty pop bottle or pop can works well. You want something that allows air to circulate around the entire apple head to ensure even drying.
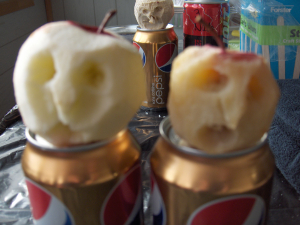
Now, you just have to wait. How long it will take for them to completely dry depends on a number of factors – mainly the amount of humidity in your home. The salt and lemon will speed things up. Ours took about 15 days to fully dry.
By the way, drying times will vary according to the degree of heat and humidity where you are, the size of the apple, and so on. My times should just be used as estimates.
Placing them in the driest area of your home can really help. Too much moisture will cause the apples to get moldy instead of drying out so avoid any humid locations in your house.
Using a Microwave
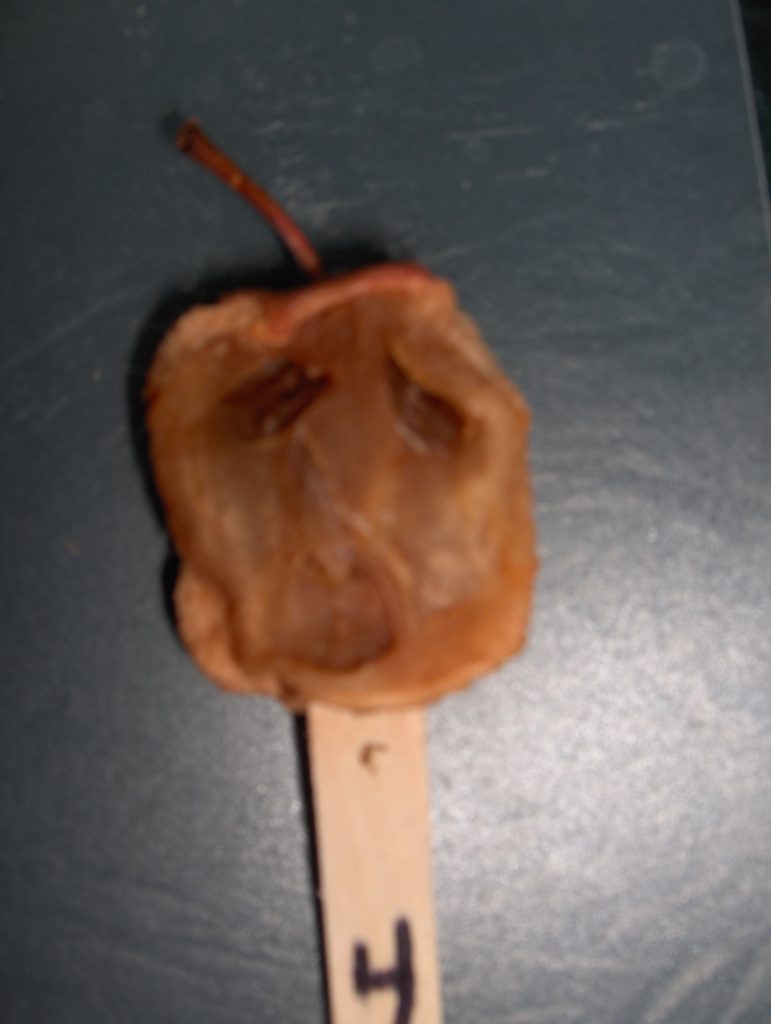
Microwaving was a disaster – the apple turned mushy (kind of like a baked apple) and it stayed that way. I experimented with different times and temperatures and none of them worked. I don’t recommend this method.
For this method, I put the apple in the microwave on a plate lined with paper towel. The instructions I found, which were vague at best, said to start off with just a few seconds at a time and work up from there.
I set the microwave for 30 second intervals and ended up going with a total of 4 minutes and 30 seconds before giving up. It became clear very quickly that the apple was NOT drying out one little bit in the microwave.
It was shrinking in size as it should, but it simply got softer, mushier, and wetter to the touch the more it “cooked”. By the time I took it out, it was more of a baked apple dessert than it was an apple head for a doll.
Air drying
Letting it air dry on its own worked very well and took about 2 1/2 to 3 weeks. Starting the drying process in the oven and then letting it air dry the rest of the way also worked very well and it took about a week and a half.

Oven Drying
I read that you can dry the apple completely in your oven – the problem is the times quoted ranged from 20 hours or more. Since I wasn’t willing to use that much electricity on something like this, I simply used the oven to jumpstart the drying process.
I placed the apple on a foil lined baking sheet and put it in the oven with it set to the lowest possible temperature. For me, that was 150 degrees F but a setting of 200 will suffice.
The apple was left in the oven for 4 hours but I did go in and turn it periodically to try to ensure more even drying. Then, I removed it from the oven and allowed it to dry as with the salt method.
You can coat your apple head with lemon juice if you want it to stay as close to the natural apple colour as possible. This does add some moisture to it and can add to your drying time. Personally, I prefer letting it turn brown as I think it adds to the look.
How to Dress Your Doll
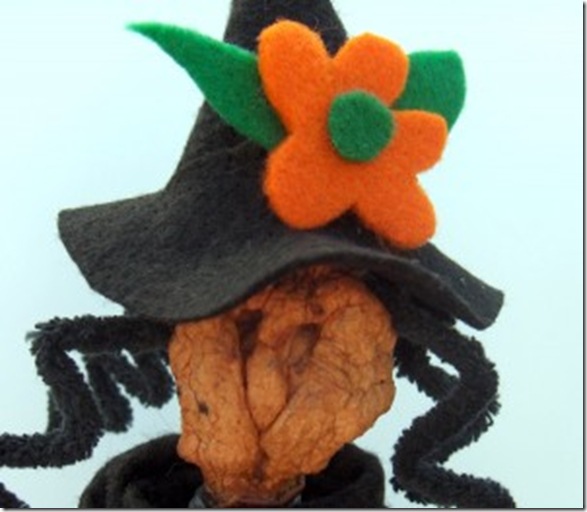
For the hat on Hazel, I simply cut a half circle and formed it into a cone for the main part of the hat. Then for the brim, I cut a circle and clipped a + (a cross or plus sign) into the middle of it to create an opening.
I pushed the brim down over the cone and glued the points that the + now formed into place on the cone. For her hair, I cut chenille stems in half and then folded them into a zigzag fashion.
I used a toothpick or bamboo skewer to poke holes into the applehead and stuck one end of each chenille stem into each hole. I then glued the hat in place on her head.
To add a Halloween touch, I just freehanded a little flower out of felt. Oh and by the way, the apple head I used for Hazel is one from nearly 8 years ago and I still have it – so yes, they do last and hold up quite well.

How to Make a Body for the Doll
As mentioned before, you can create a wire armature for the doll. I generally use a bottle as the body instead. Water bottles, shampoo bottles, or dish soap bottles all work well.
Simply insert the popsicle stick or dowel into the bottle. You can use some masking or duct tape to secure it in place.
Happier Than A Pig in Mud says
Your witch looks great! I’ve never tried this but it looks like fun:@)
Bonnie and Trish @ Uncommon says
this is really cool! love her hair!! 🙂
carolyn - homework says
I remember seeing apple dolls once when I was little. Fantastic project!
Renee C. says
I totally remember these from when I was a kid. My Mom and I used to make these all the time. Thanks for reminding me of these. I would love to do these with my kids now. I’m a new follower! Cheers!
Jason says
This is awesome! I think you can use potatoes as well? I remember these dolls from when I was younger. A little creepy back then but pretty cool now. I may just give it a try since we have a dehydrator.
Keri says
I totally agree, too much detail was lost in the drying process! My son made a simpler one using marbles to quickly form the facial features. His is turning out the best. Oven does speed up drying as does having a nice fire going.. Great project, can’t wait for the end result! He also left a jagged bit of the peel around the stem it looks like choppy brown boy hair, kind of like the mad t.v. guy.
Cyn Gagen says
Great ideas! I’d love to see a picture of how it turned out.