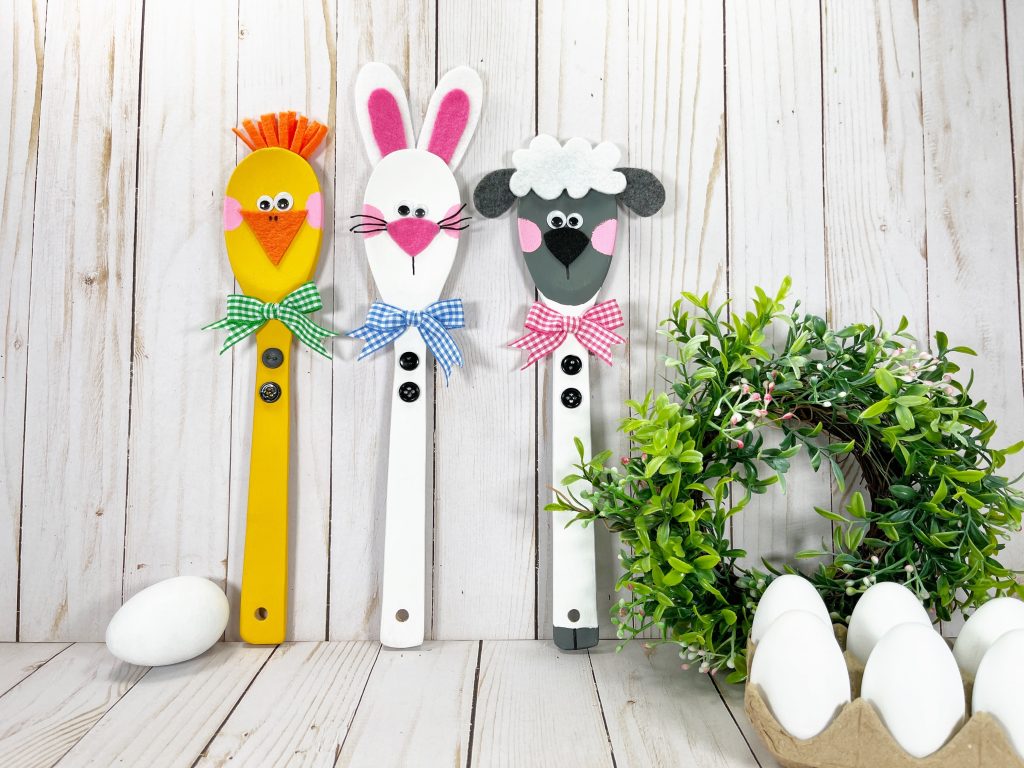
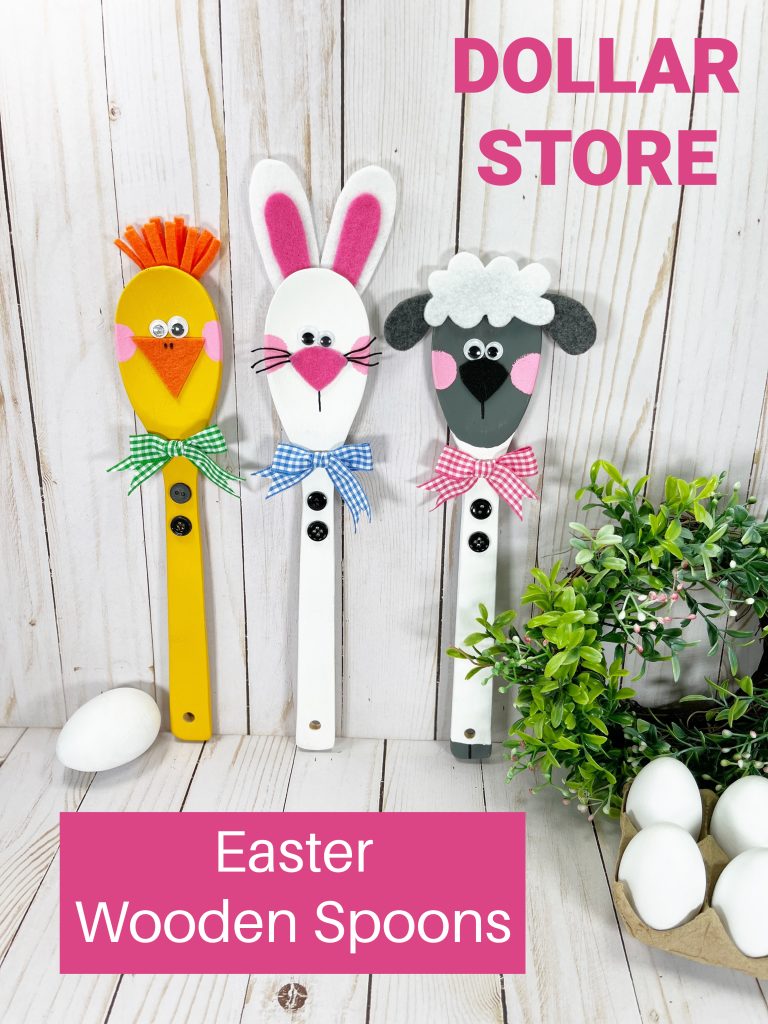
Some simple supplies from the dollar store make a super cute trio of Easter buddies for teens and tweens to create on a budget. These Easter Wooden Spoon Crafts are the perfect hostess, teacher, or neighbor gifts for the spring season.
Add them to your Easter table centerpiece or place them on your mantel. They make adorable Easter home decor and can be left out all spring long.
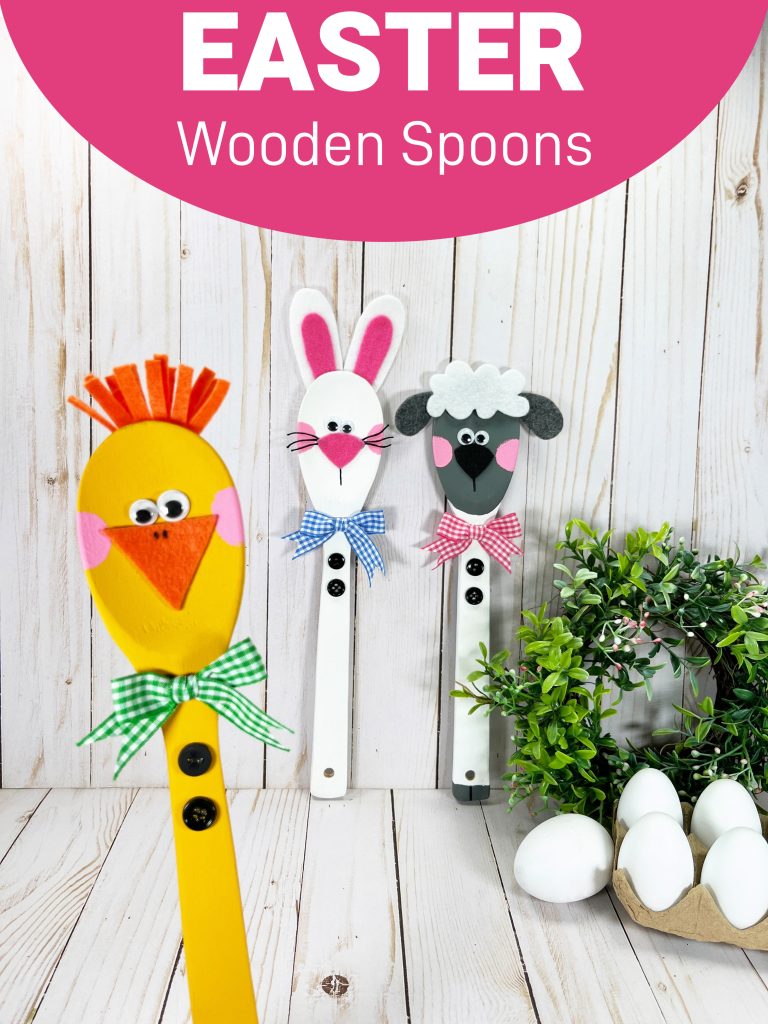
DOLLAR STORE EASTER WOODEN SPOON CRAFTS
Supplies Needed:
- Wooden Spoon – Dollar Store
- Acrylic Craft Paint – White, Yellow, Pink, Grey
- Wiggle Eyes – Dollar Store
- Permanent Black Marker – Dollar Store
- Sponge Dabber – Dollar Store
- Craft Felt – White, Pink, Orange, Grey, Black
- Glue Gun and Glue Sticks
- Ribbons – Assorted
- Buttons – Assorted
- Embroidery Floss – Black
- Paintbrush
- Scissors
- EASTER TRIO PATTERNS
Instructions:
STEP ONE
Gather all supplies. Basecoat the first wooden spoon with white acrylic craft paint for the Bunny. Paint the second wooden spoon with yellow acrylic craft paint for the Chick. Let dry and apply a second coat, if necessary.
STEP TWO
Basecoat the third wooden spoon with gray acrylic craft paint for the Lamb. Let dry and apply a second coat, if necessary. Paint the bottom of the Lamb with white acrylic craft paint. Let dry and apply a second coat, if required.
STEP THREE
Download and print the EASTER TRIO PATTERNS. Cut out with scissors.
For the bunny, trace two outer ears on white felt, trace two inner ears and one nose on pink felt. With the chick, trace one beak and one head feather rectangle onto orange felt. For the lamb, trace two ears on gray felt, one nose on black felt, and one wooly hair on white felt.
Cut out all patterns with scissors and cut inside the traced lines for a clean, finished project. Fringe the orange rectangle with scissors, then fold it in thirds and secure it with glue.
STEP FOUR
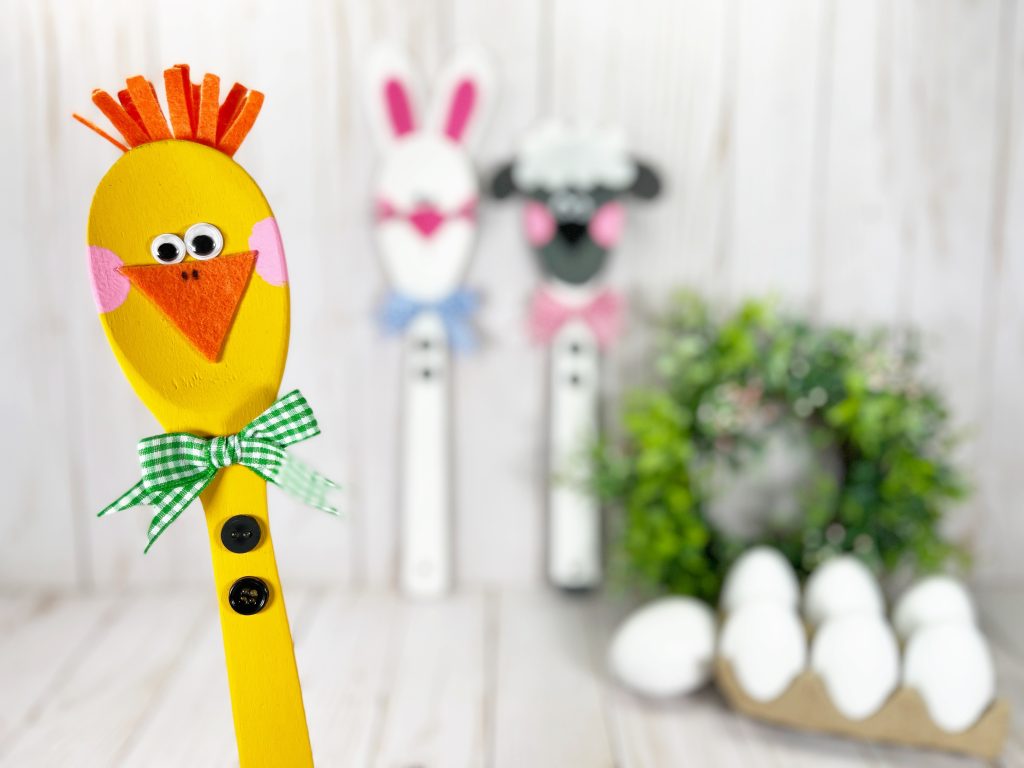
Attach two wiggle eyes to each wooden spoon with a glue gun and glue sticks. Create their cheeks by dipping a sponge dabber into pink acrylic craft paint.
Attach the noses/beak under the wiggle eyes with a glue gun and glue sticks.
For the bunny, glue the pink inner ear to the white outer ear and attach it to the top back of the wooden spoon.
When it comes to the chick, you want to attach the orange head feather to the top back of the wooden spoon.
For the lamb, glue the gray ears to the right and left side of the front of the wooden spoon, and then attach the wooly hair over the top of the ears.
PRO TIP: You can use liquid craft glue for this project, but you will have to wait for it to dry.
STEP FIVE
Attach three one-inch lengths of black embroidery floss to the right and left side of the bunny’s nose for the whiskers. Trim any long ends with scissors.
STEP SIX
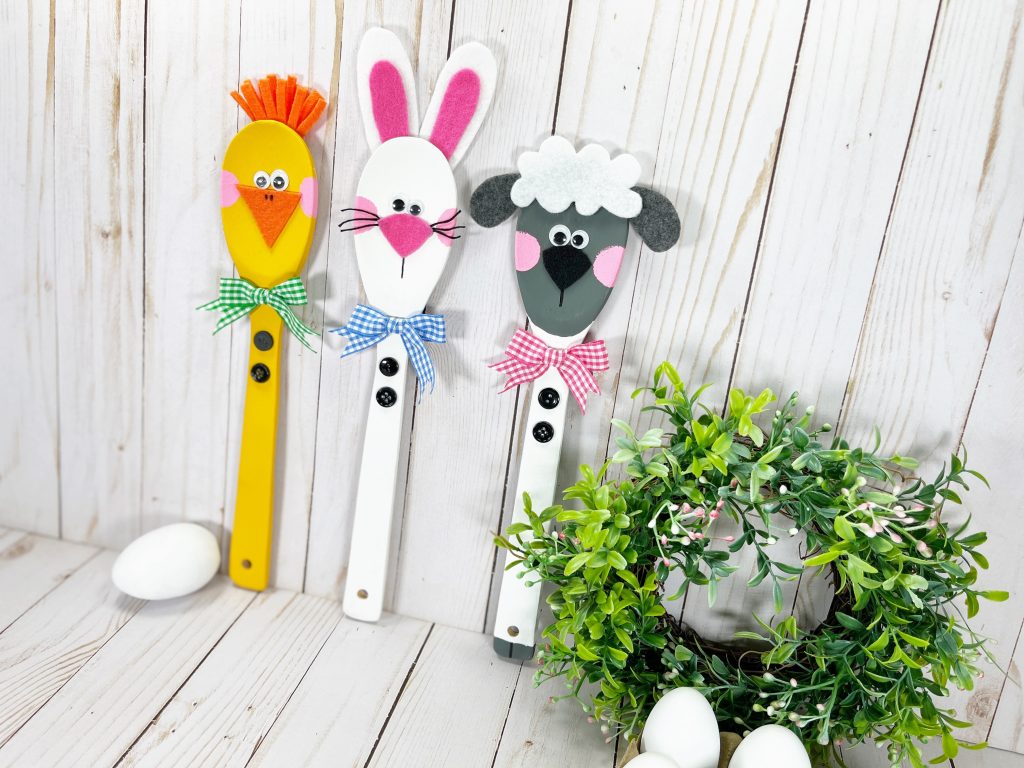
Using a permanent black marker, draw two straight lines from the nose down on the lamb and the bunny, for their mouths. Add two dots to the top center of the chick’s beak.
STEP SEVEN
Tie gingham ribbons in bows, and attach them to the neck of the bunny, chick, and lamb securing them with a dot of glue. Cut a notch from the ends of the ribbons to prevent fraying. To finish, attach two colored buttons to the handle of each wooden spoon with a glue gun and glue sticks.
Change the colors and embellishments on the wooden spoons to create a variety of spring animal buddies to share with family and friends. Or how about farm animals? Zoo animals? It’s a great craft project for tweens and teens to create on their own or as a family activity with younger kids.
Leave a Reply