You are going to love making this Easter Bunny Cart Craft with your kids, class, Scouts, or other group. Inspired by vintage toys, this bunny pulls a cart of eggs, candy or whatever you would like!
Kids can practice fine motor, dexterity and problem-solving skills with you as they cut, glue and experiment balancing the cart on the card stock wheels and bunny paws! Add a cotton ball for a fluffy tail!
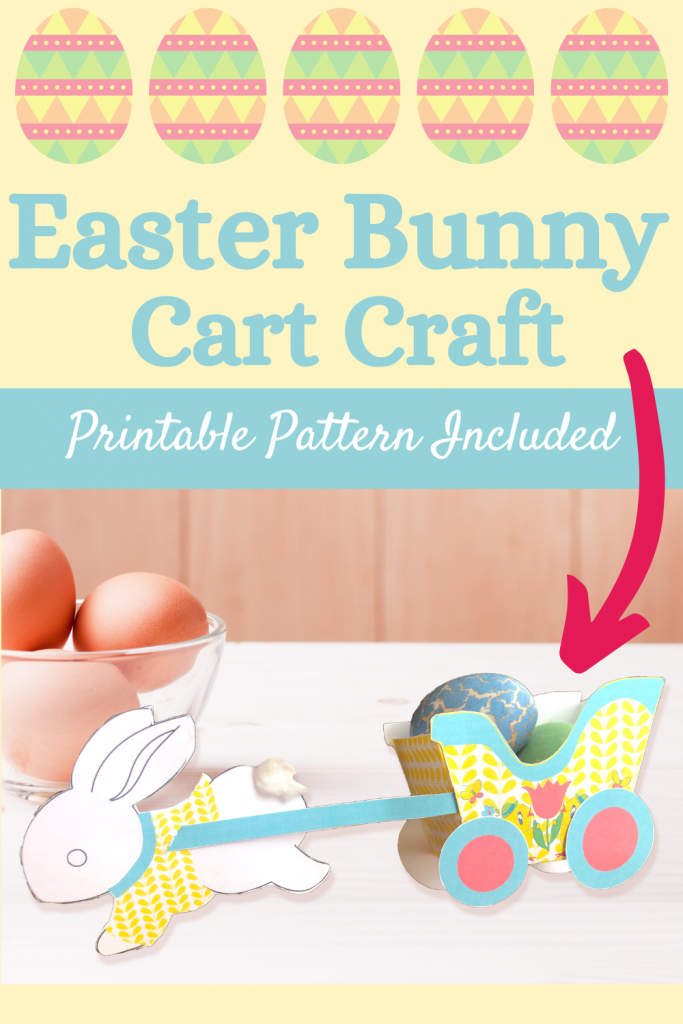
Easter Bunny Cart Craft
This Easter bunny craft makes a great party favor or table decoration.
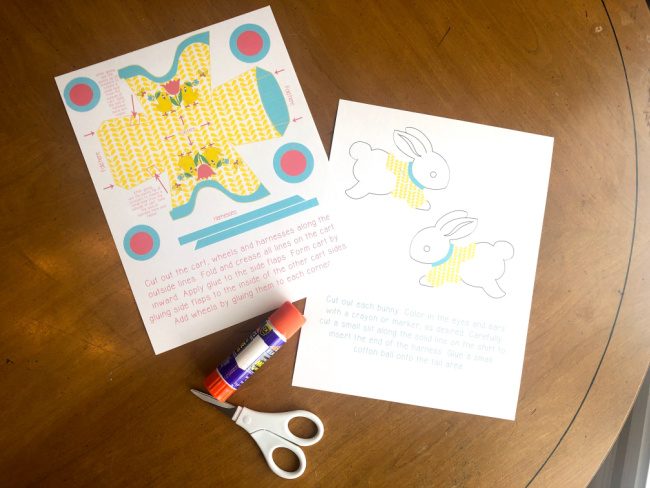
You will need:
- Both sheets printed onto card stock paper. You’ll find the Easter Bunny Cart printable here.
- Small, sharp scissors
- Glue/glue stick
- Cotton ball
Directions:
You can find a printable version of these craft instructions here.
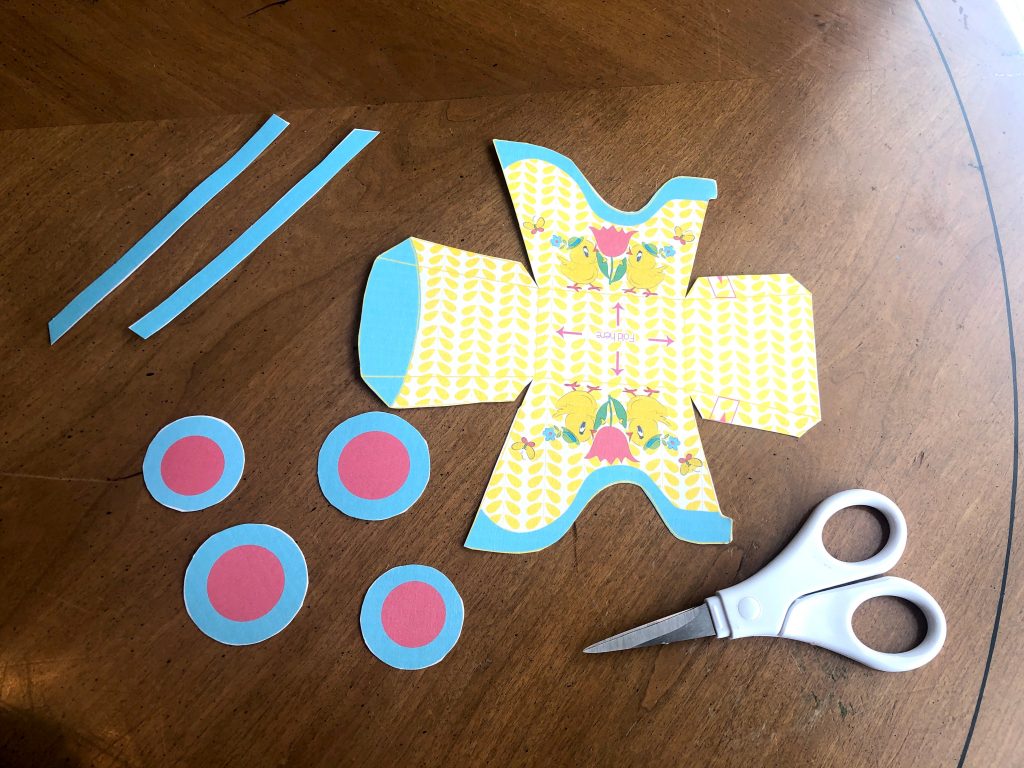
Cut out the cart, wheels and harnesses along the outside lines.
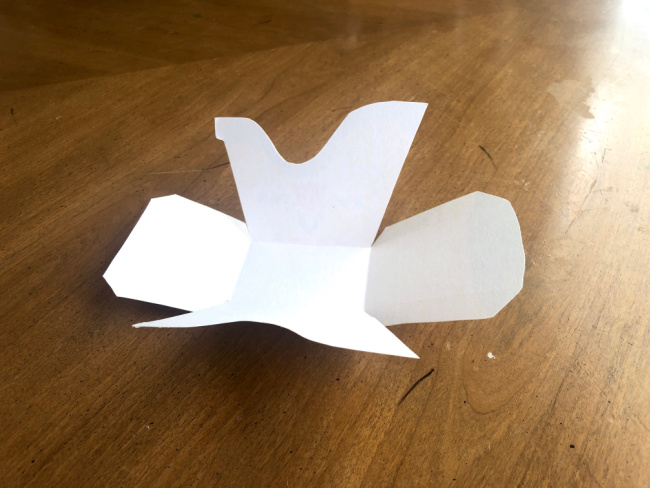
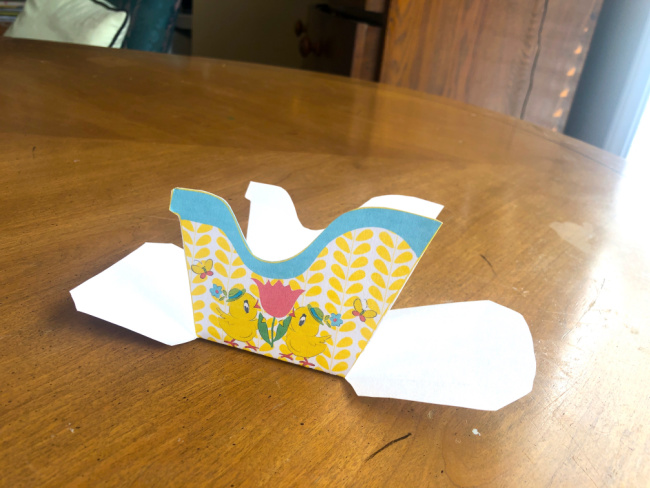
Fold and crease all lines on the wagon inward. It may be helpful to score the lines with a sharp edge before folding. This creates a neat, crisp fold.
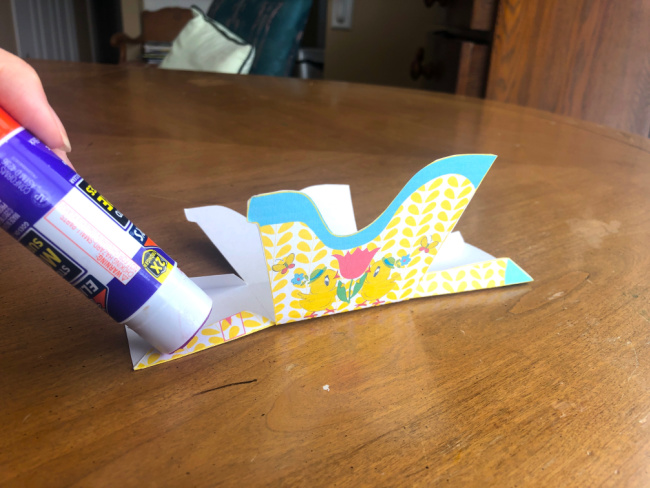
Apply glue to the side flaps.
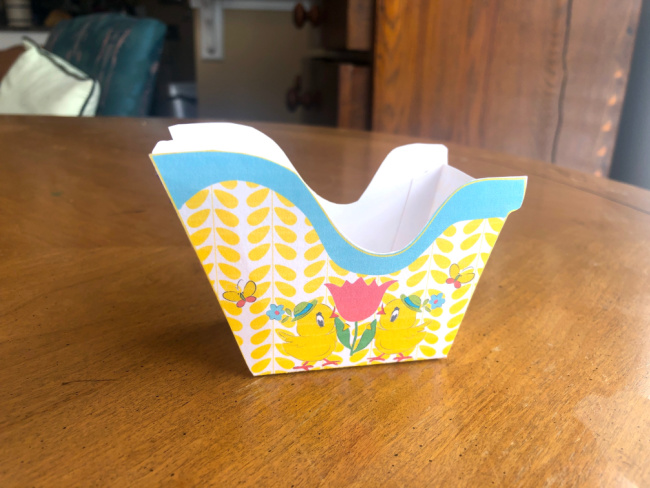
Form wagon by gluing side flaps to the inside of the other cart sides
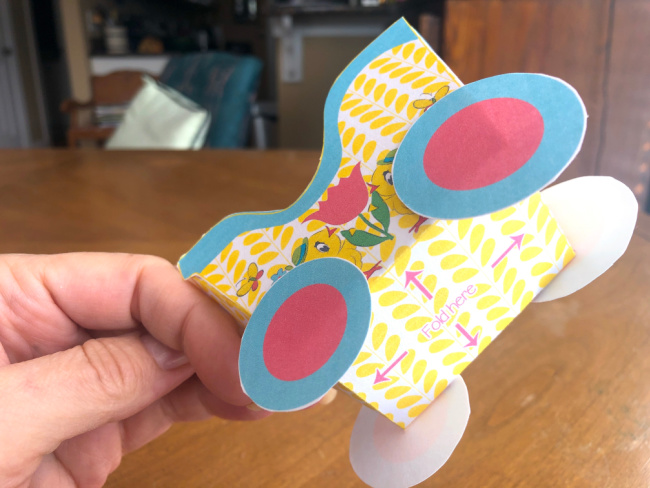
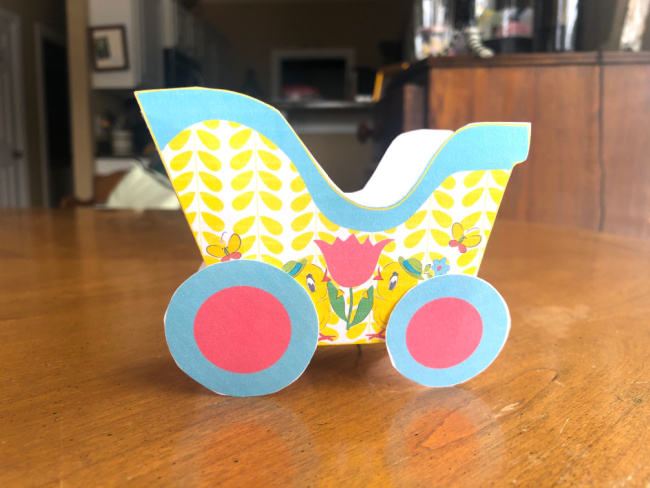
Add wheels by gluing them to each corner. (Be sure they are even so that the cart can stay balanced.)
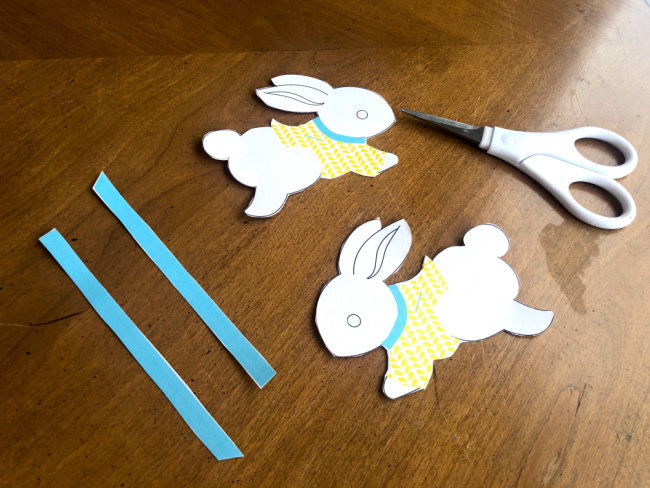
Cut out each bunny. Color in the eyes and ears with a crayon or marker, as desired.
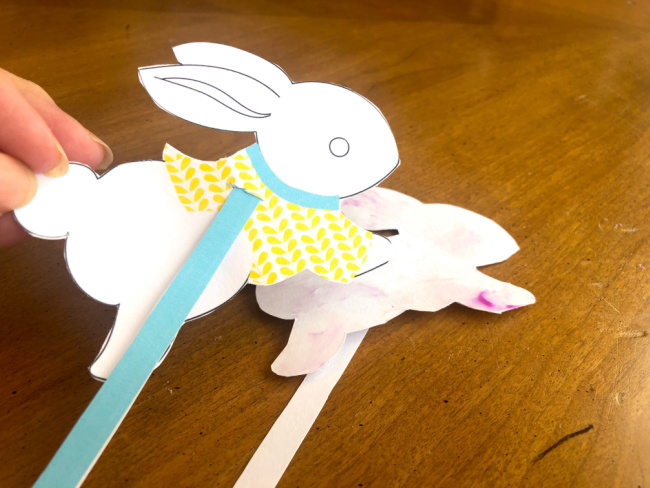
Carefully cut a small slit along the solid line on the bunny’s shirt and insert the end of a harness. (one end for each side of the bunny)
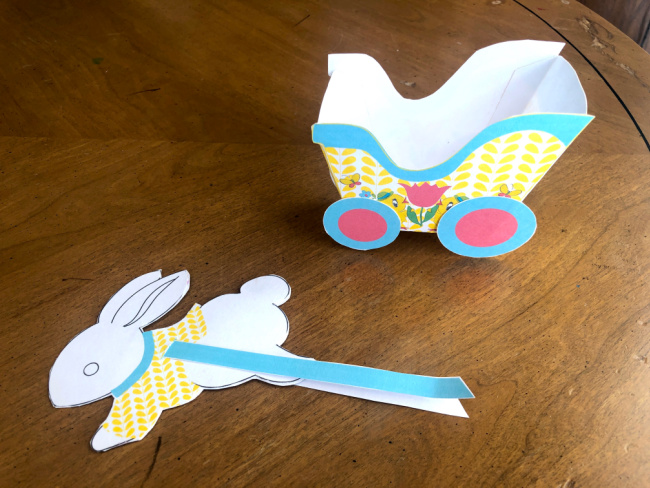
Apply glue to the blank side of each bunny. Lining up the edges carefully, glue the bunnies together. (Keep the harness ends in place as you complete this step.)
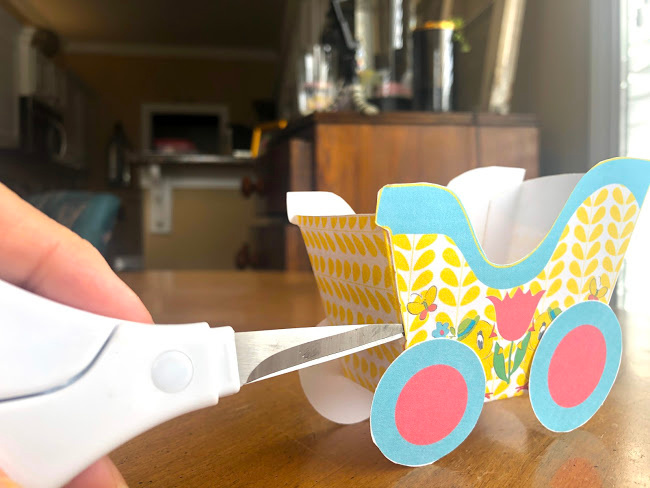
Use the pointy tip of scissors to make a small hole from the outside of the cart at marked places on the front. (Carefully wiggle the point back and forth as you press to form a small opening without tearing the cart.)
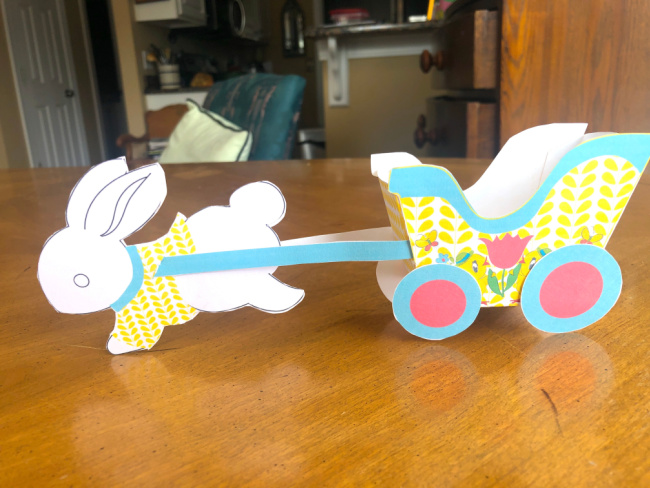
Slide the end of each harness (from the bunny) into these openings. Use a dab of glue to reseal the opening.
Pull harnesses evenly so that the bunny is able to balance on a flat surface with the cart.
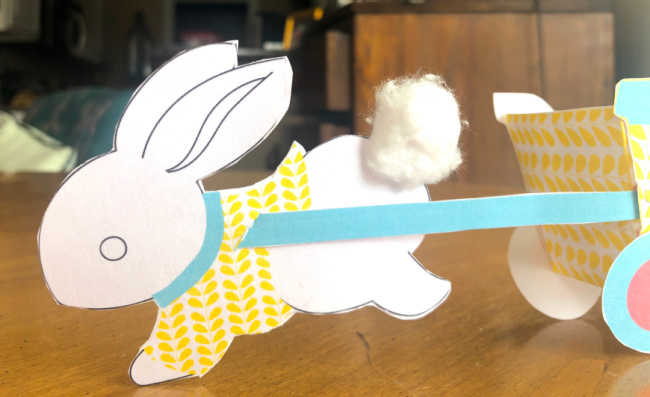
Glue a small cotton ball onto the tail area of the bunny.
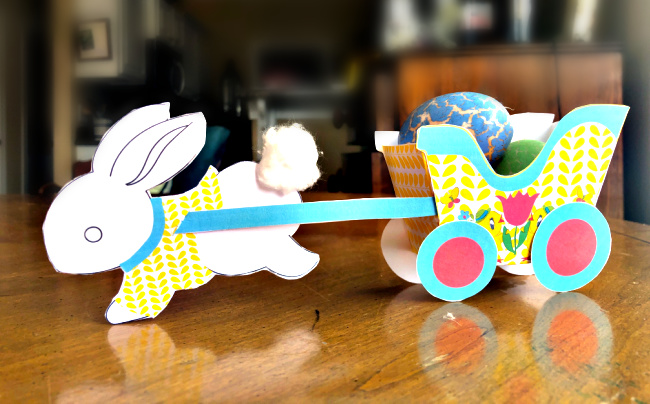
Isn’t this just the cutest? Add it to your centerpiece for Easter dinner or put a couple on your mantel. They’re sure to make people smile.
Leave a Reply