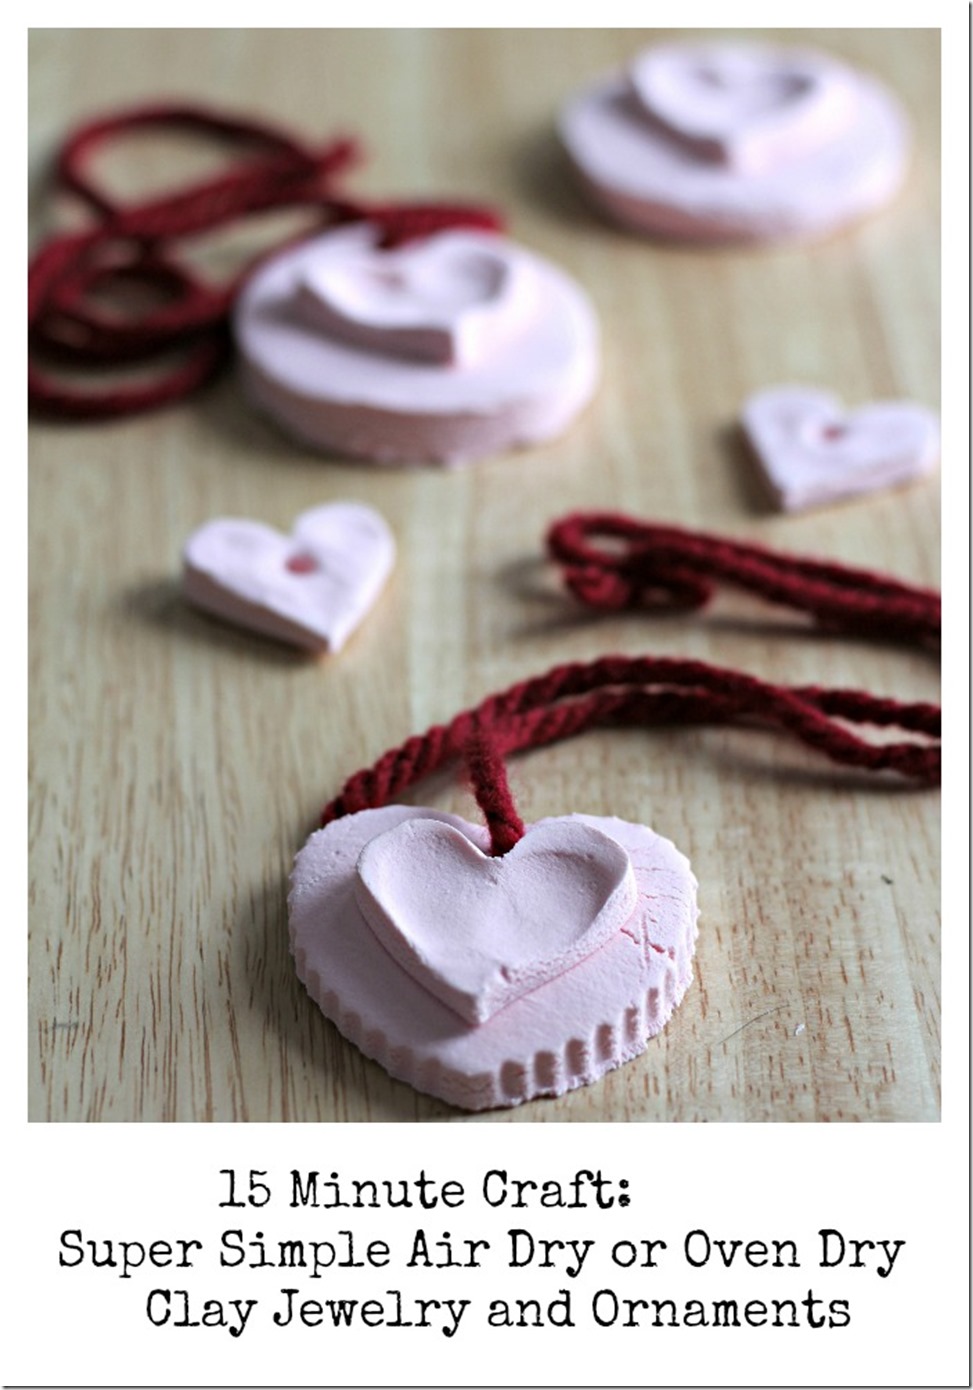
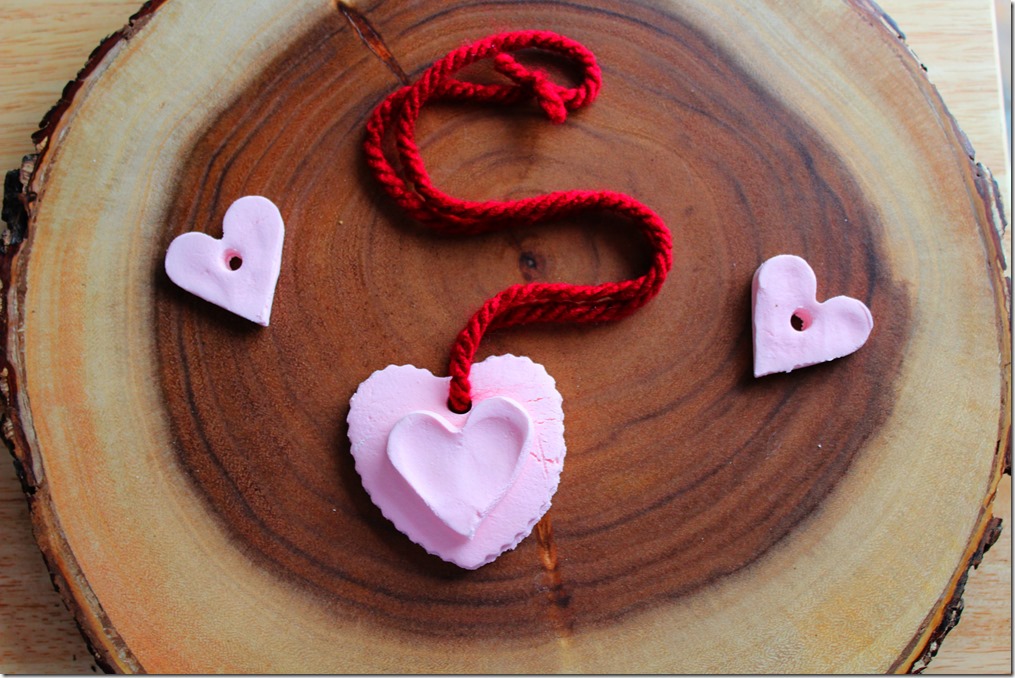
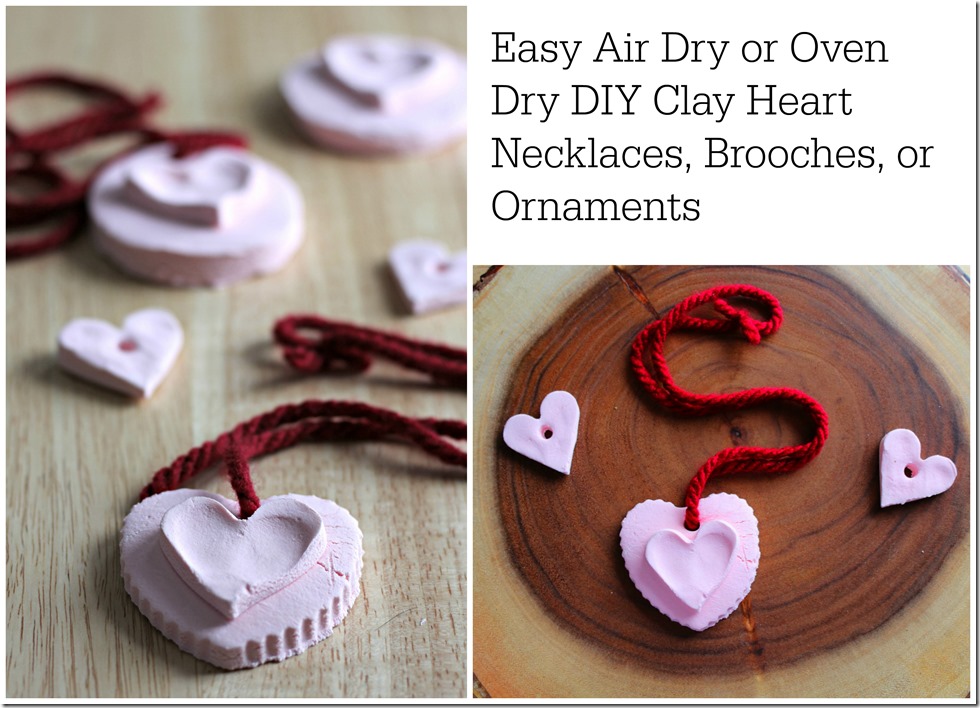
These DIY Air Dry Clay Necklaces, Brooches, and Ornaments are really easy and inexpensive to make. You can whip up a batch of them in almost no time! They make a great gift for Christmas, Mother’s Day, Valentine’s Day, and more.
What are your kids making for Valentine’s Day to give to their classmates? I’m sure in some families you buy those boxes of Valentines at the store and they fill them out and share them with their class but for my daughter, that wasn’t enough. I suppose it was from watching me make all sorts of crafts but she always felt like she had to go above and beyond a paper Valentine and make some sort of craft for her friends. My prerequisite was that it had to be simple, inexpensive and quick to make.
After all, if we were going to make 25 (give or take) of them, I didn’t want to spend days getting them done! Enter these DIY Air Dry Clay Necklaces, Brooches, and Ornaments. You can make a batch of them in under 15 minutes (minus drying time) and they are simple enough for preschoolers to help make. And because they only require a few inexpensive ingredients that you probably already have in your kitchen, you can make these for very little money!
IMPORTANT NOTE:
Although these are super quick and easy to make, you do need to allow for drying time. They can air dry (which can take 24-48 hours depending on how dry your house is) or you can dry them in a 175 degree F oven for about an hour.
Materials needed:
Baking soda, Cornstarch, Food Coloring (or you can paint these after they’re dry), A straw or skewer or something similar to poke a hole, Yarn, ribbon, or baker’s twine, a rolling pin, and cookie cutters (unless you want to freehand them). You’ll need pin-backs and glue if you’re making them into brooches.
Instructions:
Step One:
Add food coloring (if using) to 3/4 cup of water. Combine with 1/2 cup cornstarch and 1 cup baking soda in a saucepan over medium heat. Stir frequently for a few minutes until it begins to thicken up. It should look smooth but still won’t be thick enough to use as a clay. I’d liken it to more of a paste at this point. Remove from heat and put it into a bowl to cool. Cover the bowl with a damp cloth or some plastic wrap.
Step Two:
When it’s cool enough to handle, remove from the bowl and knead it until it’s a soft and smooth clay. Add more cornstarch as needed to keep it from sticking to the surface you are kneading it on and to form the consistency of a dough. I actually found that I had to add quite a bit more cornstarch at this stage – perhaps 1/3 of a cup more – so don’t worry if the clay doesn’t seem clay-like when you first begin kneading it. It will take on the right texture and consistency and make for an amazing clay you can work with.
Step Three:
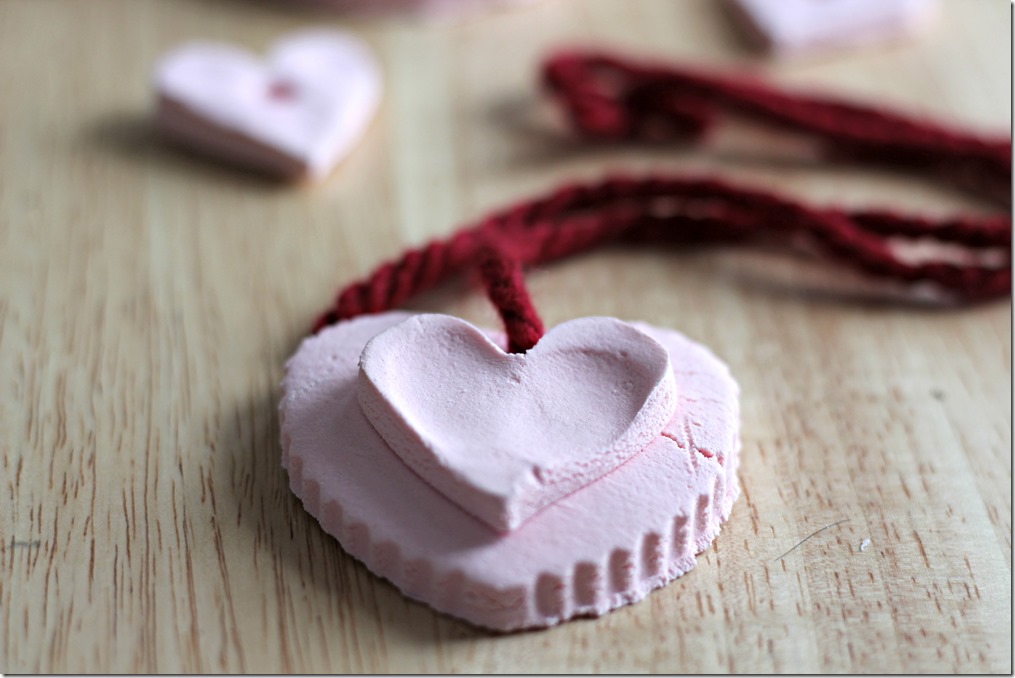
Now, roll the clay out to about 1/4 inch thick, Some of mine are a bit thicker than that and they are quite heavy for jewelry. The thicker it is, the longer it takes to dry too! Use cookie cutters to cut out the shapes you want. As you can see, I made some plain little hearts but I also made some “double decker” pieces as well. A heart on top of a bigger heart and a heart on top of a circle. As long as you put these pieces together before leaving them to dry, they will stick together quite nicely. A fun added touch for the little hearts is to have your child press their fingerprints, first one on one half of the heart and then on the other. It’s a sweet little personalization that makes it extra special. Oh and if you want to, you can accentuate the fingerprints with some gold or silver paint to make them stand out.
Final Touches:
Don’t forget to poke a hole in each of your creations if you want to use them as necklaces or ornaments. Air dry or dry in the oven as per instructions above. They need to be turned over after half an hour in the oven and at least 3-4 times if air drying so that they dry evenly.
That’s it. You could personalize them with a paint pen if desired or give them as is. Easy peasy, right?
If you’re looking for more great quick and easy Valentine’s Day craft ideas, just click on the image above! Some of my favourite craft bloggers are taking part in this week of Craft Lightning and there are sure to be tons of fantastic tutorials!


Angie Holden says
Love those! Thanks for joining!
Ilse Verhoeven says
Lovely!
Maybe you can join in the weekly linkparty on my blog too?
You have cool crafts to share and on my Belgian blog you can maybe find some new readers for your blog too?!
This weeks’s prompt is Frozen.