Today is my Mom’s birthday. Her favorite flower was daisies so in memory of her, I wanted to share this adorable crocheted daisies tutorial. Mom would have been all over this pattern!
I’ve always liked daisies but now that she’s gone, I find myself drawn to them more and more. I have some of her daisy items now and keep them where I can see them every day. They never fail to bring a smile to my face.
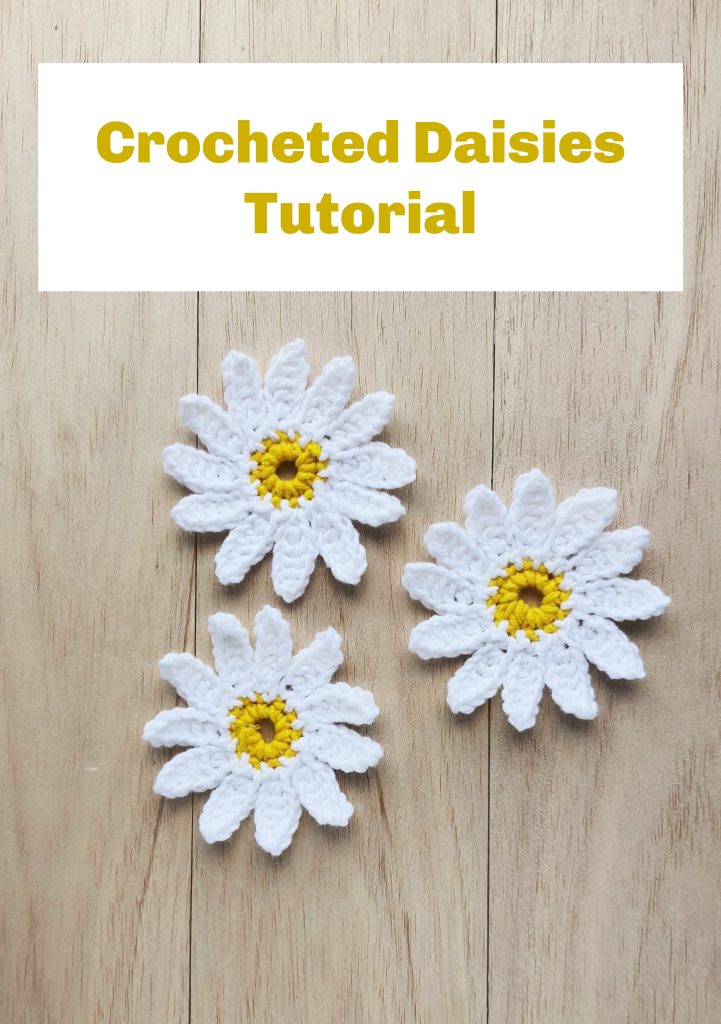
Be sure to pin this crocheted daisy tutorial so you can refer back to this crochet pattern later.
Crocheted Daisy Tutorial
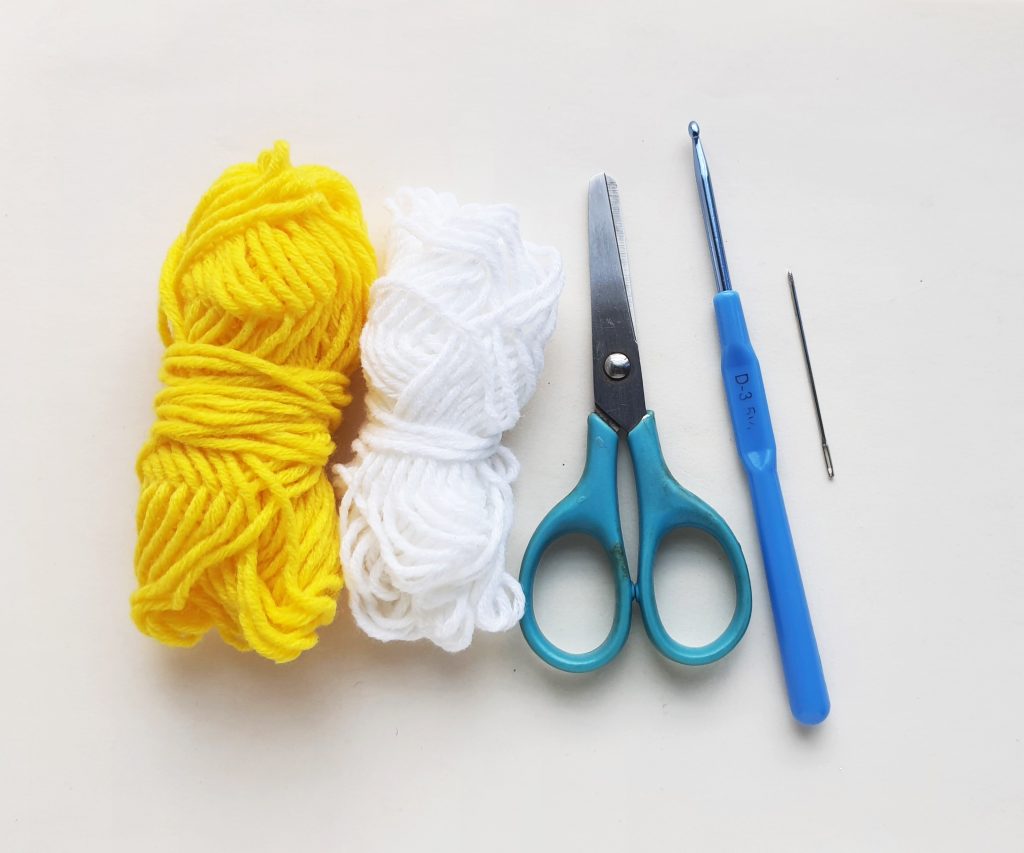
Supplies Needed:
- Crochet hook – 3.5
- Yarn – light or medium light
- Scissors
- Tapestry Needle
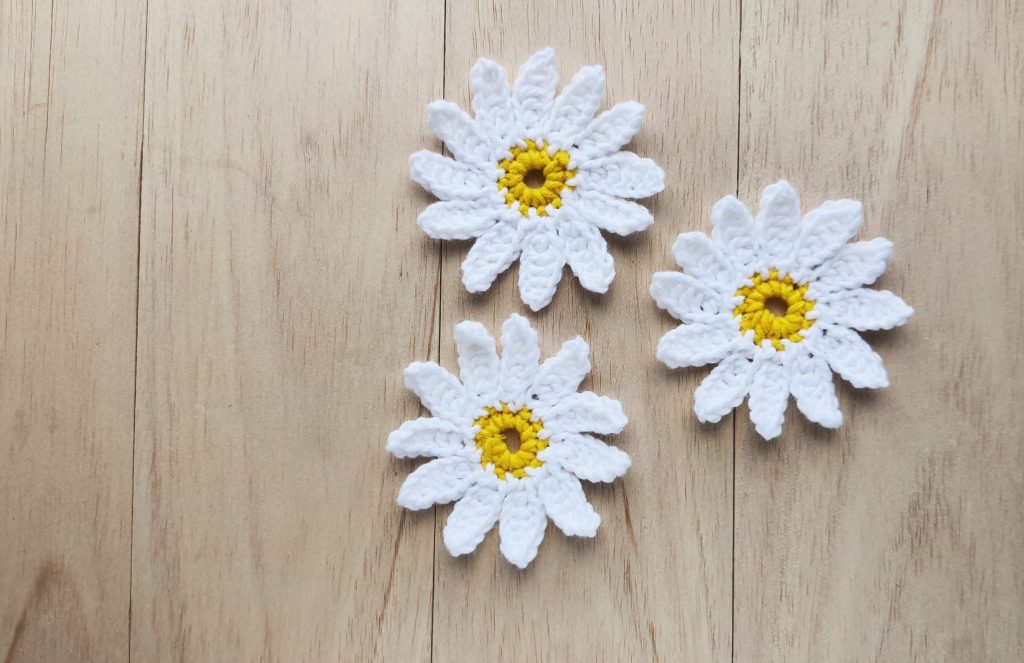
Step-by-Step Instructions:
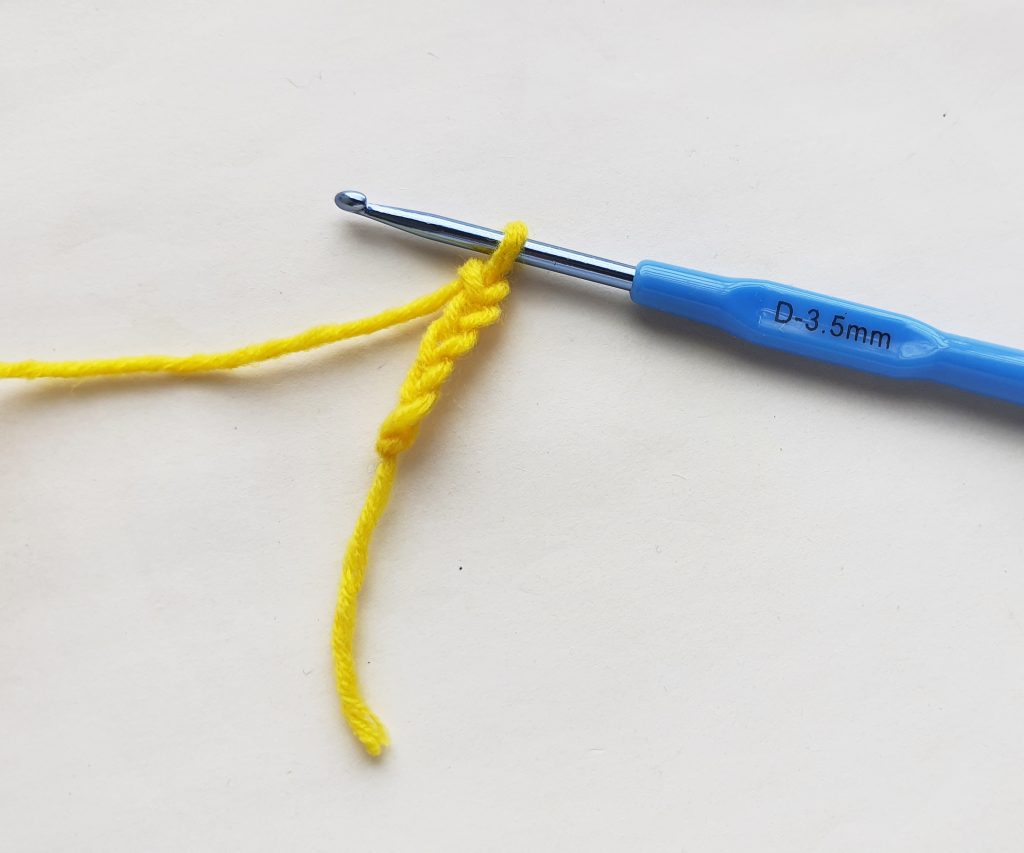
Step 1:
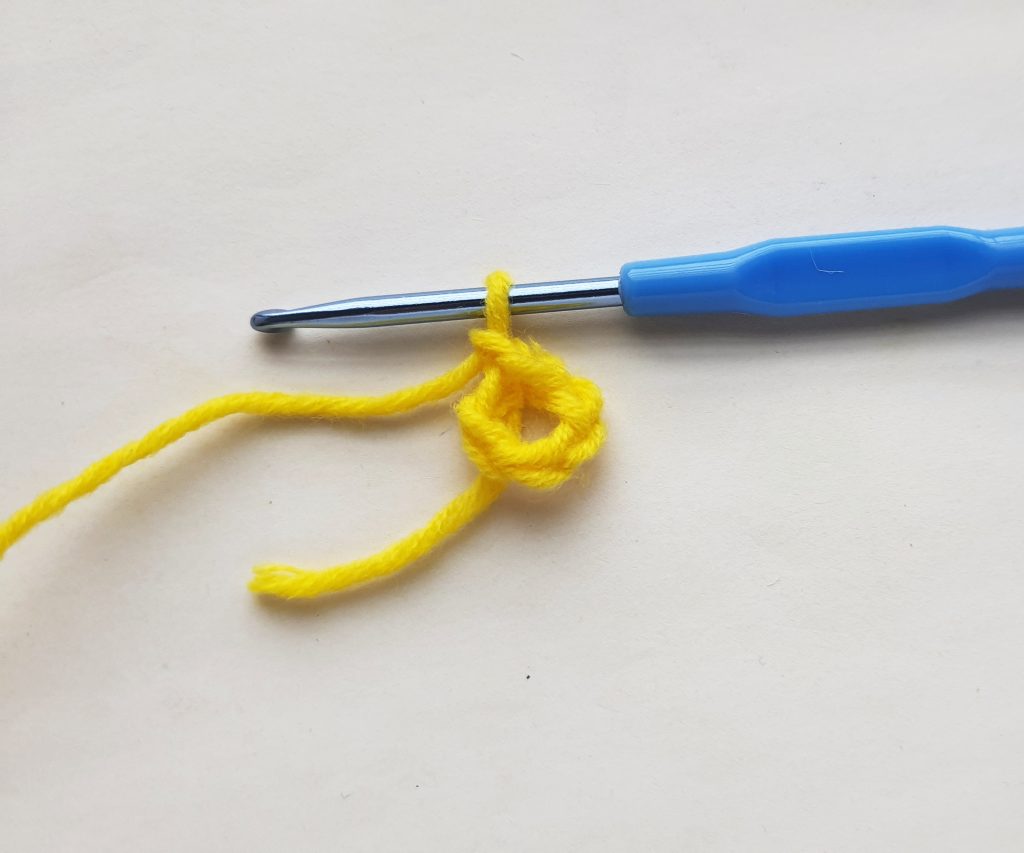
Select yellow yarn for the center of the crochet daisy pattern. Start with a slip knot and then chain 5.
Step 2:
Form a ring with the 5 chain stitches by working a slip stitch through the first chain (the slip knot).
Step 3:
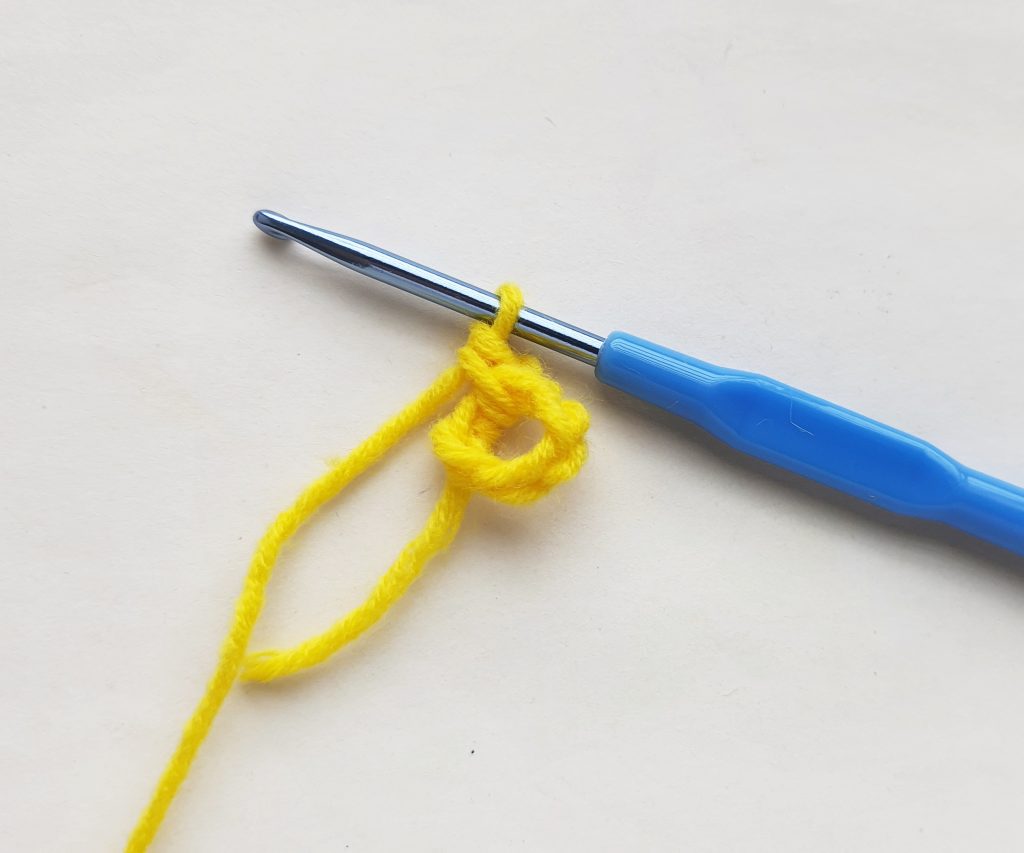
Work a SC (Single Crochet) through the ring.
Step 4:
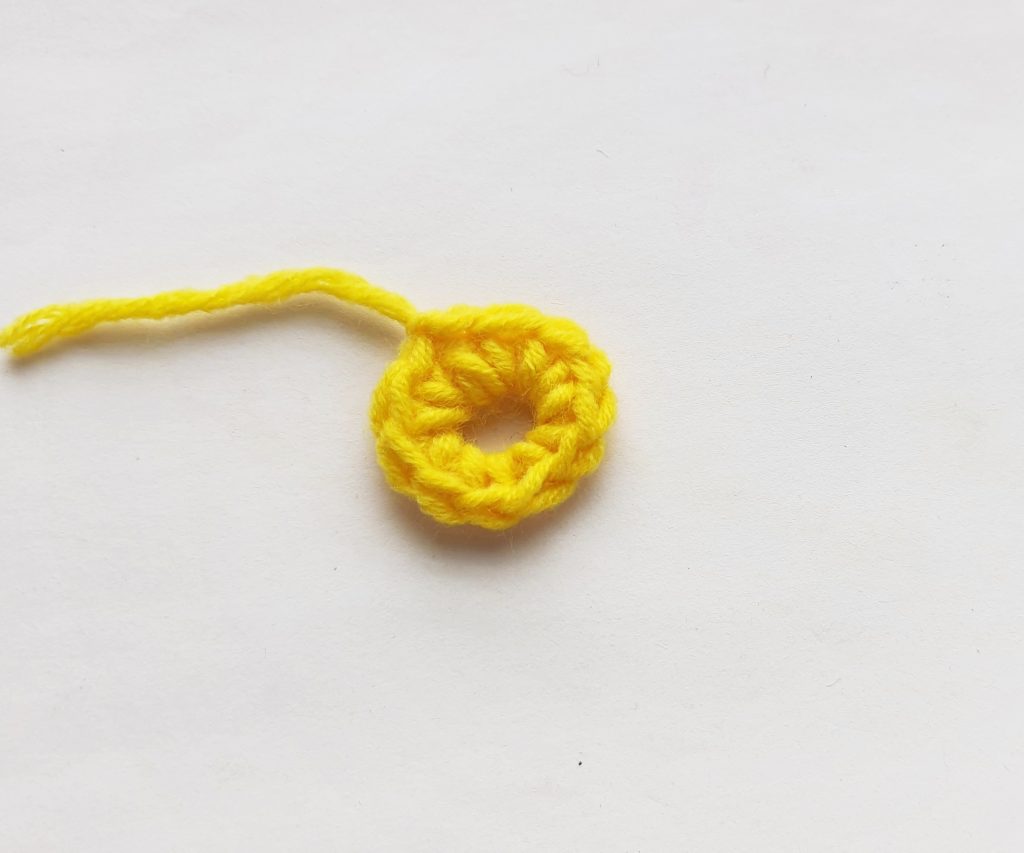
Work a total of 12 SC through the ring. Work a slip stitch through the first SC after working the 12th SC. Pull out a few inches of the yellow yarn and then cut off the yarn from the bundle.
Step 5:
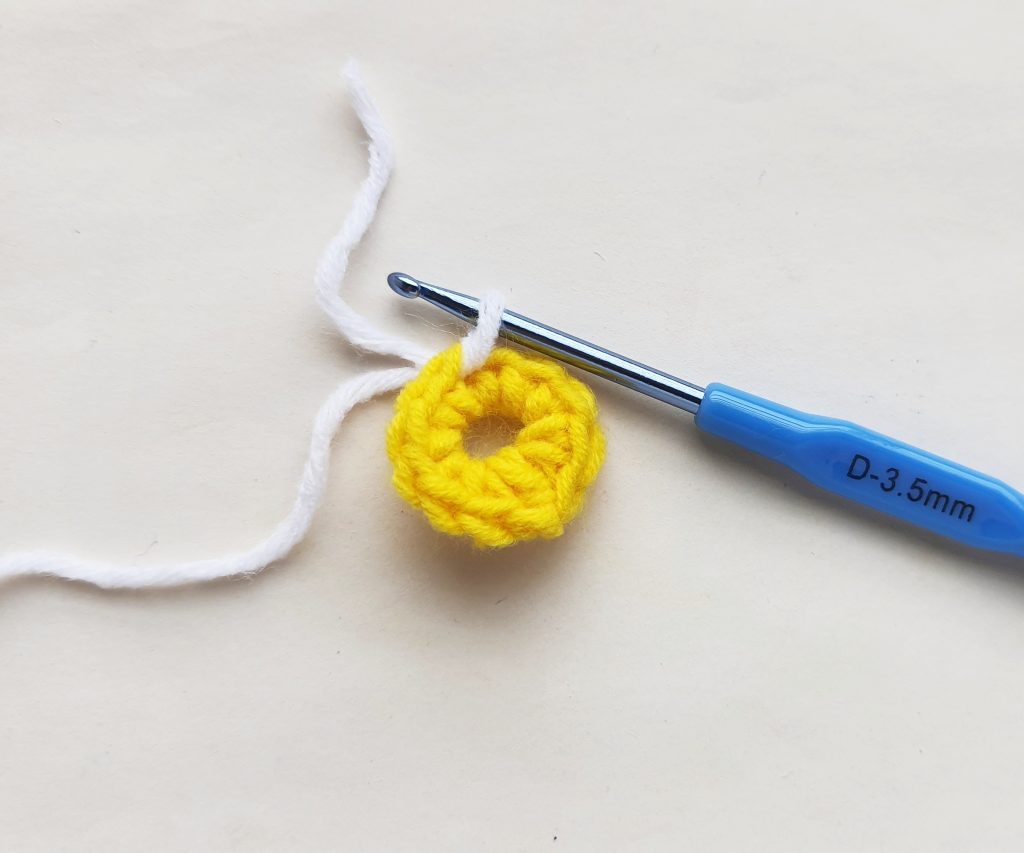
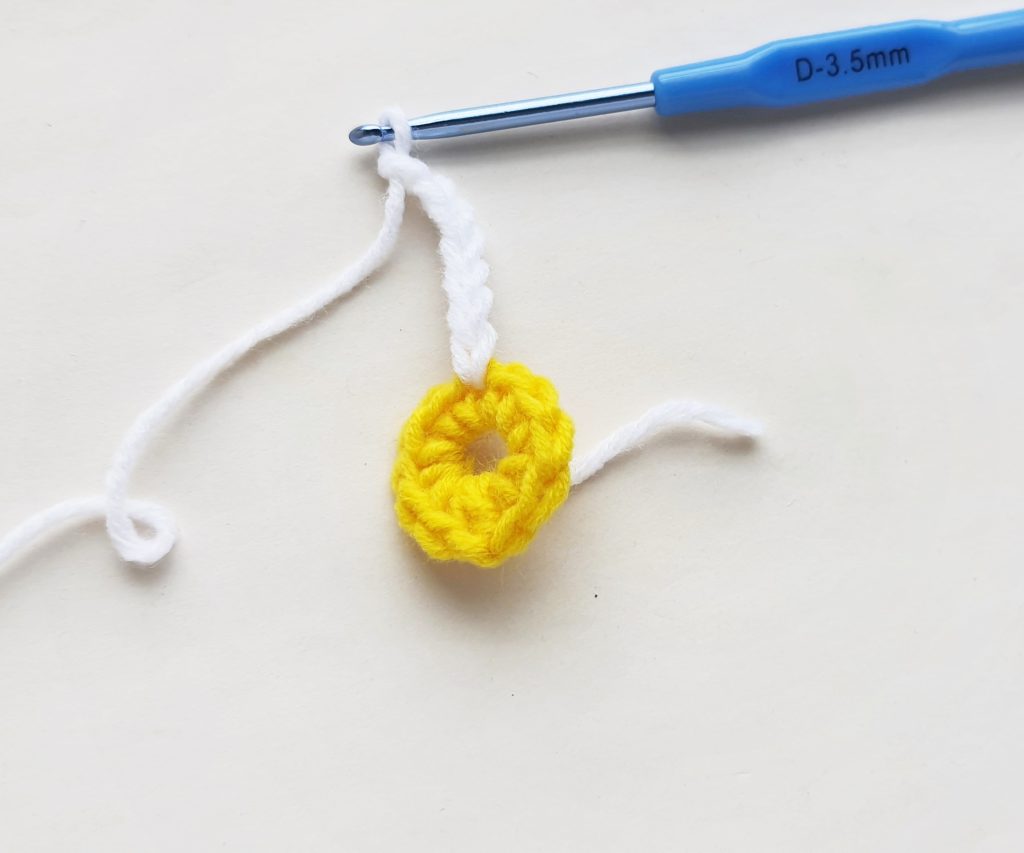
Select white yarn. Make a slip knot and then pull the slip knot through any chain (top chain of the yellow SC).
Step 6:
Now, work 7 chain stitches.
Step 7:
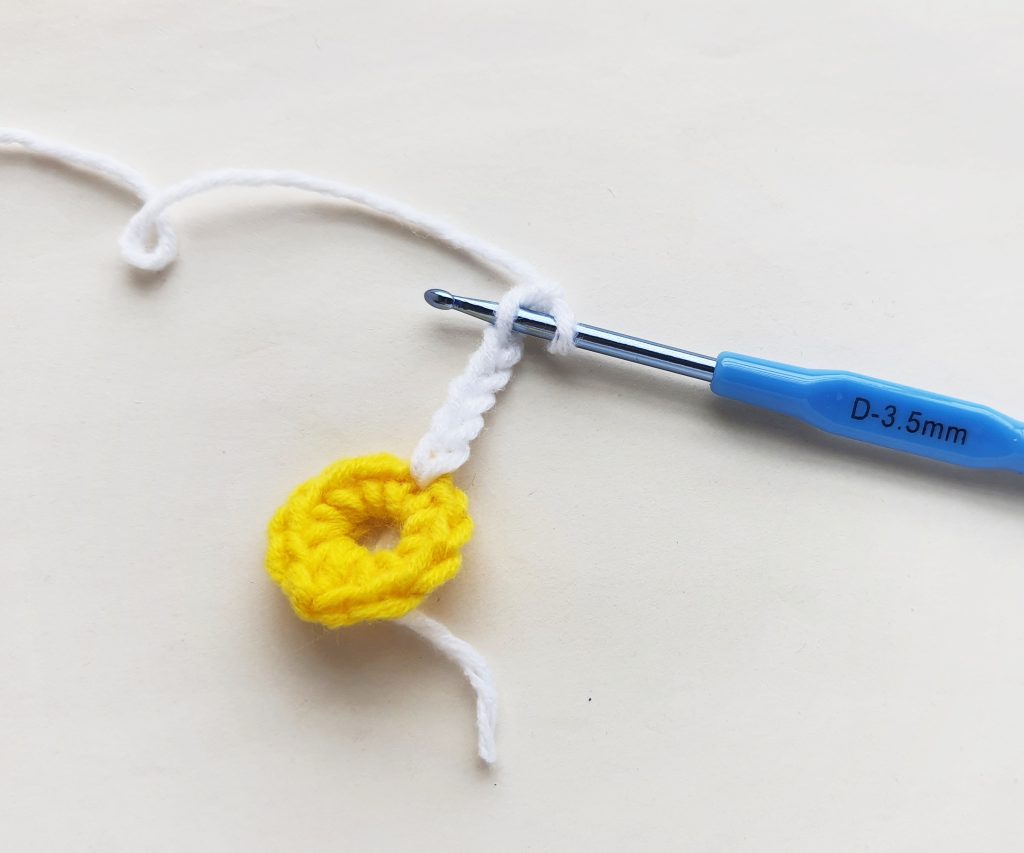
Keeping the hook on the 7th chain, skip the 6th chain, and then insert the hook into the 5th chain.
Step 8:
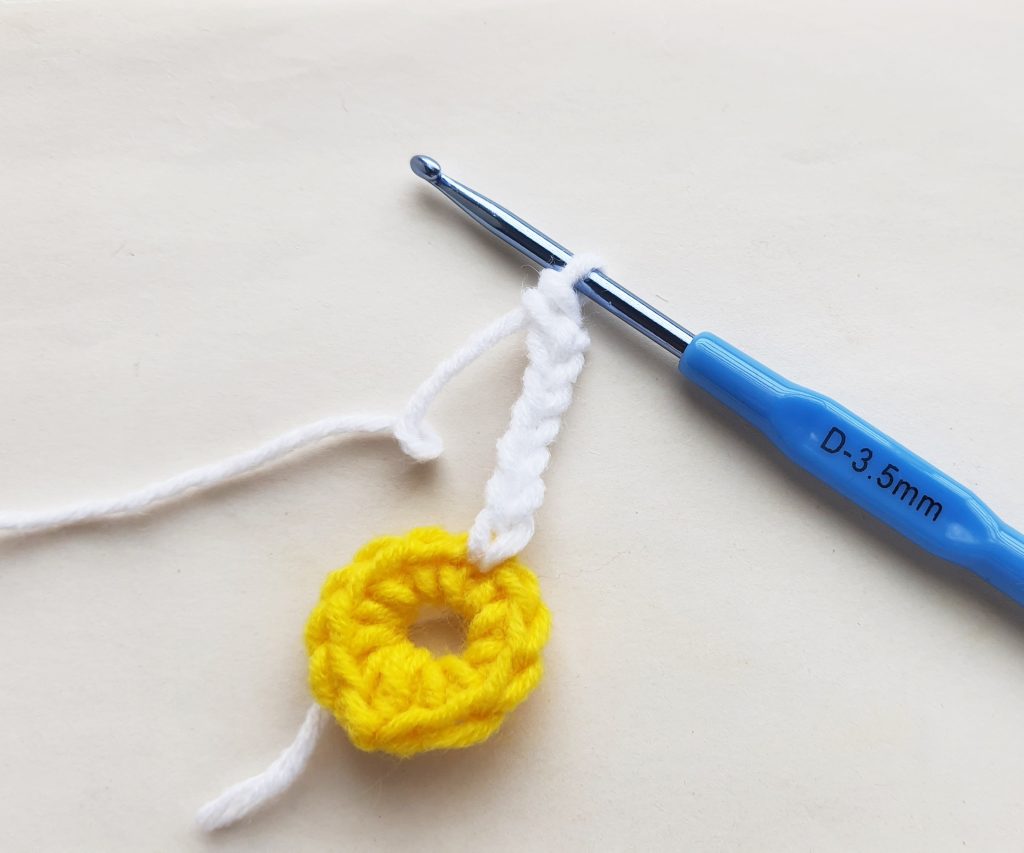
Work a SC through the 5th chain.
Step 9:
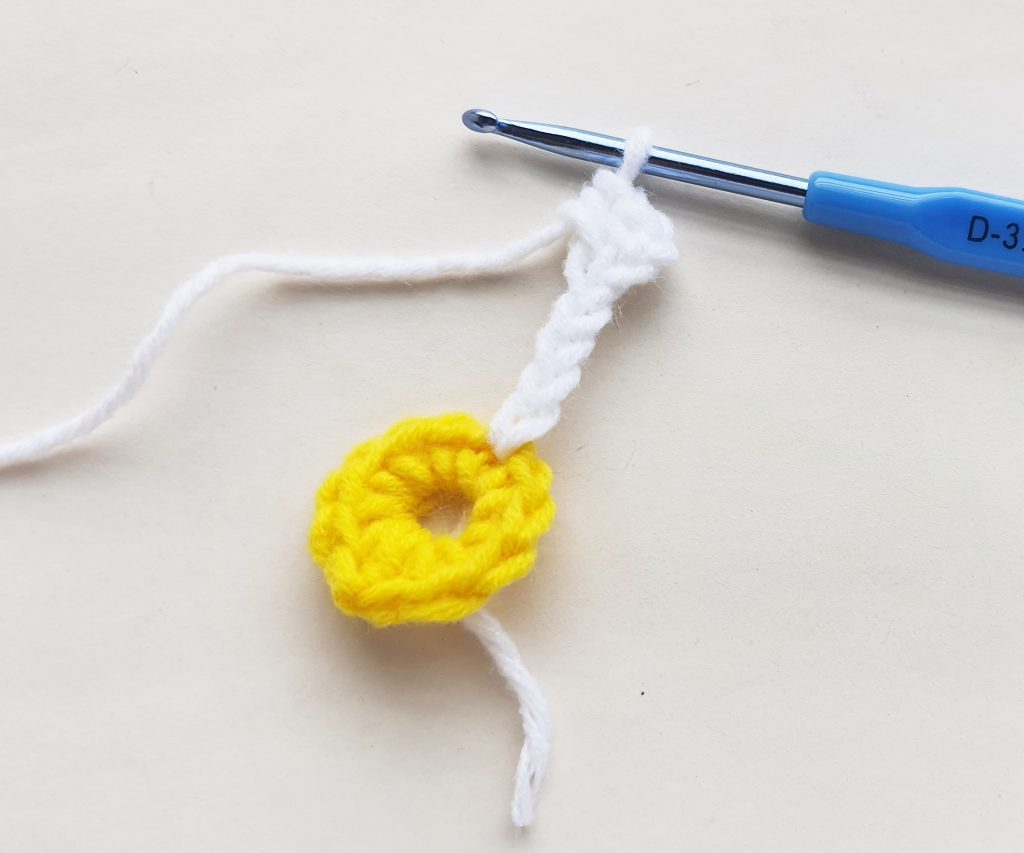
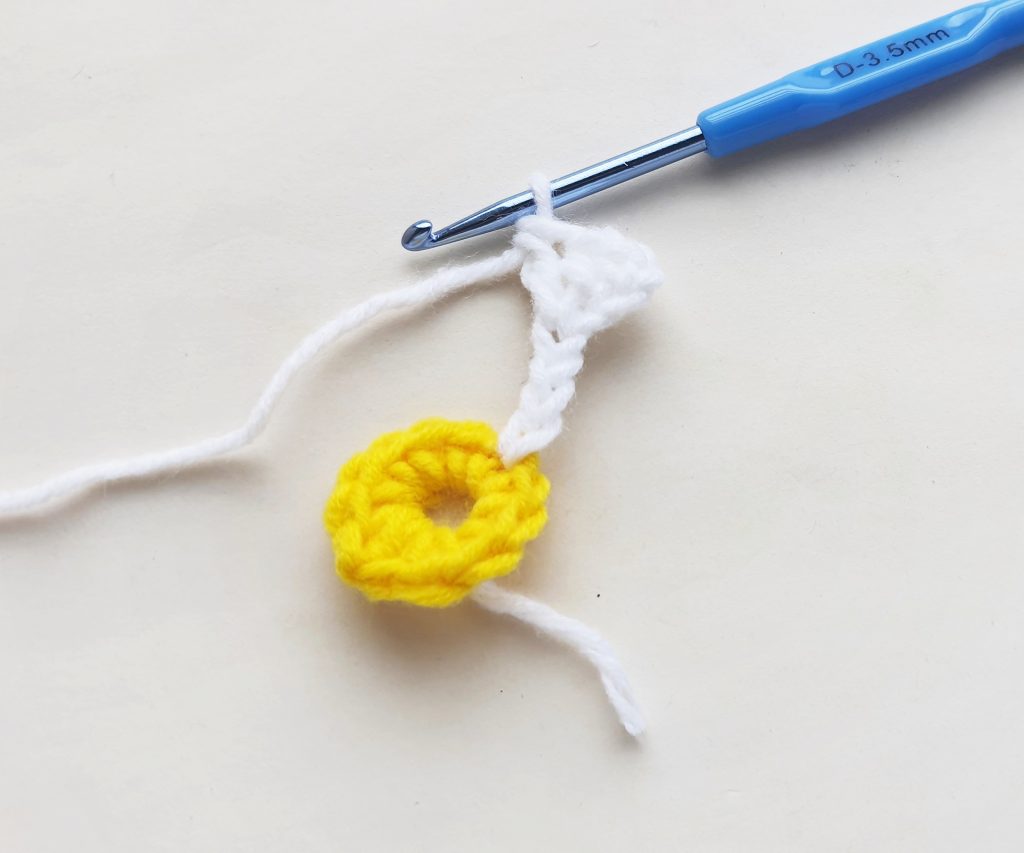
Work a HDC (Half Double Crochet) through the next chain.
Step 10:
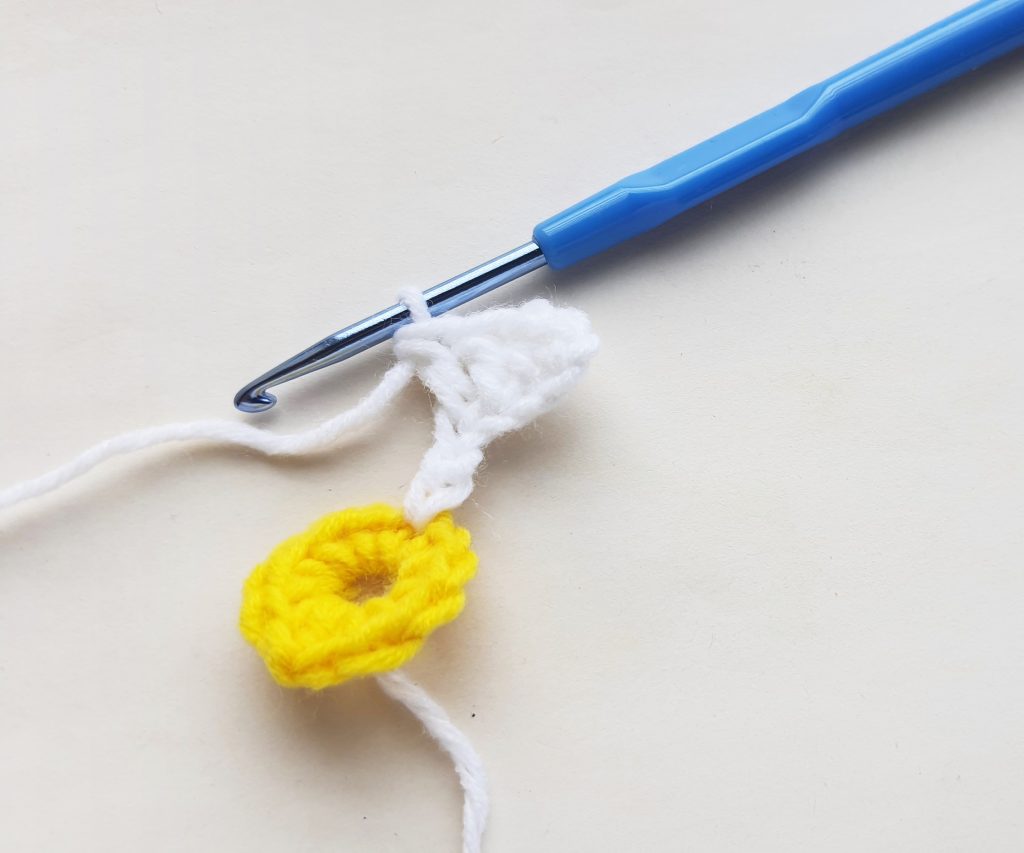
Work a DC into the next chain.
Step 11:
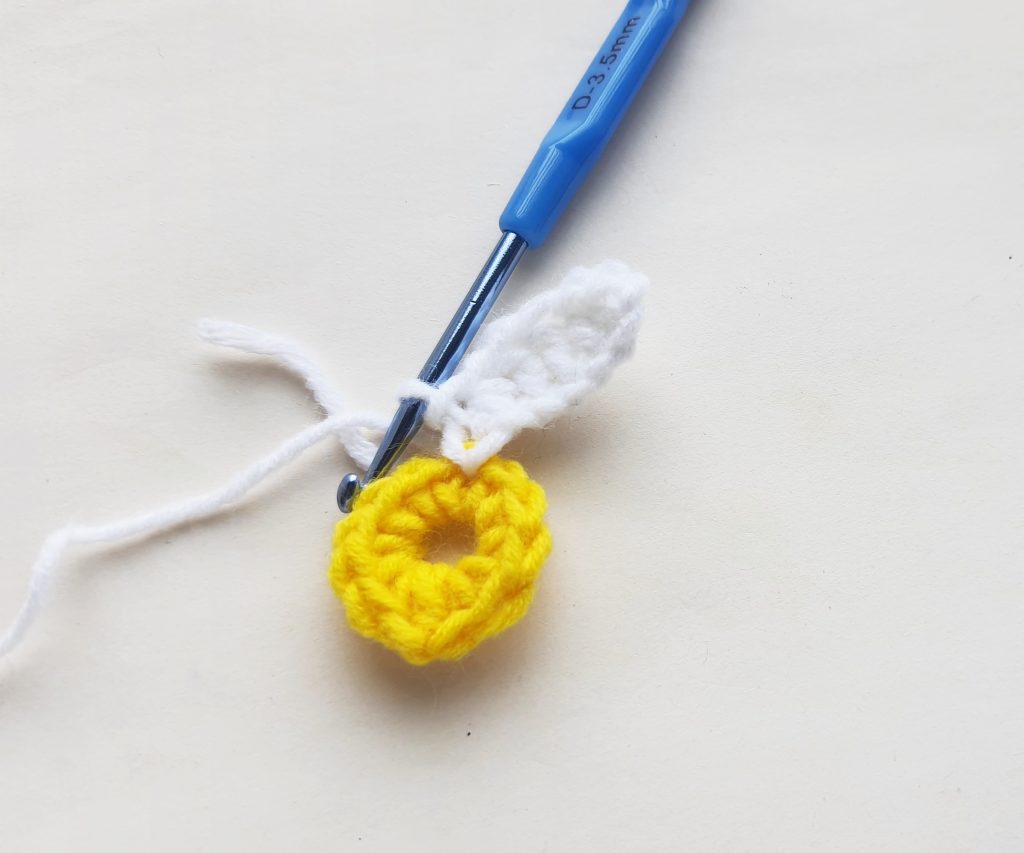
Work another DC into the next chain.
Step 12:
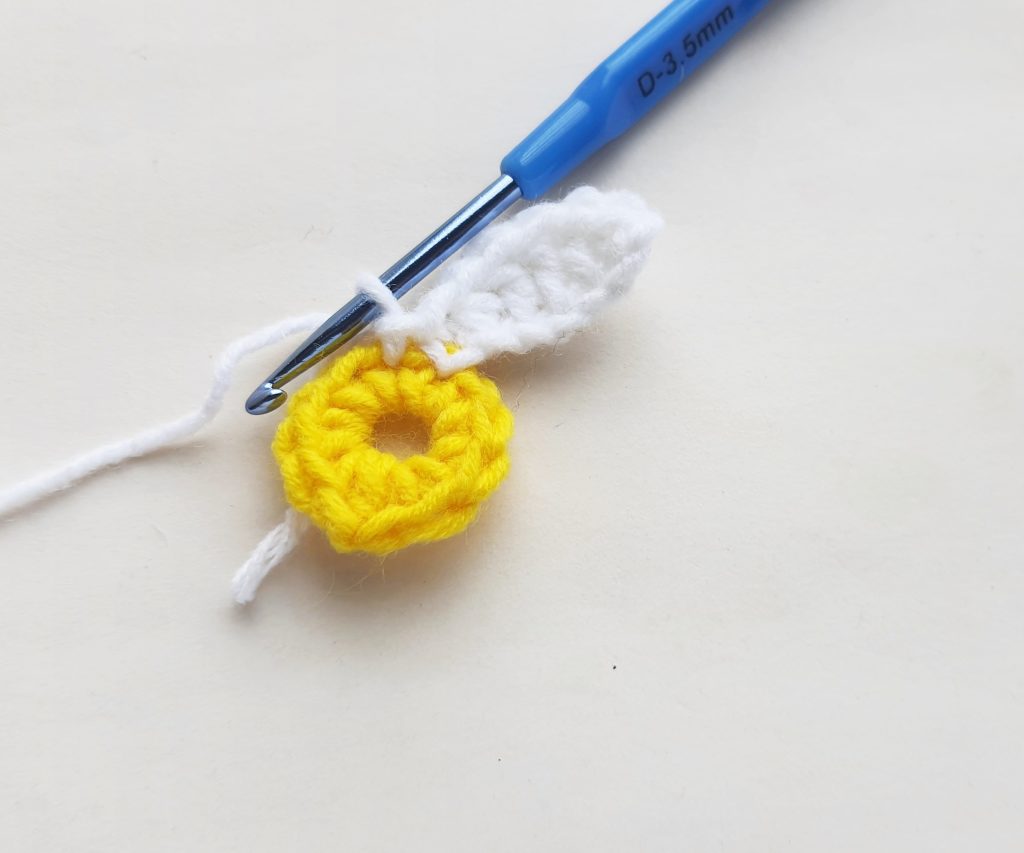
Work a HDC into the next chain and a SC into the next chain, which should be the last chain stitch of the petal base.
Step 13:
Work a ST (Slip Stitch) into the next chain of the ring (yellow ring).
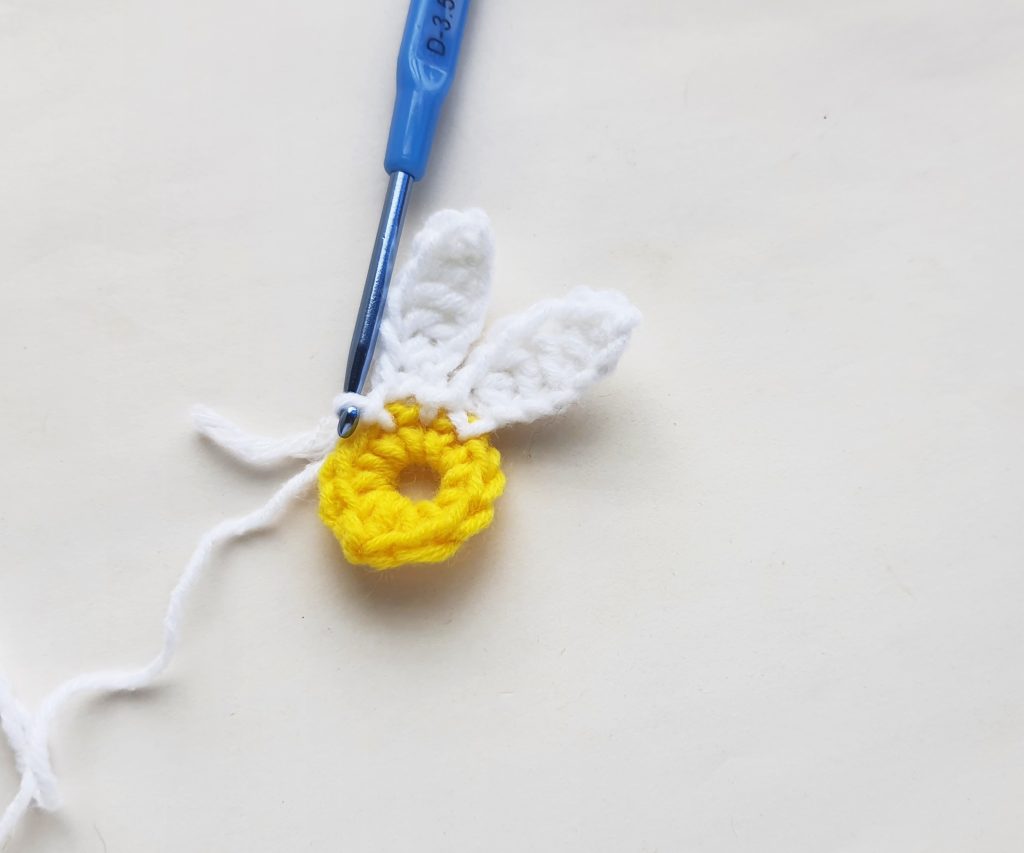
Step 14:
Similarly, crochet the next petal.
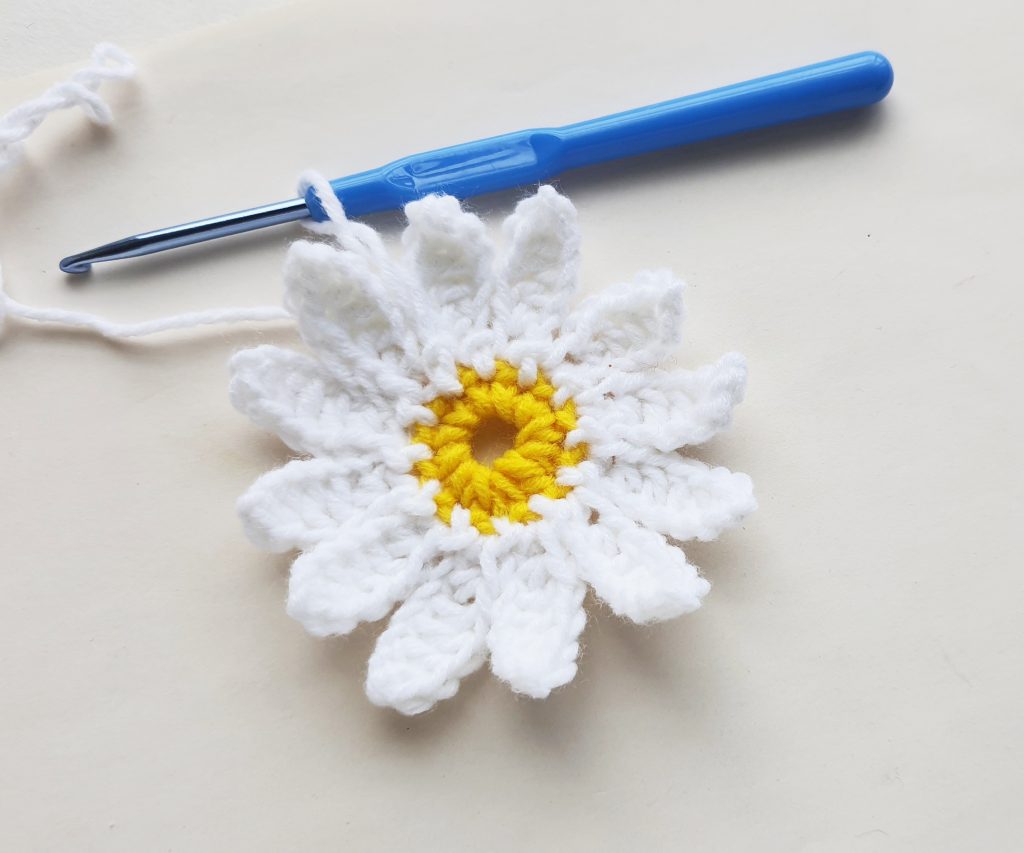
Step 15:
Continue to crochet petals (there should be a total of 12 petals) until your hook reaches the first petal. Finish the crochet with a slip stitch and then pull out a few inches of the yarn.
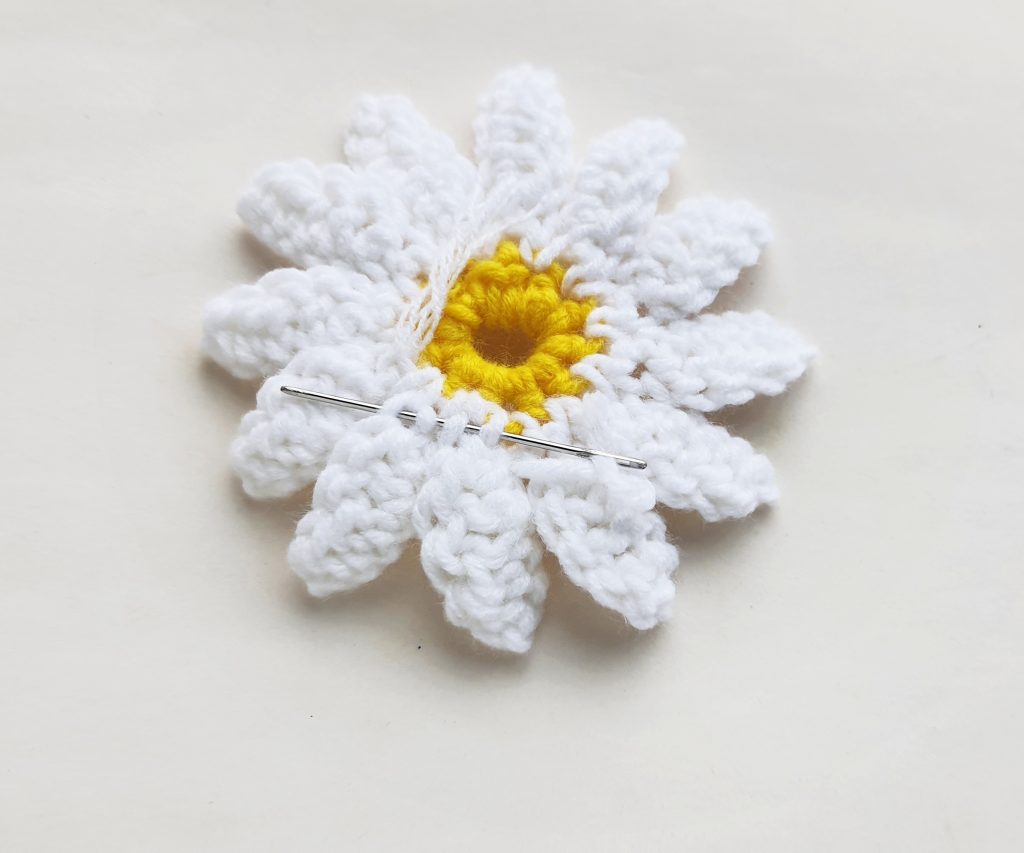
Step 16:
Cut off the yarn from the bundle (leaving a few inches extra). Attach a tapestry needle with the open end of the yarn and work running stitch on the backside of the daisy pattern.
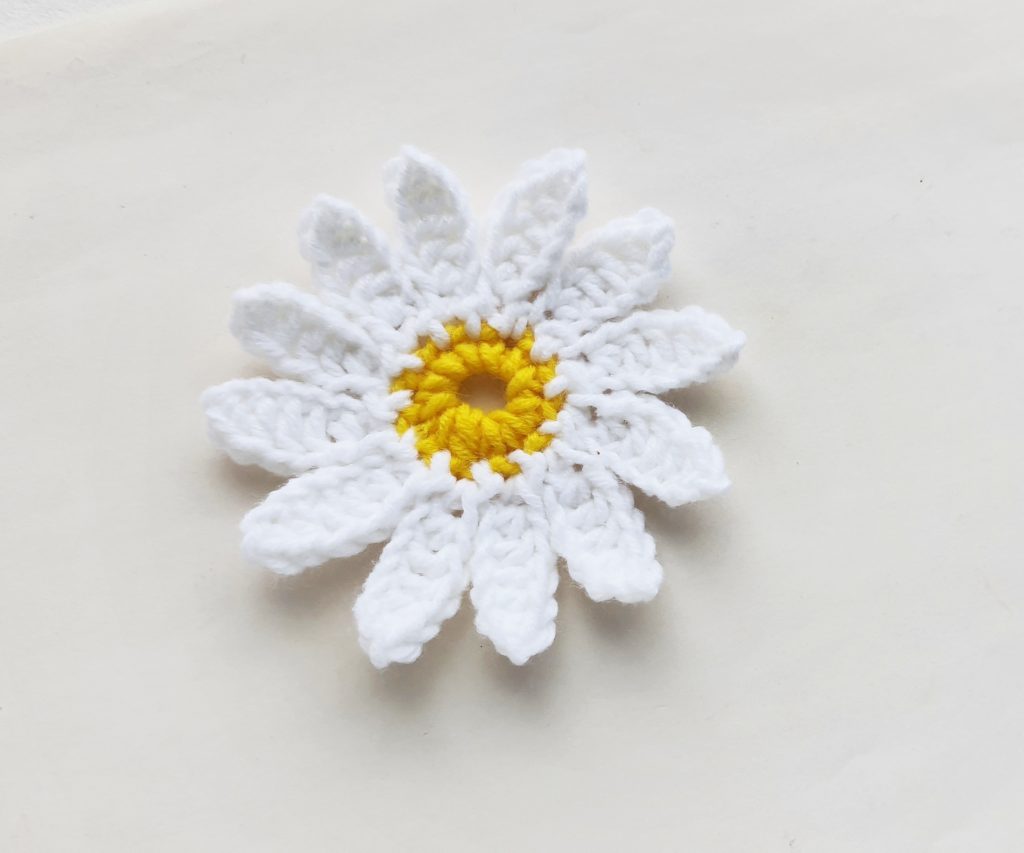
Step 17:
After stitching the remaining yarn on the backside of the daisy pattern, cut off extra yarn (if necessary).
You can add these to a sweater as a little decorative touch, add a pin-back on the back to turn it into a brooch, attach to a headband, or find so many other ways to use these adorable little daisies.
Leave a Reply