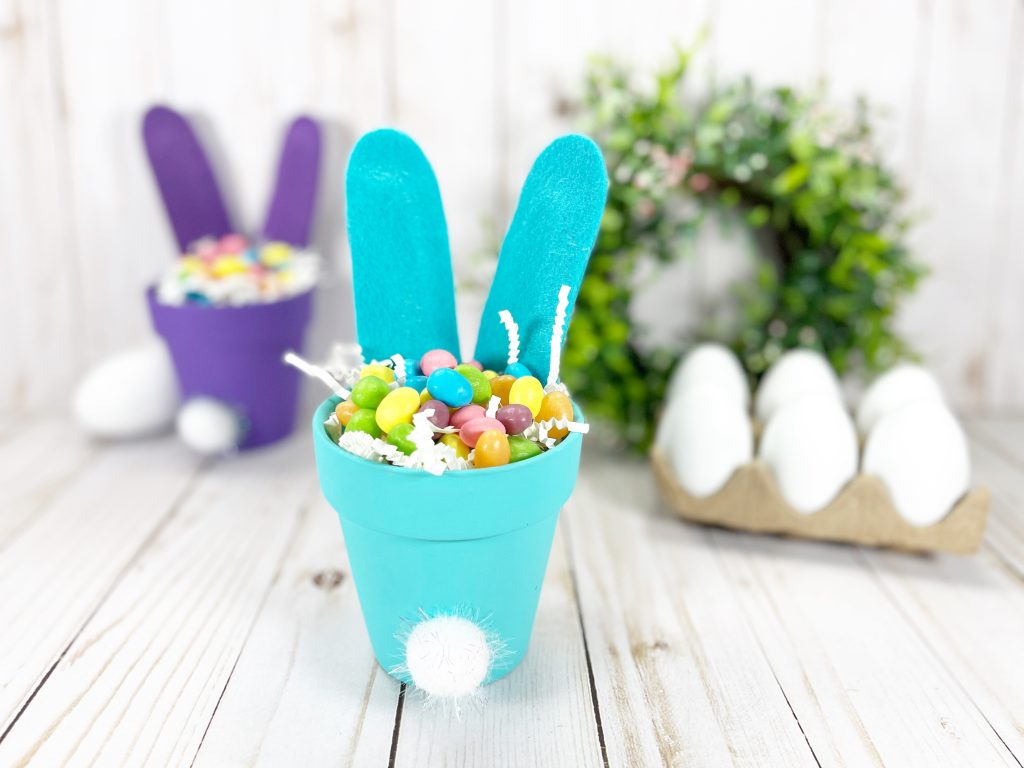
Simple mini clay pots from the Dollar Store along with paint, felt, pom poms, and chenille stems are easily transformed into a pair of Clay Pot Easter Bunny Treat Cups just in time for spring.
Make these to tuck into Easter baskets or use at each person’s place setting for Easter dinner. They’re simply adorable and quick and easy to make!

Dollar Store Clay Pot Easter Bunny
Supplies Needed:
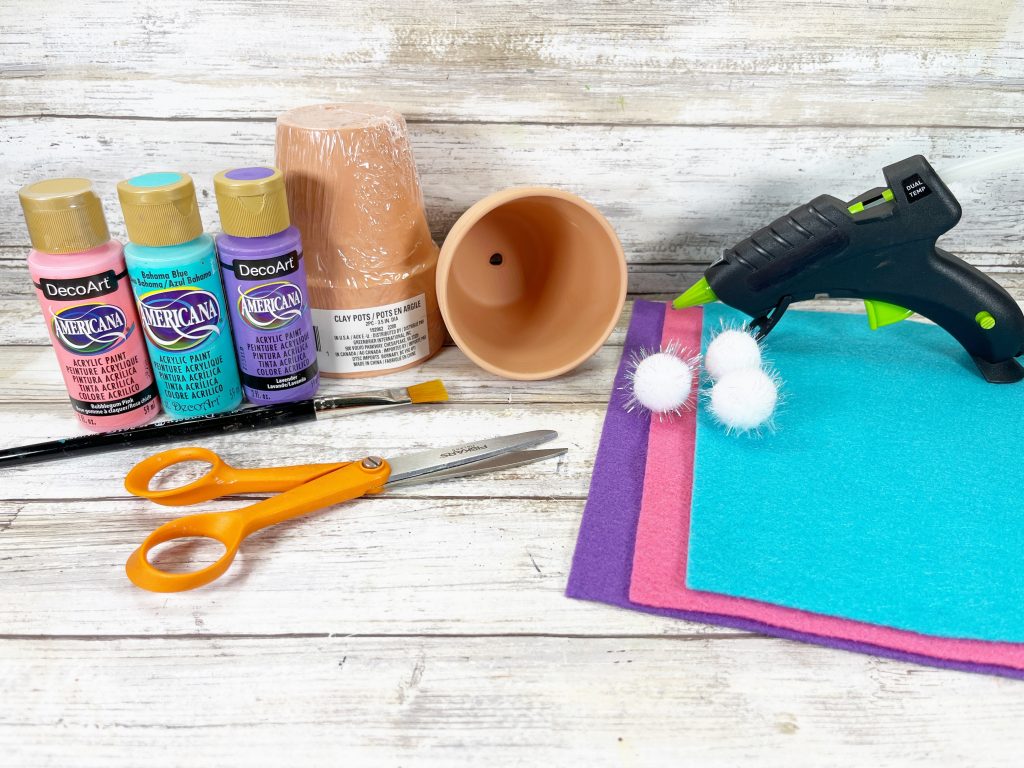
You can find most if not all of these supplies at your local dollar store! This is a really inexpensive kids’ craft so it’s perfect for large groups.
- Dollar Store Clay Pots – 2.5” in diameter – Dollar Store
- Acrylic Craft Paint – Blue, Pink, Purple
- Craft Felt – Blue, Pink, Purple
- Chenille Stems, White – Dollar Store
- Pom Poms, White Tinsel – Dollar Store
- Shredded Paper – Dollar Store
- Candy – Dollar Store
- Glue Gun and Glue Sticks
- Scissors
- Paintbrush
- Marker – Black
- CLAY POT BUNNY PATTERN
Instructions:
STEP ONE
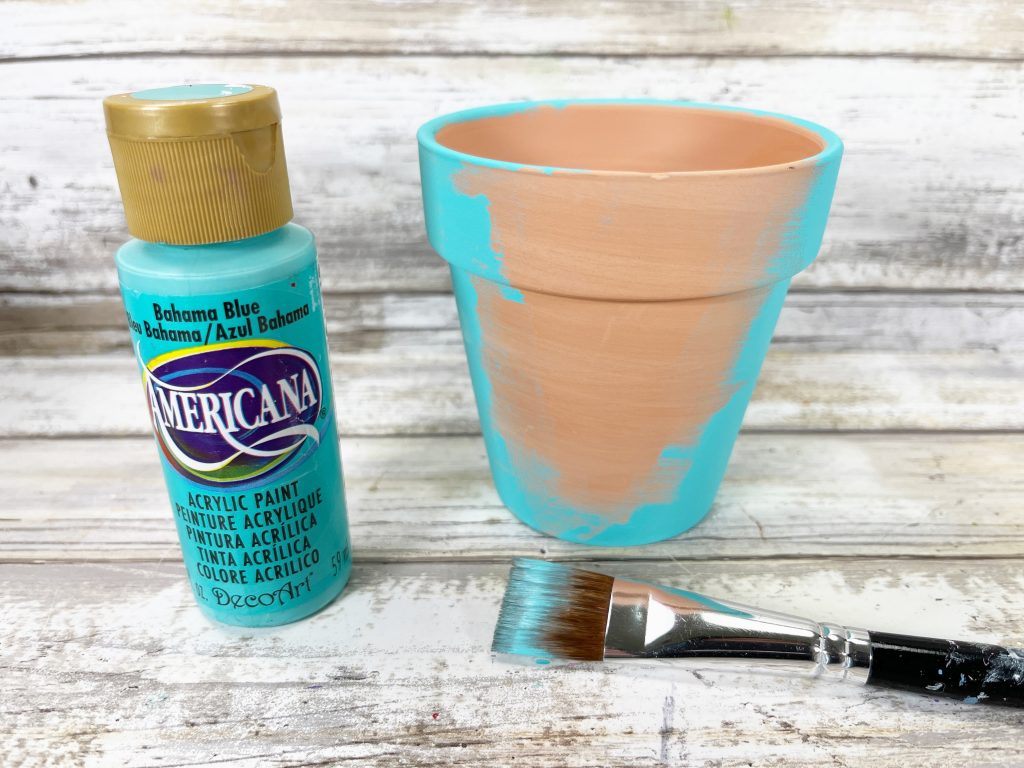
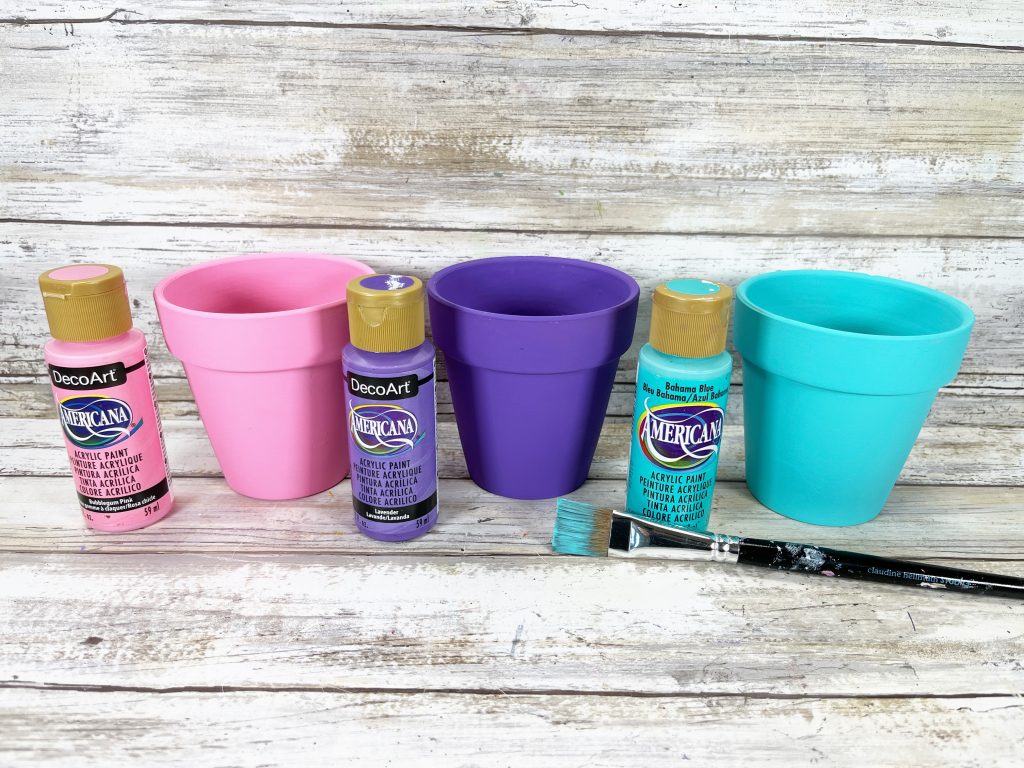
Gather all materials and then remove the packaging and labels. Basecoat the inside and the outside of the 2.5” clay pots with blue, pink, and purple acrylic craft paint. Let the paint dry and then apply a second coat, if necessary.
STEP TWO
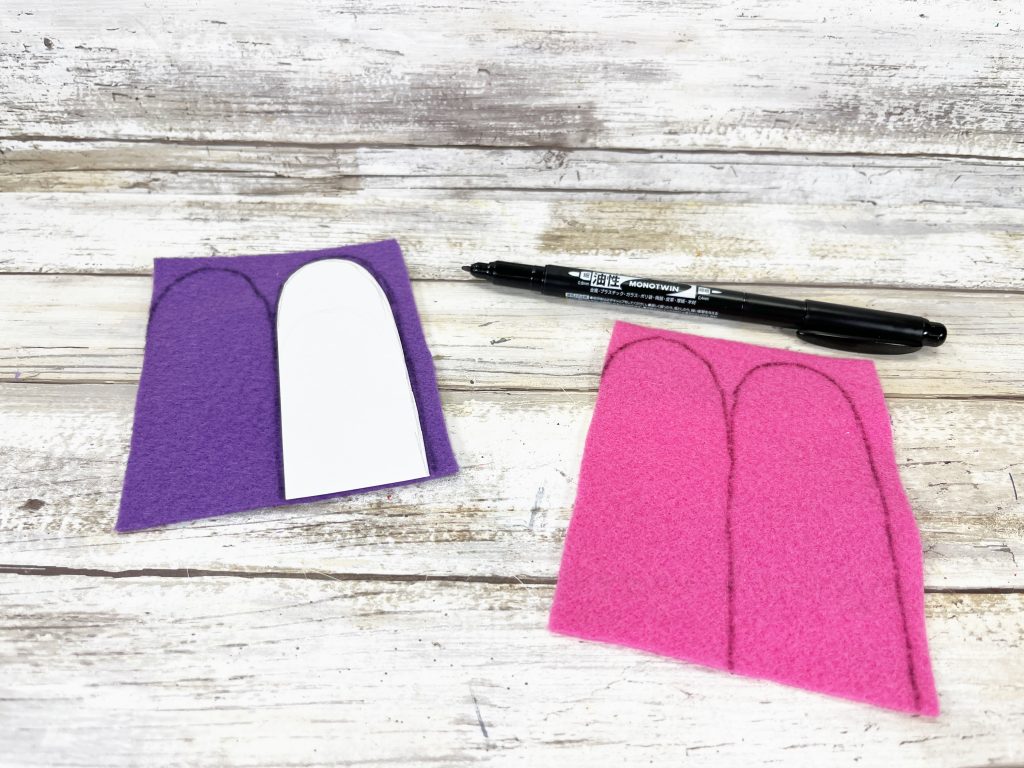
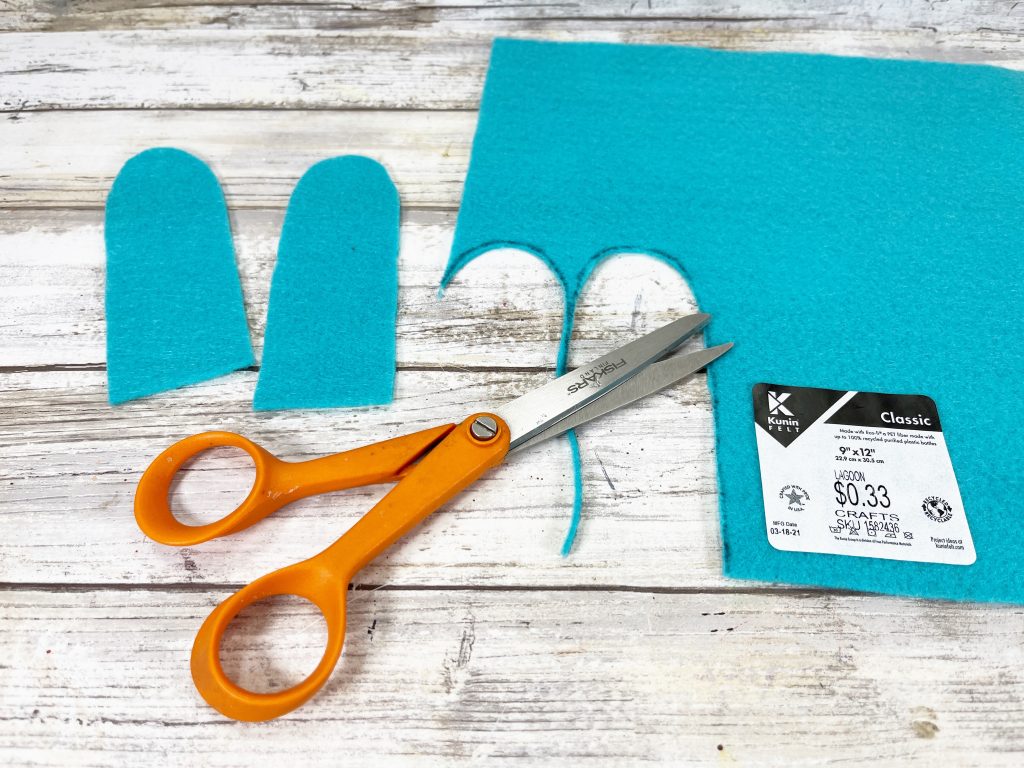
Download and print the CLAY POT BUNNY PATTERN on paper. Cut out the ear pattern with scissors. Trace the ear pattern onto the blue, pink, and purple craft felt four times each.
Cut out all ear patterns with scissors. Make sure to cut inside the traced lines, so you end up with a clean, finished project.
STEP THREE
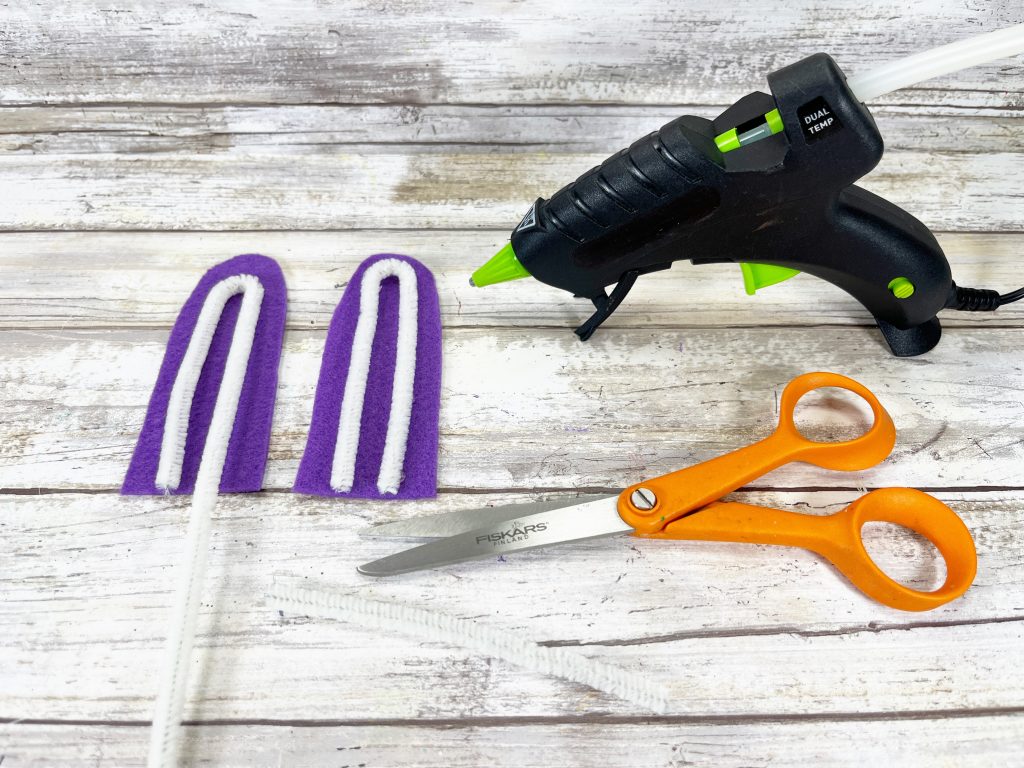
To create the bunny ears, bend a white chenille stem into a “U” shape and attach it to the craft felt ear with a glue gun and glue sticks. Trim the ends of the chenille stem with scissors. Repeat for the second ear.
PRO TIP: Craft foam or cardstock would also work for this project so you can use what you have on hand.
STEP FOUR
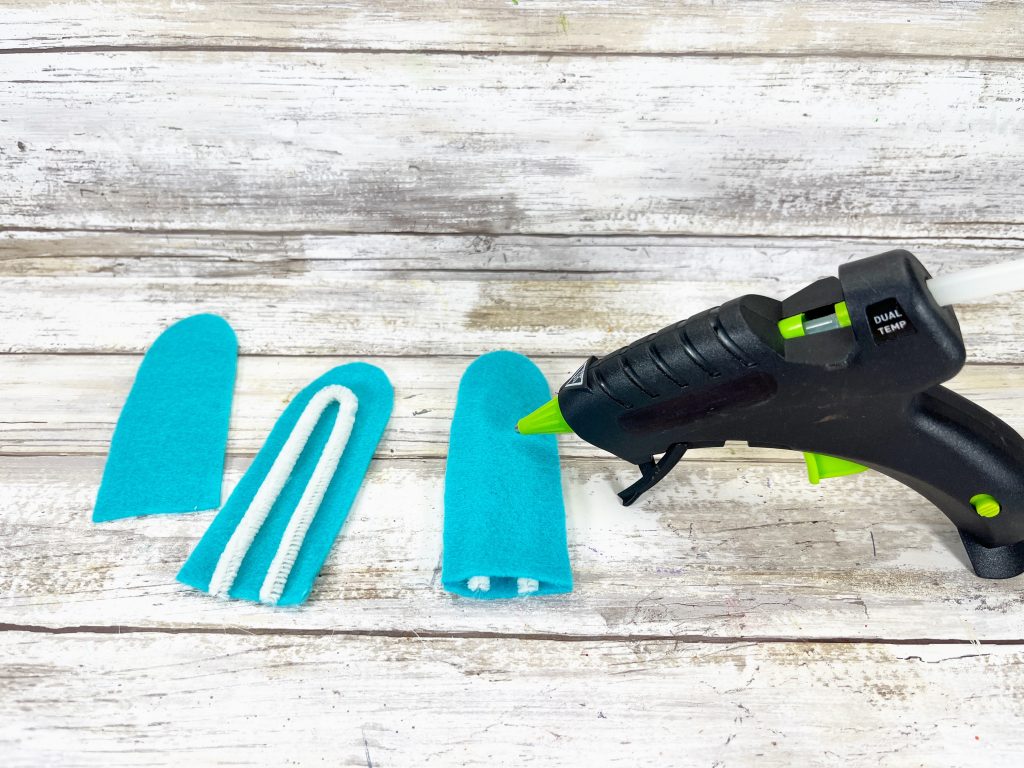
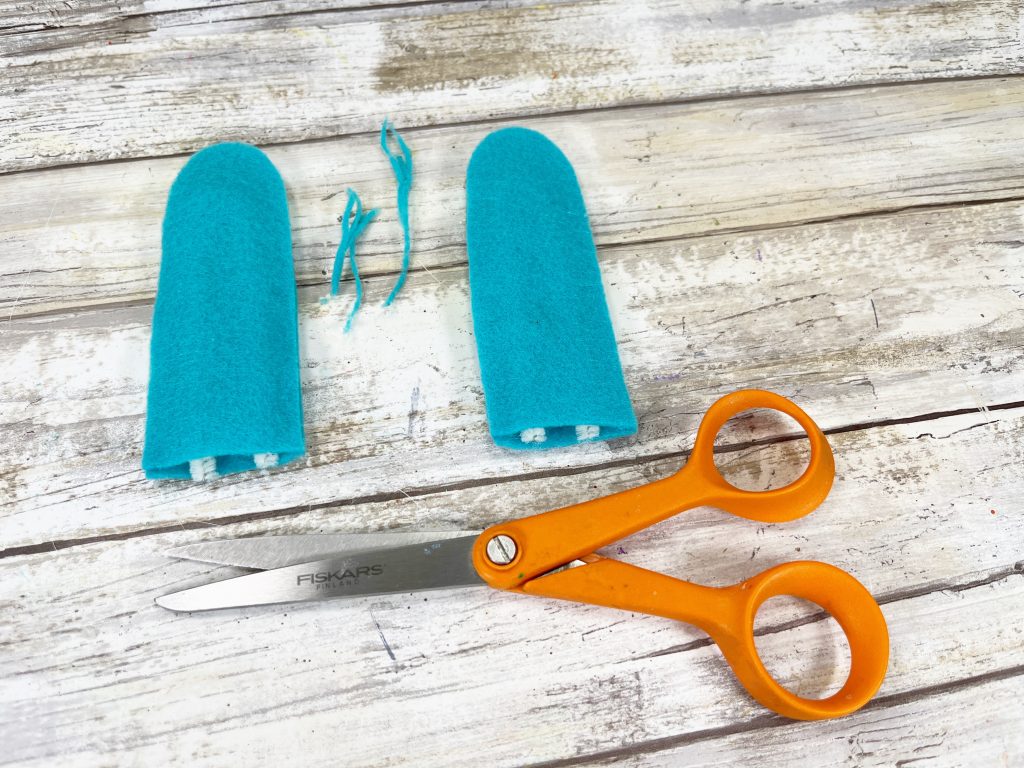
Attach the top of the ear to the base of the ear by gluing around the edge with a glue gun and glue sticks. Repeat for the second ear. Trim any edges of craft felt that don’t match up.
PRO TIP: You can use liquid craft glue for this project, but you would have to wait longer for it to dry.
STEP FIVE
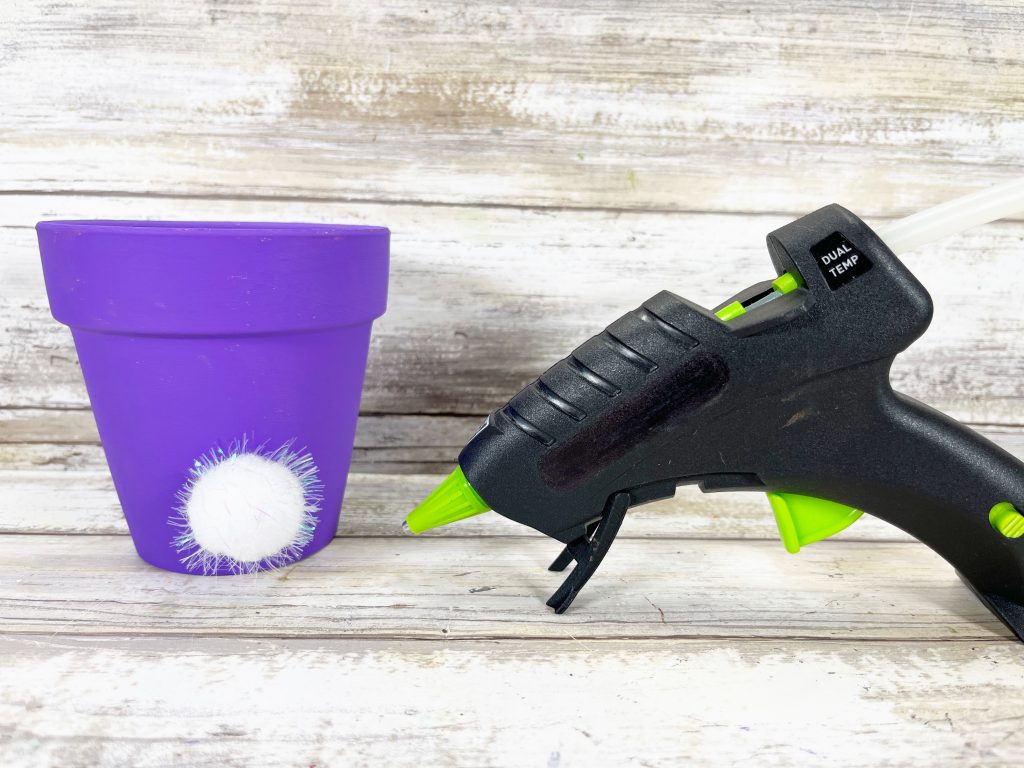
Glue the white tinsel pompom to the center of the bottom of the clay pot to become the bunny tail.
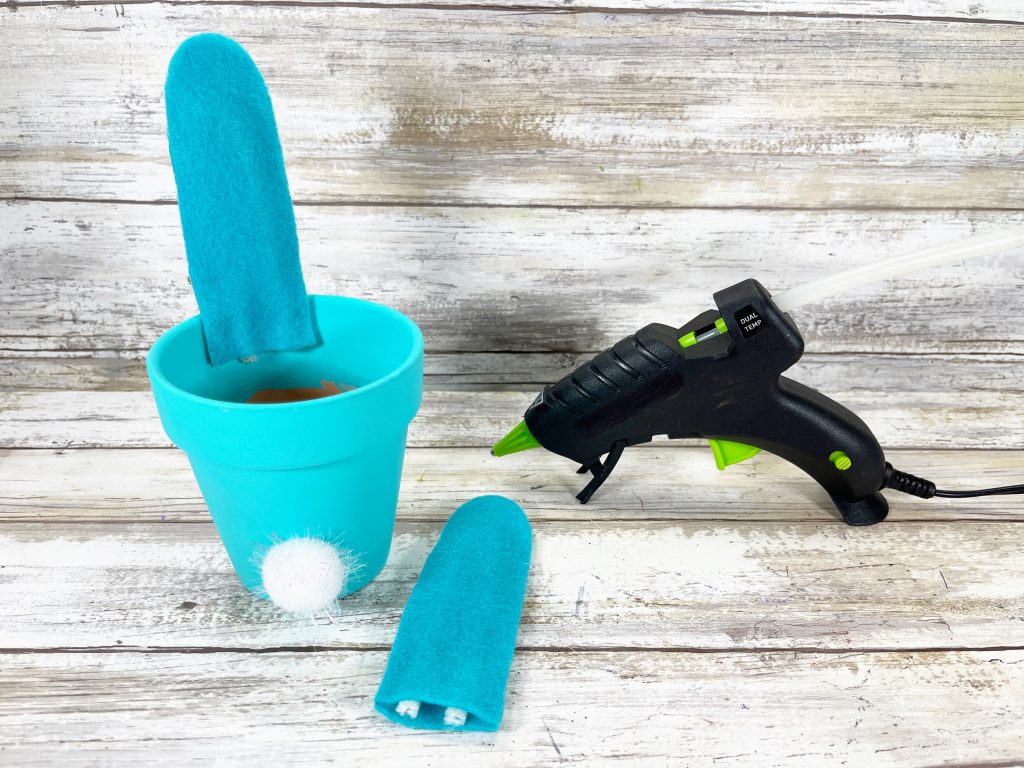
Attach the completed bunny ears to the top inside edge of the clay pot with a glue gun and glue sticks.
STEP SIX
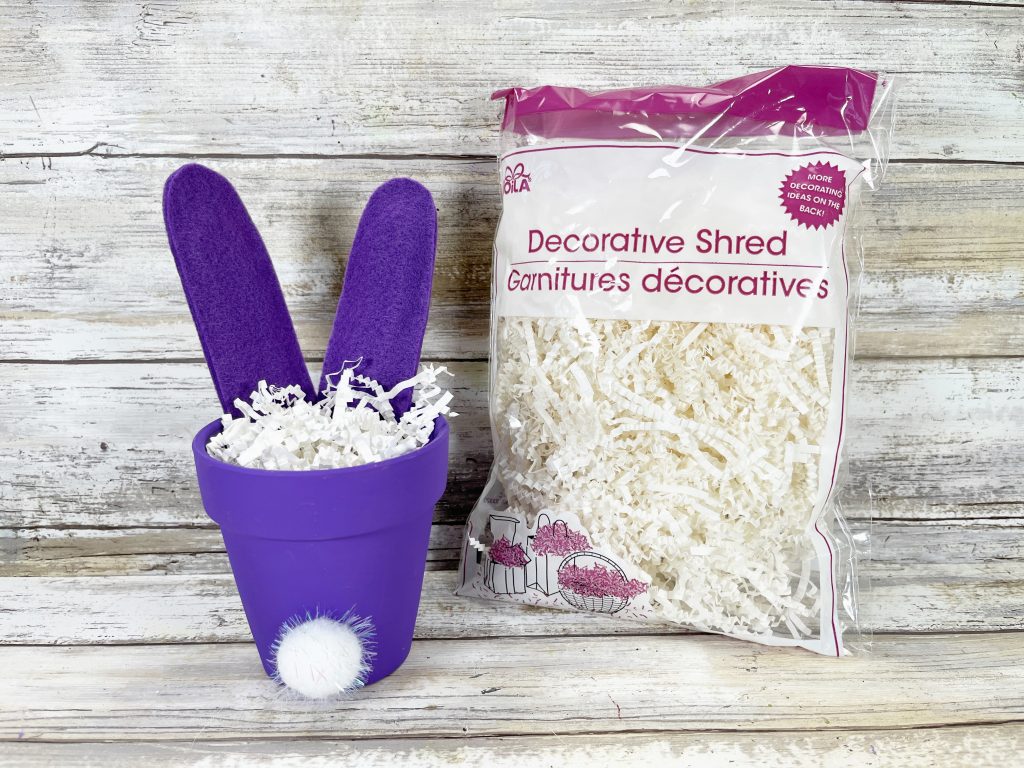
To finish the clay pot bunny treat cups, fill them with shredded paper and candy.
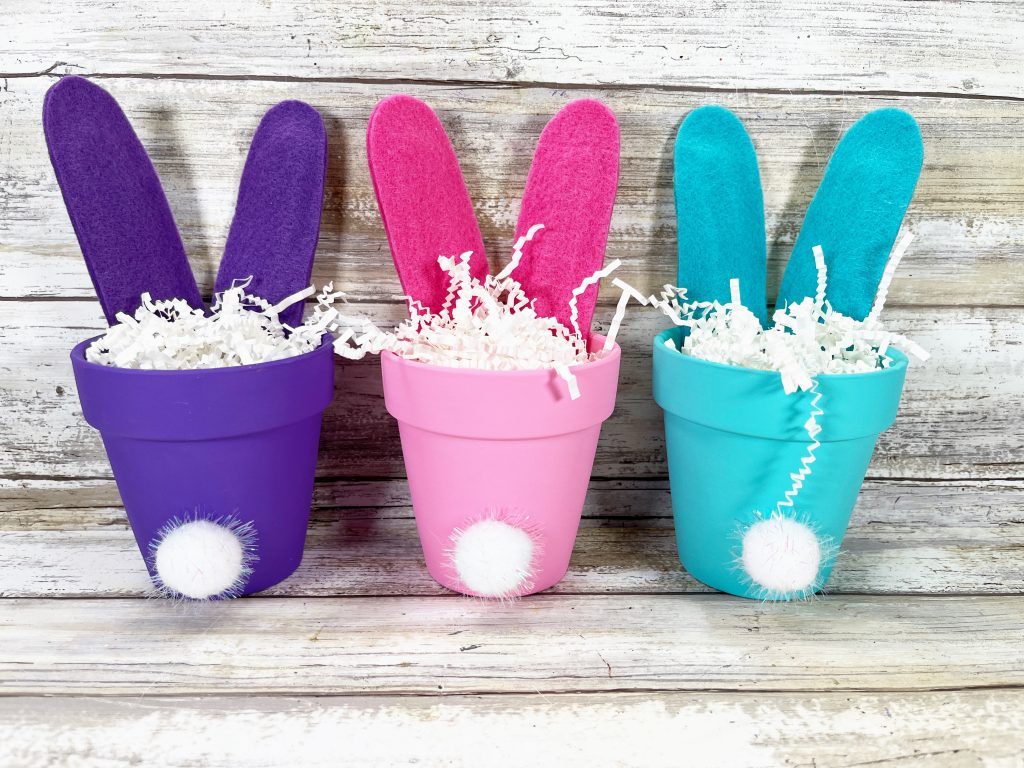
A great family fun craft activity to complete with the kiddos. Mix and match different sizes of clay pots, paint colors, and felt to create personalized bunnies for your family and friends.

Leave a Reply