
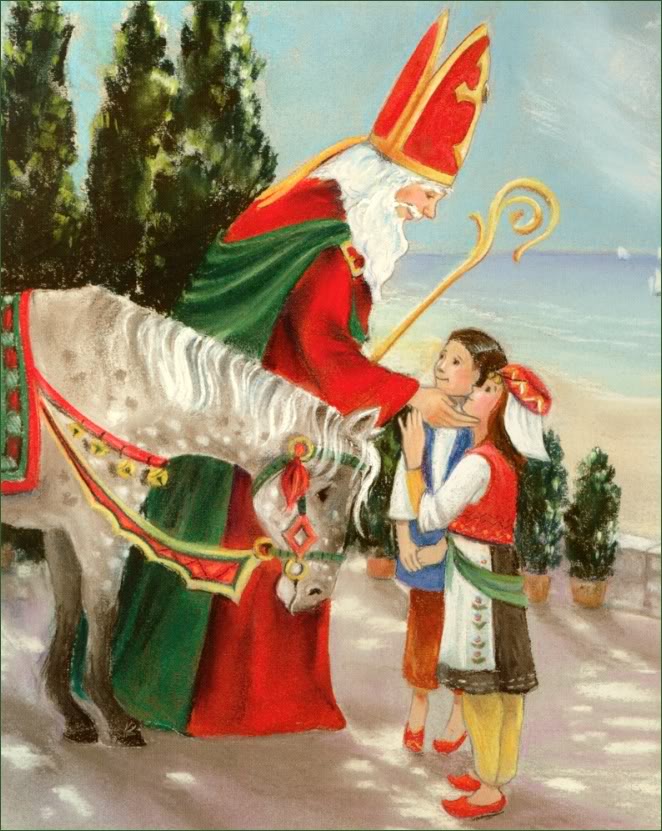
St. Nicholas is known as the saint on whom the story of Santa Claus was based, being the patron saint of children. Today, December 6th is the feast day of St. Nicholas. In many countries there are customs surrounding St. Nick’s Day usually involving leaving out wooden shoes or something similar which would get filled by St. Nicholas with candies, fruits, and occasionally a few trinkets.
In my family, we celebrated a little bit differently. For us, St. Nick’s Eve (the night before St. Nicholas Day) involved several traditions. First of all, my daughter would write her letter to Santa that day and she would place her letter into a boot (we don’t have wooden shoes…when she was younger she would leave a shoe or pair of shoes out for St. Nick but as she got older and wiser she realized that boots could hold more!) to be collected that evening while she slept.
The other thing we would do is that on this day, she would go through her old toys and pick out ones she was ready to part with. We had a large bag…about the size of one of those big green garbage bags…that was decorated with Santa pictures which we referred to as our “Santa sack”. She would fill the Santa sack with the toys she was able to part with. Then, at Christmas time, Santa would place a special gift into the sack and put it under the tree for her. This served several purposes. One was that she would clean out and get rid of some of the old toys, making room for the new ones that were coming in. Another was that it helped her develop a sense of charitable giving because she was told that these toys would be taken to Santa’s workshop and fixed up for other children. Finally, since she knew that Santa picked up toys from her and fixed them up for others, there was then no stigma in her receiving some second hand gifts at Christmas either because she assumed there were other children around the world who did the same.
In our family, St. Nick didn’t come to pick up the letter and Santa sack himself. Instead, one of his elves came to get them. This was because of a tradition we had developed in which my daughter had a “guardian elf” (combination of a guardian angel and an elf) named Ernie and Ernie the elf would be the one to visit. My daughter would leave out little Elven snacks for him as well as some carrots for the reindeer who carried him to our home and in return Ernie would leave a little thank you note of his own, usually along with a small elf related gift of some sort. Most of the gifts my daughter received on St. Nick Day were holiday related – ones that it would be nice for her to have early so that she could use them throughout the season. This included things like Christmas music, socks, perhaps a new holiday outfit, an ornament, candy canes, and so on.
St. Nicholas was not only the patron saint of children, but the patron of baking as well. In honour of that, I thought I would share with you some of my favourite holiday cookie recipes.
Whipped Shortbread

Shortbread Cookies
Ingredients:
1 lb. butter
1 cup powdered sugar
1 tsp. vanilla
pinch salt
1/2 cup cornstarch
3 cups all purpose flour
Instructions: Preheat your oven to 350 degrees F. Cream together the butter and icing sugar. Mix in the vanilla and salt. Gradually add the cornstarch and flour and whip using an electric mixer. You can form the cookies by pushing this dough through a cookie press or you can roll into balls and flatten slightly with a fork dipped in flour or you can drop by spoonfuls. I leave these plain but my step-mom always added a half a maraschino cherry to the center of each cookie. Bake 12-15 minutes and let cool for a couple minutes on the baking sheet before removing to a wire rack.
White Chocolate Orange Cookies

White chocolate chip cookies fresh from the oven!
These are a specialty of mine. I have had people beg me to make them some, had people offer to pay me for some, and even received some marriage proposals because of these cookies!
Ingredients:
1 cup butter
1/2 cup sugar
1/2 cup packed brown sugar
1 egg
1 T. grated orange zest
2 1/4 cups all purpose flour
3/4 tsp. baking soda
1/2 tsp. salt
2 cups white chocolate chips
1/2 cup chopped walnuts or macadamia nuts (optional)
Instructions: Preheat oven to 350 degrees F. Cream together the butter and the sugars. Stir together the flour, baking soda, and salt and mix into the creamed sugar mixture. Stir in the chocolate chips and nuts. Drop by tablespoon onto a baking sheet and bake for 10-12 minutes. Allow to cool on baking sheet for a couple minutes before transferring to a rack.
Buckeyes

Buckeyes just dipped in chocolate! Yum!
These are more candies than cookies but I still love to make them at Christmas time. They are very quick, easy, and tasty.
Ingredients:
2 cups creamy peanut butter
1/4 cup softened butter
3 3/4 cups icing sugar (a 16 ounce box)
2 cups semi-sweet chocolate chips
2 T. shortening
Instructions: I prepare these on baking sheets or trays that will fit into my freezer. It’s best to line them with waxed or parchment paper so the buckeyes won’t stick. Cream together the peanut butter and softened butter. Blend in the icing sugar. Form this mixture into balls about one inch in size. Put these balls on the trays and place in the freezer for about an hour. Melt the chocolate chips and shortening together. I find this is most easily done in a microwave – try about one minute on high and then continue at 10 second intervals if needed until melted. It’s ok to have a few chips still formed when you take this out of the microwave as once you give it a stir, the heat from the melted chips will help the rest of it melt as well. In fact, you want to be sure not to leave this in the microwave too long – just until barely melted. Dip the balls in the melted chocolate mixture and put them back on the trays to refrigerate until set. For dipping purposes, you may want to use a toothpick, skewer, or something similar. Keep stored in the fridge.
I haven’t made these before but I certainly will be trying them this year. They sound so good! Honey cookies http://weefolkart.com/content/honey-cookies
Snickerdoodles

Snickerdoodles…a family favourite!
Ingredients:
1/2 cup each butter and shortening
1 1/2 cups sugar
2 eggs
1 1/2 tsp. cream of tartar
1 tsp. baking soda
1/4 tsp. salt
2 3/4 cups all purpose flour
For the coating: 3 T. sugar and 1 T. cinnamon (mix these together)
Instructions: Cream together the butter, shortening, sugar, and eggs. Blend in the cream of tartar, baking soda, and salt and then the flour. Chill this dough in the refrigerator for a minimum of 1-2 hours but you can also leave it overnight and complete the cookies the following day. When ready to make the cookies, form the dough into balls about 1 to 1 1/2 inches in size. Coat with the cinnamon and sugar mixture and place on a cookie sheet about 2 inches apart. Bake in a 375 degree F oven for about 10 minutes until golden brown.
Peanut Butter Rudolph Cookies

Rudolph cookies with chocolate chip eyes and cinnamon heart noses!
These are always a big hit. You can actually use any peanut butter cookie recipe, refrigerator cookie dough such as that from Pillsbury,or a peanut butter cookie mix. My recipe is below. Note: I have seen and tried recipes for peanut butter cookies that have no flour in them whatsoever. While tasty, I find that the lack of flour in them means that they don’t hold their form as well and so aren’t particularly suitable for the Rudolph design. Also, I have my own way of forming these cookies but have seen other methods as well. I roll the dough out and cut cookies out with a round cookie cutter. Then I kind of pinch in at each side of the round cookie shape to make it more like a peanut shape. To me, this looks most like a reindeer’s face! However, I have seen other adorable ones where they simply left them the round shape or where they cut out triangles (point facing down when you decorate the face!). My method is a little more work and not as suitable if you are having children help you with the decorating! The faces are then formed with pretzels for the antlers – again I have seen some who use whole mini pretzels for easy and quick decorating but I take larger pretzels and break them in half (or roughly half) to get more of an antler shape. For noses I have seen red M&M’s used but I use red hot cinnamon hearts and for noses I have seen the brown mini M&M’s used but I find those difficult to find around here so I just use chocolate chips (mini ones for best results).
Ingredients:
1/2 cup shortening
1/2 cup unsalted butter
1 cup brown sugar (packed)
1 cup white sugar
1 cup creamy peanut butter
2 eggs
2 3/4 cups all purpose flour
2 tsp. baking soda
Instructions: Preheat oven to 350 degrees F. Cream together the shortening, butter, and sugars. Blend in the peanut butter and eggs. Sift the baking soda and flour together and stir it into the peanut butter mixture. Form the dough into two logs about 2 inches in diameter. Wrap this first in waxed paper so it doesn’t stick but then I also wrap plastic wrap around it for better protection. Place in the refrigerator for a couple hours to firm up. Slice each log into slices about 1/8 inch thick. If you want round cookies, you can leave them as is or make the indentations on two sides to form the peanut shaped faces. Bake for 8-10 minutes on ungreased cookie sheets. Note: I have always made them by forming the faces and antlers prior to going into the oven but this does mean that the antlers will darken a bit and the candies will melt a bit. I recently heard of a version of this recipe whereby they decorated the faces and put on the antlers immediately upon taking the cookies out of the oven when they were still freshly warm and soft. I am going to try this method this year as it sounds like it would work quite well to me!
Anita Marie says
I cannot wait to try these.
🙂
Liz@HoosierHomemade says
Thanks for joining the Cookie Exchange!
Merry Christmas!
~Liz
Colleen Murphy says
So when are you opening your bakery? And I want to try that white chocolate orange cookie. Thanks for sharing. 🙂 And Merry Christmas!
Sally says
OK…I’m on a diet and this post got me drooling and craving. Yum!! Perhaps in a few months I will try some of these. Nevertheless, your recipes are going in my book!