If the dad in your life is handy around the house, this Father’s Day Tool Box Card is the perfect DIY greeting card for them. Easy and inexpensive to make, we have free printable templates for you to use that make this craft a breeze.
We’ve got some variations on this craft too at the bottom of the post so you can turn this into a fridge magnet or mobile.

Father’s Day Tool Box Card
List of Supplies:
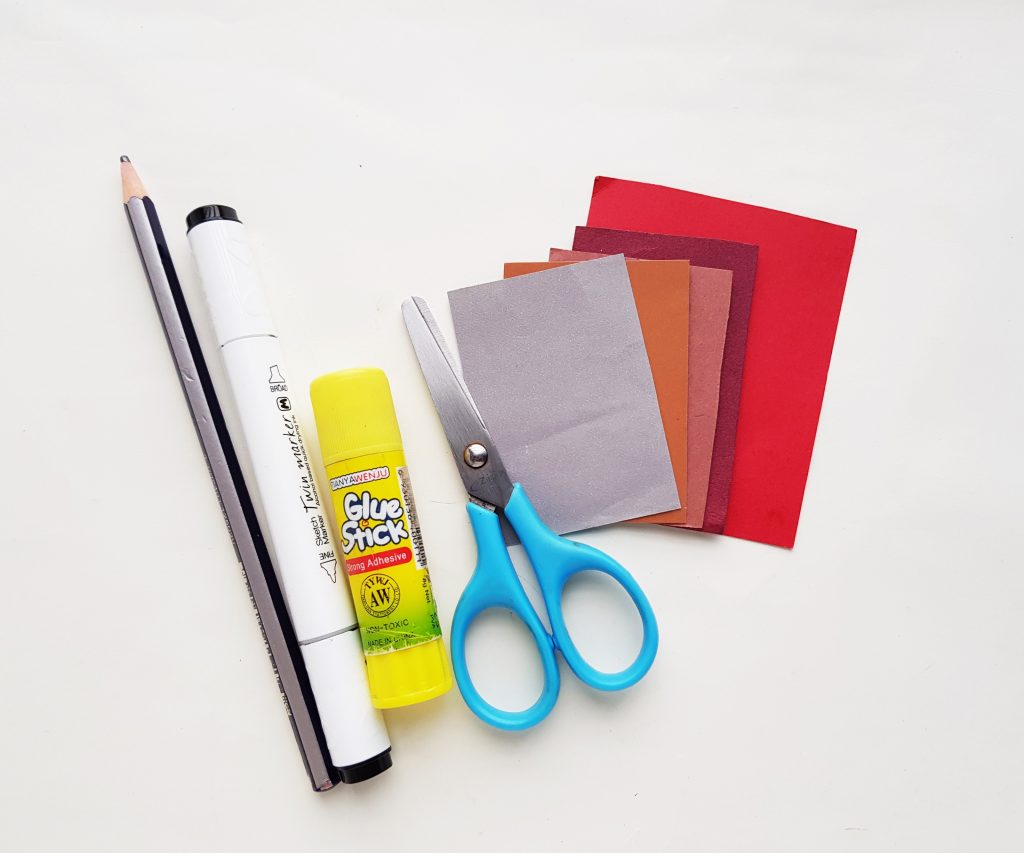
- Colored craft paper in your desired colors – we used brown, grey and red
- Craft glue – a glue stick or school glue will work just fine here
- Fine tipped marker
- Pencil
- Scissors
- Tool box template
- Tools template
Instructions:
Step -1:
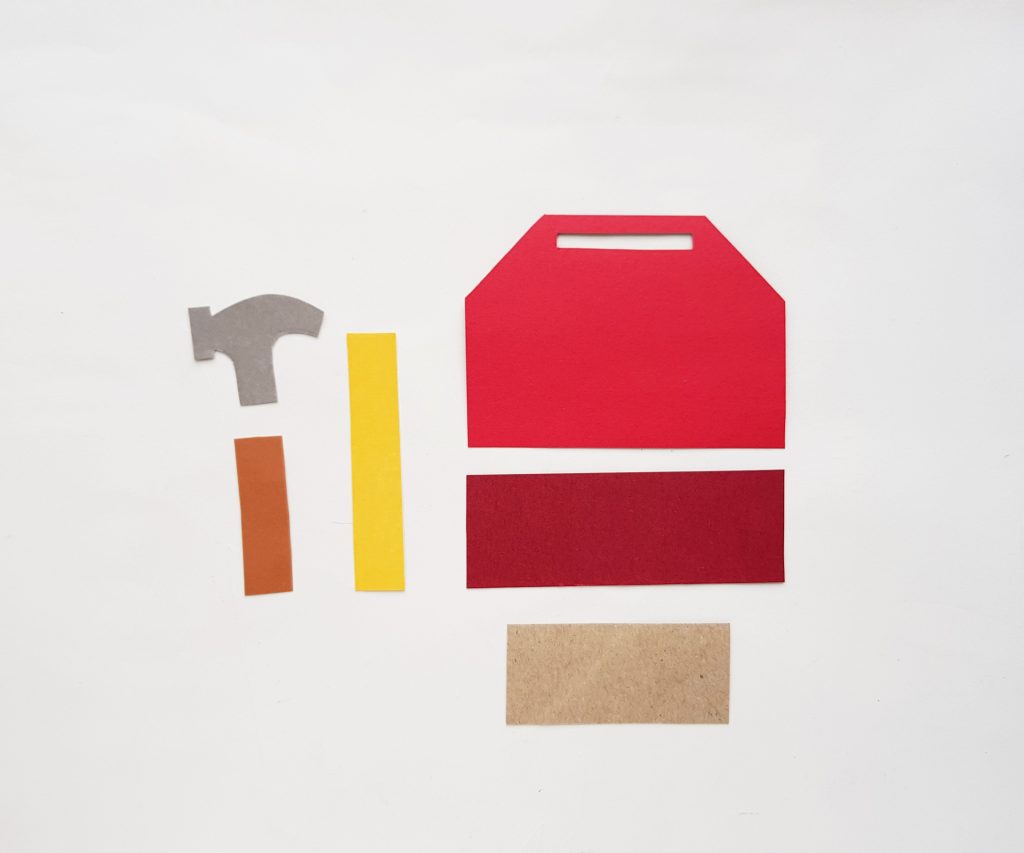
Trace the 3 parts of the tool box from the selected craft papers, I’m using 2 different shades of red paper for the tool box base and the big rectangle; and using brown paper for the small rectangle. Trace the tool patterns on selected papers as well. Cut out the traced patterns.
Step -2:
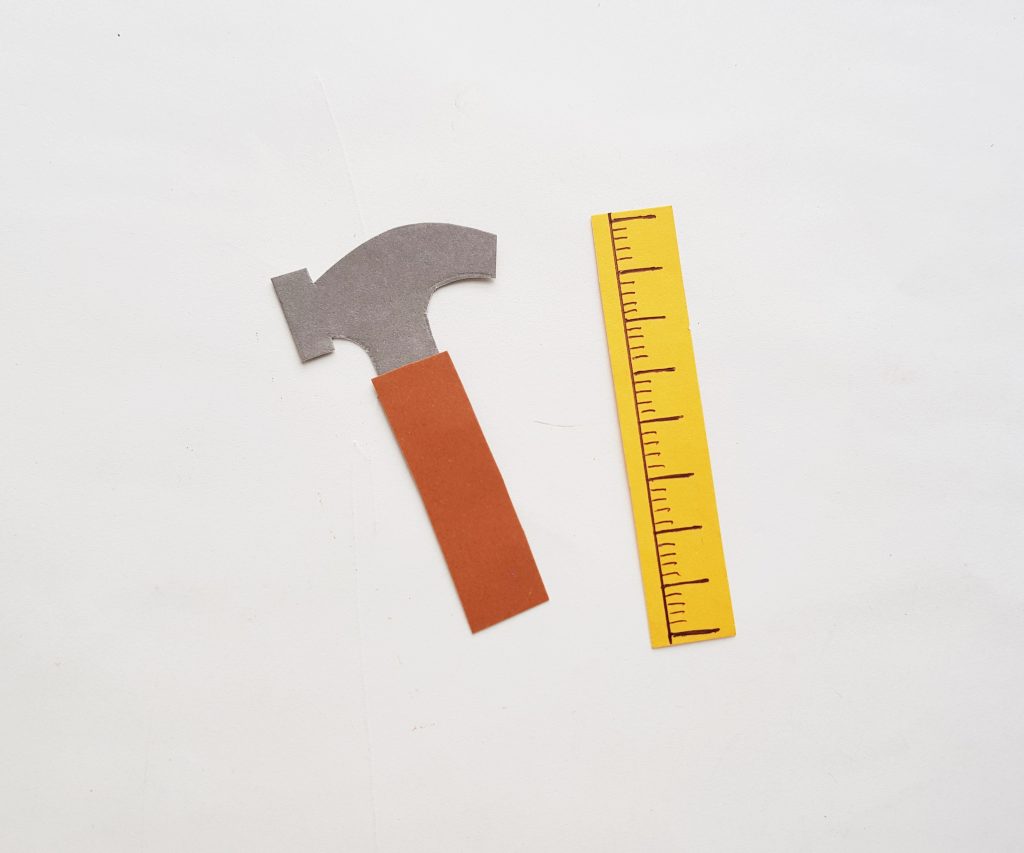
Use a black marker to draw lines along either side of the strip to craft the paper ruler. Attach the 2 parts of the hammer to complete this tool. Prepare the rest of the paper tools in the same manner.
Step – 3:
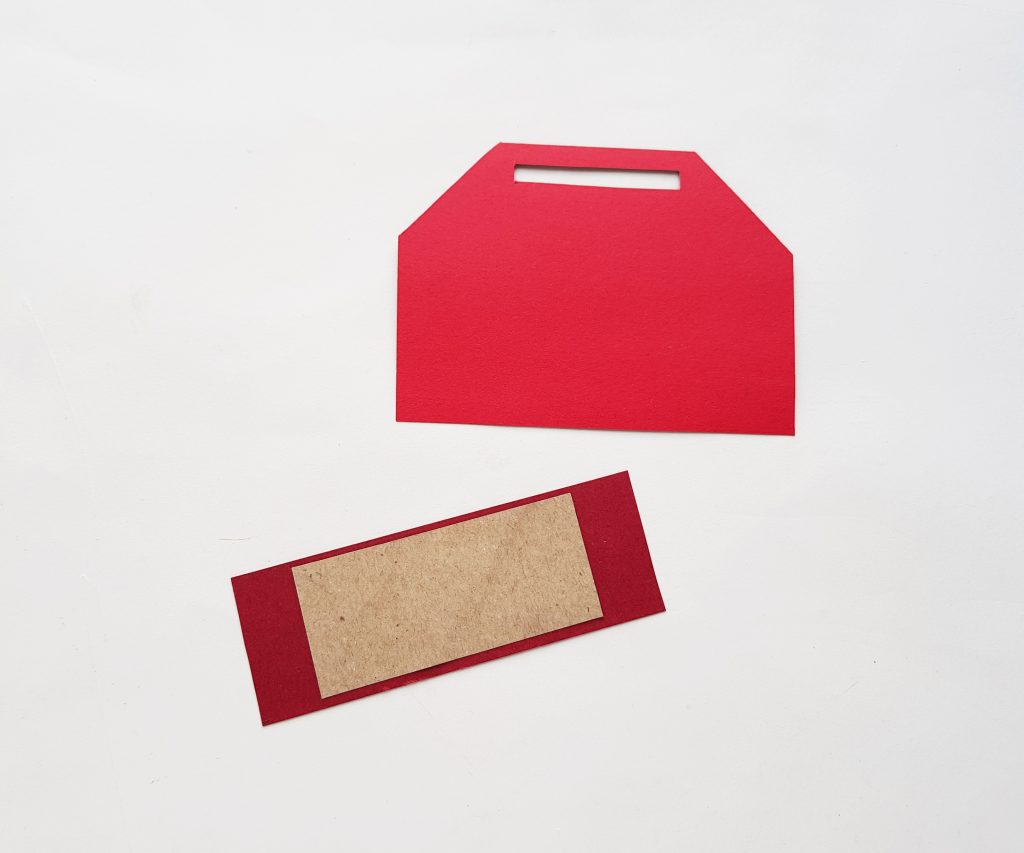
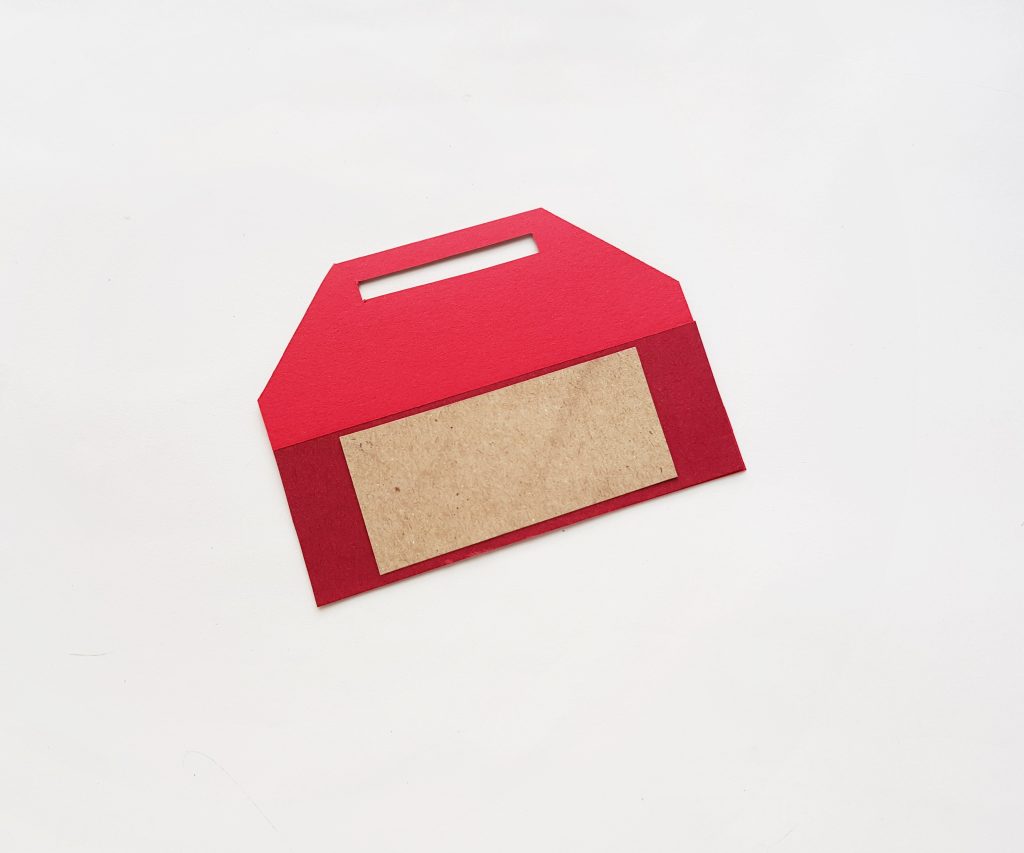
Attach the small rectangle in the middle of the big rectangle.
Step – 4:
Attach the big rectangle along the straight side of the tool box base pattern. Make sure to apply glue along the bottom and sides of the papers and keeping the top end open.
Step – 5:
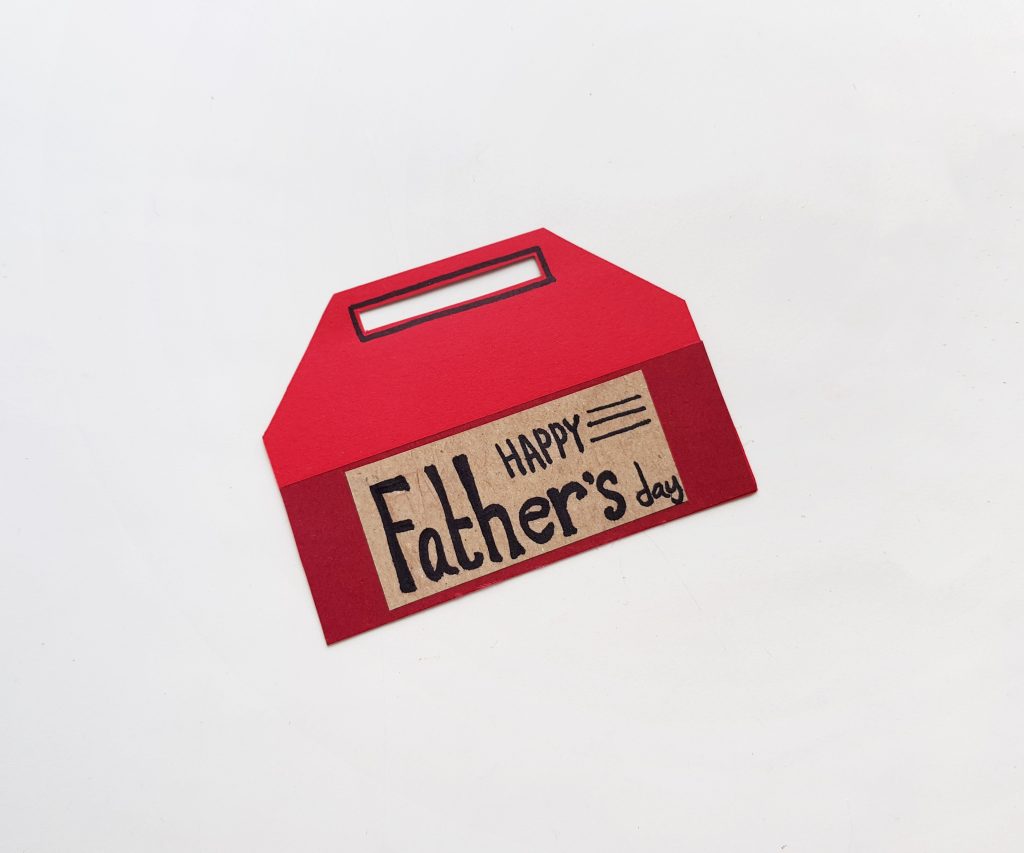
Use a black marker to write down your Father’s Day message on the small rectangle attached to the paper tool box.

Step – 6:
Insert the paper tools in the paper tool box through the top open end of the paper box.
Variations on this craft:
1 – Fridge magnet: Instead of using paper, make this out of thin craft foam. Add some magnetic tape on the back of it to use as a fridge magnet. Instead of putting Happy Father’s Day on it, you could write the father’s name to personalize it.
2 – Mobile: Enlarge the pattern. Cut it out of craft foam (you want a thicker one to hold up to the larger size) or you can use paper or felt glued to cardboard). Use some yarn or string to tie around the handle of the toolbox as a hanger. Then, punch small holes along the bottom edge of the toolbox – you want 4 holes, 1 for each tool.
Punch a hole in each tool and using the string or yarn, tie the tools to the toolbox, hanging down like a mobile.
Leave a Reply