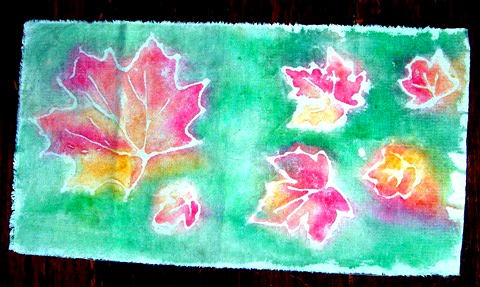
Here is a very cool technique that mimics batik but since it’s using glue instead of hot wax, it’s safe and fun for children and adults!
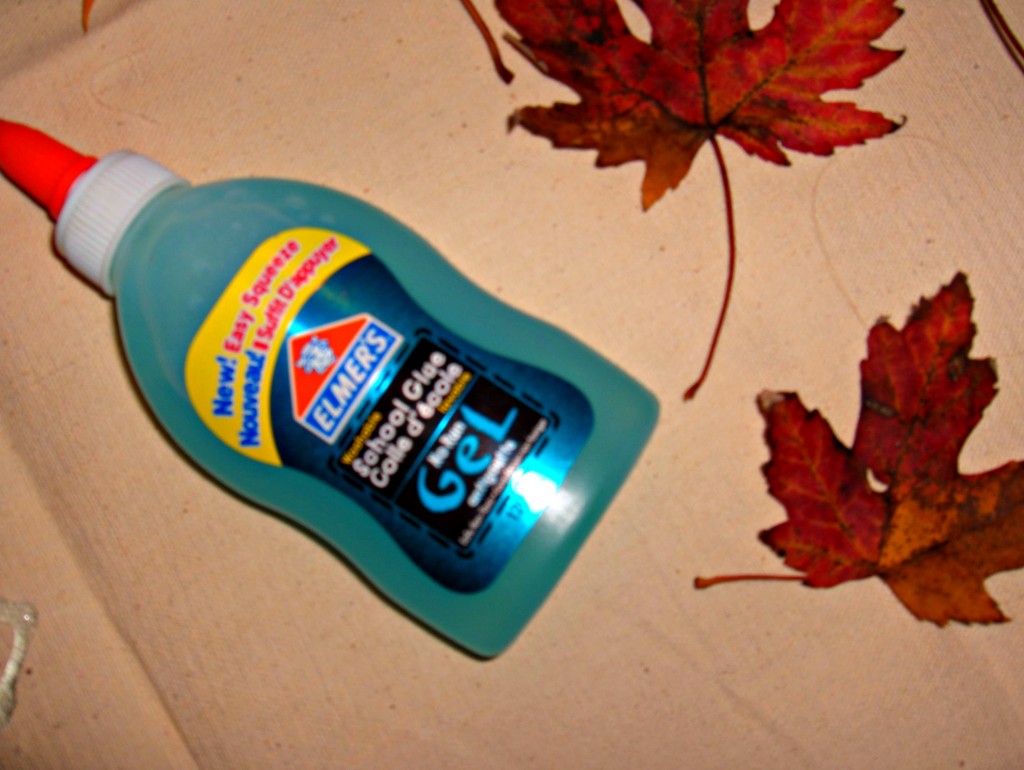
The supplies you need are: a suitable piece of fabric (I used a scrap of plain canvas material that I had lying around – muslin, t-shirt fabric, or fabric from old bed sheets works well too – I haven’t yet tried silk but I’m anxious to see how well it would work), acrylic craft paints in the colours you would like to use, washable glue (the best one I found to use is Elmer’s Washable School Glue in the blue gel – I did NOT have good luck with white glue), paintbrushes (one of them should be a wide brush), plastic wrap/waxed paper/or a plastic garbage bag, something to use for holding the paints and water, and a pail or basin to soak the fabric in (you can even use a sink or the bathtub). You may want something to use as templates (here I used real leaves) or you can freehand something. You can also try lightly drawing on a design with pencil but I had mixed results on getting the pencil to wash out of the fabric.
- Here’s the suggested glue to use!
If you’d like a template of leaves to use, I have a PDF of some simple leaf shapes available here: https://docs.google.com/fileview?id=0ByOo_h3yBiMbYTUwZDkxM2EtZTI5Zi00YzMwLWI3NDktNDFlOTQwODg1Mzdh&hl=en
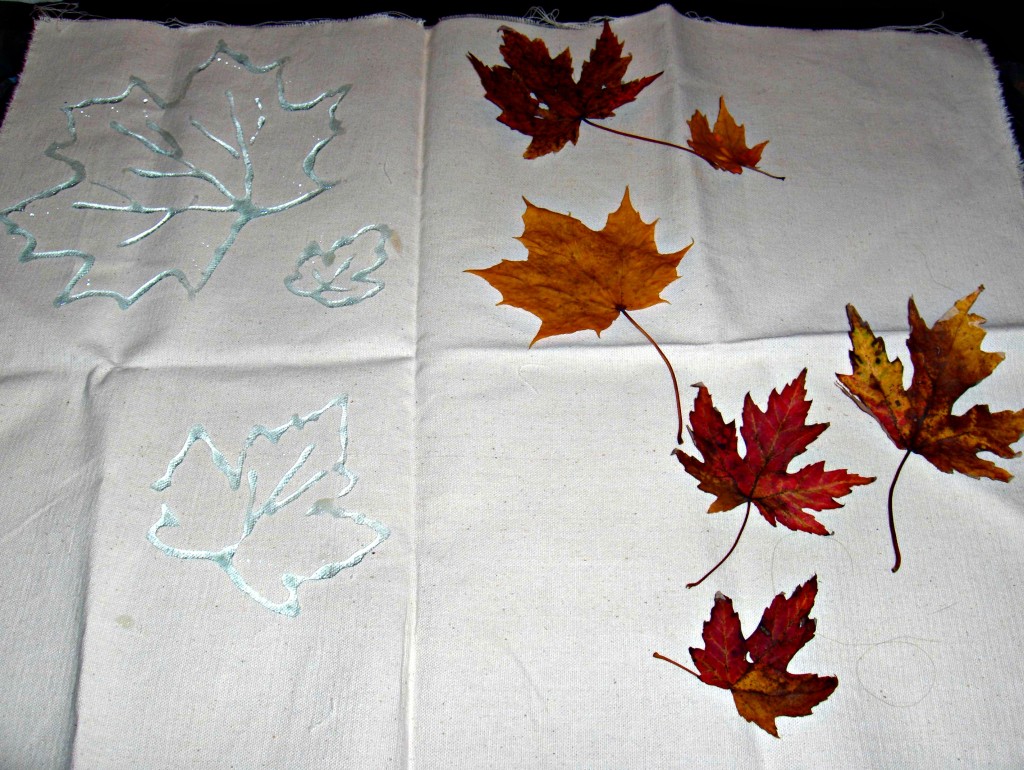
- Laying out the leaves to make a design – you can see the glue design beside it!
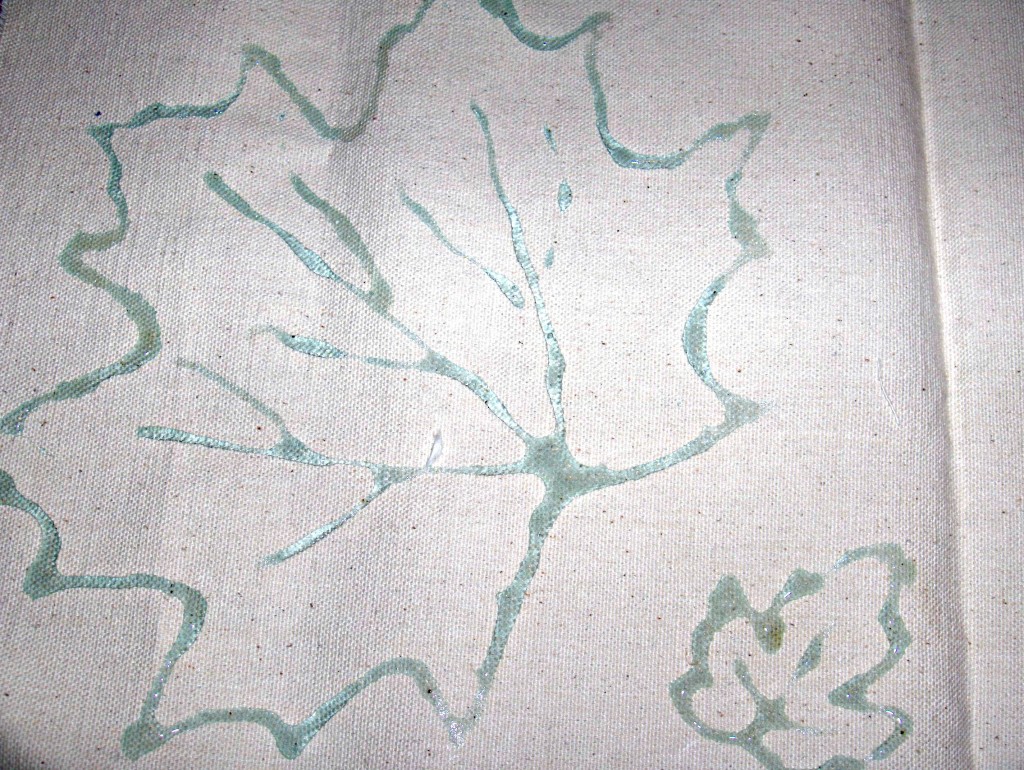
I tore the fabric to size as the frayed edges then don’t need any hemming and it adds a nice natural look to the banner that I think suits the muted, washed out look of the painting. Place the fabric on the waxed paper/plastic wrap/or a garbage bag to protect the surface you are working on. I laid the leaves out in a pleasing design on the fabric. Then, using the blue gel glue, use it to trace around each of the leaves. Also use the gel to add some veining lines to the leaf patterns if desired.
- Designs made with the gel glue.
You need to leave this to dry completely: 12-24 hours is best. Once completely dry, begin by wetting down the fabric by painting water onto it with the wide paintbrush. (Again make sure you have this laying on a the protective surface as before. This is going to get wet and could be messy! Also, I found it was important to keep a cloth or some paper towels or something like that nearby to sop up any excess water.) Now’s the time to begin adding the paints. Squirt out a bit of each colour you are using (I used a red, orange, and yellow for the leaves and a green for the background) and thin it down with a little water. Start by painting your main design first and then go on to the background. Because the fabric is wet and the paints are diluted, as you brush them on, they will flow together a bit the way that watercolours do.
- Adding the paints
After you have finished painting the main design (the leaves in my case), continue adding paint to the background in the same manner.
- The banner is ready for drying!
Once you have the banner (or whatever you are making!) completely painted, leave it to dry for a couple of hours. When it’s dry, fill the pail or basin with some warm water and place the fabric in there to soak for 20-30 minutes.
Now, you need to remove the fabric from the water and begin to rub away the glue lines. I found that I actually needed to use my nail in a few spots and gently scrape it a bit to get it off. Again, you may want to have a cloth or paper towels nearby because I found that the glue kind of “built up” on my fingers and I needed to clean them off from time to time. I also worked near the sink so that I could rinse my fingers off occasionally. Removing the glue will reveal the plain cloth underneath.
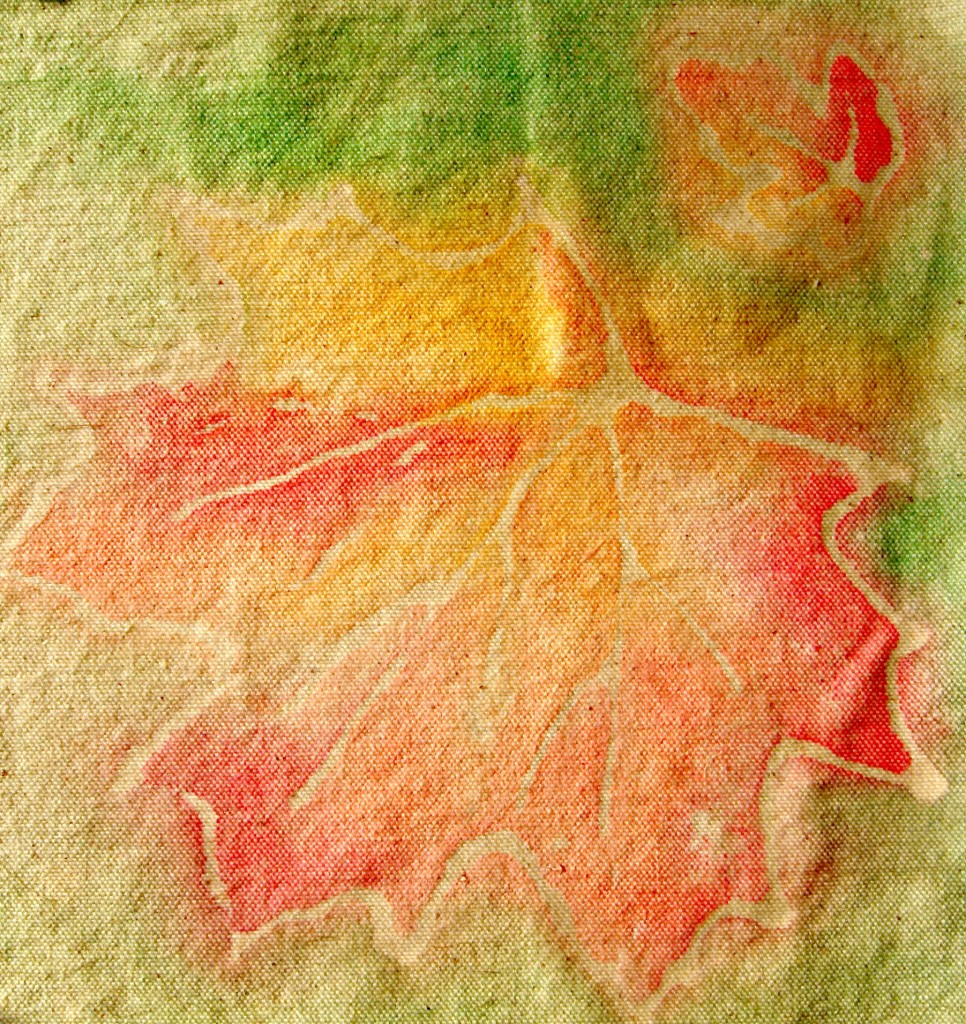
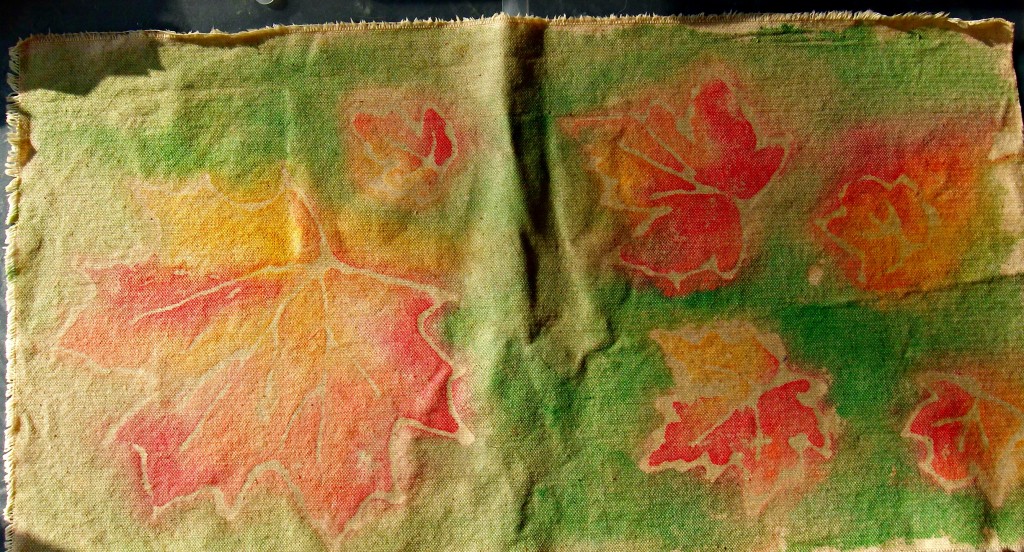
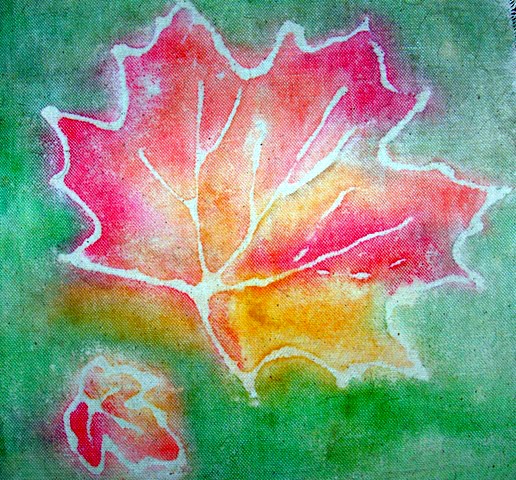
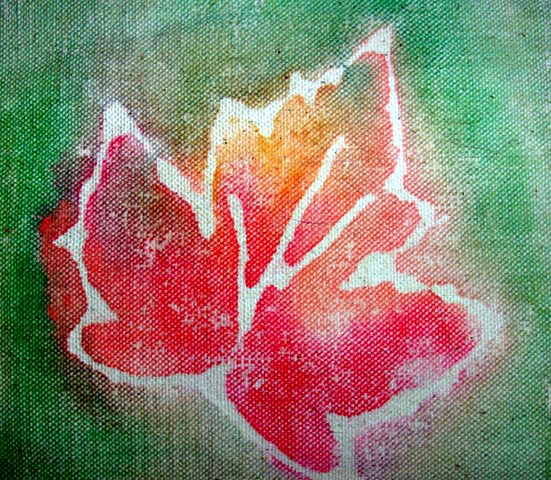
Once you have removed all the glue, rinse the fabric in plain water to remove any last traces of it and lay the fabric out flat to dry. You may want to take an iron to it or leave it with the slightly rumpled look depending on your preference. You can finish this in any way you would like. I use this one as a banner as well as for a table runner. I can see this being made into far more than just banners – pillows, placemats, table runners, even Christmas stockings and more!
Robin Rakes says
Cyn- I loved this idea. YOu gave me a thought- this would be a great way to add names on stockings.
Cinda Hughes says
What a great idea. Ive been doing Batik for 40 years with all kinds of resists beeswax paraffin etc. I used to make a paste on the stove it would last through one tank of dye. I love this idea because you could use it with kids. Ive done true batik with 4-6th graders but this is so much easier than hot wax pots and brushes..I like to do multi tank dyes but it is so time consuming, I have decided in recent years to hand apply dyes and this method is a real winner because it washes out !! ha thanks for the new trick I have a show in april and Im going to use this for wall hangings Cinda*)