• Nav Social Menu

    • Facebook
    • Instagram
    • Twitter

Creative Cynchronicity

  • Home
  • CELEBRATE
    • Christmas
    • 4th of July
    • April Fool’s Day
    • Autumn
    • Back to School
    • Canada Day
    • Easter
    • Family Day
    • Father’s Day
    • Football Friday
  • COOK
    • Egg recipes
    • Chicken
    • Casseroles
    • Canning
    • Canadian recipes
    • Burgers
    • brown bag lunch
    • Breakfast ideas
    • Breads
    • 4th of July
    • Beef
    • Barbecue
  • CREATE
    • CB Chat
    • paper art
    • Fabric Art
    • duct tape
    • DIY Gifts
    • Craft Wars
  • TRAVEL
    • London and Beyond
  • WELLNESS
  • Cyn’s Month
  • CONTACT ME
You are here: Home / CREATE / DIY Craft Stick Catapult

March 31, 2020 By Cyn Gagen 7 Comments

DIY Craft Stick Catapult

Filed Under: Craft Lightning, CREATE, Kids' Crafts Tagged With: catapult

  • Facebook
  • Twitter

This DIY Craft Stick Catapult is a really fun STEM project the kids will love (I’ll be honest – I had a great time with it too!). It’s a really easy and inexpensive one to make.

It helps teach concepts of physics, mathematics, and critical thinking. Most of all, it’s a great way to spend an afternoon! Add an art component in by using plain craft sticks and letting kids paint and decorate them.

DIY craft stick catapult

DIY Craft Stick Catapult

I used to make these with my students when I was a school teacher. It’s an ideal complement to learning about Medieval history or for a physics lesson. But you can make them with your kids just as a fun activity – shhh, they don’t need to know it’s educational too. That can be our little secret.

This craft stick catapult takes well under 15 minutes to complete (unless you add in the art component!) and is very economical too. Most of the supplies can be found at your local dollar store so it’s perfect to do with large groups like Scouts and camps.

HOW TO MAKE A DIY CRAFT STICK CATAPULT

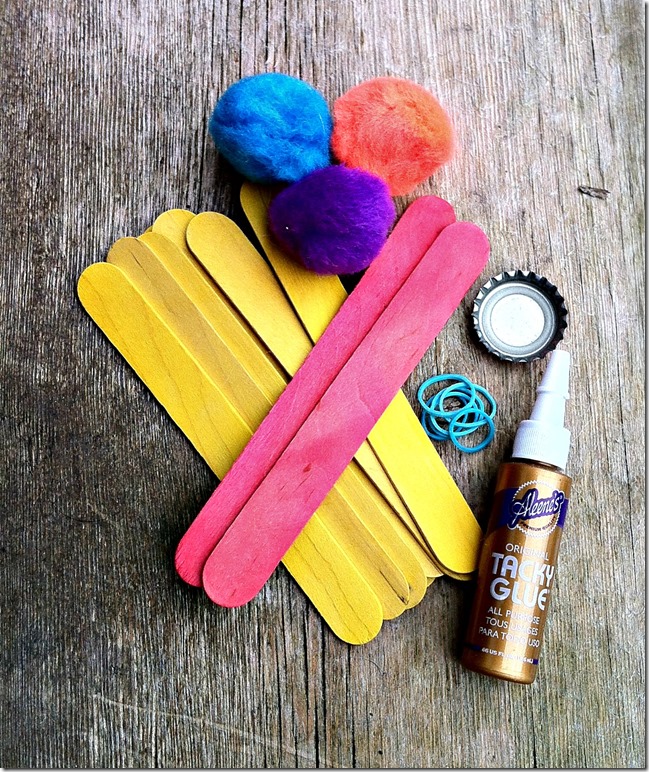
Supplies needed:
supplies needed for diy craft stick catapult

Craft sticks: (you can use Popsicle sticks but I find the ones that are larger, like tongue depressor sized work best) – you’ll need 9 sticks for each catapult

Rubber bands: (I found that small ones work best. I actually raided a rubber band bracelet kit for the ones I used here and they were perfect) – you’ll need 5 for each catapult

A bottle cap: (there are lots of other options you can use if you don’t have any bottle caps on hand – raid the recycling bin for a jar lid, the lid to a pill bottle, or something similar) – you’ll need 1 for each catapult. Instead of gluing on a bottle cap, I have seen them made by using a plastic spoon that has been attached with a rubber band. 

Glue: Depending on the age of children you are making these with, you can use tacky glue or a glue gun.

Pompoms: You can certainly use something else soft to shoot in your catapult. I’ve seen some do it with mini marshmallows but why waste food and risk getting something sticky all over the place? Pompoms are cheap and plentiful. Look for other options to try too. Wadded up pieces of paper, a small unbreakable toy, or a button, for example. 

Options: Of course you can also turn this into a craftier project by giving the kids plain sticks and some paint and letting them decorate as they wish. Or how about embellishing with some Washi tape? Rhinestones? Sequins? Just remember, any added weight will affect how the catapult performs so often in my classes, I would have my students make a plain one first and experiment with it. Then, they could add some decorations and see what kind of difference it might make!

launch the DIY catapult

Instructions:

This is such a simple project to make!
craft stick catapult

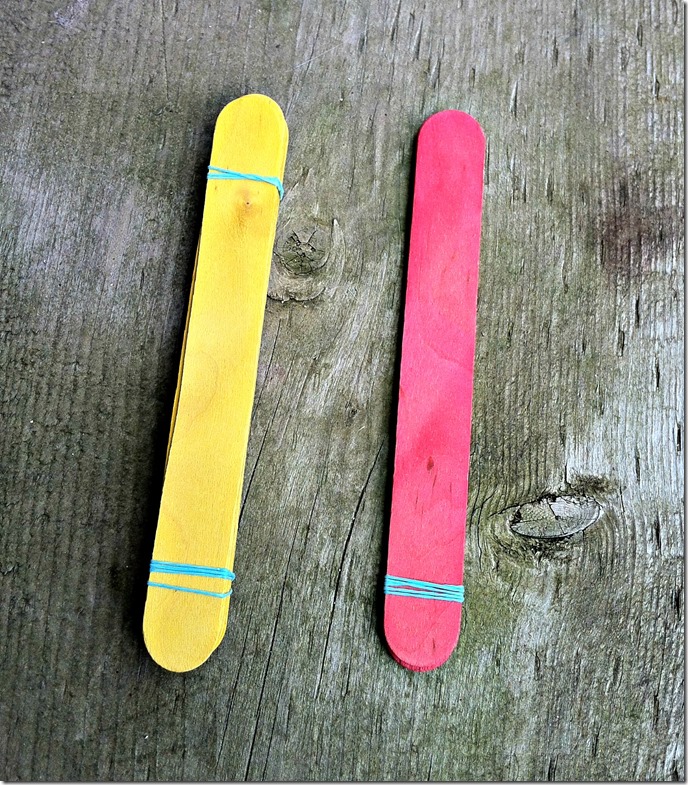
1. Stack 7 craft sticks together and secure at each end with rubber bands.

2. Glue a bottle cap (or other “launch pad”) to one end of another craft stick. Let dry. (You can do this after assembling if you are using the glue gun).

3. Stack the craft stick with the bottle cap on it with another plain craft stick and secure at one end with a rubber band.
putting together the catapult

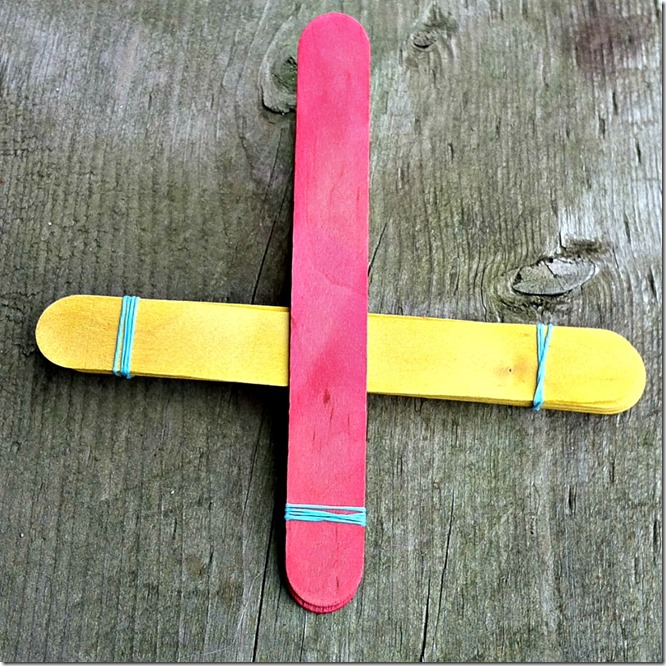
4. Place the stack of 7 sticks inside the stack of 2 as shown in the photo above.
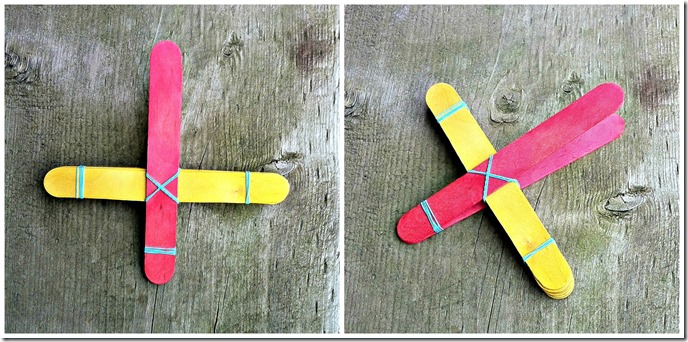
assembling DIY wooden craft stick catapult

5. Secure with rubber bands. I use two and crisscross them over to make sure it holds in place.
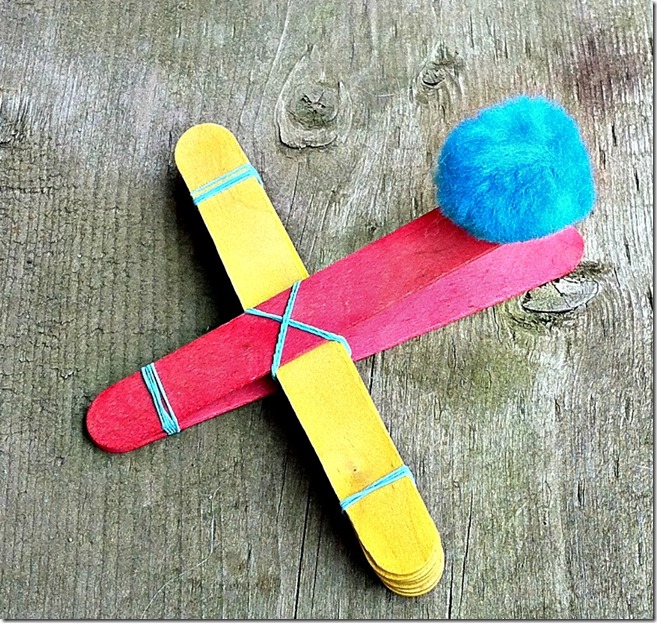
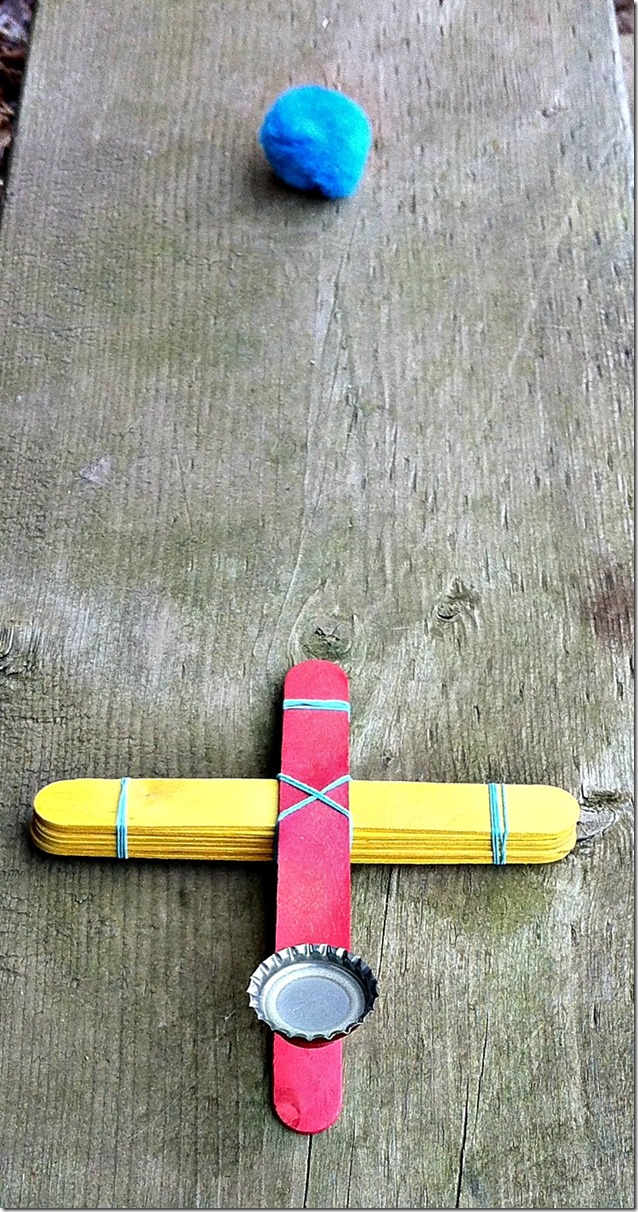
DIY catapultThat’s it! You’re ready to launch some pompoms. Simply press down on the bottle cap end and let go! Note: The placement of the 7 sticks inside of the 2 can affect how far the pompoms will fly. Let the kids experiment with moving it and see what happens! 

Have the kids test out various options and then measure the distances they can launch the pompoms or other projectiles. What variation can launch the items the highest? What variation has enough force to knock over a toy character, domino, or other such item? 
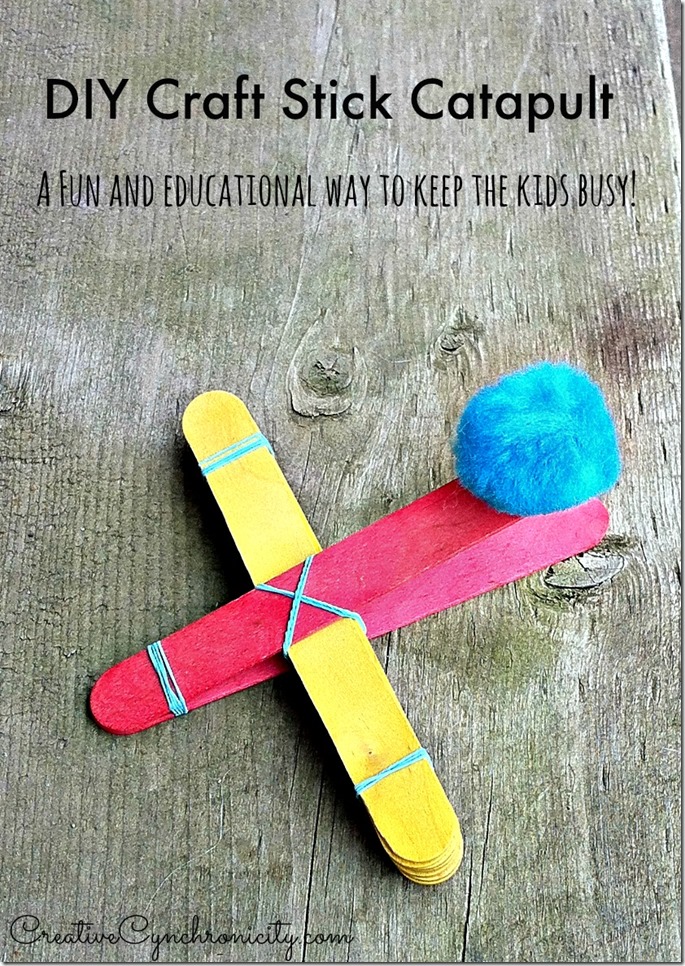
More ways of constructing DIY catapults here

Previous Post: « Cinnamon Sugar Donut Muffins Recipe
Next Post: Have a Virtual Easter Egg Hunt »

Reader Interactions

Comments

  1. Angie @ CCC says

    March 10, 2016 at 6:40 am

    My kids would love this! Thanks for joining!

    Reply
  2. Carolina says

    March 11, 2016 at 3:52 pm

    What kiddo wouldn’t love a catapult!?

    Reply

Trackbacks

  1. [BLOCKED BY STBV] Dog House Busy Book Page: Craft Idea - The Country Chic Cottage says:
    March 10, 2016 at 7:06 am

    […] can make a DIY catapult with simple supplies and the instructions from Creative […]

    Reply
  2. [BLOCKED BY STBV] Deck of Cards Match Game - Busy Bag Idea - Glued To My Crafts says:
    March 10, 2016 at 9:41 am

    […] DIY Craft Stick Catapult – Creative Cynchronicity […]

    Reply
  3. [BLOCKED BY STBV] Kids' Activities to Keep Them Busy - The Country Chic Cottage says:
    March 12, 2016 at 9:53 am

    […] DIY catapult […]

    Reply
  4. [BLOCKED BY STBV] Craft Lightning Week - Roundup - Glued To My Crafts says:
    March 12, 2016 at 10:17 pm

    […] DIY Craft Stick Catapult – Creative Cynchronicity […]

    Reply
  5. [BLOCKED BY STBV] STEM Activities for Summer - A Little Craft In Your Day says:
    June 16, 2020 at 2:36 pm

    […] DIY CRAFT STICK CATAPULT From Creative Cynchronicity <<<This one takes very few materials t… […]

    Reply

Leave a Reply Cancel reply

Your email address will not be published. Required fields are marked *

Recipe Rating


This site uses Akismet to reduce spam. Learn how your comment data is processed.

Primary Sidebar

ABOUT CYN

Copyright © 2023 Creative Cynchronicity - All Rights Reserved · Privacy Policy · Networks