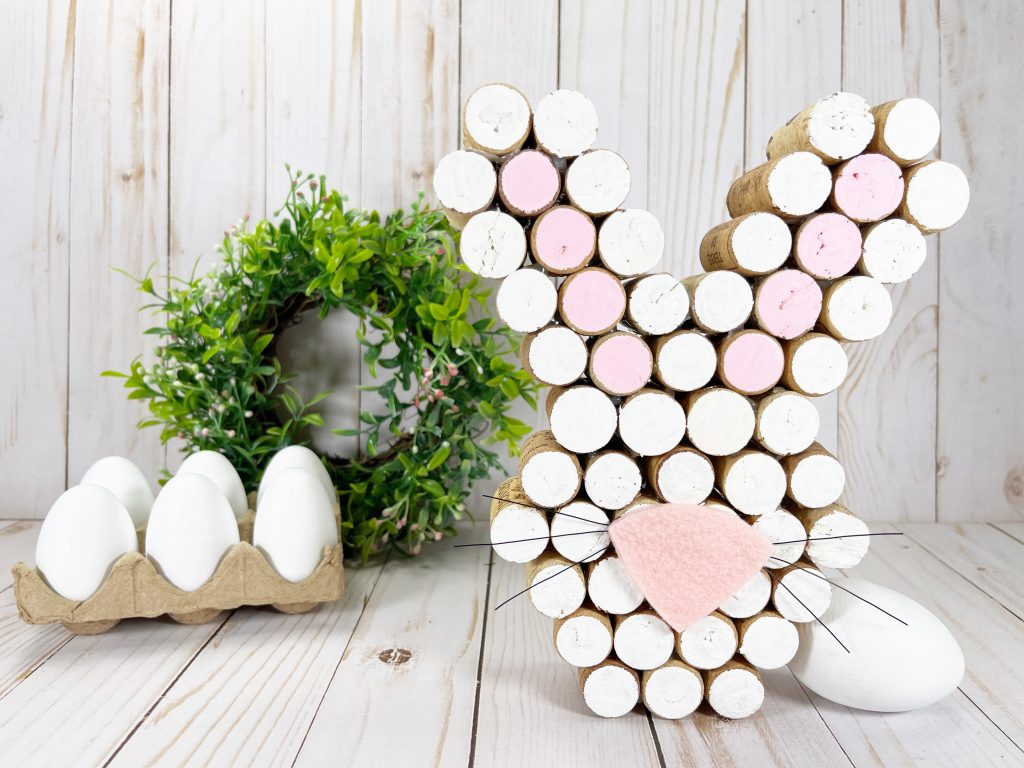
How cute is this wine cork Easter bunny? It’s so easy to put recycled wine corks to good use in your home décor, creating an Easter Bunny with a pink nose and whiskers. This rustic craft project goes together in just about 30 minutes with limited supplies.
No wine corks on hand? Ask your friends to save some for you or grab a bag of them from your local craft or dollar store.
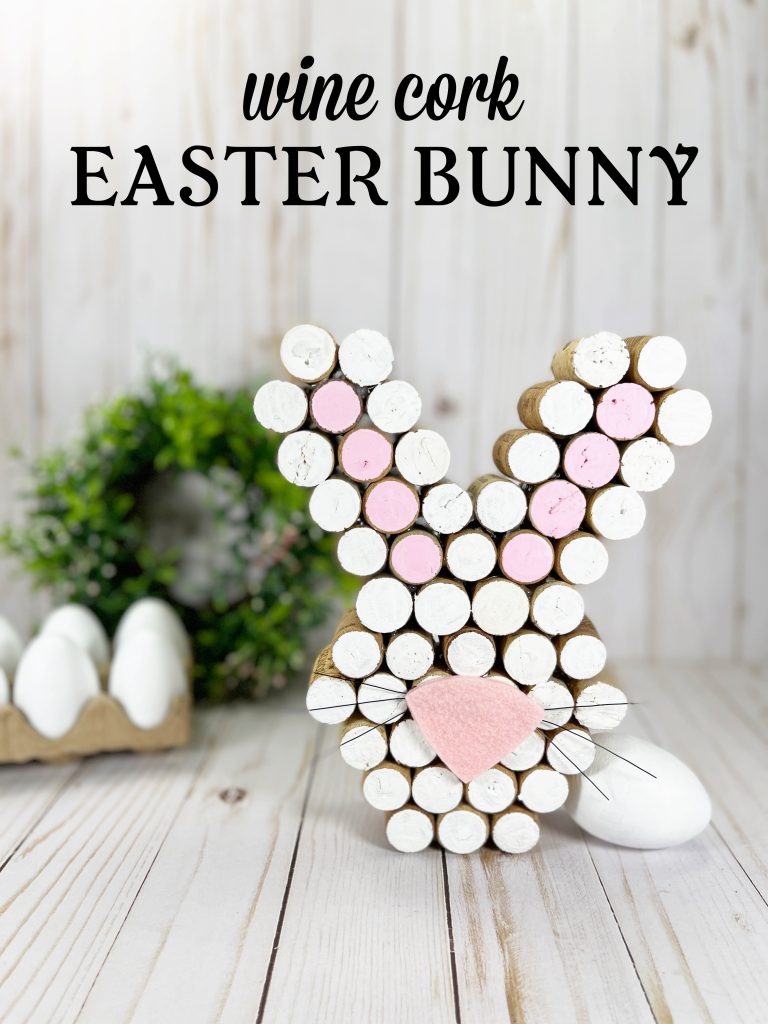
Wine Cork Easter Bunny
Materials needed:
- Recycled Wine Corks – 54
- Acrylic Craft Paint – White, Light Pink
- Craft Felt – Baby Pink
- Wire, Black – 22 Gauge
- Glue Gun and Glue Sticks – Dollar Store
- Scissors
- Paintbrush
- Wire Cutters
- CORK RABBIT PATTERN
Instructions:
STEP ONE
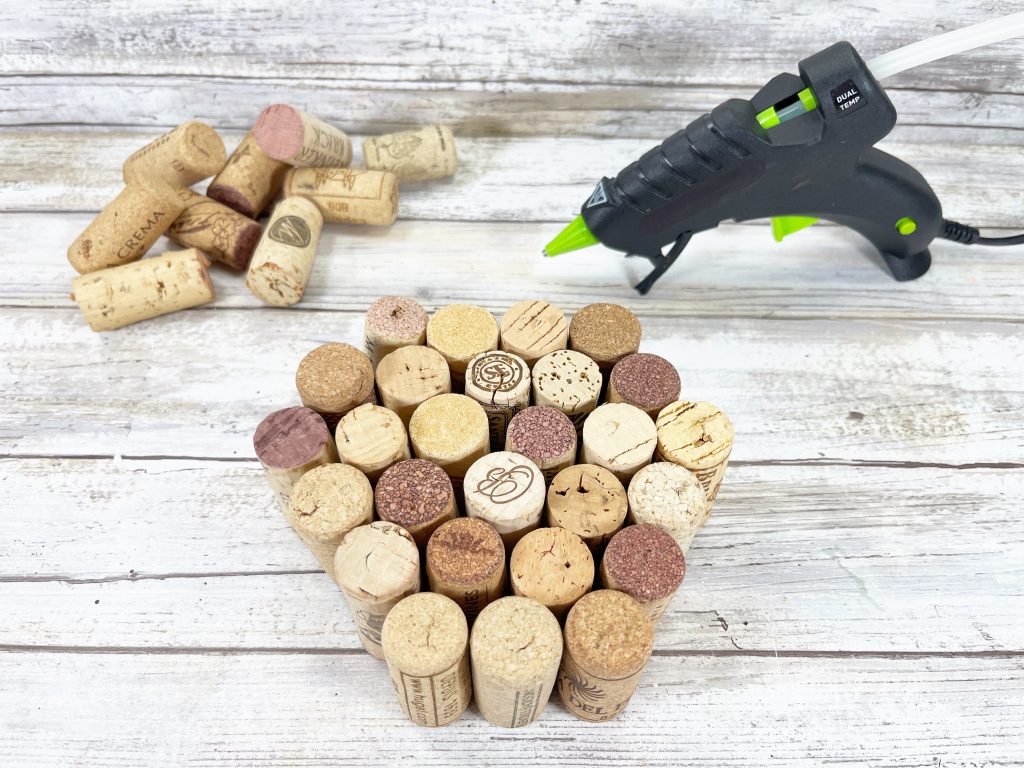
To begin making the cork bunny, gather all supplies. Lay out 27 corks on your work surface. Three corks, four corks, five corks, six corks, then five corks, and four corks.
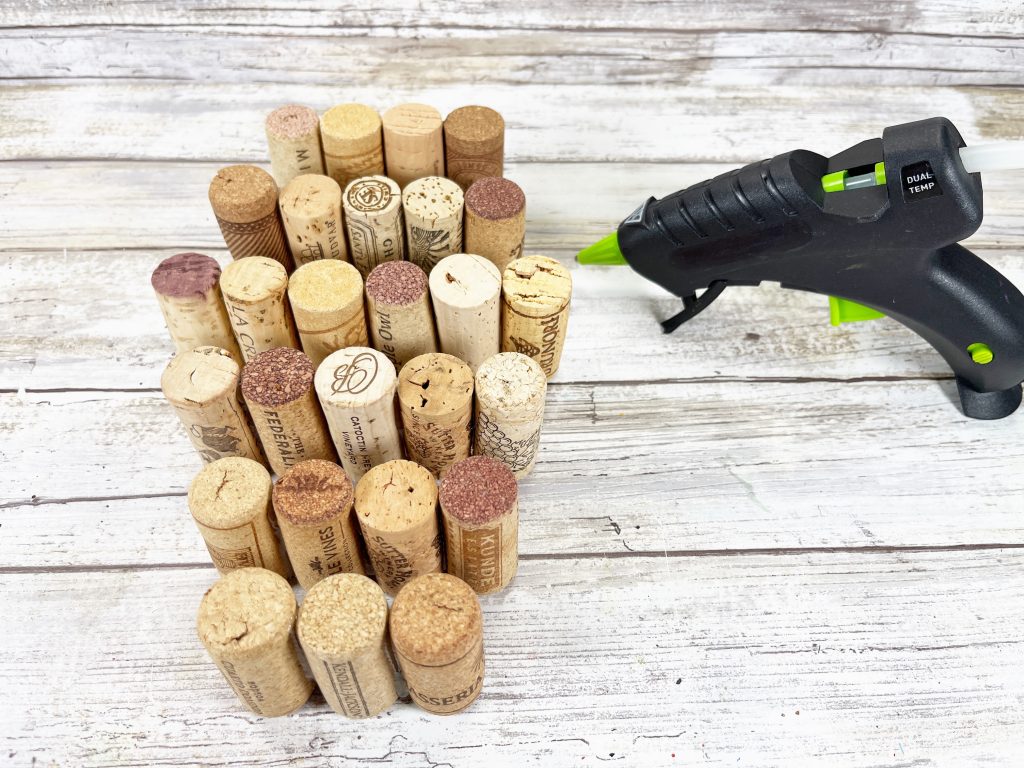
Attach the corks together in rows using a glue gun and glue sticks. Then stack and glue the rows together as follows: three corks, four corks, five corks, six corks, then five corks, and four corks.
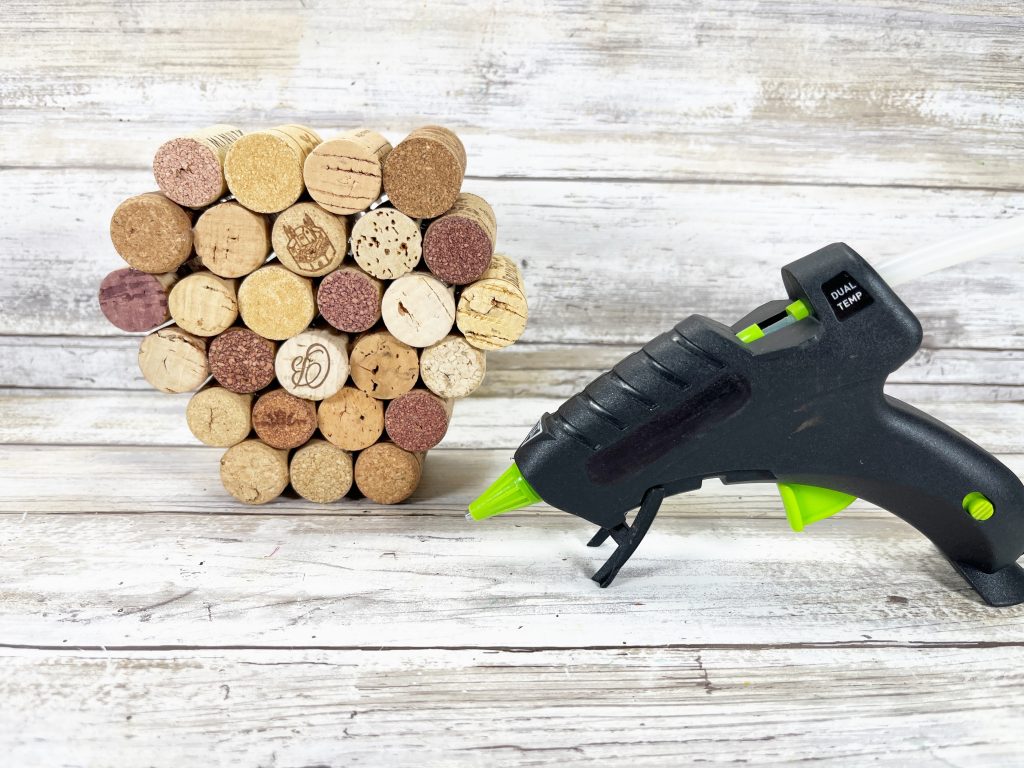
If using liquid craft glue, hold the corks together with a rubber band during the drying process.
STEP TWO
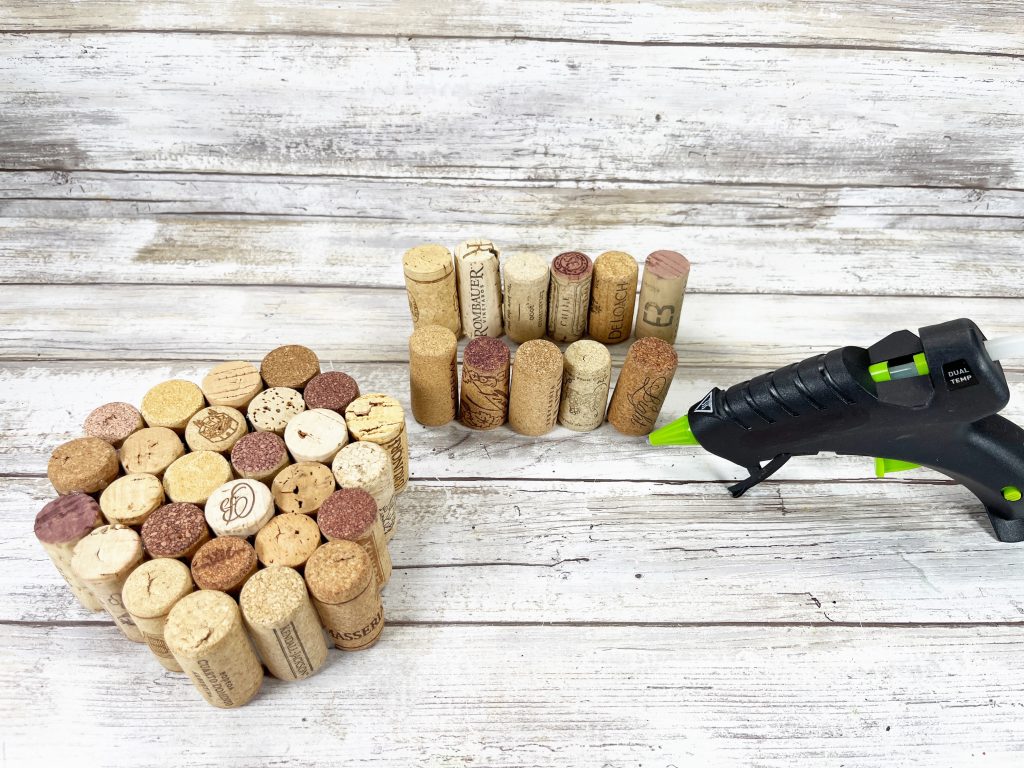
Create the top of the rabbit’s head, lay out two additional rows of corks on your work surface. The first with five corks and the second with six corks.
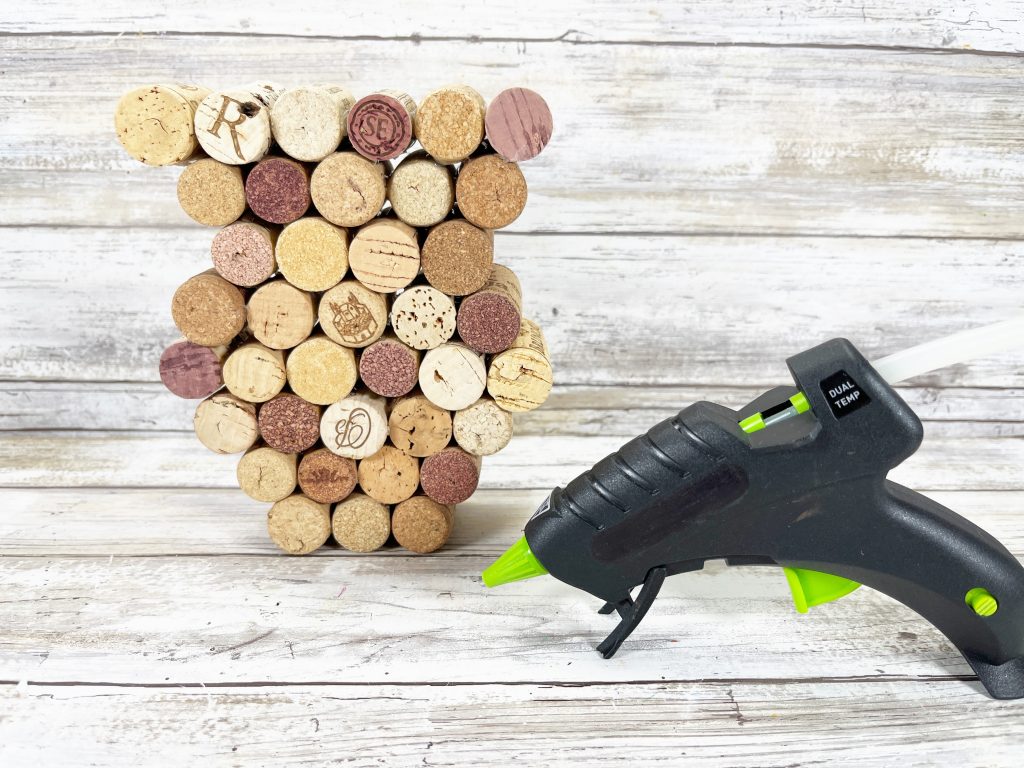
Attach the corks together in rows using a glue gun and glue sticks. Then stack and glue the row of five on top of the row of four, and the row of six on top of the row of five.
STEP THREE

For each of the Rabbit’s ears, layout eight corks on your work surface. Three corks, three corks, and two corks. Attach the corks together in rows using a glue gun and glue sticks.
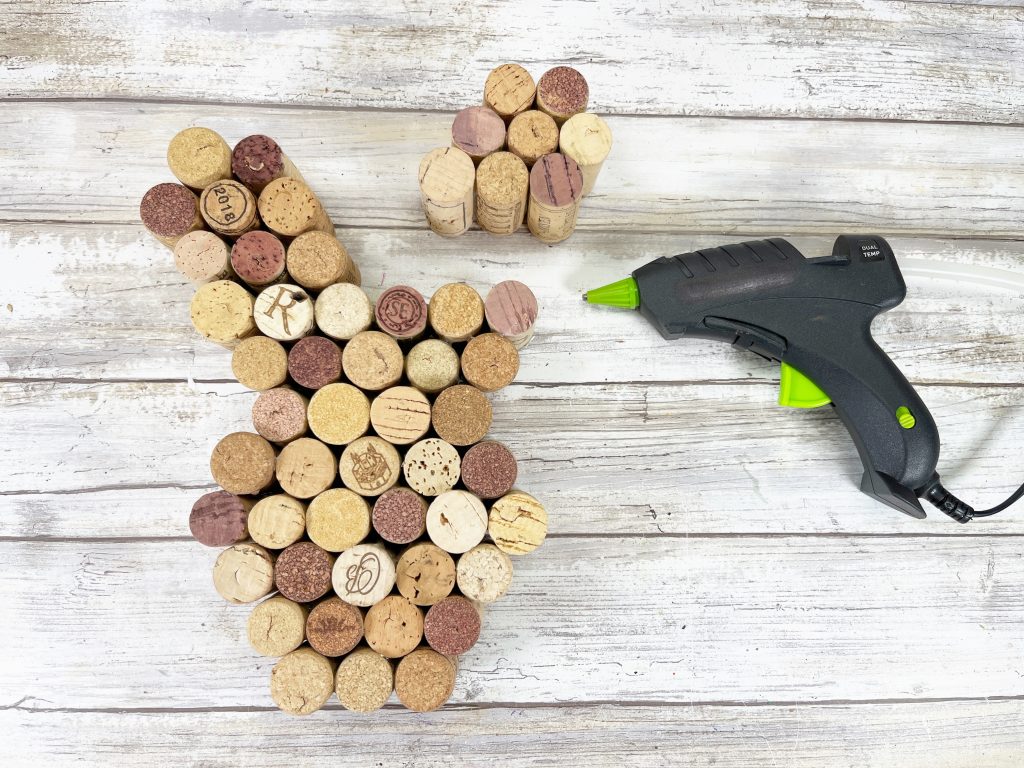
Then stack and glue the rows together, off set and angled to the left, using the photo as your guide. Attach to the left side of the Rabbit’s head with a glue gun and glue sticks. Repeat the above steps, angling the three rows of corks to the right, and then glue to the right side of the Rabbit’s head.
STEP FOUR
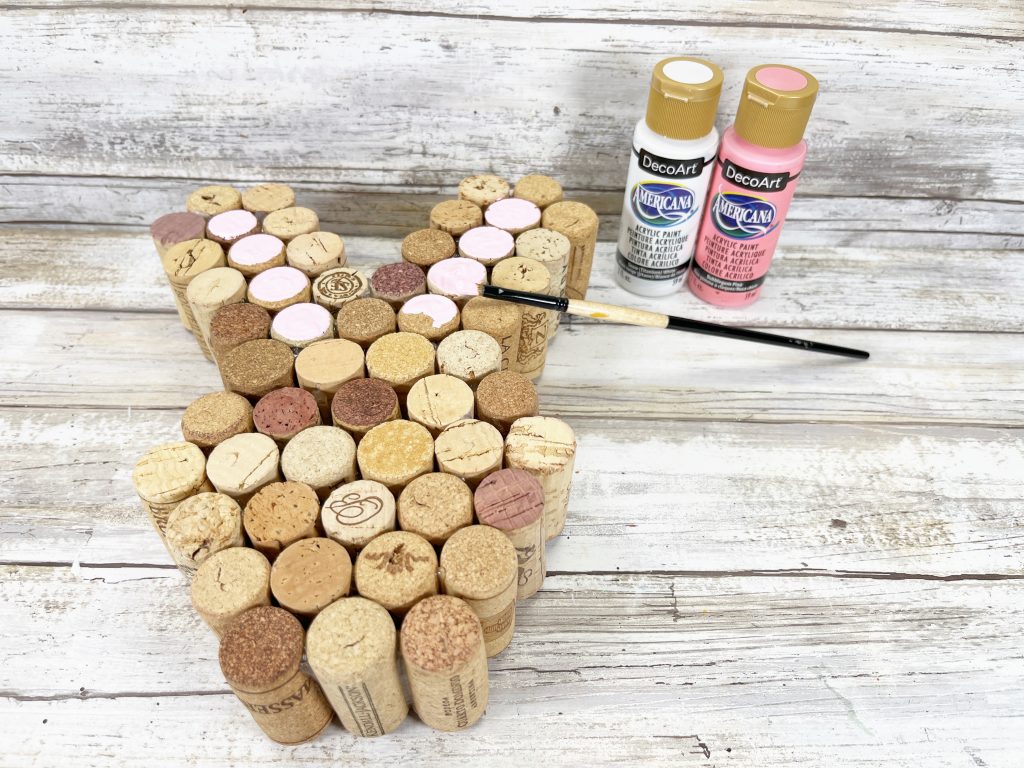
Using the photo as your guide, paint eight of the ends of the corks with light pink acrylic craft paint using a paintbrush.
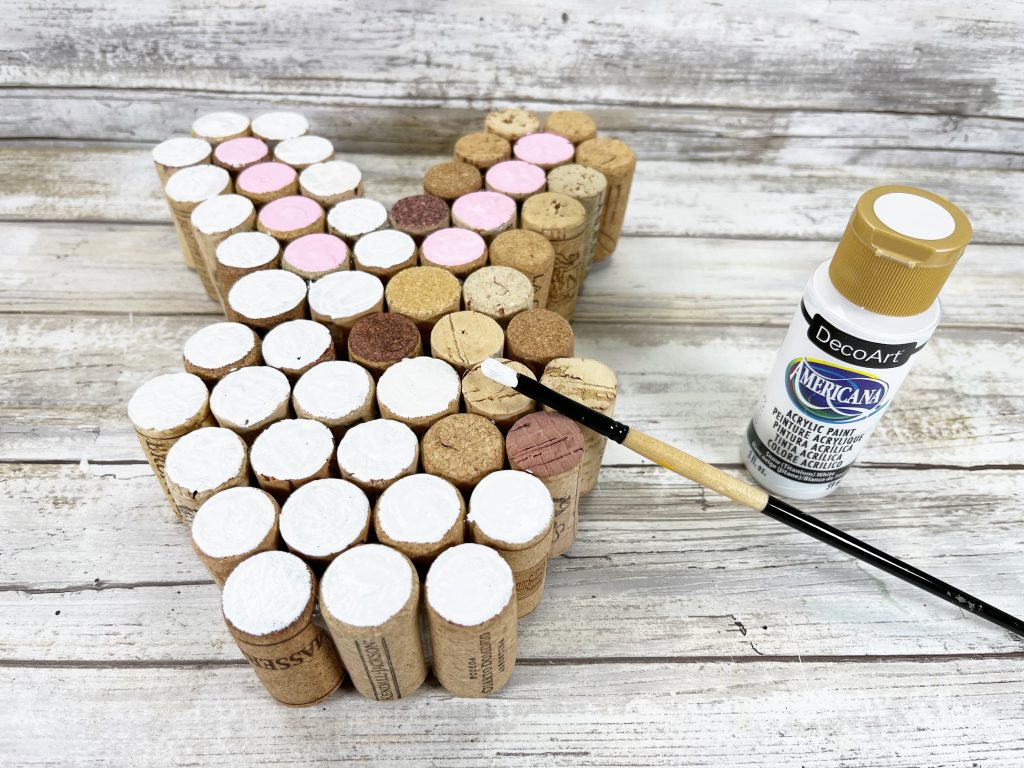
Paint the remaining ends of the corks with white acrylic craft paint. Let all paint dry, and apply a second coat, if necessary.
STEP FIVE

Using a permanent marker, trace one nose shape on baby pink craft felt. You can download the pattern here.
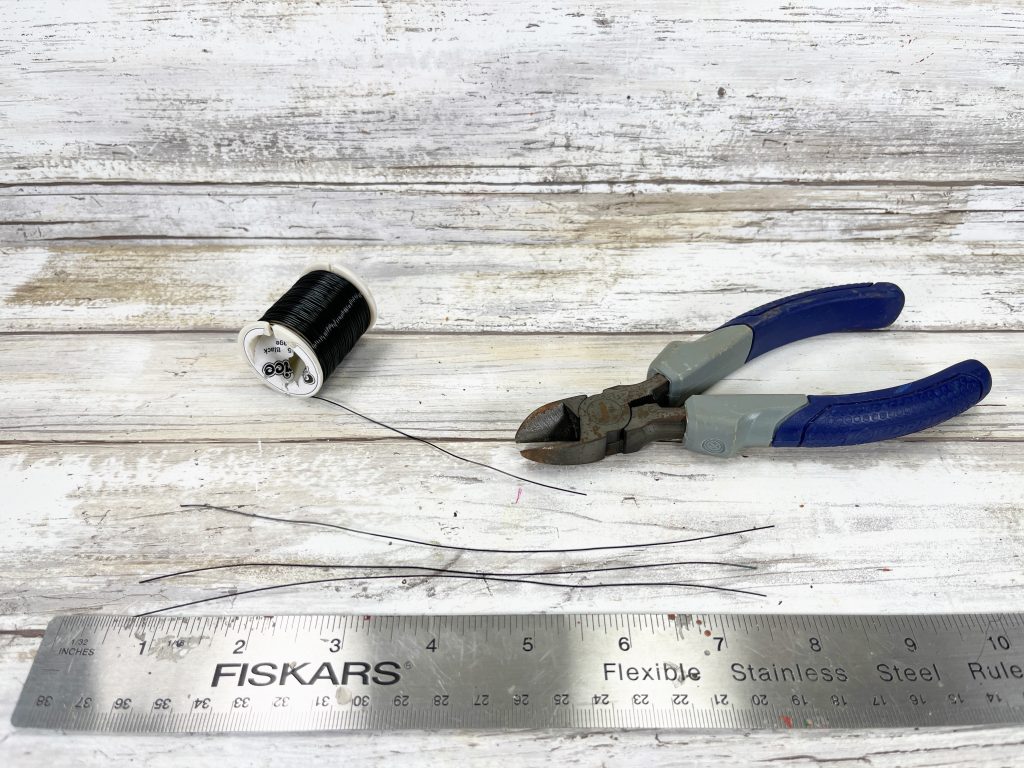
Cut out felt shape with scissors. Measure three 6” long pieces of black wire and cut them with wire cutters.
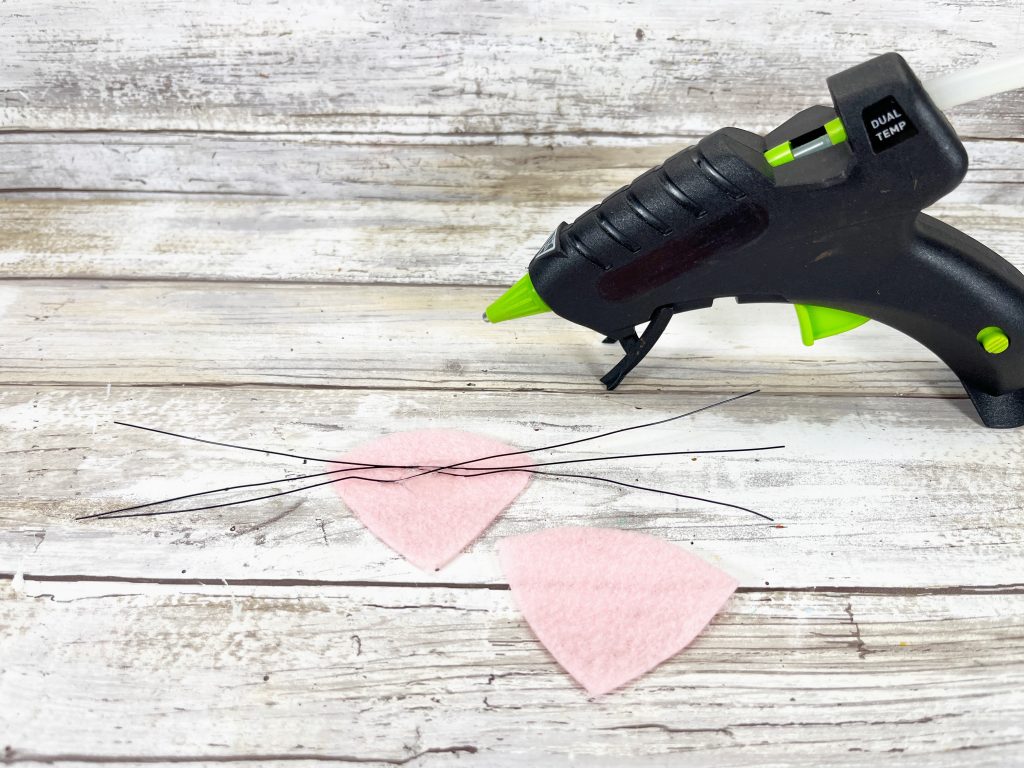
Flip the nose over and attach the wires in a crisscross pattern with a glue gun and glue sticks.
STEP SIX
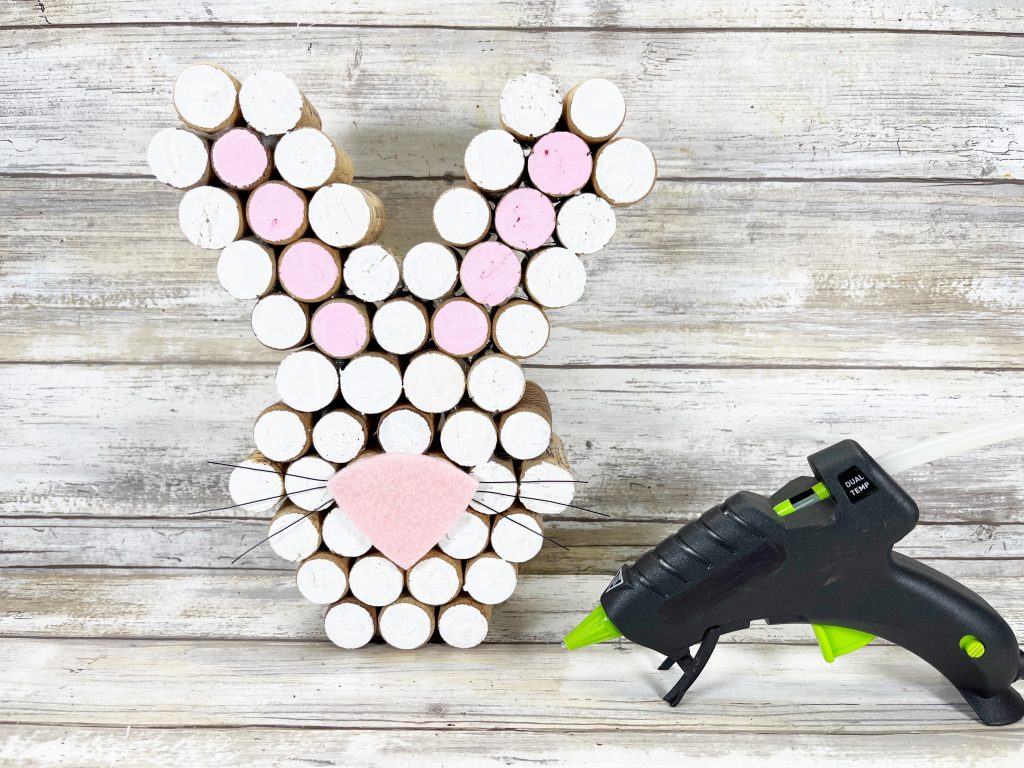
To finish the bunny, attach the pink felt nose and whiskers with a glue gun and glue sticks, using the photo for placement.
This Easter bunny craft is quick and easy to make for family, friends, co-workers, or the kids’ teachers. Your family and friends will never know how quick and easy this trendy Recycled Wine Cork Bunny was to create!
Leave a Reply