Disclosure: Some of the links in the post below are affiliate links provided for your convenience. This means that if you purchase something through one of these links, I get a small commission at no added cost to you.
I just love Christmas stockings! It’s partly that cozy Christmas feeling they add to the room when they hang from our mantel. I have to admit though, I also really love stuffing stockings and opening stockings. That’s why I just adore this super cute Stockings Were Hung Sign.
You see, it’s easy to pick out something, wrap it, and pop it under the tree. Well, at least, most of the time it’s easy. My son in law is notoriously difficult to shop for. But I digress. What I love about stockings is that you have to use some creativity when it comes to filling them. After all, you have limited space.

This fun Stockings Were Hung Sign takes about 45 minutes to make. Although you do need a Cricut (or Silhouette or similar machine that uses SVG files – free download below!), the rest of the supplies are quite economical.
For a fun variation on this sign, use a wooden board instead of a frame and add hooks under the stocks to turn this into an adorable stocking holder.
Stockings Were Hung Sign Tutorial
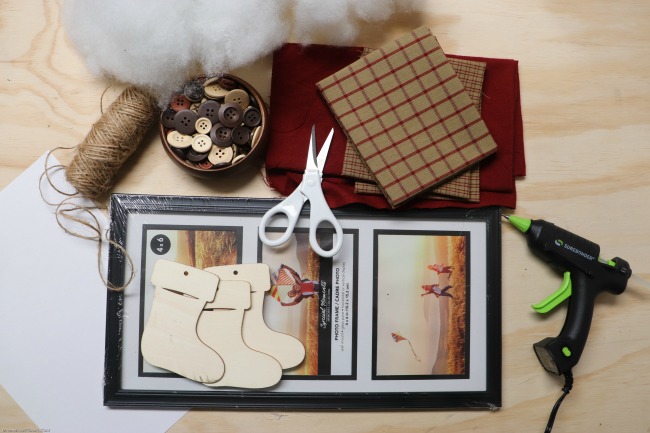
Materials and Equipment Needed:
Cricut or Silhouette or other similar machine for cutting SVG files
SVG file for And the Stockings Were Hung
Picture frame: you can easily find these at the dollar store
Fabric, variety of 3
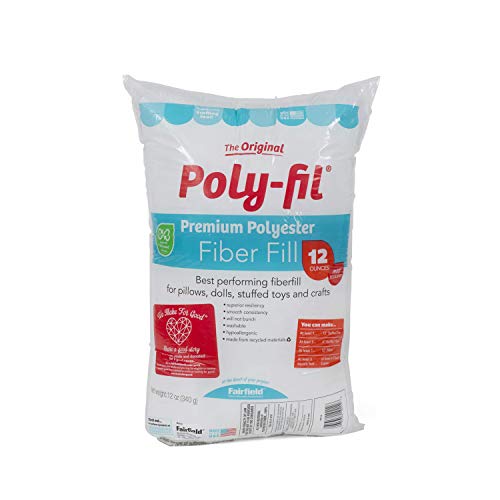
Polyfil
Twine
Wood stockings – I found mine at Dollar Tree Twine
Buttons
White Yarn
Scissors
Glue gun and hot glue
Fine point marker
Vinyl for die cutting machine
Scrapbook paper
Materials available through Amazon:
Dunroven House Homespun 12-Piece Fat Quarters, 18 by 21-Inch, RedCricut Maker, Champagne
Cricut Explore Air 2, Twilight
Cricut Tools, Mint Basic Set
Cricut Machine Basic Tools Set, 2 Pack 12×12 Cutting Mats and Beginner eGuide Bundle
Fairfield FAIPFT12 Fiber Poly Fil Bag, 12 oz, White
Color-Your-Own-Ornament Christmas Craft – Stocking – 5 Count
Chenkou Craft 30pcs 40mm 1 1/2
ORACAL 651 Multi-Color Vinyl Starter Kit Bundle for Cricut, Silhouette & Cameo Incl. 3M Installation Toolkit (10 rolls)
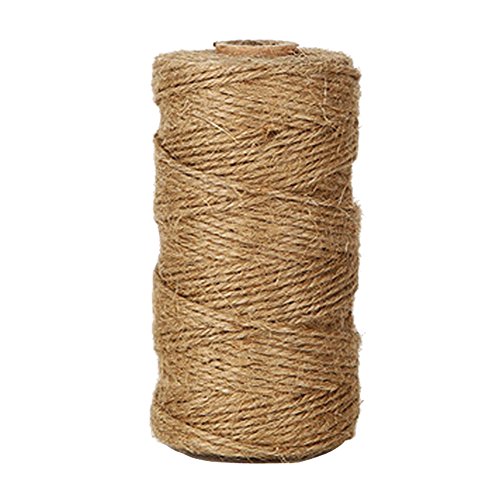
KINGLAKE 328 Feet Natural Jute Twine Best Arts Crafts Gift Twine Christmas Twine Durable Packing String for Gardening Applications
Cosmos Cotton Baker’s Twine Cording, 3 Roll Assorted Colors
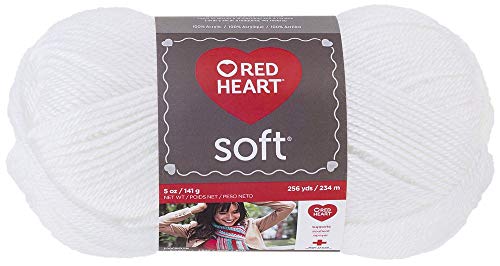
RED HEART Soft Yarn, White
Westcott 14849 8
AdTech Mini Hi-Temp Hot Glue Gun Combo Pack, White
Sharpie Ultra Fine Point Permanent Markers, Black Ink, Resists Fading and Water, Blister Pack with 2 Markers (37161PP)
FEPITO 60 Sheets Christmas Pattern Paper Set, 14 x 21cm Decorative Paper for Card Making Scrapbook Decoration, 10 Designs
Martha Stewart 30068358 Paper Pad-Red/White/Greenery 12×12 Paperpad, 12 x 12 inches, Multicolor
Colorbok Smooth Cardstock Paper Pad, 12
Instructions:
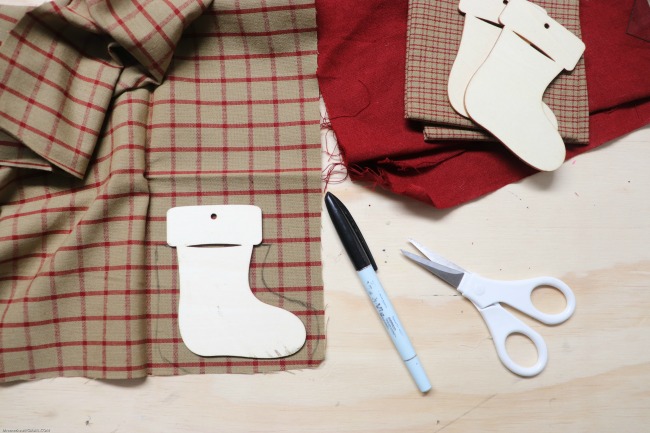
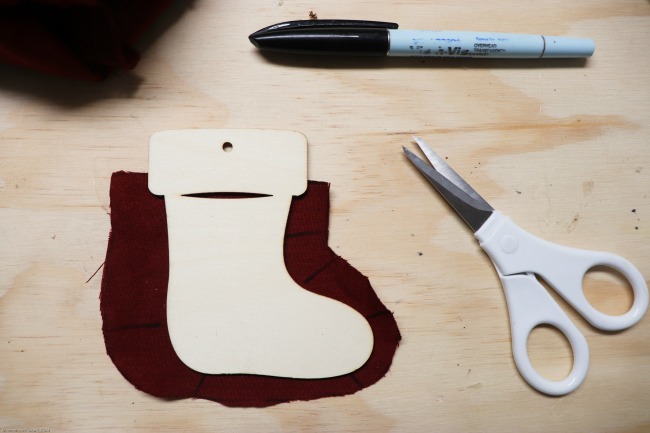
1. Trace stockings onto fabric and cut 3/4” extra around. Cut notches so fabric wraps around stocking neatly.
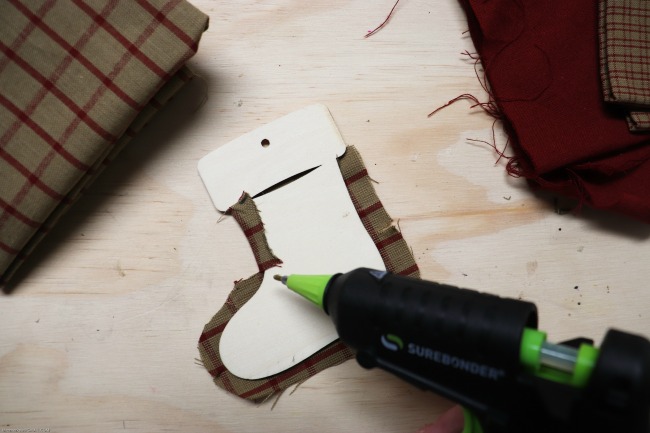

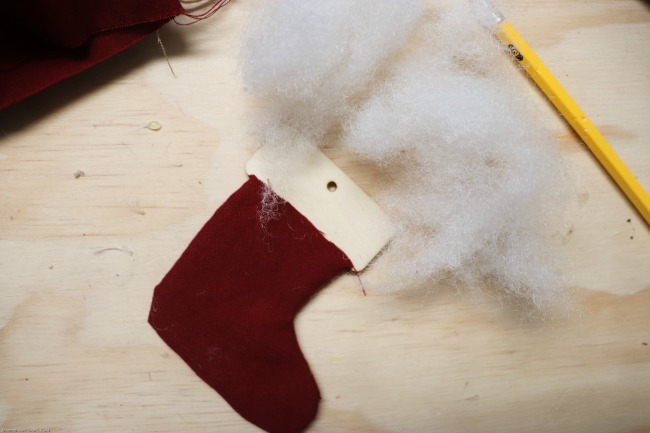
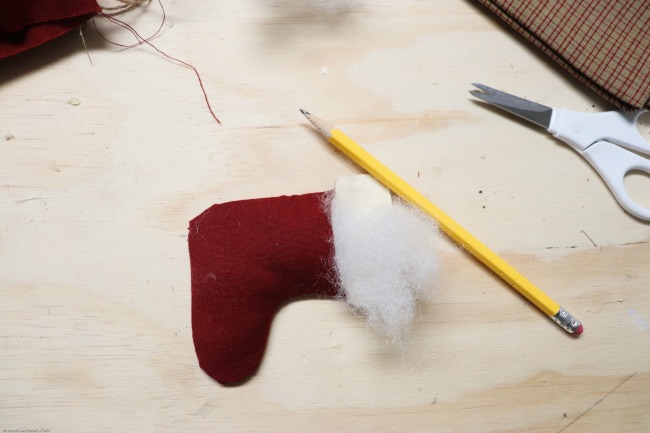
2. Hot glue fabric around stocking, leaving top open to stuff with polyfiberfil.
3. Glue stocking shut.
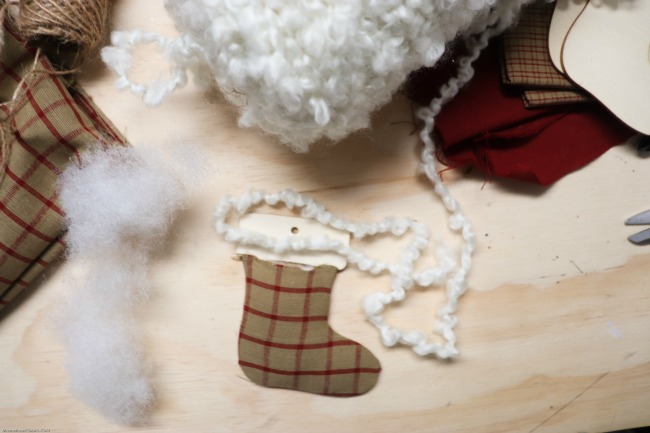

4. Hot glue yarn onto top of stocking until thick and fluffy.
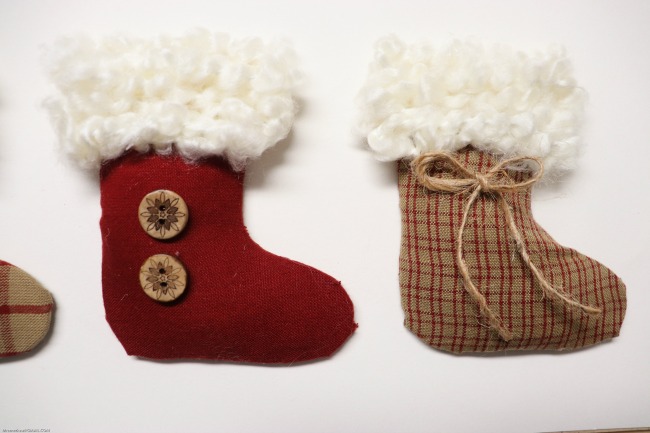
5. Add buttons and twine to decorate stockings.
6. Cut scrapbook paper to fit in frame.
7. Place stocking on sign to get the size and spacing for words.


8. Download SVG and upload to Cricut. In Cricut Design Space, size words to fit on your frame.
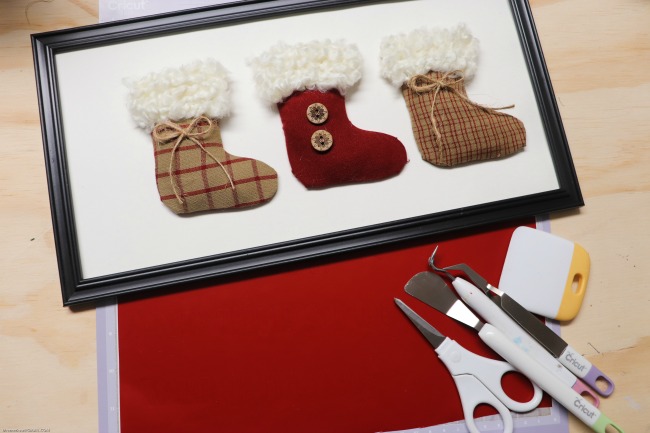
9. Place vinyl on cutting mat. Cut out “and the stockings were hung”.

10. Weed out extra vinyl.
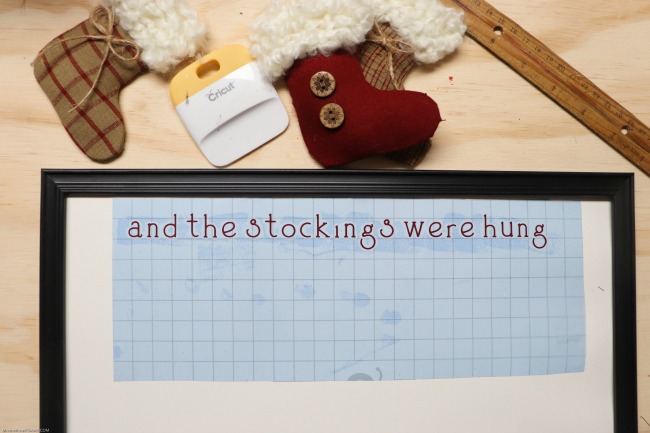
11. Use transfer tape to pick up words and center on top of sign.
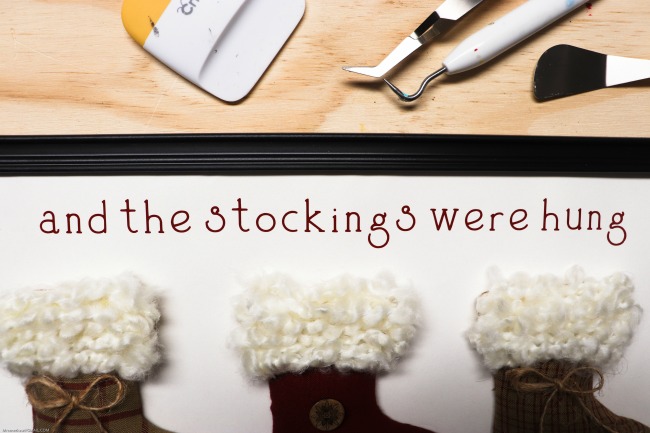
12. Glue stockings to sign.
Isn’t this adorable? This sign makes a fun decoration to sit on the mantel or hang in your home for the holiday season. It’s a great gift idea too! Happy creating!







Leave a Reply