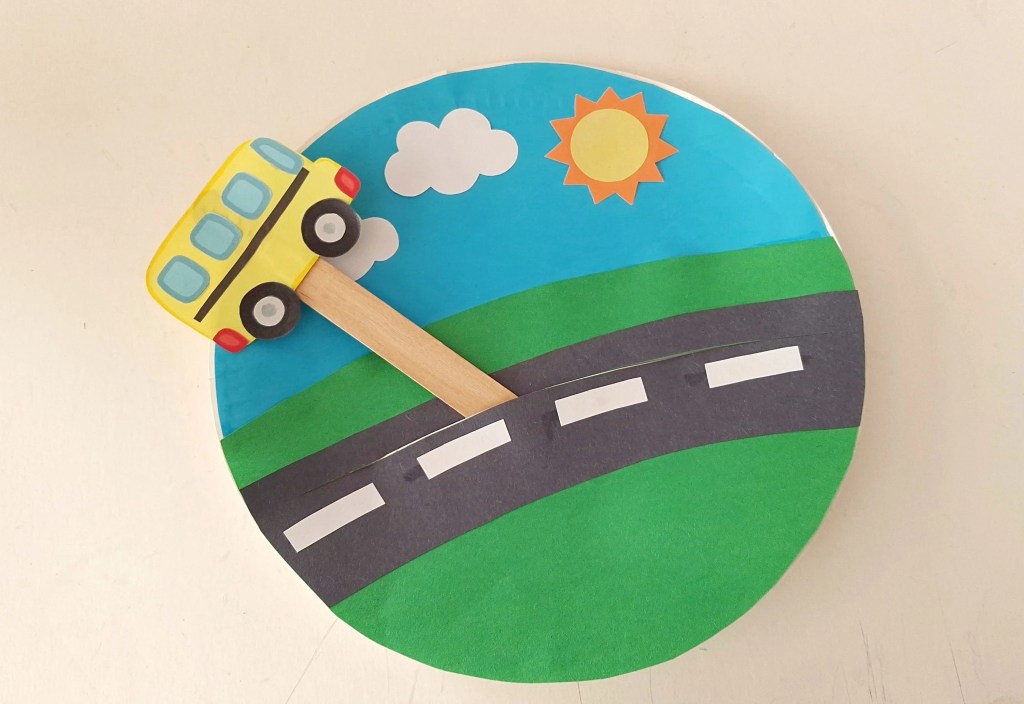
This moving school bus craft is a fun interactive paper craft that’s perfect for back-to-school season. Kids will love sliding the bus along the road while practicing cutting, gluing, and fine motor skills.
It’s an easy classroom activity, homeschool craft, or afternoon project to celebrate a new school year. If your kids enjoy hands-on projects like this one, be sure to explore our collection of paper crafts for even more creative fun.

Why You’ll Love This Craft
Instead of jumping right into supplies, add this section.
- Interactive design makes the school bus move along the road.
- Great for back-to-school celebrations.
- Uses inexpensive craft supplies.
- Encourages creativity and imaginative play.
- Perfect for classrooms, homeschool, or rainy afternoons.
Looking for more fun projects? You’ll also find lots of creative ideas in our paper plate crafts collection.
What Kids Will Learn
Replace the older educational wording with your newer format.
Making this moving school bus craft helps children practice:
- Fine motor skills through cutting and gluing.
- Hand-eye coordination while assembling the pieces.
- Following multi-step directions.
- Spatial awareness as they position the bus and road.
- Creative storytelling and imaginative play once the craft is finished.
Want to learn more about how school buses help keep children safe? The Ontario Ministry of Education has kid-friendly school bus safety tips you can explore together.

Supplies
- Colored craft paper
- Paper plate
- Popsicle stick
- Pencil
- School bus template
- Scissors
- Craft glue
- Markers (optional)
Before You Begin
Print the template onto cardstock for a sturdier pattern, or regular printer paper if that’s what you have available. Younger children may need help cutting the pieces and using the craft knife.
Instructions
Step 1
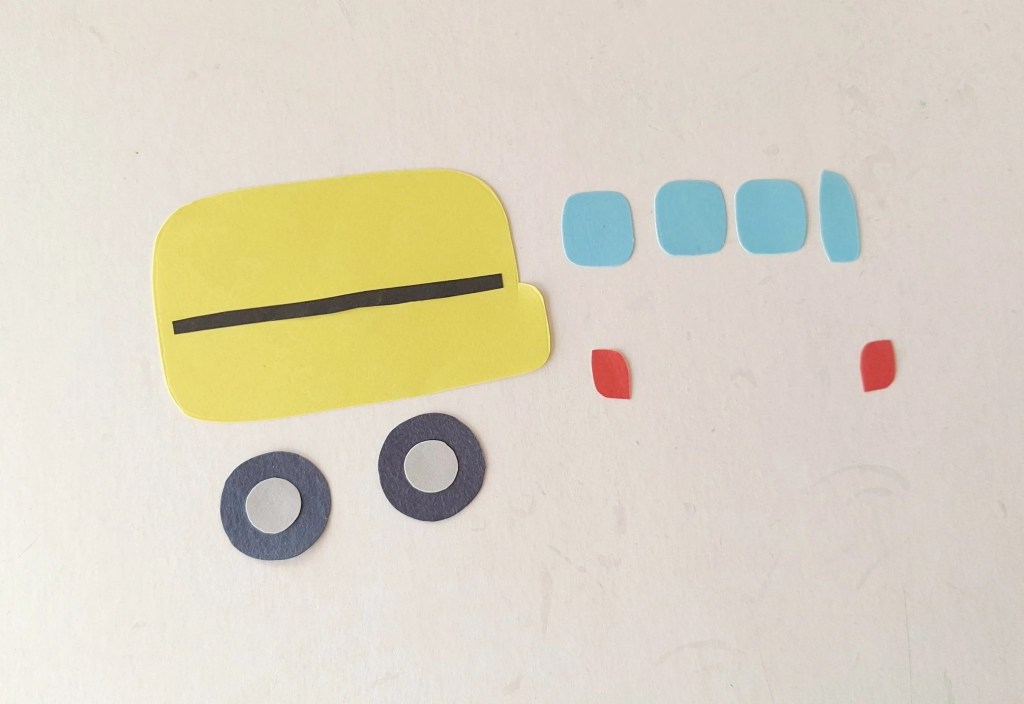
Download and print the template. Cut out each pattern, then trace them onto the colored craft papers. Cut out all of the traced pieces, including the bus, road, road markings, clouds, and sun.
Step 2
Glue the smaller circles onto the larger circles to create the wheels. Then glue the long, narrow strip across the center of the bus.
Step 3
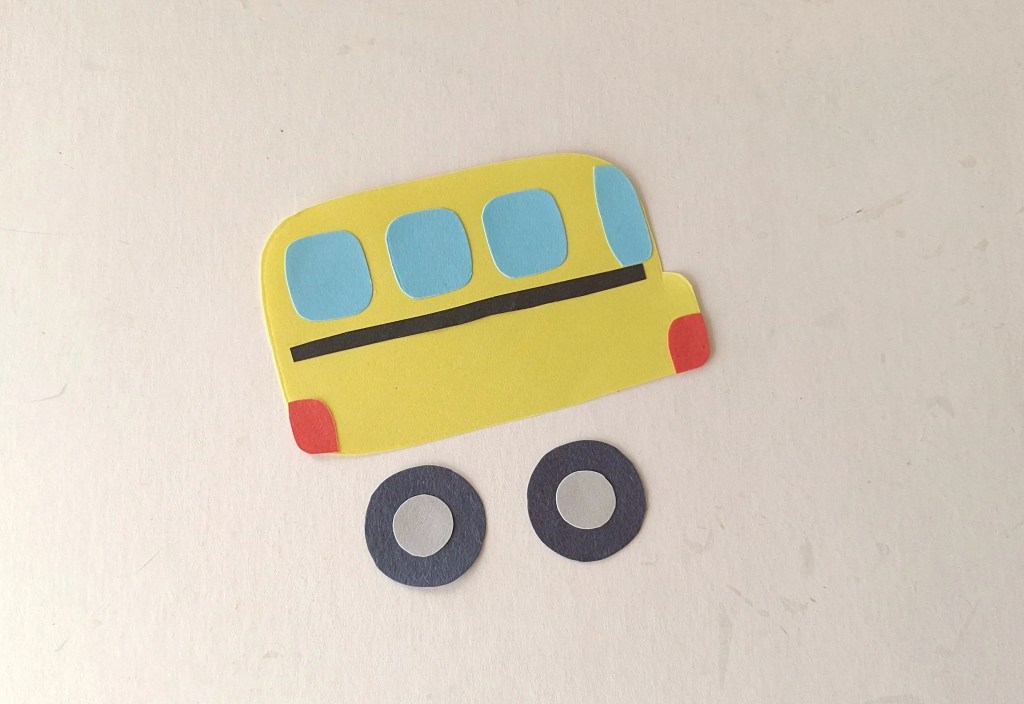
Glue the window pieces and the lights onto the front of the bus.
Step 4
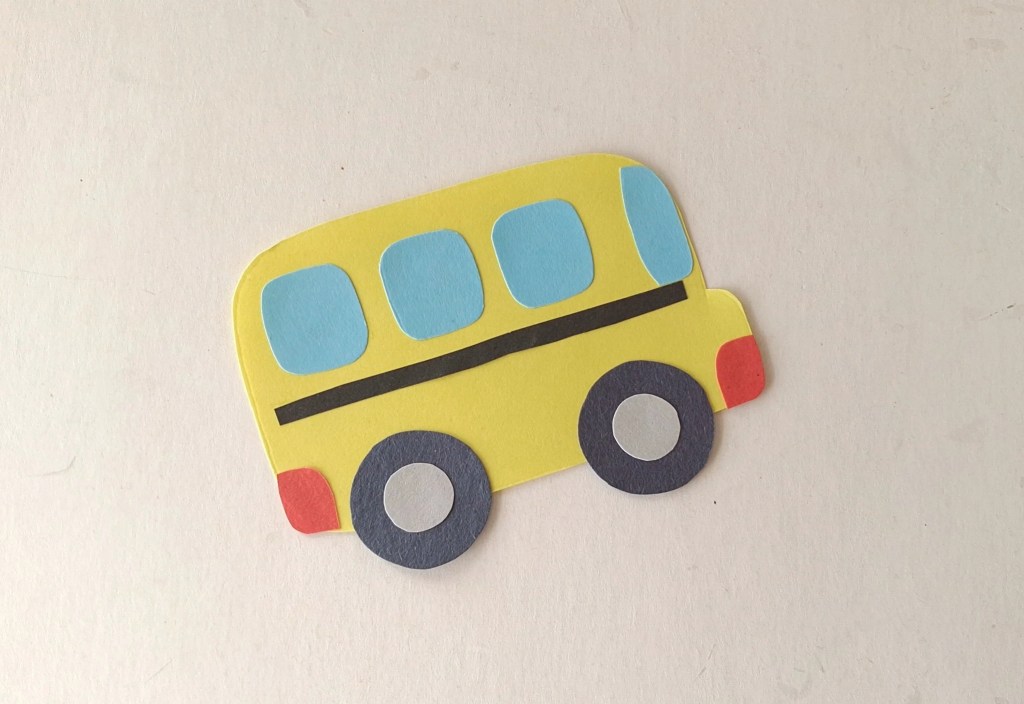
Attach the completed wheels to the bottom of the bus.
Step 5
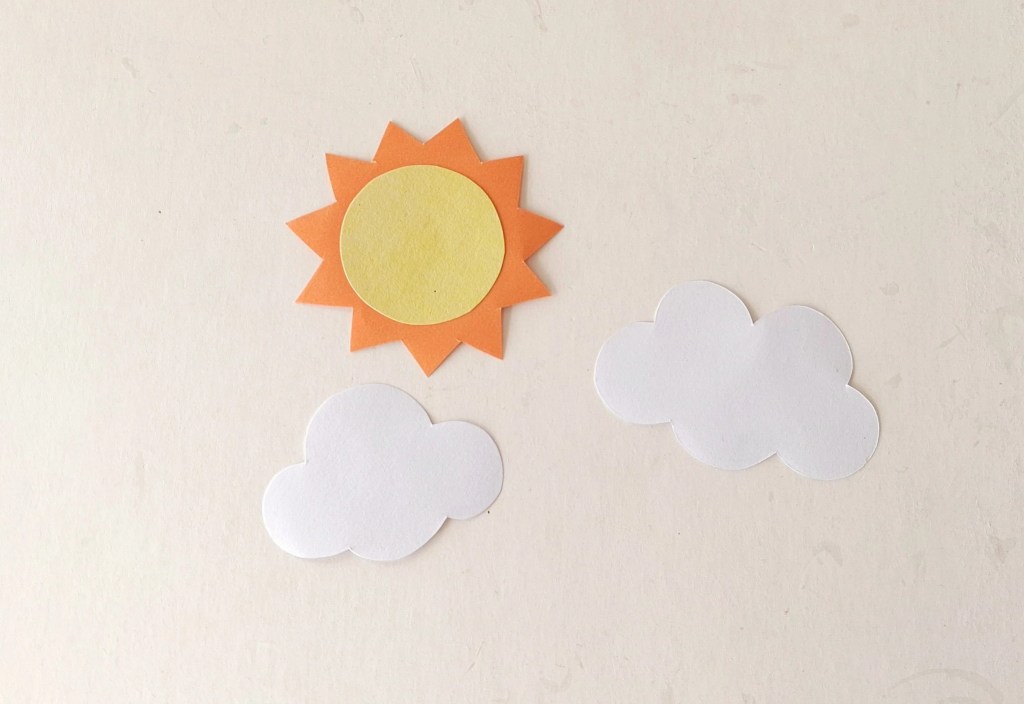
Glue the circle onto the zigzag-edged piece to create the sun.

Step 6
Glue the white road markings onto the road.

Step 7
Prepare your paper plate by cutting blue paper to cover the upper half for the sky and green paper to cover the lower half for the grass.

Step 8
Glue the blue paper onto the top half of the paper plate.

Step 9
Glue the green paper onto the bottom half of the paper plate. Then glue the road onto the green section.

Step 10
Using a craft knife (adults only), carefully cut a horizontal slit in the paper plate just above the road.

Step 11
Glue the school bus onto one end of a popsicle stick.
Step 12
Insert the other end of the popsicle stick through the slit from the front of the paper plate to the back.
Step 13
Pull the popsicle stick through until the bus rests on top of the road while the stick remains behind the paper plate.

Step 14
Move the popsicle stick from the back of the paper plate to make the school bus drive along the road. Kids can have fun pretending they’re heading off to school or picking up passengers along the way!
Tips for Success
- Use cardstock for the bus if you’d like it to be more durable.
- Make the slit just wide enough for the popsicle stick to slide smoothly.
- If the bus catches on the slit, trim it slightly wider.
- Let the glue dry completely before moving the bus.
- Adults should handle the craft knife.
If your kids love crafts with moving parts, be sure to try our Moving Caterpillar Craft next.
FAQ
Can I use cardstock instead of construction paper?
Yes! Cardstock makes the moving pieces sturdier and helps the bus hold its shape.
Can younger children make this craft?
Yes, but they’ll likely need adult help with cutting and assembling some of the smaller pieces.
What if I don’t have a paper plate?
You can use sturdy cardstock or a piece of lightweight cardboard as the background instead.
Can kids decorate their buses?
Absolutely! Add windows, passengers, school numbers, or even the child’s name to personalize each bus.
This moving school bus craft is a fun way to celebrate the excitement of heading back to school.
Whether you’re making it at home, in the classroom, or as part of a homeschool lesson, kids will love sliding the bus along the road and creating their own imaginative adventures. With simple supplies and an interactive design, it’s a craft they’ll want to play with long after the glue has dried.
If your kids enjoyed making this moving school bus craft, here are a few more fun projects to try:
Paper Plate Crafts – Find even more creative projects using inexpensive paper plates.
Moving Caterpillar Craft – Another interactive craft that kids can play with after it’s finished.
Paper Cup Rocket Craft – Launch a rocket into the air with this exciting STEM-inspired activity.
Paper Plate Octopus Craft – A fun ocean craft made from simple supplies.
Paper Crafts for Kids – Browse dozens of easy paper craft ideas for every season.
Get more craft ideas like this along with delicious easy meals and fun holiday celebrations by subscribing to our newsletter. We often send out free printables in these as well, just for our email subscribers.


Leave a Reply